In the past, the remedy for physical damage to the POT was "POT replacement", but this time's I want to talk about a provisional remedy for when you “can't get replacement parts by any means" or you "want to deal with it immediately". Keep in mind that it is a provisional countermeasure that requires "medium-difficulty repair method using a specific tool", and that the durability is minimum.
If you go to a home improvement store, there are many types of adhesives, so it seems that you can easily fix something by selecting the adhesive that suits your application. But just be certain it is suitable for you by referring to the applications listed on the adhesive package. However, even if you buy adhesive for the correct material, you may not be able to firmly bond the POT shaft.
This is because most POT shafts are aluminum or vinyl chloride, and the bonding area and the required strength are not balanced. In other words, if even a little strong force is applied after the bonding is completely dried, it will break off like that.
The reason for this is that the adhesive area is small, most POTs are installed by passing them through a hole made in the operation panel to the full shaft diameter, and the gap between the POT body and the operation knob is narrow. So, it is not possible to choose a method such as taping the broken part or overlaying with an epoxy adhesive. Also, if you carelessly use instant adhesive, the adhesive will be instantly get sucked into the POT and will stick inside, making the POT itself unusable, and at that point, you will end in failure. It is advisable not to use superglue unless the conditions are very good.
Also, if instant adhesives are used temporarily, they may be finished as if they were glued with some strength. But as with instant adhesives and similar items, any expensive adhesives have aluminum or chloride components. They cannot be "welded" by melting the material, and it cannot maintain its strength for a long period of time because it is connected only by the adhesive force with the joint surface.
Therefore, "the damaged POT must be replaced", but as a coping method when you "still want to go a little further and do something about it", although it is far from "dental implant technology", "reinforcing the shaft", I will introduce how to improve the adhesive strength by "combining the shaft with adhesive".
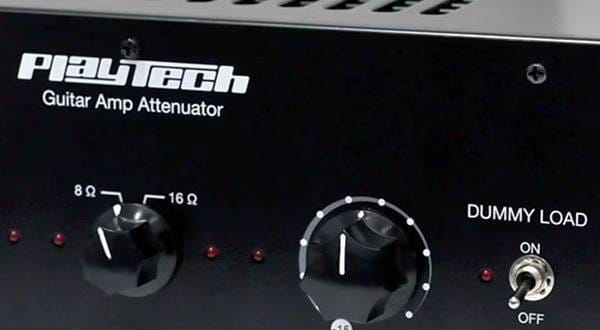
However, it would be impossible if the shape of the POT is thin or if the shaft has a deep notch in the center, like those used in guitar amplifiers, but it may be possible to deal with it using a more advanced method to repair it.
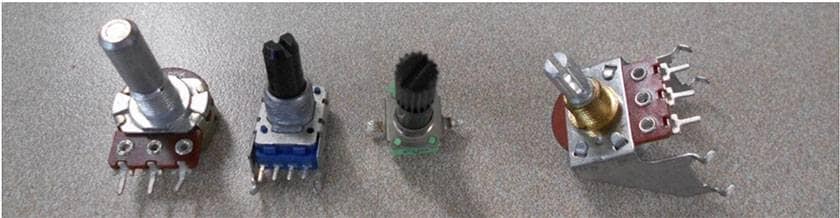
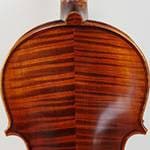
POT examples
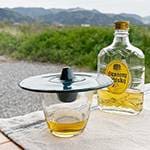
The introduction has become long, but the main items used in this example are a paper clip, adhesive, and a pin vise. For the adhesive, select from epoxy type, rubber type, or cyano type with high clay content, depending on the size and mounting condition of the POT. Please check the type and characteristics of the adhesive and the intended use.
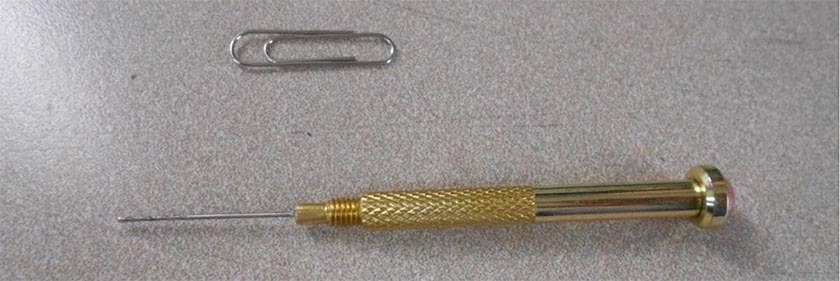
Paper clip and pin vise photo
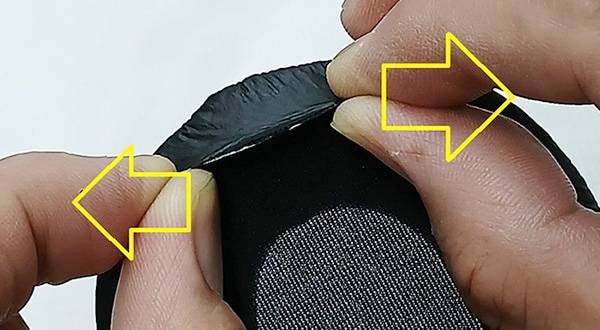
First of all, if the pot shaft folds flat and you can put the broken tip back in place without rattling, you can proceed as is, but you can see the roughness and deformation of the fracture surface. If this is the case, it is necessary to further prepare the fracture surface using a stick file or the like.
Next, if possible, remove the broken tip from the knob so that you can carry out the process with only the shaft, so that the subsequent work will be easier and there will be no concerns of the knob and shaft sticking or damaging the knob.
When the preparation is complete, use a pin vise to carefully drill a hole with a depth of about 5 mm in the center of the POT side and the tip side of the broken shaft, paying attention to the exact position and verticality as much as possible.
After that, as you might have guessed, insert a reinforcing pin made of a paper clip cut to a little less than 10 mm in length and check the fit.
At that time, it is better to have no backlash or gaps if possible, but even if there are some bends or gaps, I think that it will be reinforced with almost no problems with the adhesive.
After confirming that, all you have to do is to embed the reinforcing pin with a very small amount of adhesive