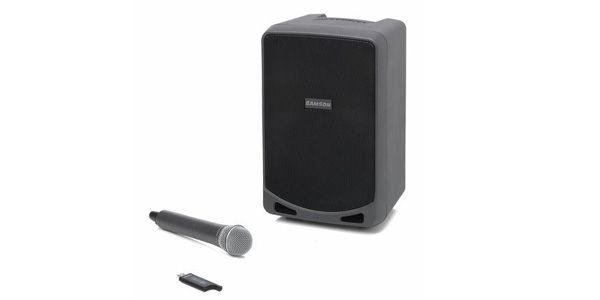
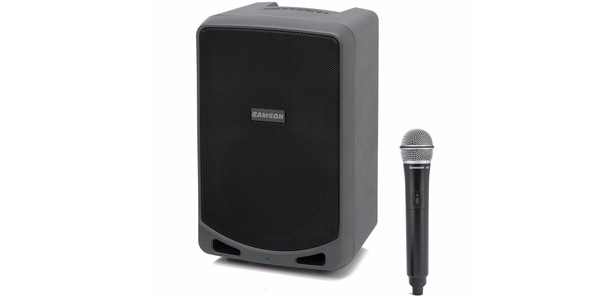
Cherry blossom season is over, but spring is still in full swing. From spring to early summer, portable PAs will be used in many small-scale events, live concerts, BBQs, and so on. One of the best-selling portable PAs at Sound House is the Expedition XP106w from Samson!
Samson / Expedition XP106w Rechargeable Portable PA System
Whether you are a current user or are thinking of trying it out, you have nothing to lose! Here is how to replace the internal battery.
The built-in battery (replacement battery) can be substituted for the battery that is handled by Sound House. All you need is a Phillips screwdriver and a pair of rubber gloves (better if you already have them)! I hope you find this information useful.
Let's get started.
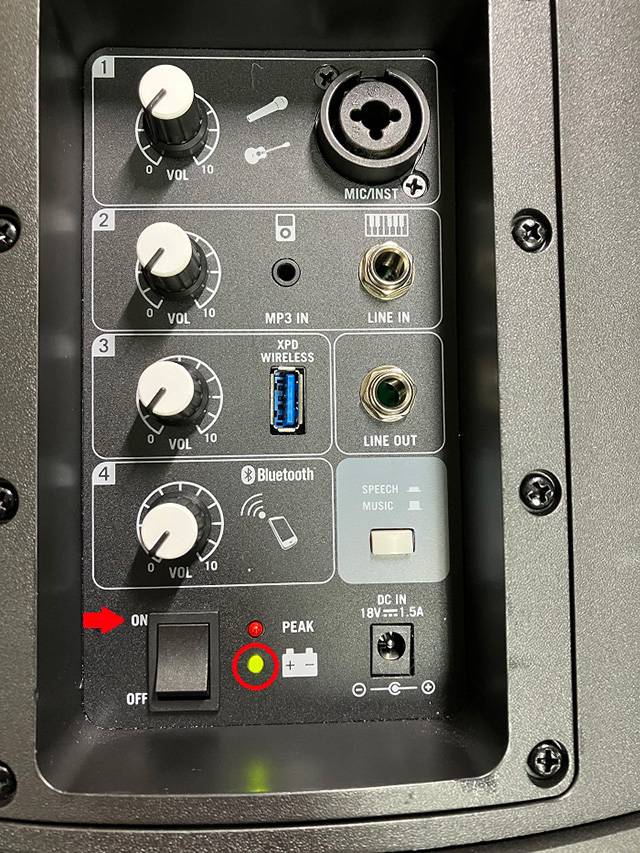
First, check the condition of the battery and test the battery charge. Leave the power switch in the OFF position with the power adapter connected for about half a day.
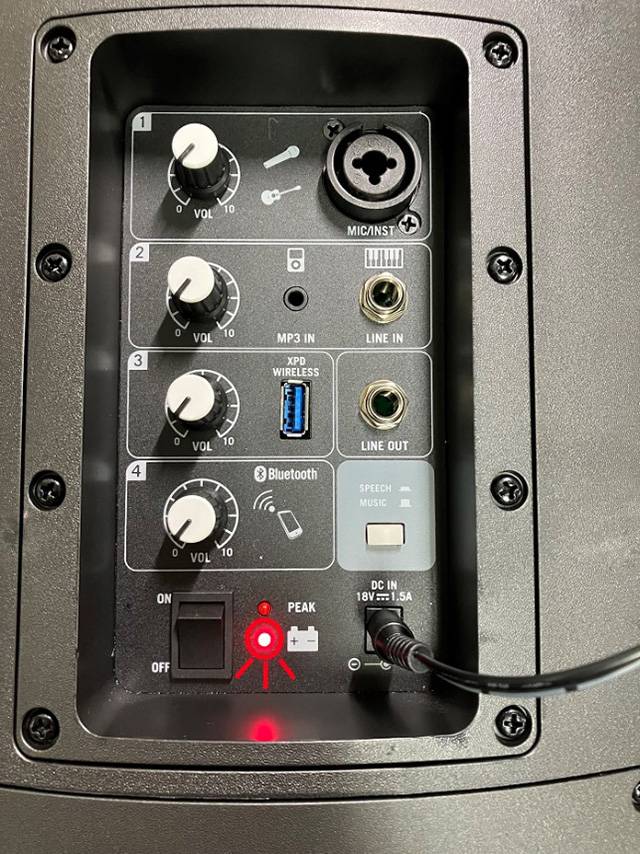
As shown in the image below, the XP106 main unit displayed as charged, so at first glance it appears that the battery could hold a charge.
Nevertheless, even after charging the battery for more than half a day, the battery is not fully charged.
To confirm this, I tested the battery power without the power adapter.
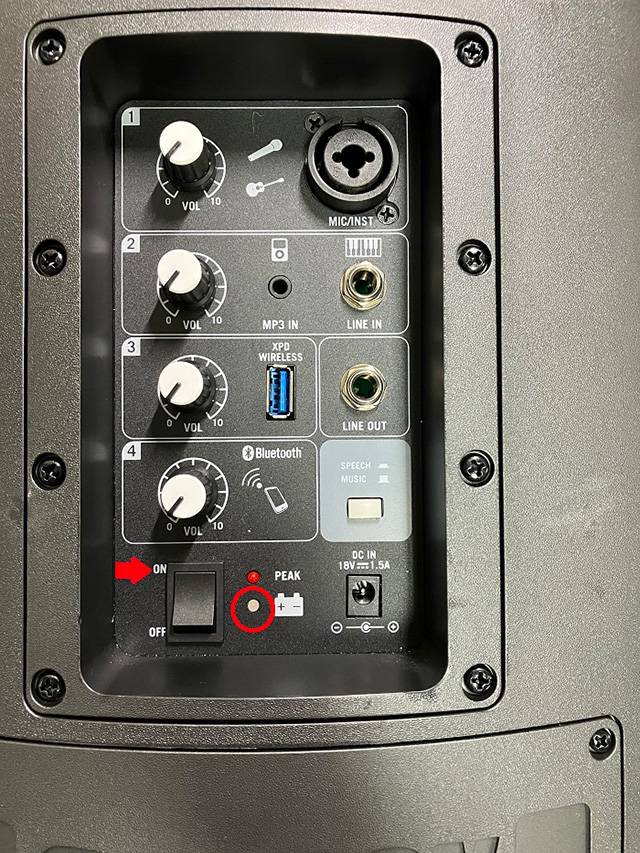
When the power is turned on normally, the green LED lights up, confirming that the battery is faulty and doesn’t hold a charge.
After confirming that the battery cannot be charged, I am going to remove the battery that is currently attached.
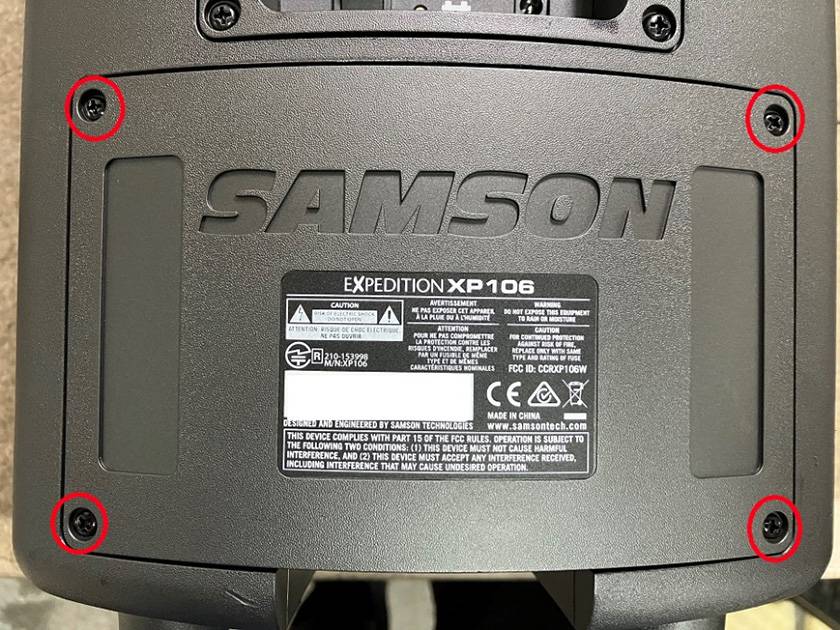
The battery is located inside the panel below this one, so I will remove the screws in the four corners of the panel.
Next, remove the metal bar plate that holds the battery in place.
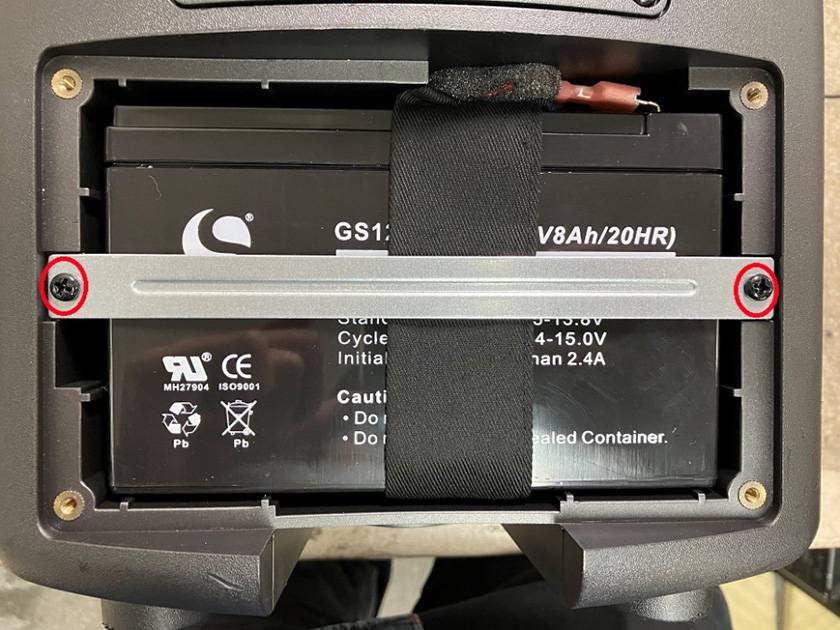
Keep each of the removed screws separate so as not to mistake where they go when you screw the screws back in.
Pull the battery out by pulling on the loop of cloth.
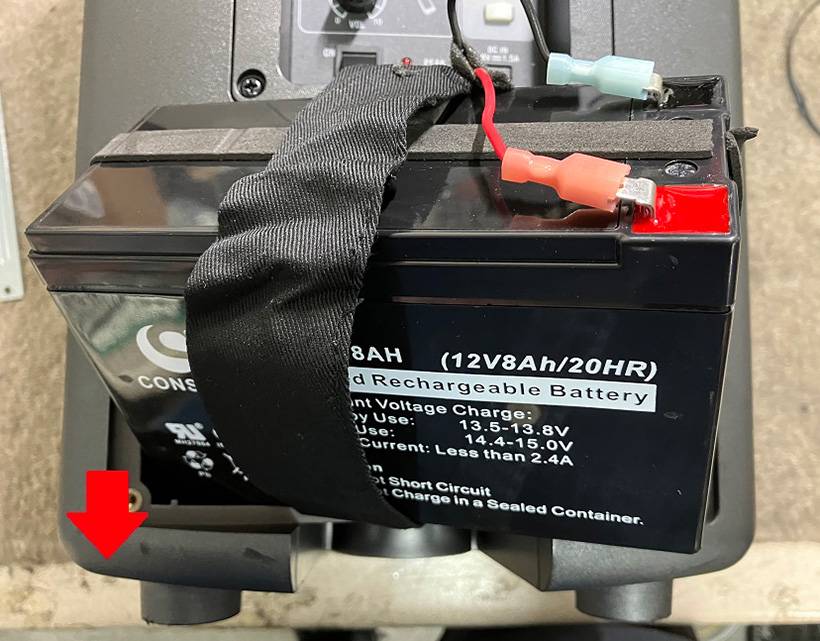
Unplug the terminal fastons from the battery electrodes (red/black), respectively.
*Wearing rubber gloves is recommended for working near the electrodes to prevent electric shock.
If the terminal faston is difficult to pull out, pull it out slowly while moving the terminal from side to side, rather than pulling hard. Be careful when pulling with too much force, as the wiring may fall out of the terminal faston.
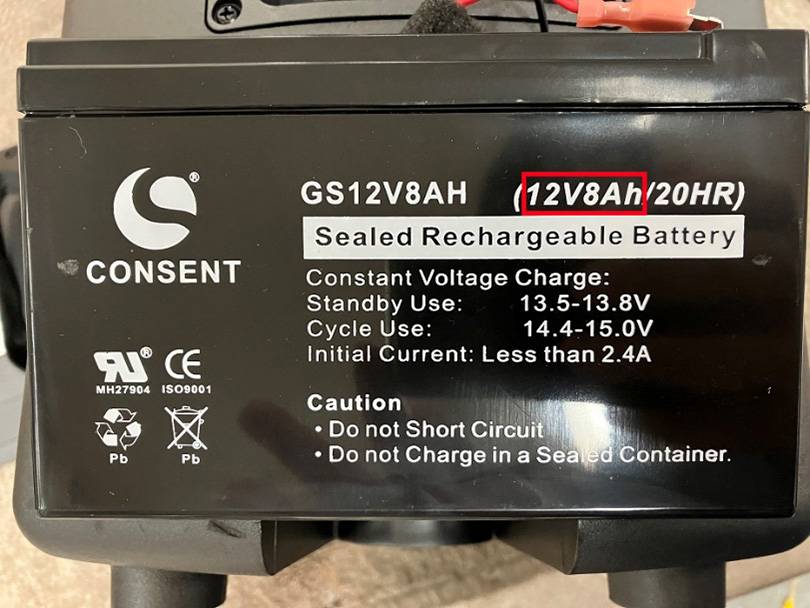
Next, check the display of the removed battery.
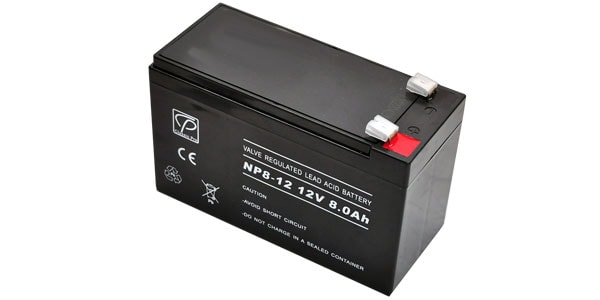
The model number and specifications of the battery are written on the side. The battery attached this time is a 12V/8AH battery. Replace the battery with the same specifications.
This replaceable battery is available at Sound House.
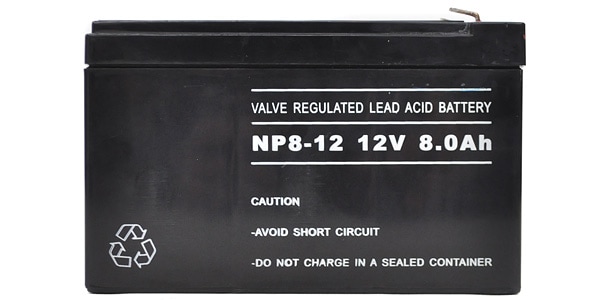
The size is the same, so the replacement work can be done smoothly.
Actually, 7AH and 9AH batteries can also be substituted, but if it's possible, it would be better to choose one with the same value.
Before replacing the battery, it is important to check the terminal fastons.
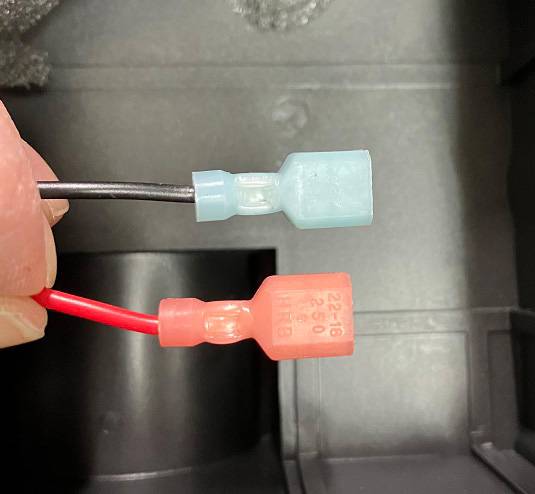
Check to see if the size of the terminal faston won’t be a problem. For example, for a slim electrode battery, the width may be too narrow to be replaced without modification. However, since I am replacing the battery with one that has the same electrode size, there is no need to worry about this issue. In addition, I will check in advance to make sure that no wires have fallen out and that the terminal fastons are not loose or not fitted too tightly.
Connect the red wire to the red positive end of the new battery. Then, connect the black wire to the black negative side the same way. Connect the ends in the order of red to black.

Once this is done, all that remains is to store the battery and tighten the cover and other screws in the reverse order.
In most cases, a new battery has been charged to some extent, but we recommend that you test the battery operation after charging it for 1 to 2 hours, just to be sure.
After replacing the battery, I tested the unit to see if it turns on normally with only the battery. We also confirmed that the output test was normal.
This completes this guide on battery replacement!
The actual process itself takes about 20 minutes. If you find that your battery can no longer be charged, try replacing the battery!
See you again soon.


![[2023 Latest!] Top 3 Recommended Portable PA Bluetooth Speakers](/contents/uploads/thumbs/2/2023/10/20231002_2_24061_1.jpg)
![[Latest 2026 Edition] A Must-See for Beginners! How to Start Street Performing](/contents/uploads/thumbs/2/2023/9/20230901_2_23825_1.jpg)


 SAMSON特集
 ポータブルPAシステム特集
 SAMSON PAスピーカー特集
 SAMSON 簡易PA比較表
 学校向け機材特設ページ
 簡易PAセットとは