How do you spend your days off?
For those who love their instruments, spending an entire day off taking care of them might be quite common.
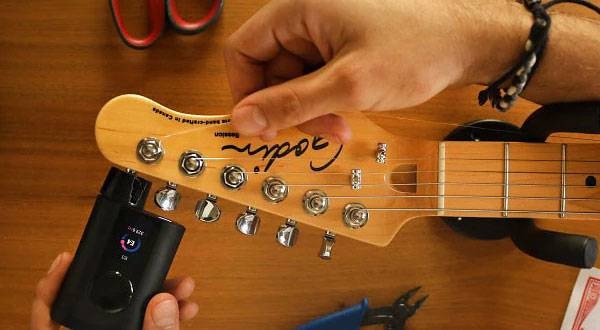
Recently, I spent a whole day doing just that. Half of the day was spent getting a genuine leather drumhead in Tokyo and bringing it back home, and the other half was spent attaching the head.
I’d like to share the knowledge I gained about installing a real leather drumhead, which is something not done very often.
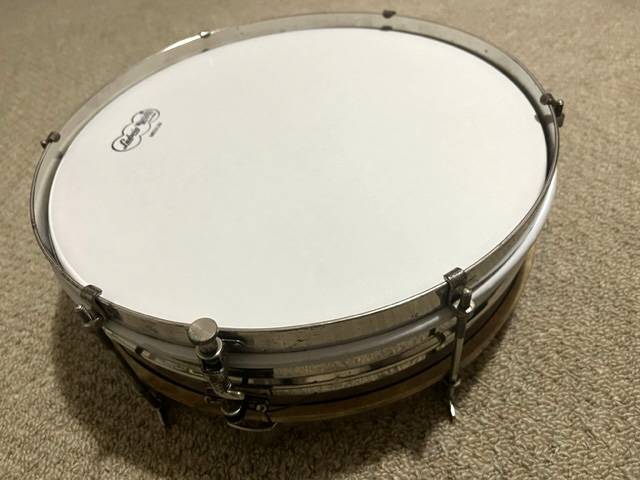
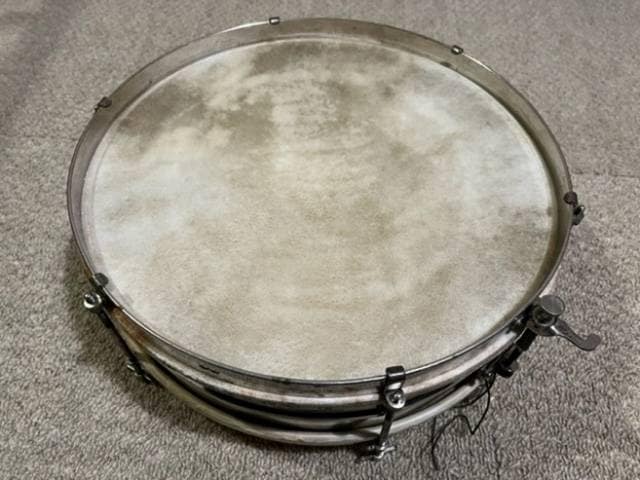
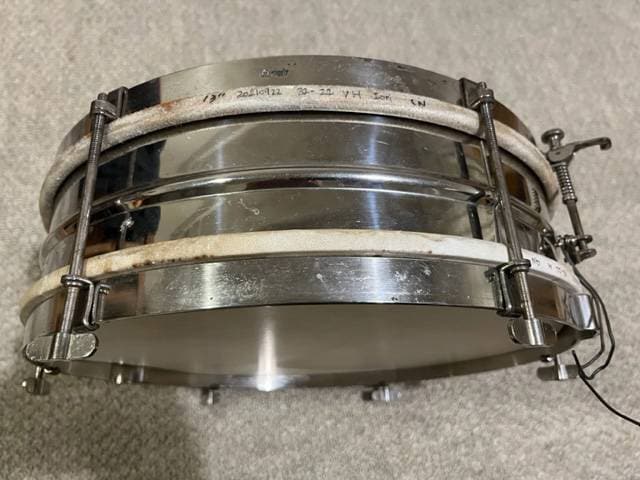
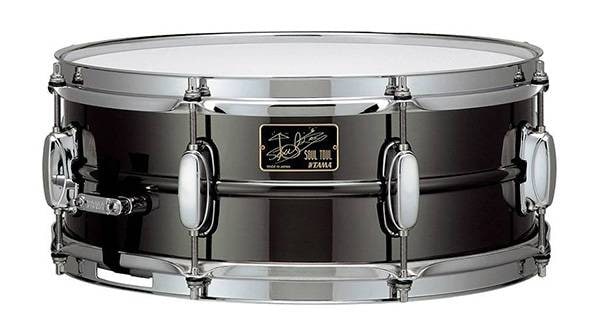
Here is the snare drum with the genuine leather head attached.
The real leather head gives it a heavy, solid feel, and it pairs perfectly with the slightly rusty old parts!
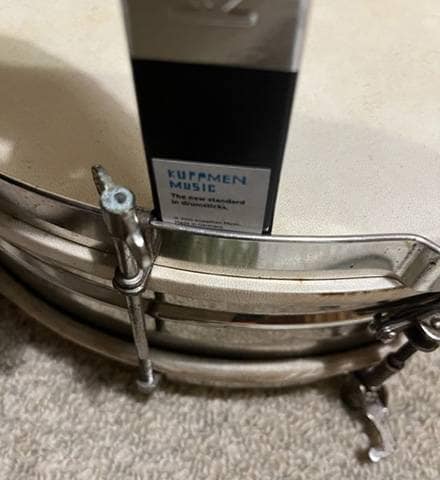
It’s essential for the leather head to fit snugly with the shell, so I ensured that the hoop and shell sizes of the drum and head matched before purchasing.
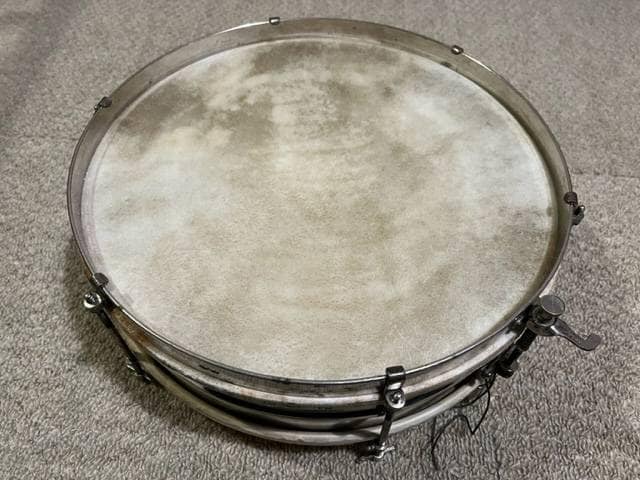
This time, I used this little rare junior snare drum, measuring 13x3 1/2 inches. I had a standard 13-inch head on the top and a leather head on the bottom, but they didn’t match well, resulting in an unusable sound with odd lingering overtones.
For a good sound, it’s better to use a thicker skin on the top and a thinner one on the bottom. To achieve a crisp, cohesive sound, I aimed for a perfect fourth this time.
By the way, if you prefer a softer sound, choosing a skin thickness that gives you a minor third might be better.
If you think the job is done once the head is attached, think again!
The crucial part begins now with a real leather head.

Simply attaching the head won’t ensure the leather adheres firmly to the shell. If the head and shell aren’t perfectly integrated, the vibrations won’t transmit well, and the instrument’s natural resonance will be lost.
So, what should you do?
In short, temporarily soften the leather head to fit the shape of the shell!
The method is simple: use something that won’t damage the leather, like tissue paper, soak it in water, and then apply the moisture evenly over the head.
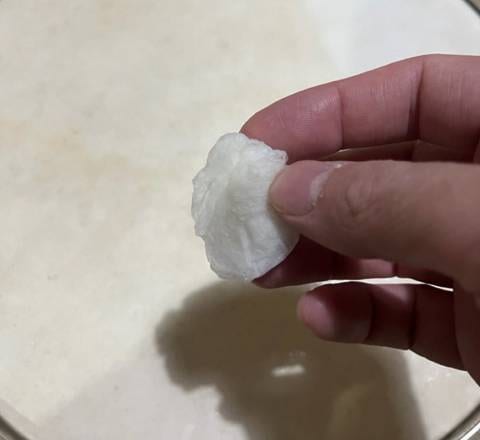
The edges are particularly important, so use enough water to pool slightly between the hoop and shell for even adherence!
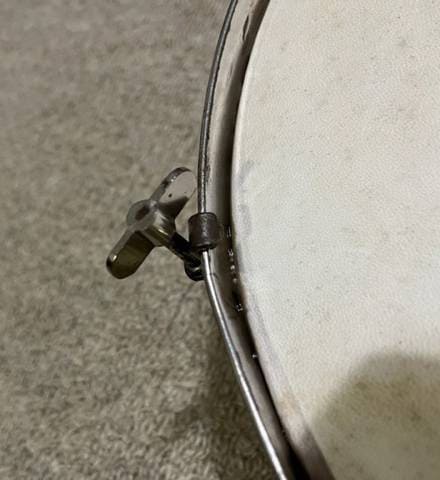
Once the head is damp, tune it to make the tension even.
You can’t tune the head by sound when it’s still damp, so match the height of the head’s top and the hoop near each bolt.
For this six-tension drum, I matched the height at six points.
Using a ruler or a narrow box with writing on it made checking the height easier.
Once the heights are matched, just wait for it to dry!
It’s not a particularly difficult process, but a key point is not to do both the top and bottom at the same time.
If the opposing side isn’t properly tightened, you won’t be able to adjust the tension correctly after wetting, making proper tuning impossible once it’s dry.
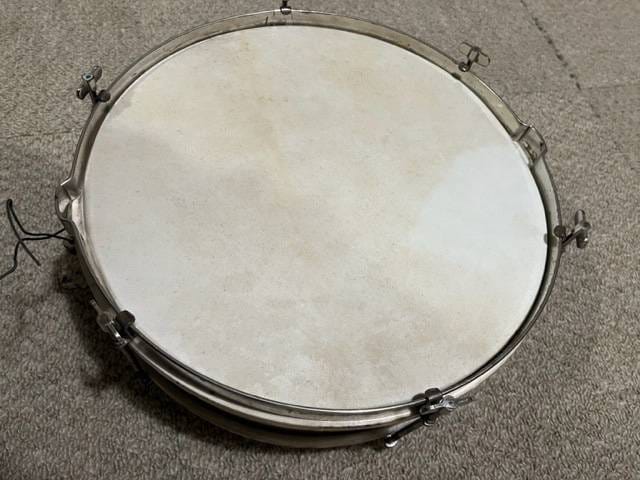
How does it look?
From the side, the snare drum with the leather head has a nice vintage feel.
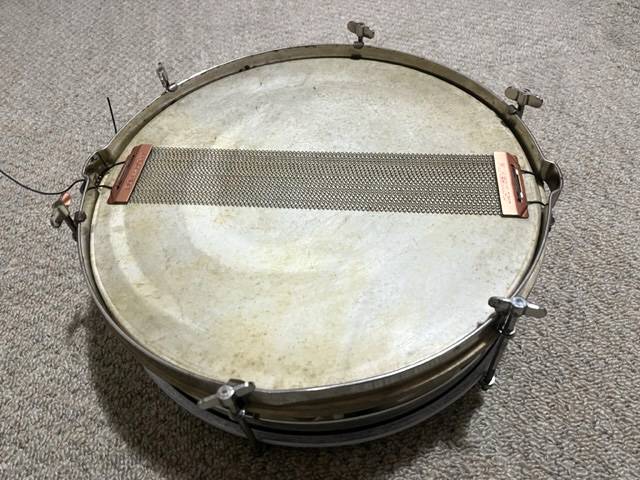
Tune it, reattach the snare wire, and it’s complete!
With a thicker head compensating for the instrument’s naturally thin sound, it now produces deep, rich tones.
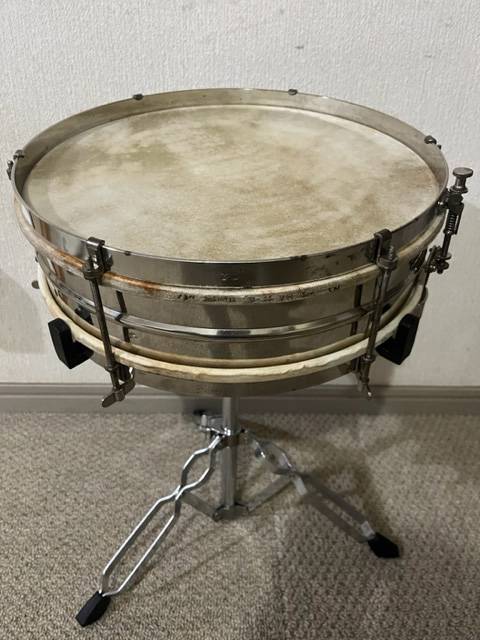
It sounds perfect for jazz or orchestral music, so I expect it to be quite useful soon!
How was that?
You might not often get the chance to use a genuine leather head, but if you have an instrument that’s not producing the sound you like and is just sitting unused, trying new parts could be a good idea.
It might just transform into an instrument that takes center stage with an unexpectedly great sound!


 簡単かつ効果的な音づくり
 ドラムのフィニッシュとサウンドの関係性
 ドラムヘッドの交換方法
 ドラムヘッドの種類
 ドラムの各部名称
 ドラム初心者講座