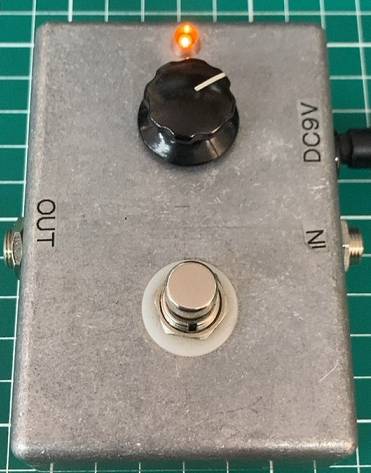
This effector is a buffer booster that I built over 10 years ago.
I liked the sound and how easy it was to use it, but I think it’s time for a change. Should I replace a knob or a switch?
OK, let’s change the color of the LED!
So, this time I’m going to write about replacing the LED’s on the effector.
Before I start, let me briefly explain what LED’s are.
LED is an acronym for Light Emitting Diode, which means that it’s a glowing semiconductor.
LED’s are used everywhere in our daily lives, and you probably don’t miss a day where you don’t see an LED.
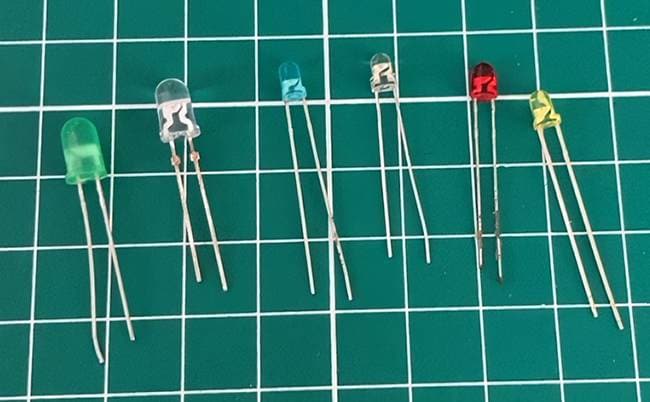
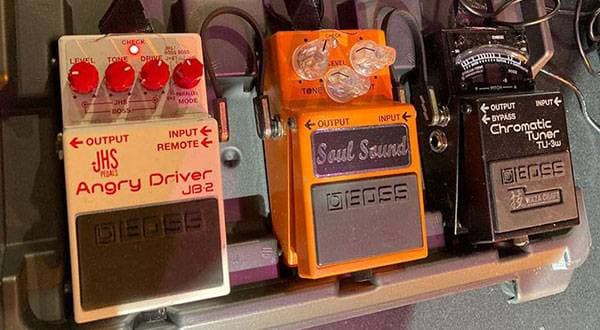
There are countless types of LED’s, but since this is an effector, I’m going to use the type of LED shown in the picture. The smaller size is 3mm and the larger size is 5mm, and the socket for the LED is for 3mm, so I choose from the 3mm size.
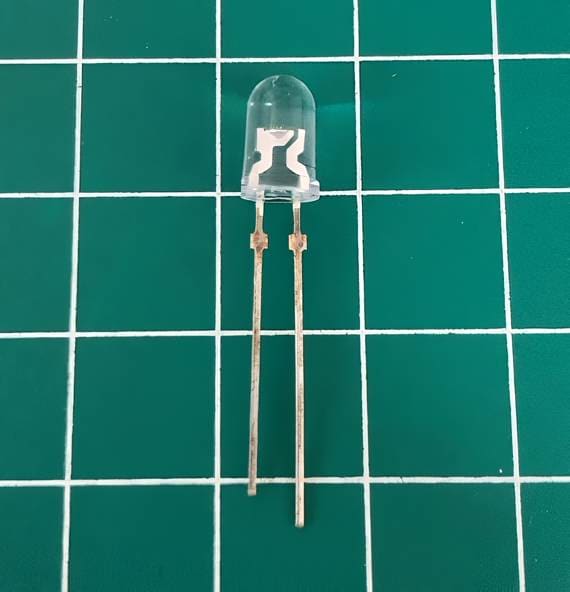
LED’s have polarity and emit light when voltage is applied in the forward direction. The longer leg is the anode (+) and the shorter leg is the cathode (-), and the current flows from the anode to the cathode.
The power supply used for the effector is a DC9V, so the current is distributed from there to the LED’s.
It is important to connect a resistor to either the anode or cathode side.
If voltage is applied without connecting a resistor, the LED will glow strongly for a moment and then will never glow again.
So, how many ohms resistors should be connected?
In fact, LED’s have different characteristics and glow depending on the color, brightness type, and manufacturer. If you have a spec sheet, you can use a simple formula to get a rough idea of the degree of illumination, but in many cases, you may not have a spec sheet. In that case, it might be better to check by actually connecting it to a resistor.
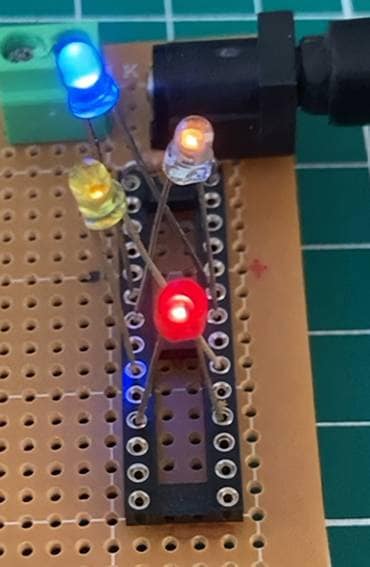
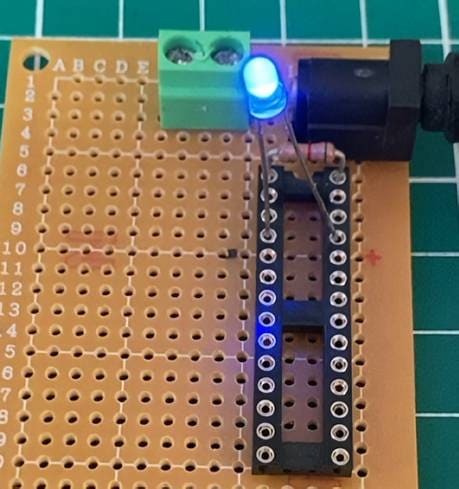
I connected a 2.2kΩ resistor and applied 9V.
At a quick glance, the blue and red LED’s are bright, while the orange and yellow LED’s glow less brightly.
Since I am going to use a blue LED this time, I will change the resistance value and see how the glow changes.
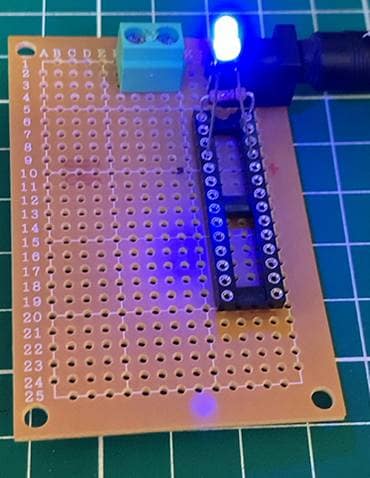
100Ω
It’s a little hard to see in the picture, but it’s too bright to continue looking directly at it.
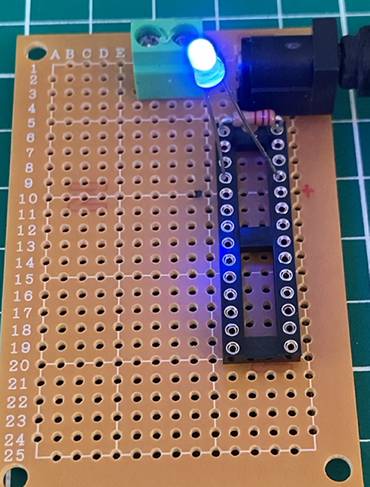
2.2kΩ
Moderately bright, with a sense of presence when the effector is turned on.
4.7kΩ
It shines properly, but it may be hard to see in a bright place.
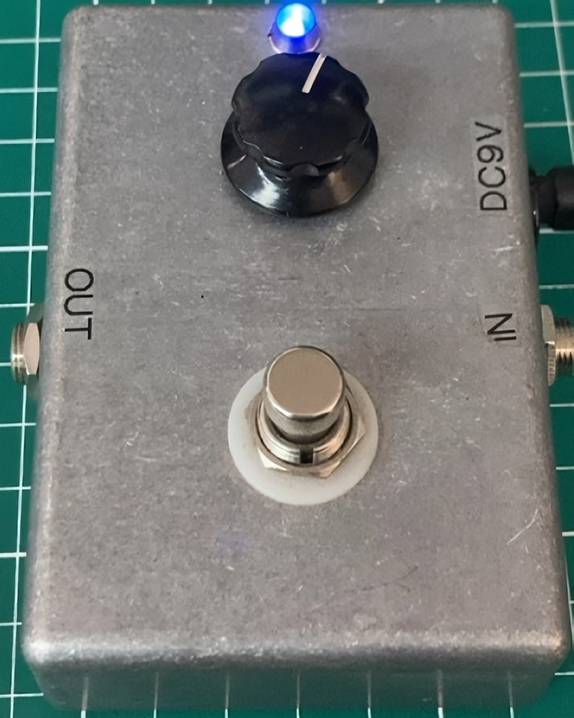
This time I decided on a 2.2kΩ brightness with a strong presence.
It turned out really cool.
If the LED’s can be easily seen by opening the back cover, it’s relatively easy to replace the LED’s. Although disassembling or modifying the LED may cause damage or void the warranty, it’s still a good idea to replace the LED while performing maintenance on your old effects pedal because it will make you feel more attached to the equipment. (If you do this, please do so at your own risk.)


![The Road to Your Complete DIY Equipment: 2nd Edition: The Illusive Vintage Sound! Amplified Buffer Get your hands on the legendary device exclusively used by professionals [Parts]](/contents/uploads/thumbs/2/2023/3/20230303_2_21537_1.jpg)
 はじめてのエフェクターは GT-1 にしよう
 【初心者向け】エフェクター講座
 あなたのエフェクターボード見せてください
 ベース用エフェクターの種類
 エフェクターのつなぎ方
 エフェクターの種類