One common issue faced by many musicians is noise.
Even if you don’t perceive the noise as a problem, those living with you or your neighbors might find it bothersome.
It’s not just musical instruments; even music from speakers or TV sounds can be problematic.
I have always been mindful of noise. When I lived with my parents, I occasionally disturbed my family by playing guitar late at night.
Managing volume and practicing at specific times can be stressful and lead to compromises.
“It would be great to have a soundproof room...”
Many of you might share this thought.
With a move on the horizon, it’s finally time to turn that long-held idea into reality:
“Let’s build a soundproof room.”
There are various types of soundproof rooms, from ready-made kits to custom-built spaces or just adding sound-absorbing materials to existing structures.
The soundproof room I’m creating will be tailored to my lifestyle.
Three main points are:
- Not completely soundproof
- Can be disassembled
- Cost-Effective
In detail...
- 1. Not completely soundproof
- Creating a fully soundproof room in an existing home is nearly impossible. Unlike professional studios with concrete walls and double soundproof doors, achieving this as an individual is too challenging. The focus will be on reducing noise levels as much as possible.
- 2. Can be disassembled
- The room should be easy to disassemble and allow for changes in wall and acoustic materials. I plan to adjust and optimize the sound over time.
- 3. Cost-Effective
- Keeping costs down is a key reason for DIY. Creativity and enjoyment are important parts of the process.
With that said, let’s get started on the actual construction.
This post will cover the creation of the floor.
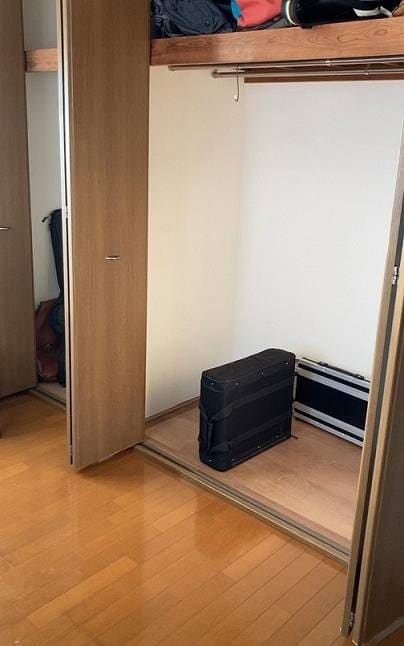
First, I’ll use a closet, which is common in most homes.
I plan to repurpose a 1.5-tatami mat space into a soundproof room.
I intend to use both the inside and outside of the closet to create a room roughly 3 tatami mats in size. Although I have a rough design, I need to measure and list the necessary materials before starting the DIY process. So, the first step is to remove the door.
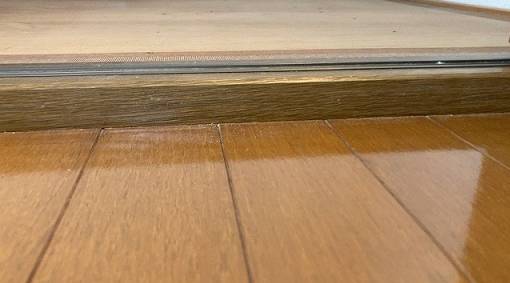
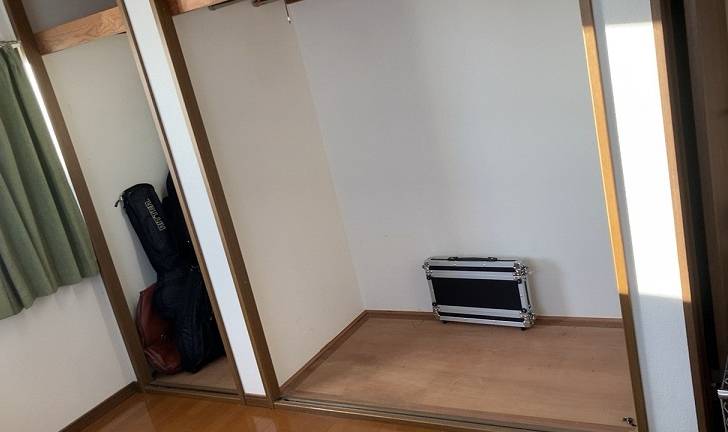
There is about a 30 mm step between the closet and the flooring.
This step needs to be eliminated to create a flat floor.
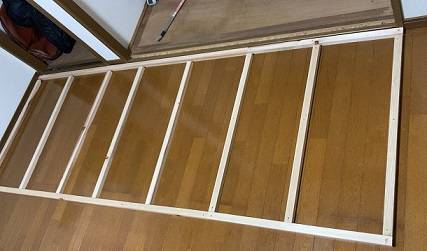
To remove the step, I’ll build a frame from wood and lay plywood on top.
I initially wanted to add a soundproof sheet and plywood underneath the frame but had to abandon this plan due to thickness constraints.
This experience will help understand how the sound is affected.
The vertical width is 910 mm, matching the plywood standard to avoid unnecessary cutting.
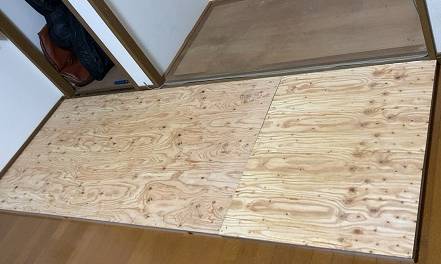
I’ll lay down 9 mm thick softwood plywood on the frame.
The sizes are 1820 mm × 910 mm and 740 mm × 910 mm.
I wanted thicker plywood, but had to adjust to fit the 30mm height constraint.
I’ll also run the power cables through the empty space within the frame.
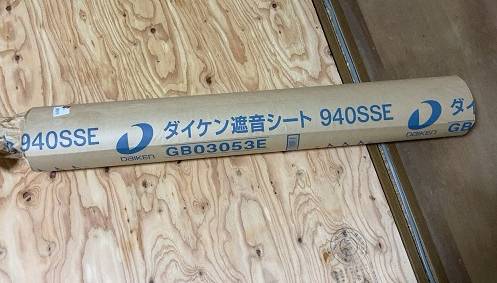
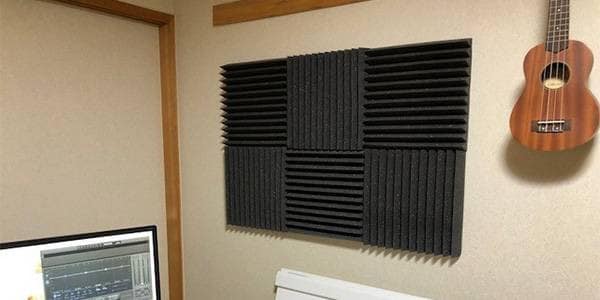
Next, I’ll lay down the soundproofing sheet on the floor.
This sheet reflects sound rather than absorbing it, and is typically used in conjunction with sound-absorbing materials to achieve its function. I’m excited to see its effectiveness since it’s my first time using it.
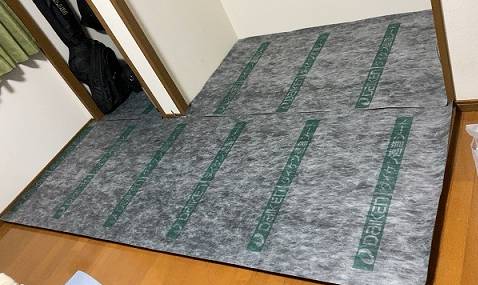
The soundproofing sheet is fixed to the floor with a staple gun.
At this stage, no noticeable changes are observed.
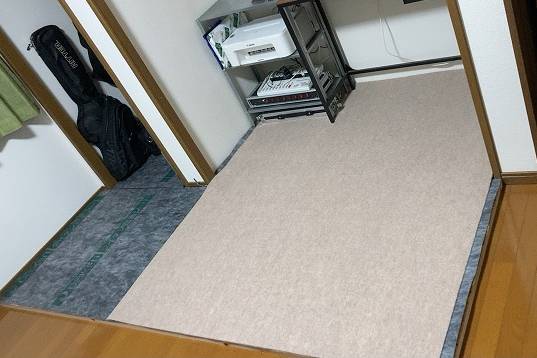
I’ll add a carpet and temporarily place the shelves.
The room is starting to take shape. Carpets also have sound-absorbing properties, so material selection is crucial. However, since it can be easily changed later, I’ll keep it simple for now.
With the floor completed, that’s all for this edition.
Next time, I’ll work on building the walls!
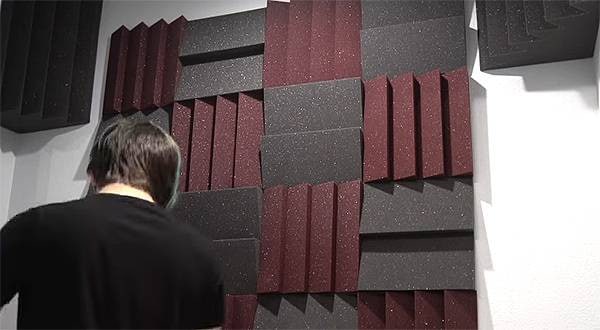
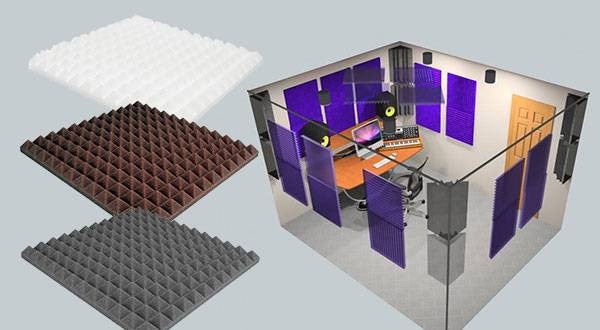
For more details on sound-absorbing materials, check out the following related pages↓


関連ブログ
[DIY] Creating a Soundproof Room - Part 2
[DIY] Creating a Soundproof Room - Part 3


 スピーカースタンドの選び方 K&M編
 SONEX 吸音材特集
 スタジオモニタースピーカーを選ぶ
 ラック・ケースセレクター
 スピーカーとパワーアンプの選び方
 人気スタジオモニター徹底比較