If you can glance at a spec sheet, skim through a manual, and immediately think, “Ah, I get it,” you’re probably a seasoned pro.
However, when confronted with complex technical terms, you might find yourself caught in a spiral of confusion, especially when trying to look up these terms only to encounter even more unfamiliar jargon.
Spec sheets and manuals are often designed to be neutral, aiming for equal understanding by everyone who reads them.
This can sometimes lead to explanations that feel unclear or incomplete.
In this article, I aim to clarify some of the more challenging aspects, making it easier to understand the product and ultimately improving its usability.
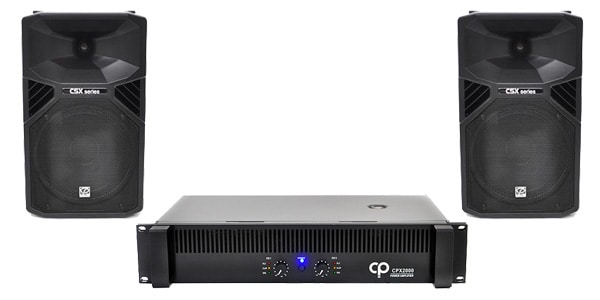
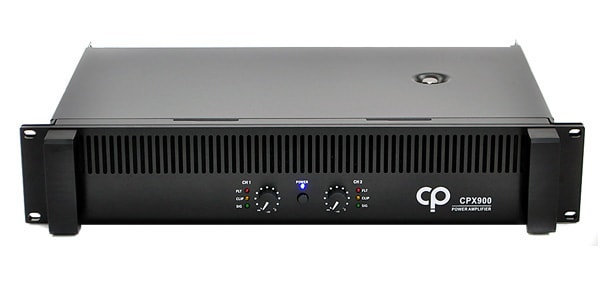
This time, I’ll focus on the CLASSIC PRO CPX Series.
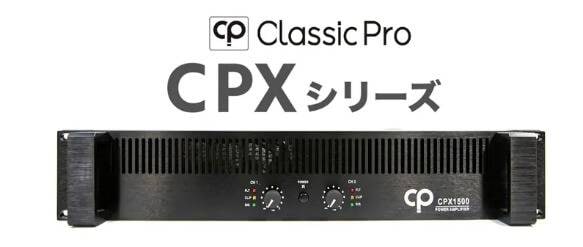
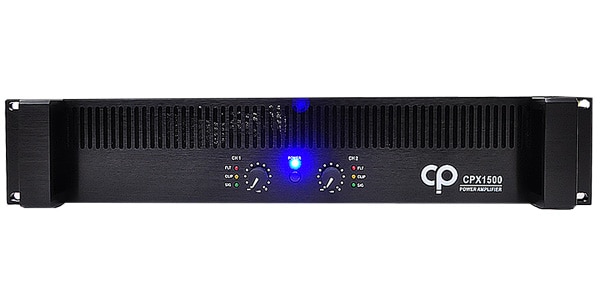
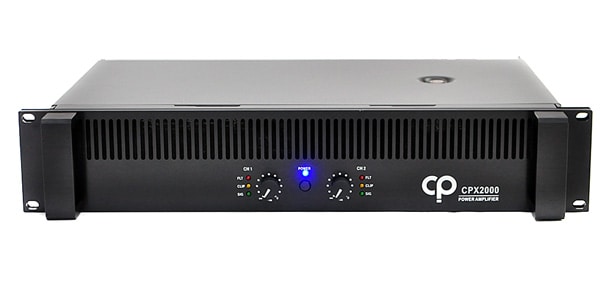
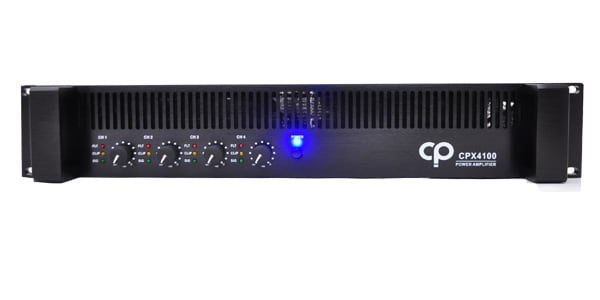
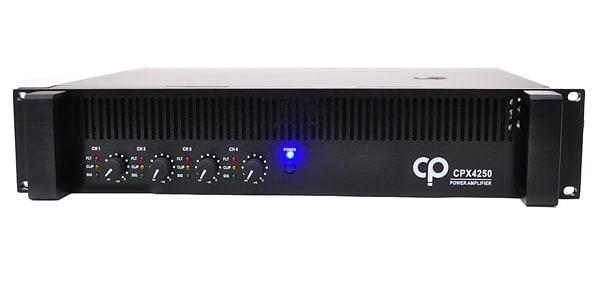
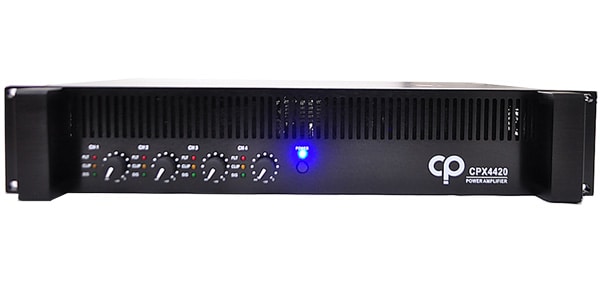
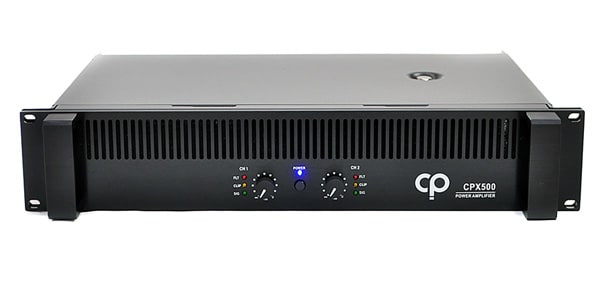
The CPX Series has become a staple in CLASSIC PRO’s line of stereo (2-channel) power amplifiers, with five models available based on output wattage, allowing for versatile use across various scenarios.
In this article, I’d like to focus on one feature that often raises questions.
It’s the ‘input sensitivity’.
Other features are generally understandable from the product page.
However, the input sensitivity setting might be a bit more challenging to grasp fully from the manual alone. So, let’s delve a little deeper.
First, let’s look at what the manual says.
The manual states:
“Switch between input sensitivity settings of 0.775V and 1.4V.”
Do you understand?
If you’re well-versed in PA systems or audio engineering, this probably makes sense to you right away.
But for those who are just getting started, terms like ‘0.775V’ might seem oddly specific and confusing.
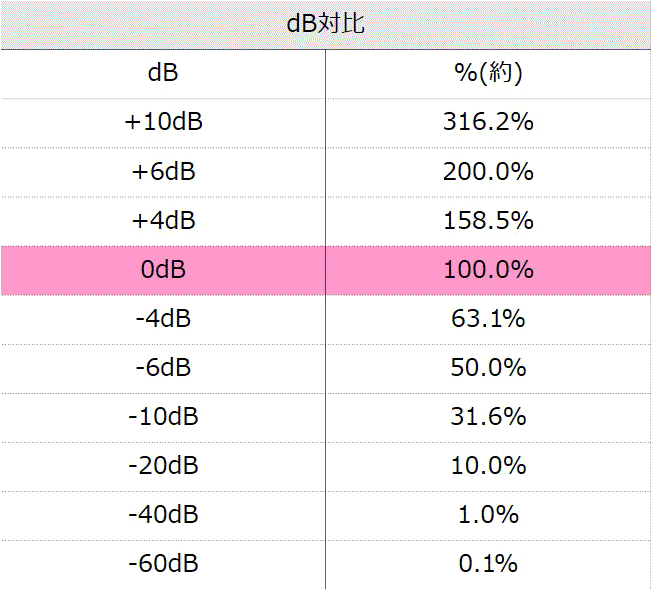
In professional audio equipment, ‘0.775Vrms’ is commonly defined as ‘0 dBu’.
I won’t go into the details here, but just keep in mind that this is a standard definition.
And ‘1.4 Vrms’ is approximately twice the voltage of ‘0.775 Vrms’. Expressed in dB, ‘1.4 Vrms’ equals ‘(about) +6 dBu’.
(To better visualize this, you might find it helpful to refer to a dB conversion chart.)
So far, we’ve established that the difference between ‘0.775V’ and ‘1.4V’ is that the input sensitivity at 1.4V is roughly twice as high, meaning it’s suited for handling professional LINE inputs (+4dBu).
In simpler terms, if the input signal is lower than a professional LINE input, you should use the ‘0.775V’ setting.
Adjusting the sensitivity according to the input signal level allows you to minimize distortion and make the most of the amplifier’s output capabilities.
Let’s dive a bit deeper.
According to a FAQ page from Yamaha, input sensitivity is explained as follows:
[Power Amplifier Common Question] What is input sensitivity?
Input sensitivity is the input signal level required to achieve the rated output when the attenuator is at its maximum (usually 0 dB). If a signal higher than this level is input when the attenuator is maxed out, the output will clip.Source: https://yamaha.custhelp.com/app/answers/detail/a_id/6919
The attenuator is the knob on the front of the amplifier.
It functions like a volume control.
When you think of ‘attenuator at max’, you can interpret it as the volume being turned all the way up.
So, when the volume is fully turned up and you input a signal matching the set sensitivity, the amplifier will deliver its rated output and the CLIP light will illuminate.
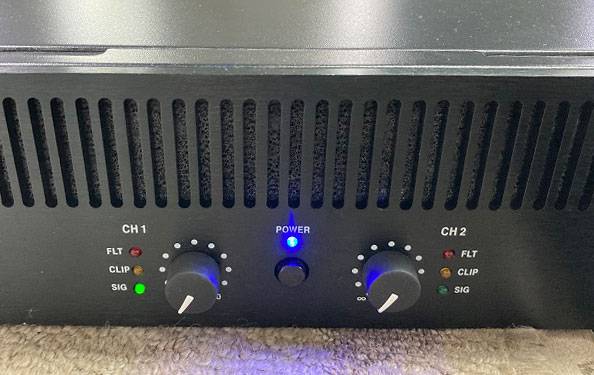
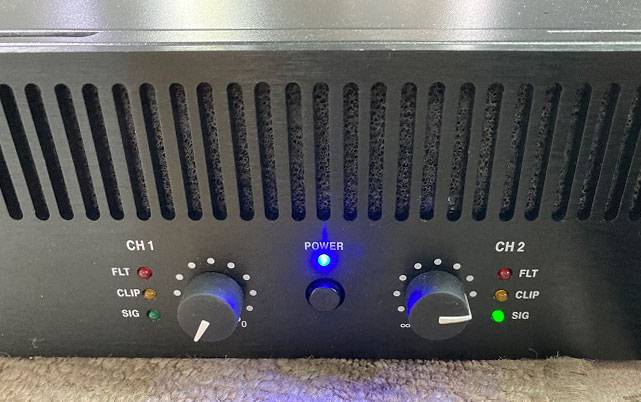
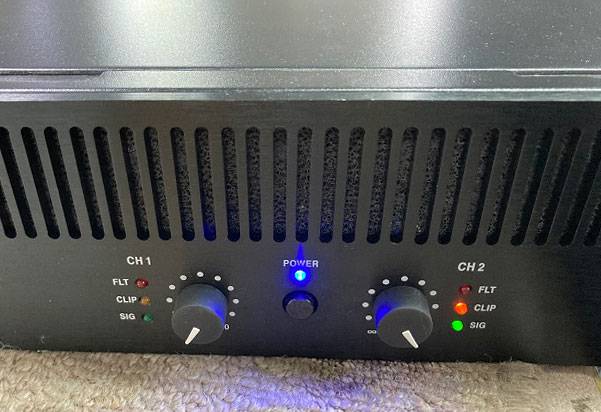
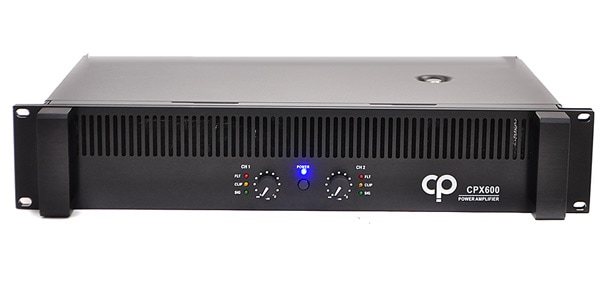
I conducted a test with the CPX600 to demonstrate this, which I’d like to share with you.
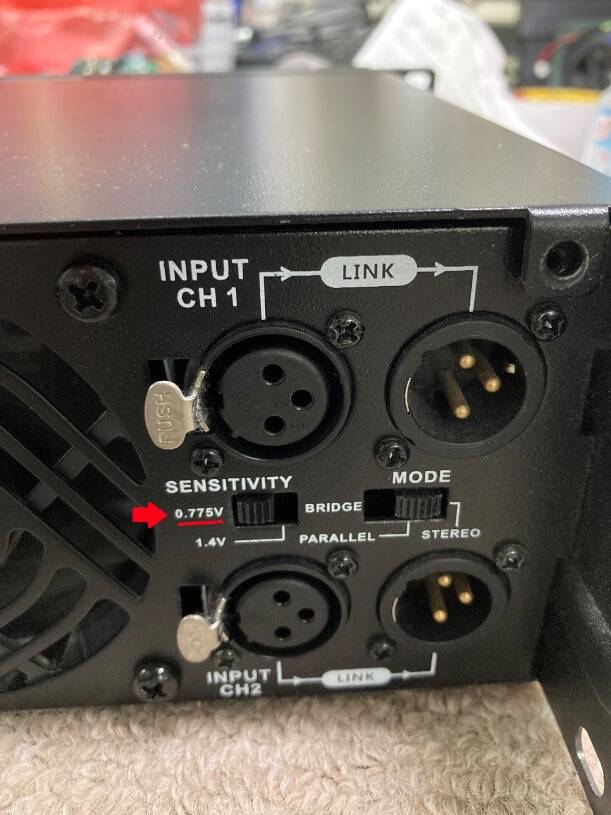
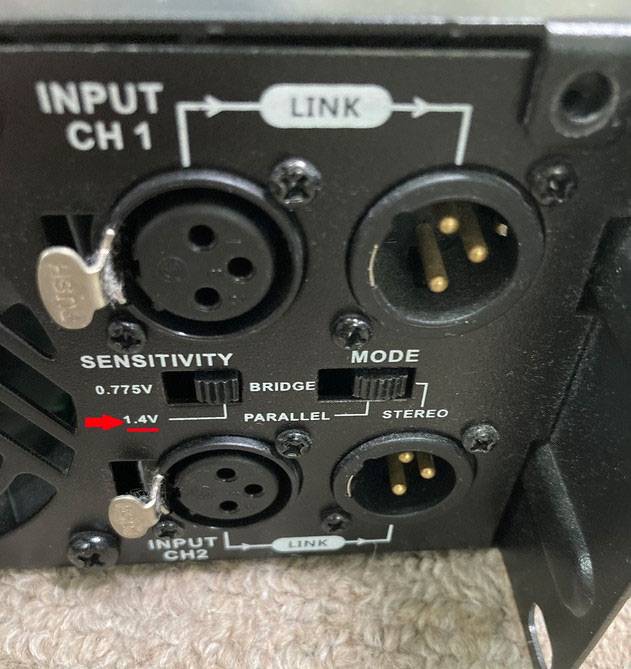
First, let’s look at the SENSITIVITY setting for 0.775V.
To make it simple, I set CH1 to 0.775V and CH2 to 1.4V, and observed the behavior of the CPX600.
SENSITIVITY is set to 0.775V. ↓
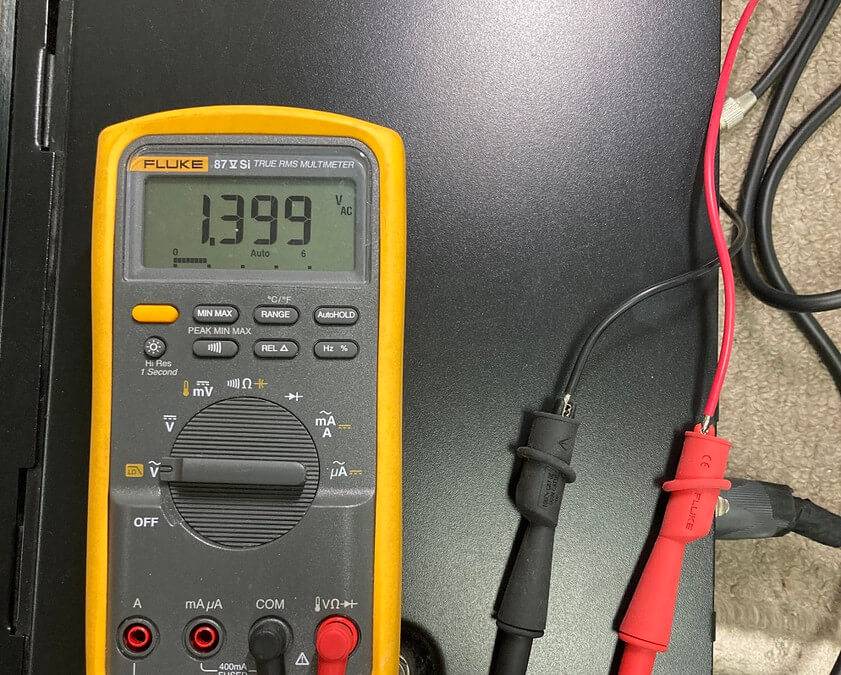
Next, I adjust the input signal to CH1.
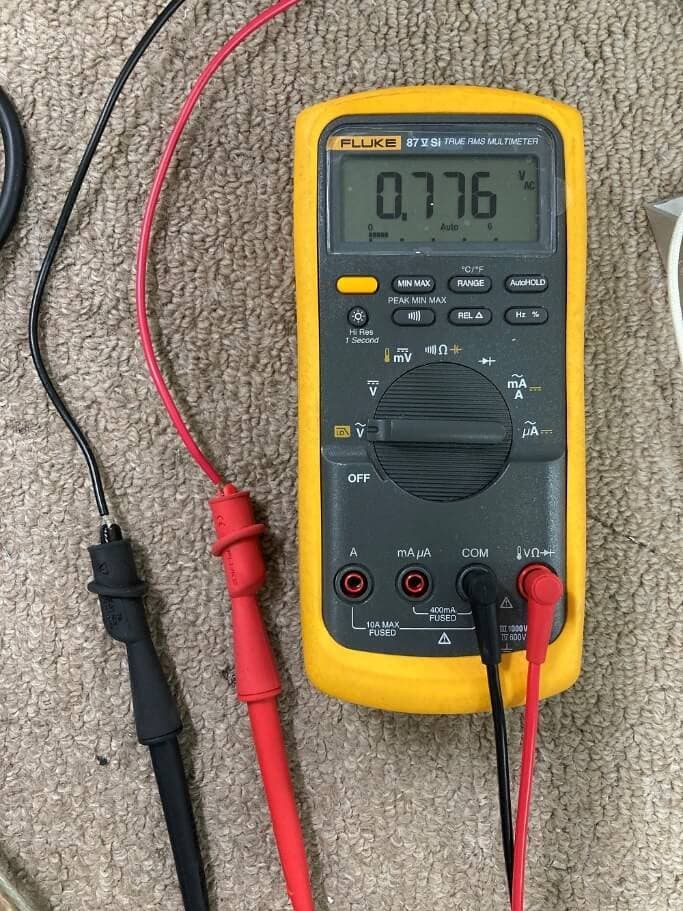
This time, I use a function generator and input a stable 1 kHz sine wave for a stable level of signal input. ↓

To ensure accuracy, I measured the generator’s signal level with a multimeter on AC mode. ↓
But don’t forget.
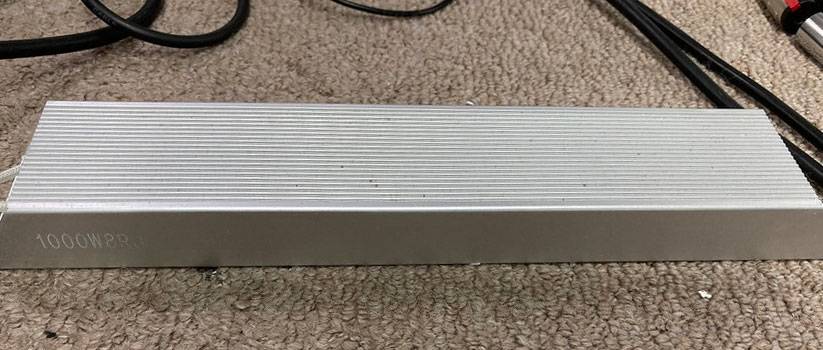
Before I start, I connect an 8-ohm dummy load to OUTPUT1 of the CPX600.
Using a speaker would result in a very loud sound, so a dummy load is used in such cases.
This is the dummy load I use this time. ↓
Now, let’s begin the experiment.
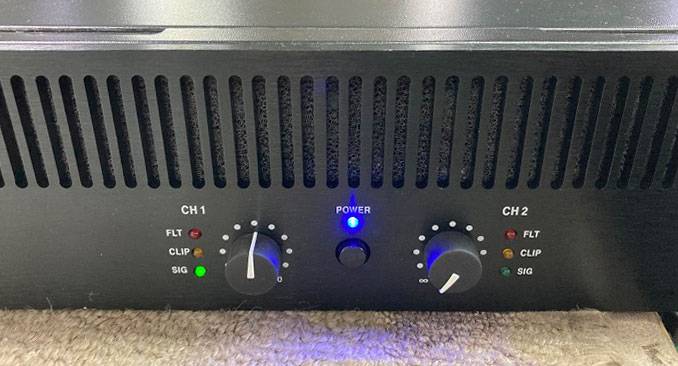
At this point, I have the CPX600 with a ‘0.775V input signal’ and an ‘8-ohm load’ on the output.
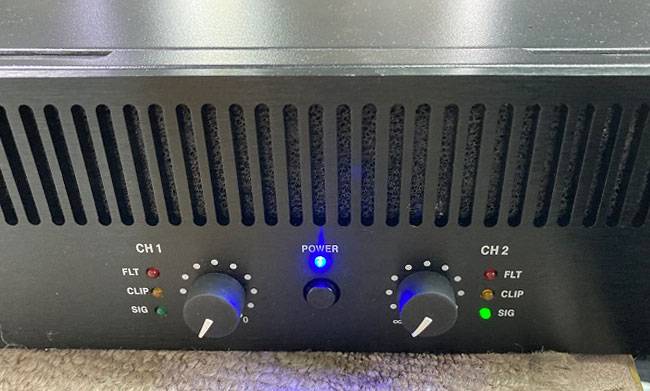
I gradually increased the front volume (attenuator).
According to the spec sheet, the CLIP light should illuminate when the attenuator is maxed out.
‘Zero position’
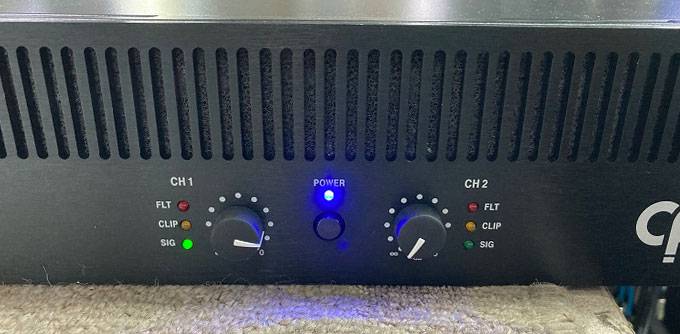
‘12 o’clock position’
‘3 o’clock position’
‘Full-up position’
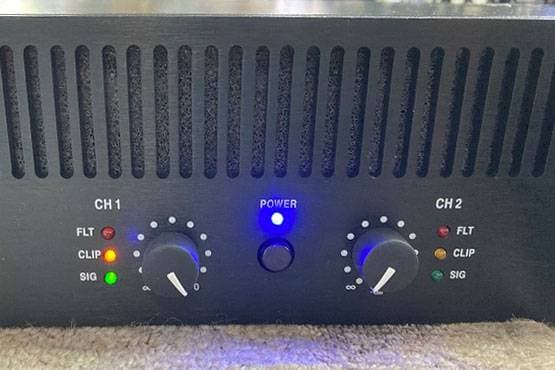
The CLIP light illuminated when fully turned up.
At this point, the output waveform measured at the dummy load terminals was around 40V (RMS). The peaks of the sine wave were starting to show slight distortion.
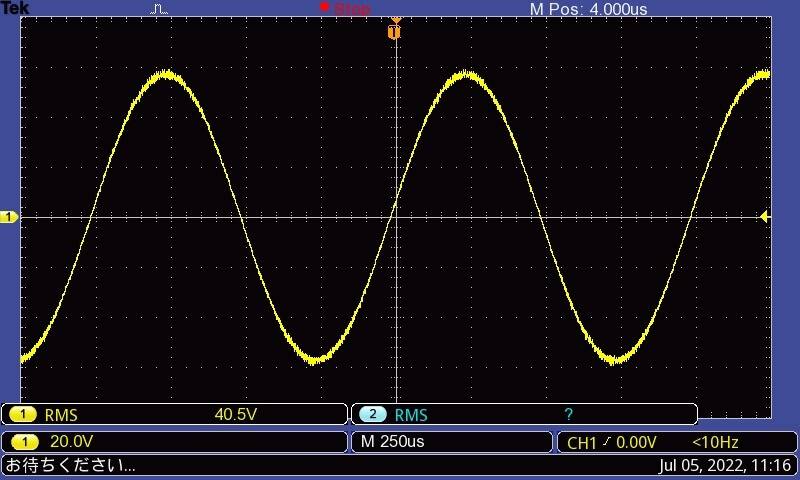
The CPX600 is rated for output of 8 ohms/stereo:
■Stereo Output (8 ohms): 200W x 2
Given that 40V was measured, the calculation would be:
40(V)×40(V)÷8(Ω)=200(W)
Thus, 200W of rated output, as per the specifications, was achieved.
Let’s also look at the 1.4V setting.
*I’ll skip some of the repetitive steps for brevity.
SENSITIVITY is set to 1.4V.
Prepare the 1.4V input signal.
This time, input it into CH2, with an 8-ohm dummy load connected to CH2 OUTPUT.
I then increased the volume (attenuator).
‘Zero position’
‘12 o’clock position’

‘3 o’clock position’
‘Full-up position’
The CLIP light illuminated when fully turned up.
The output waveform measurement was similar to the 0.775V setting, so I’ll omit it here.
In conclusion, the input sensitivity setting on a power amplifier is:
“a setting that allows the amplifier to perform at its best, according to the input signal level,”
which is an important element.
The specific labeling and range of sensitivity settings may vary between power amplifiers.
If your amplifier has this feature, it might be worth revisiting the settings to ensure optimal performance.


![[Visual!] Adjusting the Display Voltage of the CLASSIC PRO PDM/R!](/contents/uploads/thumbs/2/2022/5/20220519_2_18026_1.jpg)
![[Headphones] How to Remove the Earpads](/contents/uploads/thumbs/2/2022/2/20220210_2_16666_1.jpg)
![[Latest for 2022] Simple Guide to Choosing a UPS](/contents/uploads/thumbs/2/2022/1/20220118_2_16206_1.jpg)
 BEHRINGER パワーアンプ
 CROWN パワーアンプ特集
 DYNACORD パワーアンプ特集
 パワーアンプの定番 Classic Proのおすすめモデル
 QSC パワーアンプ特集
 スピーカーとパワーアンプの選び方