In this post, I want to share some serious tips on how to upgrade your guitar or bass without spending too much money.
As the title says, this is the ‘serious’ edition, and here’s why:
The techniques I’m going to share are advanced enough to charge money for!
So, let’s get started.
I’ll walk you through some specific adjustments and mods using a Stratocaster as an example. If you feel like saying, “That’s not right!” or “That’s nonsense!” please refrain.
Everyone has their own approach, and this is based on my own experience.
Please just take it in with an open mind.
With that said, let’s begin with a simple adjustment to improve your guitar’s resonance using just a screwdriver.
First, string the guitar and replace the tremolo unit springs with softer ones designed for a German Floyd Rose.
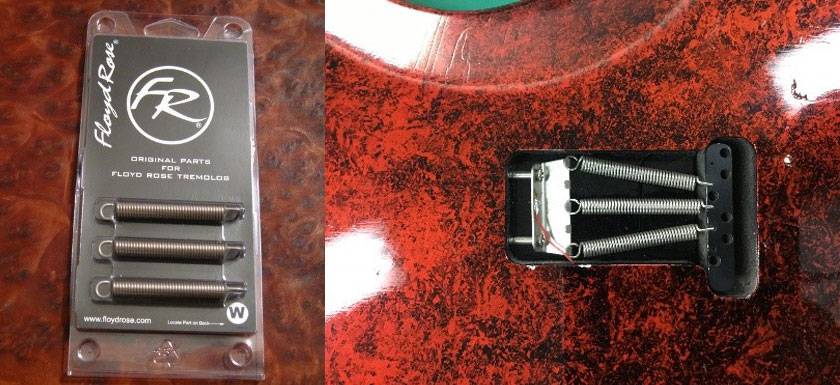
Floyd Rose / List of Tremolo Units
Yes, I’m talking about those slightly tarnished, matte springs.
String the springs in a V-shape, rather than the usual A-shape.
This way, the springs focus on the center of the tremolo unit’s sustain block.
If you’re using three springs, keep the middle one straight. If you believe the A-shape is better, I’d like to hear your reasoning.
Don’t dismiss it unless you’ve tried both!
In my experience, whether it’s a Floyd Rose or a synchronized tremolo, this method extends the sustain.
Next, you’ll want to get the tremolo unit to sit flush with the body without over-tightening the springs.
Once the tremolo is snug against the body, there’s no need to tighten further.
I’ve seen guitars where the springs are so tight it feels rigid, but this actually wastes the string’s vibrations.
Too much spring tension makes the strings feel stiff, and a slightly looser tension increases sustain.
This is similar to drum tuning: tightening the bottom head of a tom too much shortens the sound, while loosening it allows the top head to resonate more.
Once you’ve quickly tuned the strings, carefully loosen the neck-to-body joint screws, one by one.
You’ll hear cracking or creaking noises—
These are the sounds of misaligned joints.
These noises indicate gaps between the neck and body.
The fact that this sound occurred means that the strings have been adjusted to the tension at which they vibrate most easily.
Avoid interfering with the string vibration and gently tighten the joint screws once the noise has stopped. Gently tighten the screws again, keeping the torque even across all four screws.
A word of caution here: Many people tend to overtighten the joint screws, but the body, sandwiched between the joint plate and the neck, is practically screaming, “Why are you increasing the tightness just here? I want the same density as the other parts!”
It’s not a sponge, so it’s not like the internal density changes that easily, but when vibrations travel from the neck to the body, I don’t think it’s a good thing for the body to have varying firmness and density depending on the area.
Tighten the screws evenly, with just enough force to avoid leaving any gaps between the neck and the body.
How does it feel? By this point, you should notice that the guitar’s natural sound has become louder and the sustain has improved significantly.
In a guitar, the only visibly moving part is the strings, and everything else exists to support that movement without interference.
The goal is not to attach strings to the screwed-on parts, but rather to attach the parts to the already stretched strings. Therefore, the setup should aim to interfere as little as possible.
Ideally, I would also loosen and retighten the bridge screws at this stage.
When you think about it, it makes sense: if sustain is your top priority, it’s only natural to adjust everything while the strings are already stretched.
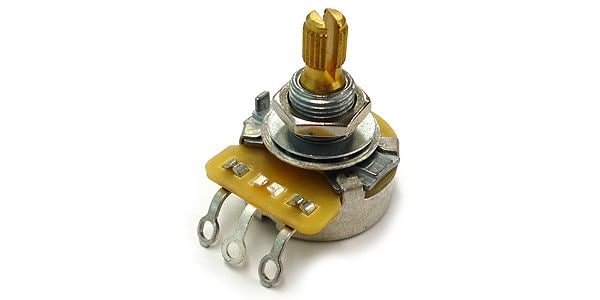
The next step is to replace the control components.
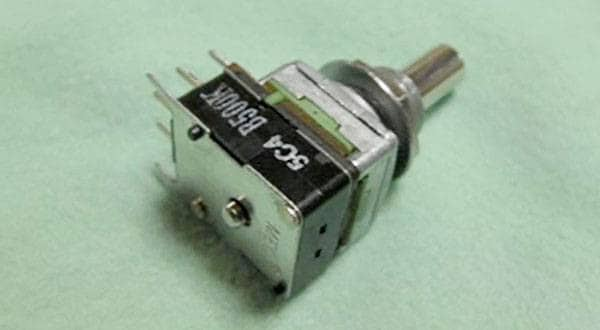
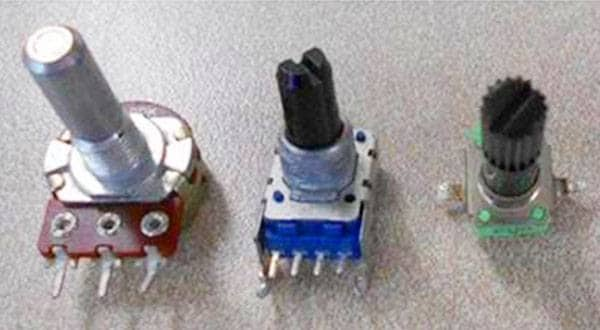
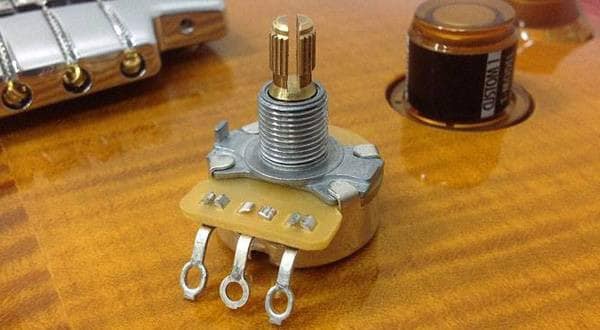
To minimize any degradation of the pickup sound, I recommend using custom CTS pots for everything, with the option of using MEC pots for the volume control.
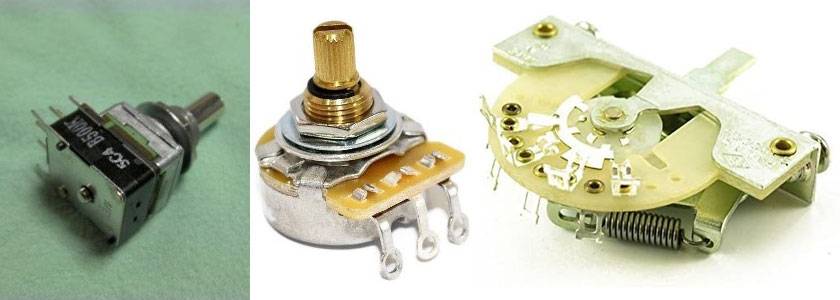
The pickup selector switch should be a CRL switch, no exceptions.
I’ve already explained CTS pots in detail in a previous blog, so I’ll skip that here, but CRL pickup selectors have been used by Fender USA for many years, and there’s no fault in terms of durability, sound quality, or the action when switching.
Based on my experience, I’ve never had any trouble with a CRL switch, making it the most reliable and highly trusted switch.
I’ve lost count of how many times I’ve run into problems with switches that aren’t CRL.
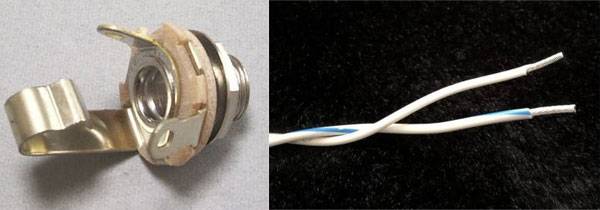
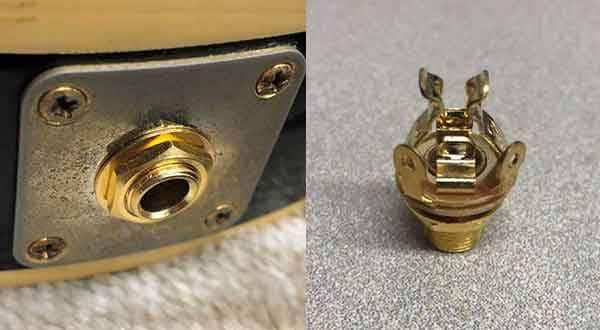
The jack should be Switchcraft, and for the wiring, I use AWG22 Teflon silver wire.
Some people say that using silver wire makes the high frequencies too harsh. Ridiculous!
There’s no way passive components that don’t require a battery can add harshness to the sound.
That’s the original sound. You’ll come to realize just how much standard components and wiring degrade and strip away the signal from the pickup.
Next is the capacitor replacement, but I’ll explain capacitors in more detail in another post, so for now, here are just a few notes.
One thing not to misunderstand: guitar tone controls essentially discard the sound that passes through the capacitor. So when someone says, “This capacitor sounds great,” what they mean is the sound that the capacitor discards is great, and the remaining sound becomes your guitar’s output.
I tend to use capacitors that have a distinctive sound.
I prefer unique ones over high-performance types.
The most important thing is to never use capacitors with non-magnetic leads.
I stick to the old-fashioned iron leads.
Incidentally, the famous vintage Bumblebee capacitors from Sprague, which are found in genuine vintage Gibson Les Pauls, also have iron leads.
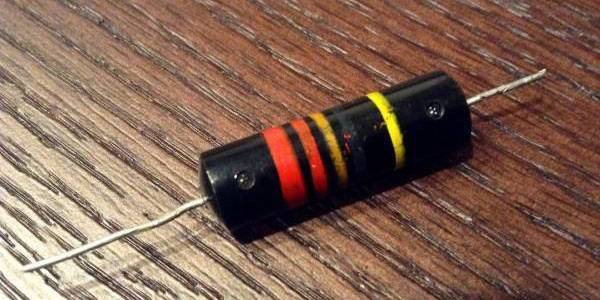
If you ever happen to come across a Bumblebee and want to know if it’s genuine, here’s a tip:
if the leads stick to a speaker magnet, it’s iron.
Modern capacitors use non-magnetic leads, so they won’t stick to a magnet.
Iron may not be the best material acoustically, but in a tone circuit where you’re discarding sound, iron leads can actually enhance the tone of a guitar.
What do you think?
Up to this point, none of the steps are particularly difficult.
The technique to improve resonance, in particular, is something I learned while working with a famous guitar tech and later refined in my own way.
That technician, though originally a drum tuner, was sought after to adjust the instruments of many big-name musicians (including the guitar of a famous musician whose Christmas song gets played every day during the holiday season, and more).
When this guitar tech adjusted an instrument, the output volume of the instrument noticeably increased immediately.
This was true for both stringed instruments and drums.
Engineers in the recording studio would often have to scramble to lower the fader on the mixing console.
There’s more to discuss, but for now, I’ve introduced some straightforward but highly effective adjustments.
Next time, I want to dive into capacitors.
Whether it’ll be as intense as this post, I’m not sure yet, but I can guarantee it’ll be a pretty in-depth and niche discussion.


 ギターケーブルの作り方
 パーツの配線を知ろう
 ピックアップの種類(エレキギター)
 弦の張り替え(エレキギター)
 ギターのお手入れ
 ギターの各部名称