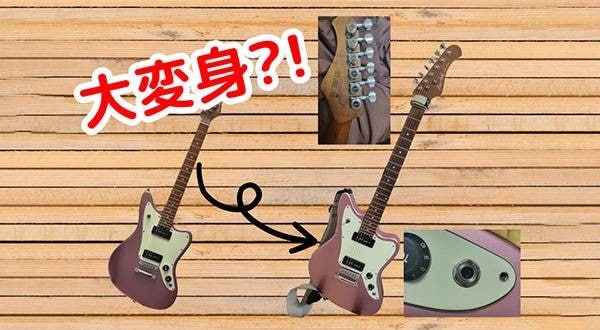
Hi everyone, take a look at this. Ever since I put on ENKEI RPF-1 wheels, I just can’t get enough of how cool my car looks.

A car looks good when it’s wet.
...Anyway, now that the New Year’s hustle and bustle has settled down, let’s get back to Jazzmaster mods from the last post.
Last time, I did three mods: saddle replacement, tremolo unit replacement, buzz stop bar installation, so this time, I’ll be covering: changing capacitor/potentiometer values and adding a shim to the neck pocket. Once the shim is added, I’ll proceed with reassembling and making the necessary adjustments.
Let’s get started!
03 Changing Capacitor/Potentiometer Values
Nothing too special here—I’m simply swapping out the pots and capacitors. However, the key part of this mod is the values I’m changing them to. Here’s the setup before modification:

A 500k pot with a 0.047uF film capacitor—pretty standard, nothing out of the ordinary. On the preset side, there was a 1M volume pot, a 50k tone pot, and a 0.022uF film capacitor.
For this mod, I replaced the main volume and tone pots with 1M pots. The preset volume requires a mini-sized pot, and since I consider myself one of the laziest DIYers at Sound House, I decided to leave it as is.

Here’s how it turned out. Sorry for the blurry photo.
1M pots and circle D ceramic capacitor. Circle D capacitors are pretty common in Telecasters, but the real trick here is switching the pots from 500k to 1M. This increases the high-frequency response. I also switched the film capacitor to a ceramic one for a subtle tonal shift.
While the capacitor change was more of an afterthought, I highly recommend the pot swap. It’s a relatively easy mod since you don’t need to change the wiring—just swap the pots. If you own a Fender-style guitar, especially a Telecaster, Jazzmaster, or Jaguar, I definitely suggest giving it a try!
04 Adding a Shim to the Neck Pocket
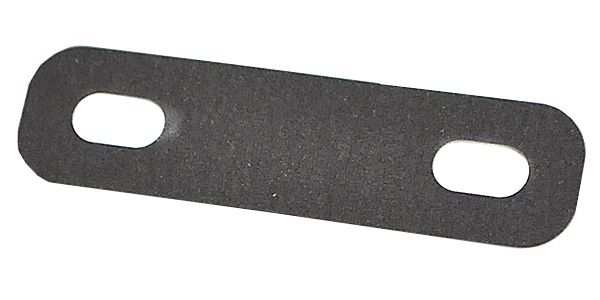
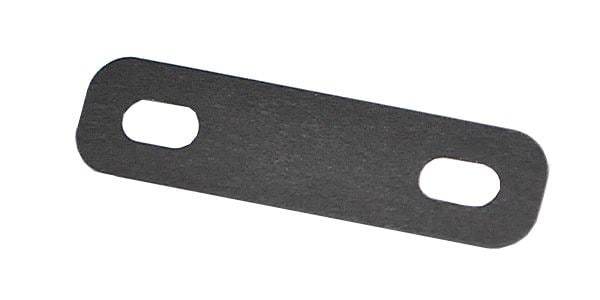
Let me apologize first—I forgot to take pictures. So, no photos this time. Honestly, the material of the shim doesn’t really matter. For a high-quality result, you could use a matching wood piece and taper it precisely to achieve the desired neck angle. If you want even better accuracy and strength, you could angle the neck heel itself. However, since I consider myself Sound House’s laziest DIYer, I skipped all of that and went for the easiest method—cutting a piece of thick paper to fit the neck pocket. I’ve been using this approach for nearly 10 years, and I’ve never run into any issues. My only advice would be to limit the shim thickness to a single layer. If you add too much, the angle might become excessive, causing unexpected problems. If you prefer a proper shim, you might want to check out Neck Set Shim 0.25 or Neck Set Shim 0.5. The only difference is thickness, so pick the one that best suits your needs.
05 Adjustments
With the shim in place, meaning the neck is now properly set, it’s time for final adjustments.
The setup process follows this order: string installation → neck relief adjustment → circuit check → bridge position → string height → pickup height → intonation. If necessary, tremolo arm tension adjustment comes after that. If you plan to lock the tremolo tailpiece, it’s best to do it during the bridge position adjustment.
Generally, you can follow standard adjustment procedures, but the bridge position and string height are particularly important.
For bridge position, the standard setup is to tilt it slightly backward. The Jazzmaster was designed with this bridge position in mind, so unless you’ve fixed the bridge in place, this is the best approach. The reason? When you push the tremolo arm down, the bridge moves toward the nut along with the strings, which helps with tuning stability. Keeping it slightly tilted backward can improve tuning stability even without using the tremolo.
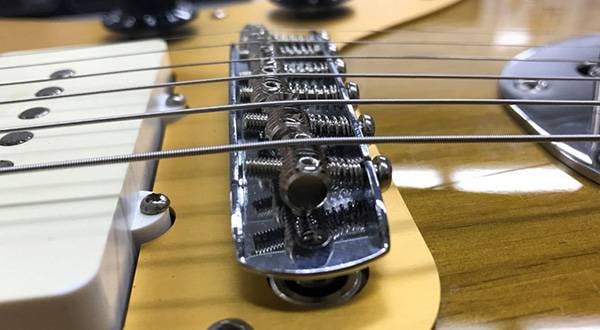
Now, take a look at this pre-adjustment photo:
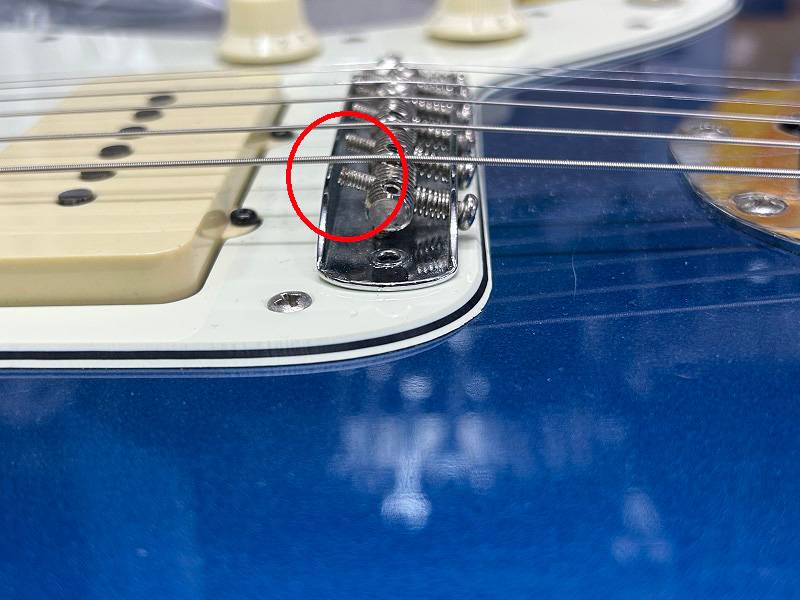
Do you see how the intonation screws are almost touching the strings? This happens when you only adjust string height using the saddles, rather than raising the entire bridge unit. If left unchecked, the vibrating strings may hit the screws, causing unwanted noise or resonance issues. So, when adjusting string height, make sure to raise both the bridge and saddles evenly to maintain a proper balance.
Finally, once the pickup height and intonation are set, the setup is complete. You’re all done!

I also went ahead and swapped out the tuning pegs and knobs—what do you think?
As someone with deep roots in early internet nerd culture, whenever I see a blue Jazzmaster, I can’t help but think of Angel Beats! Hisako played a model with competition stripes, right?
And if we’re talking about Hisako’s model, it’s obviously a reference to Hisako Tabuchi—so maybe that’s why she was rocking a Jazzmaster too?
Compared to the Jaguar, the Jazzmaster often gets a bad rap for being flat or thin-sounding. But why not embrace that flatness in your setup? Try boosting a Marshall-style amp with an SD-1 for a slightly squashed, crunchy overdrive—when your Jazzmaster is dialed in right, it feels incredible to play!
Alright, that’s it for this post! See you in the next blog!
And here’s your farewell BGM!


 Fender プロダクトラインナップ
 ピックアップ交換大作戦!
 FENDERフェンダーギターのおすすめと選び方
 プレイテックのギターを最強に改造!!
 パーツの配線を知ろう
 ギターのお手入れ