Are you struggling with your violin pegs?
Do you know what the most common issue with violins is?
Among various problems, peg-related issues seem to top the list.
The main issues can be divided into two categories:
- The peg is too loose and won’t hold: 90% of cases*
- The peg is too tight and won’t move: 10% of cases*
As a result, tuning becomes impossible.
*These percentages are based on personal observation.
Sound House’s Tora no Maki also covers this topic.
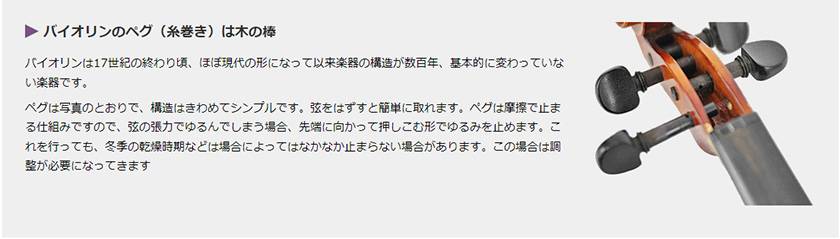
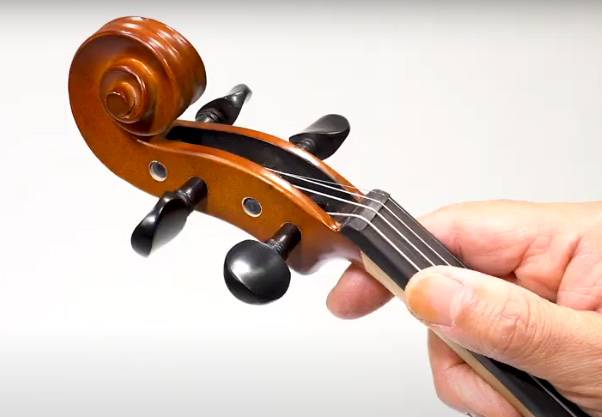
The structure of a violin peg is simple: it’s a round stick inserted into a hole, and the string’s tension is held by friction. However, this simple design has to withstand the strong tension of the strings, and sometimes the peg can’t hold and spins back. If this happens, it’s a problem. This is something both sellers and manufacturers are aware of, and tuning stability is included in the instrument’s inspection process.
So, why do these problems occur?
The Cause of Loose Pegs: Humidity (or Lack Thereof)
Loose pegs are especially common in the dry seasons, like autumn and winter, leading to an increase in inquiries about this issue. Since wood is affected by humidity, this is a difficult problem to control.
On the other hand, tight pegs are more common during the high-humidity summer months.
Products like peg composition for improving peg grip or preventing slipping are available, but there’s no definitive solution to peg problems, making it a tough issue to resolve.
Isn’t There a More Convenient Part?
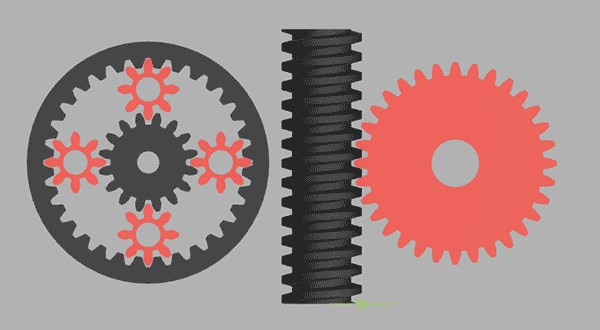
Many people wonder why violins don’t use gear-based pegs like guitars do. After all, double basses use gear-based pegs, and some Yamaha Silent Cellos also use geared pegs (as seen on the head of the Yamaha SVC50).
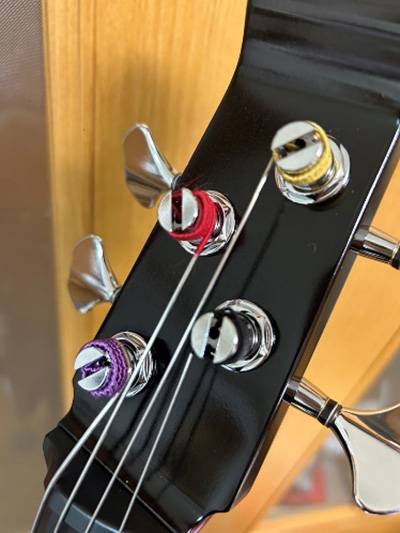
So, why not apply the same idea to violins?
This is likely due to physical constraints—violins are smaller instruments with narrow peg boxes. Moreover, the traditional aesthetic of violins is highly valued. If a new violin model with gear-based pegs were introduced, it might feel as out of place as fitting a Shamisen with Schaller pegs.
A Solution Without Changing the Look: What Are Wittner Fine-Tune Pegs?
Wittner, a German company, offers violin pegs that look like traditional pegs but have gears built inside.
Wittner / ULTRA Finetune Peg VN 4/4-3/4 M

Wittner is known for products like music stands, tuning forks, and metronomes. For those who’ve been involved with music for a long time, Wittner is a well-established brand. Their folding music stands, for instance, have a unique weight that fans appreciate. I’m one of those fans. Their wooden metronomes have an authentic look that exudes quality, and their tuning forks emit a soothing sine wave that even AI can’t replicate. Accuracy can be left to digital devices, but becoming someone who appreciates the subtle qualities of Wittner products is something to aspire to.
Oops, I digress.
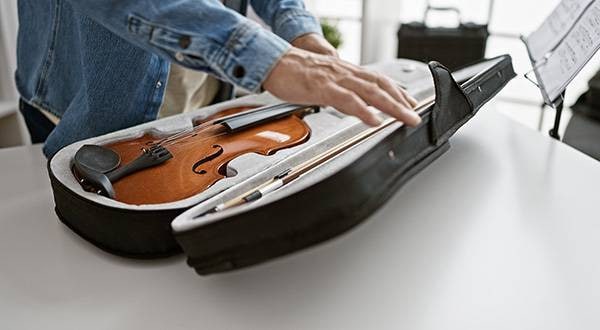
The process of installing Wittner Fine-Tune Pegs on my violin is today’s theme
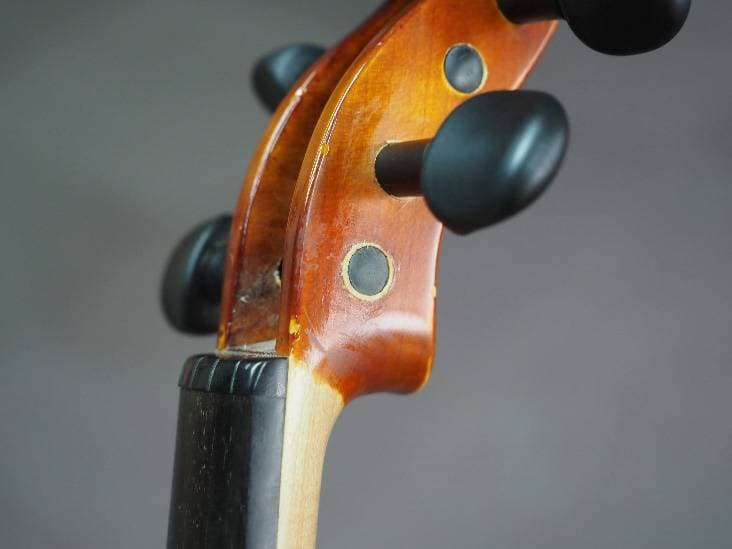
The instrument shown here is my violin, made in 1987, from the former West Germany, by R.M. Paulus. It’s a typical mass-produced German instrument, rather unremarkable.
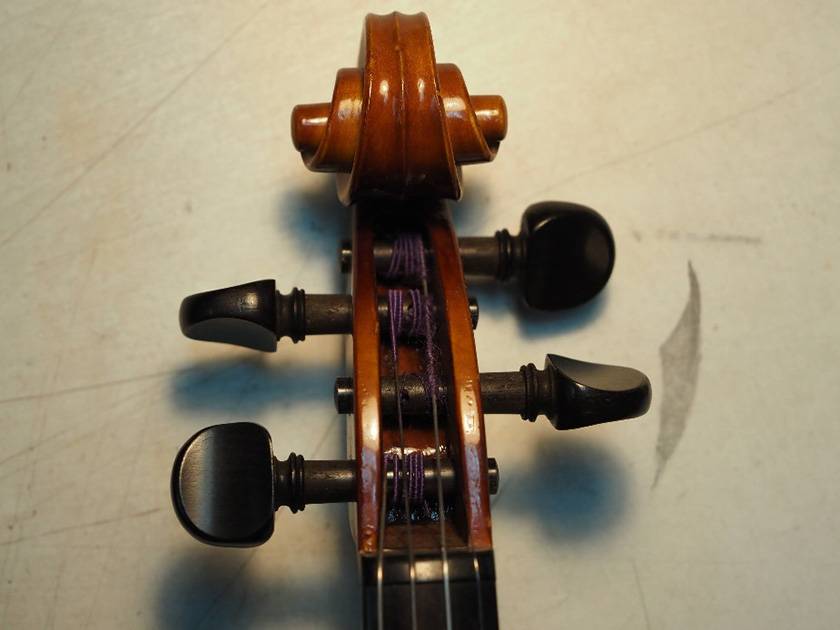
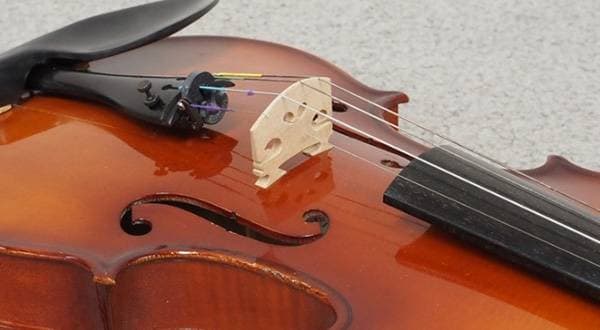
Over time, as violins age, the peg holes tend to enlarge, causing the pegs to sit deeper and, in some cases, protrude like in the picture.
When this happens, you either need to replace the pegs or fill and redrill the holes to fit the original pegs. In this case, I decided to try Wittner’s Fine-Tune Pegs.
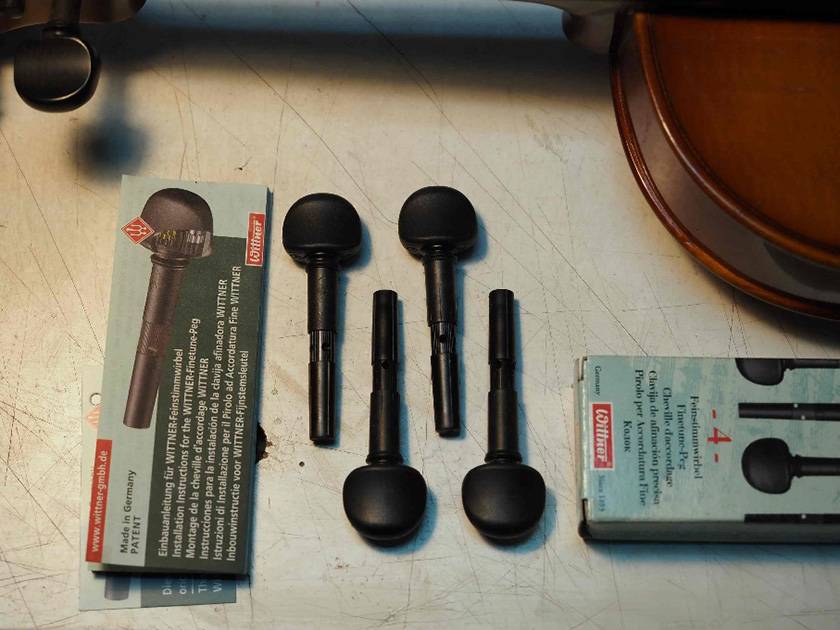
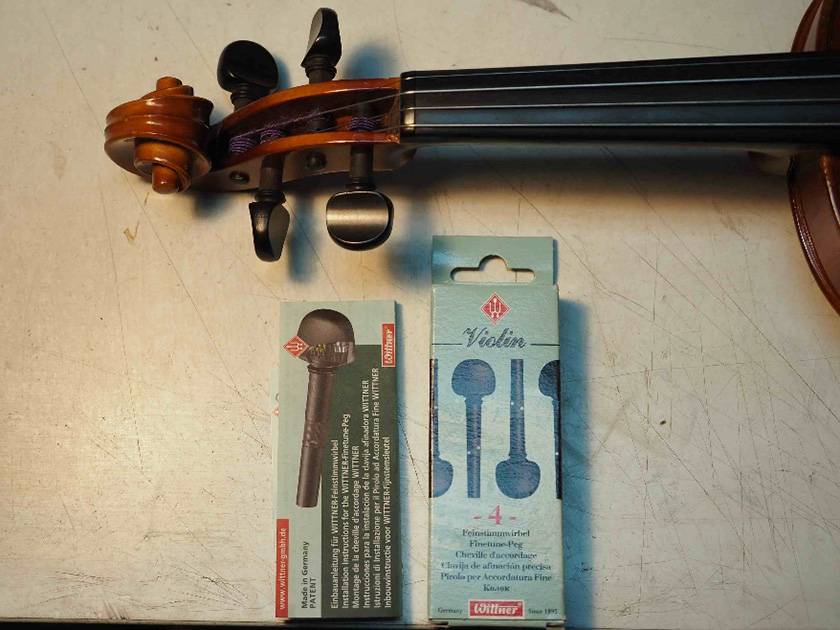
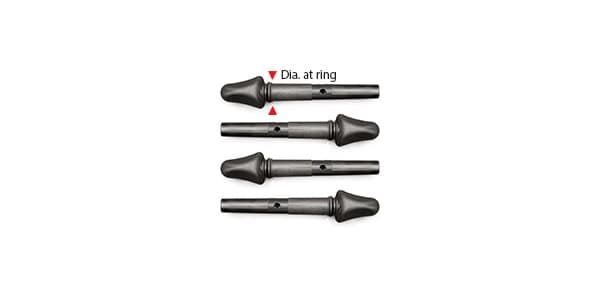
These are the Fine-Tune Pegs
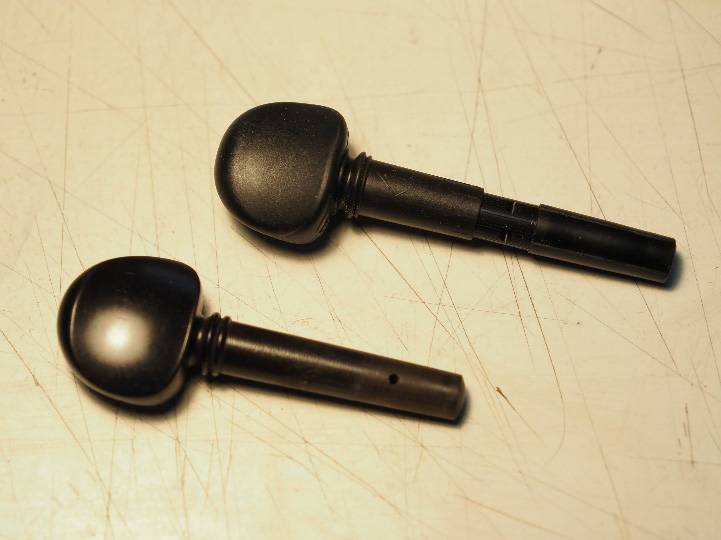
At the top is the Fine-Tune Peg, and below it is a regular peg (removed from my old instrument)
Since you can’t adjust the thickness of the Fine-Tune Pegs, you’ll need to enlarge the holes using a peg reamer. It’s crucial that the taper of the reamer matches that of the peg (1:30 ratio).
Ideally, I’d go into detail about peg structure and the key points when working on them, but that would be a long discussion, so I’ll keep it brief.
In short,
- Be careful not to enlarge the holes too much; widen them gradually.
- Since these pegs are different from regular pegs (*), you need to push them in firmly without turning them.
Once you feel the peg is secure, you might need to push a bit further, and it may click into place. This could be because the taper near the knob (thicker end) is slightly looser. In any case, the key is not to over-enlarge the holes.
This is highlighted in the official PDF from Wittner.
*It warns that Fine-Tune Pegs, made from composite materials (plastic mixture), tend to sit deeper than wooden pegs.
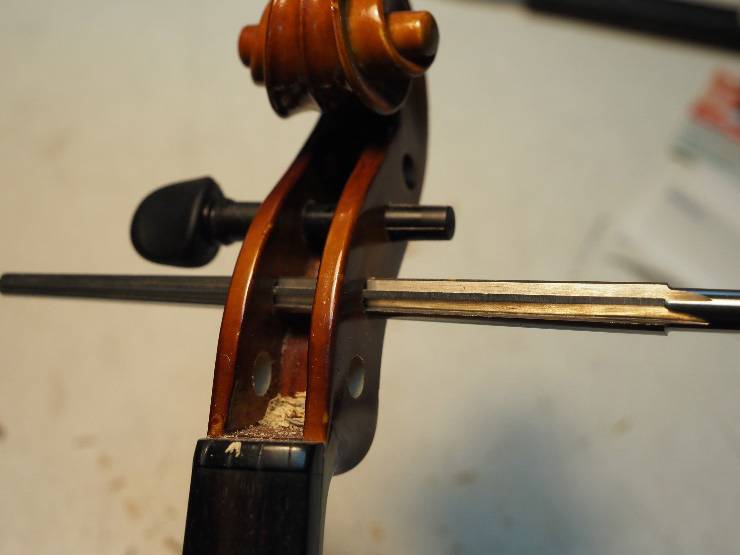
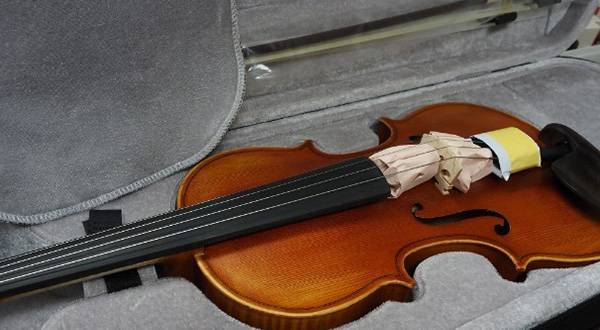
In fact, I didn’t notice this tendency at first and ended up widening the holes too much, meaning I had to fill and redrill them. It’s embarrassing to admit, but here’s a picture showing the filled peg holes. The areas that look white and round are where I had to fill and reshape the holes.
Next, I cut off the excess length of the protruding pegs. Visually, you can’t tell the difference from regular violin pegs.
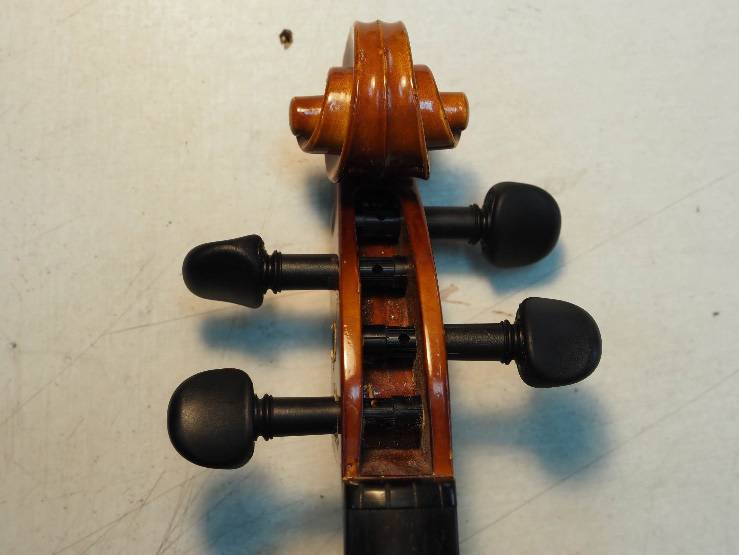
The installation is done for now, but I’ll need to monitor how the strings’ tension affects things over time. A keen eye will notice that the pegs on the A and D strings are uneven in length, resulting in a less-than-perfect finish. I’ll correct this before my next blog post.
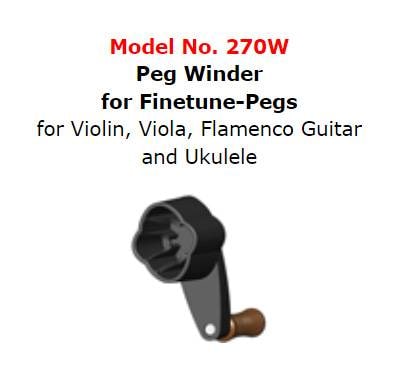
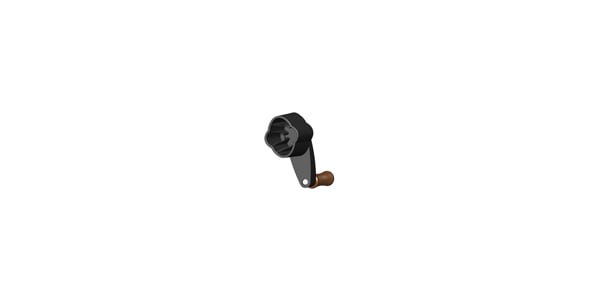
Because these are geared pegs, they rotate more slowly than regular ones, so winding takes longer. If needed, you might want to get a peg winder.
In the next post, I’ll report on how the pegs perform after a month of use, comparing their feel and sound to regular pegs.
Bonus
A Summary from Wittner’s Official Page on Installing Fine-Tune Pegs
If you choose to install these pegs yourself, please do so at your own risk. The “filling and reshaping peg holes” mentioned in this post requires specialized work.
My brief review: these pegs require much more care than you might initially expect.
Wittner’s official website has instructions and warnings for installation, but they’re a bit hard to find and lack Japanese translations. I’ve provided a simplified translation of the key points here.
This blog article aims to be accurate, but it’s not an official guide. Please make sure to read Wittner’s official page and gather all necessary information before proceeding. I hope this blog serves as a helpful reference.
From the Wittner’s official website:
The instructions are available in German or English.
[OK] → Desk Top Version → English.
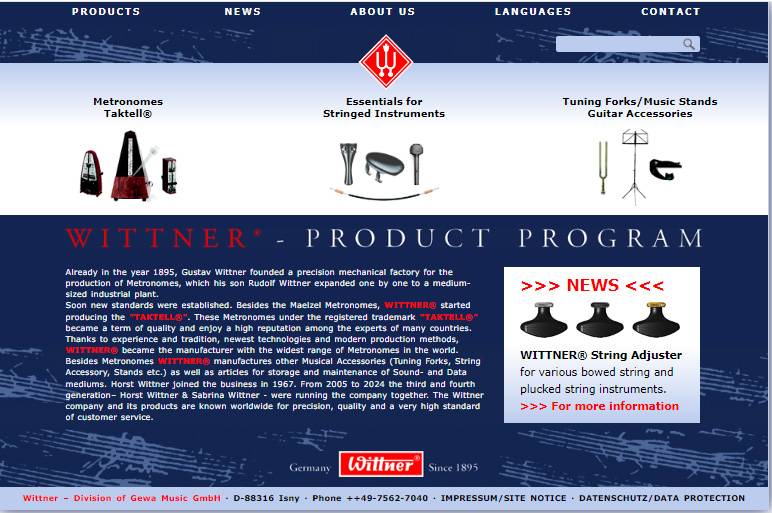
In the center of the image, click on ‘Essentials For Stringed Instruments’ → Fine Tune Pegs list.
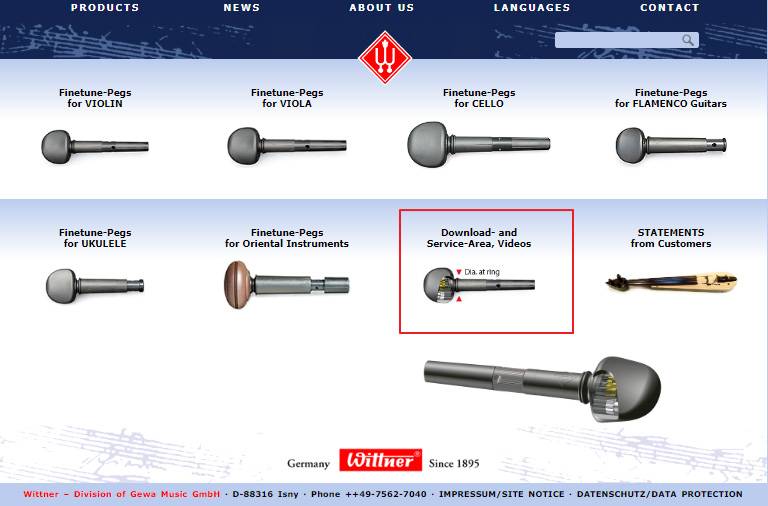
From the link within the red box on this page, you can access the page where all instruction manuals are available in PDF format.

PDF manuals are categorized by instrument type.
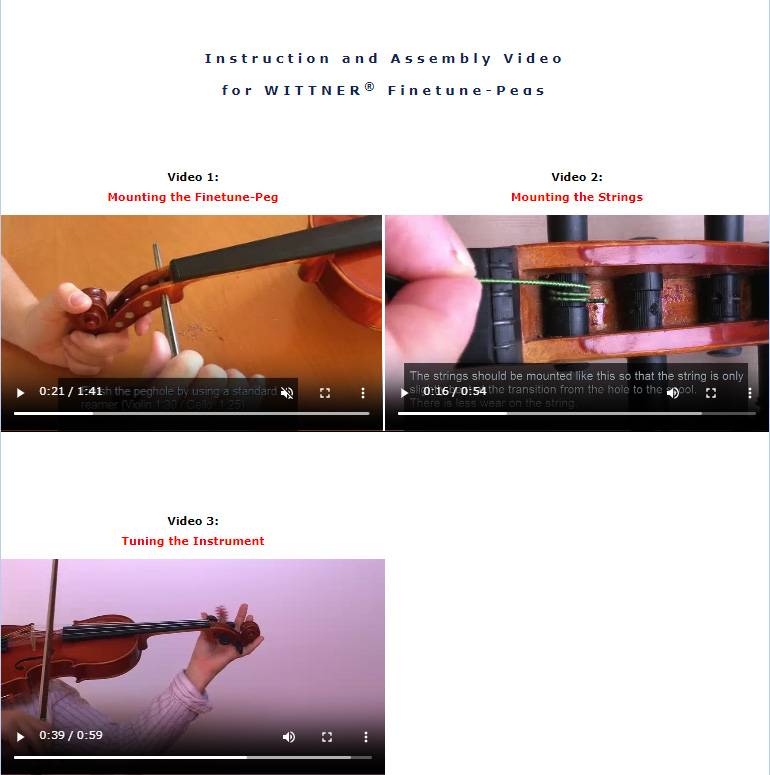
There are also videos showing installation, stringing, and tuning processes.
Here is the PDF you should read before installation. The instructions are clear if you read them carefully, but I’ve also added a summary along with images captured from the PDF manual as supplementary material.
- Select the type of parts to purchase based on the diameter (for violin pegs: 8.6mm or 7.8mm).
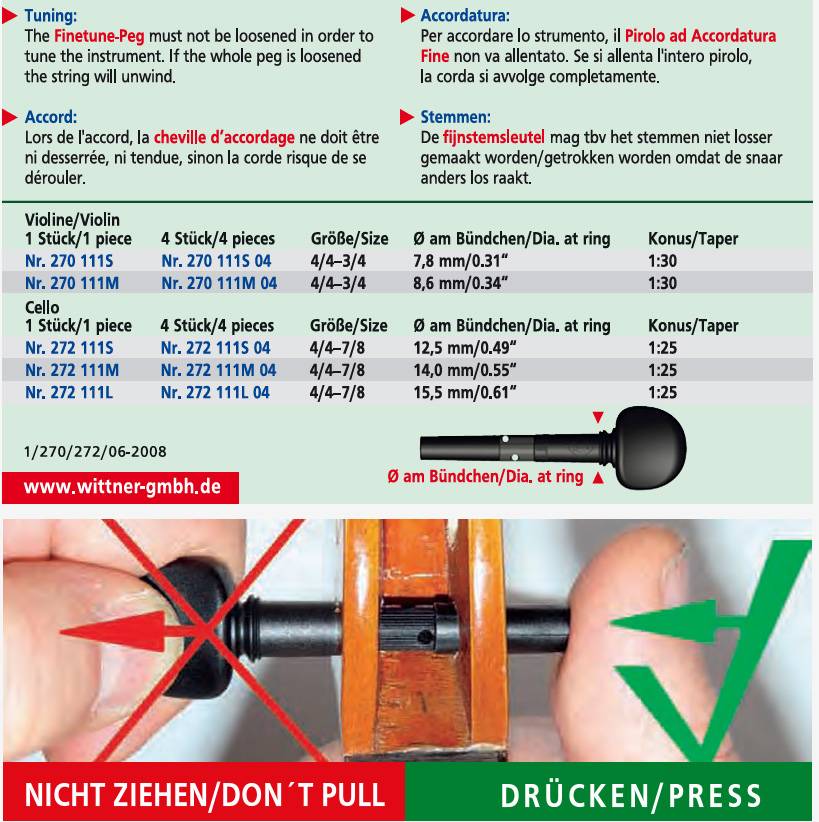
- Do not ‘pull’ the peg out; always ‘push’ the tip to remove it. Strictly follow this rule throughout the process.
*Failure to follow this may cause damage to the parts. - Remove the original peg and clean the inside of the peg hole where it contacts the peg.
Since the parts are made from composite material, they tend to go in deeper than wooden pegs.
*Be careful not to widen the hole too much with the reamer. - Ensure that the movable part of the peg is positioned so that the end of the knob (button) side aligns with the inner wall of the pegbox.
*If the string rests on the non-movable part, it can interfere with tuning.
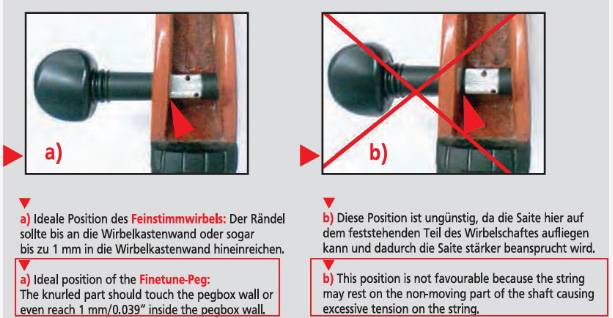
a) is the ideal state.
These are the key points, but there are also additional details mentioned.
- If the peg body is loose in the peg hole, you won’t be able to wind the string around it, making it unusable.
- → This is quite obvious.
- It is recommended to replace the pegs one at a time.
- → This is likely advised because removing all the strings at once may cause the soundpost to fall. While this advice makes sense, it ultimately comes down to your personal judgment.
Summary of Today’s Post
Preparation is 90% of the work.
I always remind myself of this, but in my haste to get results, I ended up making beginner mistakes, like widening the peg holes too much. I’ve included these missteps in this blog as a way to reflect and improve.
For those of you who have been curious about Wittner Fine-Tune Pegs or became interested after reading this post, I’m sure you’ll have various thoughts. But what probably matters most is ease of use, durability, and the impact on sound quality, right?
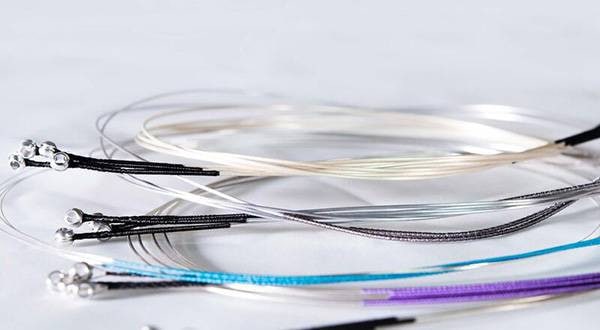
By using Fine-Tune Pegs and making tuning easier, you may find relief from the frustrations of traditional wooden pegs. As a result, you might even broaden your string options, perhaps opting for higher-quality steel strings.
I’ll report back again in my next post!


![[Violin] A Peek into the Actual Inspection Process!](/contents/uploads/thumbs/2/2024/7/20240731_2_27925_1.jpg)
![[Strings] An Introduction to Recommended Violin Tuners](/contents/uploads/thumbs/2/2024/2/20240221_2_25757_1.jpg)
![[2023] 4 Most Popular PLAYTECH Violin Recommendations](/contents/uploads/thumbs/2/2022/10/20221029_2_19901_1.jpg)
 バイオリンスタートガイド
 バイオリンの手入れ
 バイオリンの弦交換
 バイオリン 弓の各部名称と松脂
 バイオリンの調弦 チューニング