I am still going with the blog on shield creation.
So far I have explained how to make shielded cables for beginners over the past three articles. If you haven't read the previous articles, please check the below.
Related Articles
How to Make a Shielded Cable for Beginners - An Easy-to-Understand Guide on Soldering [Preparation]
How to Make a Shielded Cable for Beginners - An Easy-to-Understand Guide on Soldering [Implementation]
How to Make a Shielded Cable for Beginners - An Easy-to-Understand Guide on Soldering [L Shape Plug]
In this article, I will explain how to solder a flat plug used for patch cables, etc. I have already shown you how to make a standard plug so far. These plugs are also useful for saving space on an effects board.
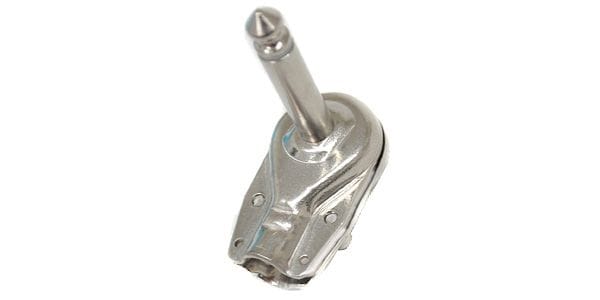
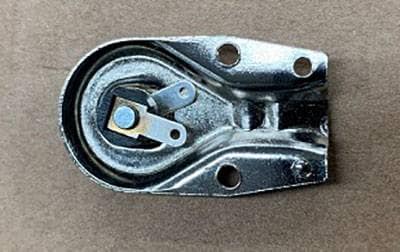
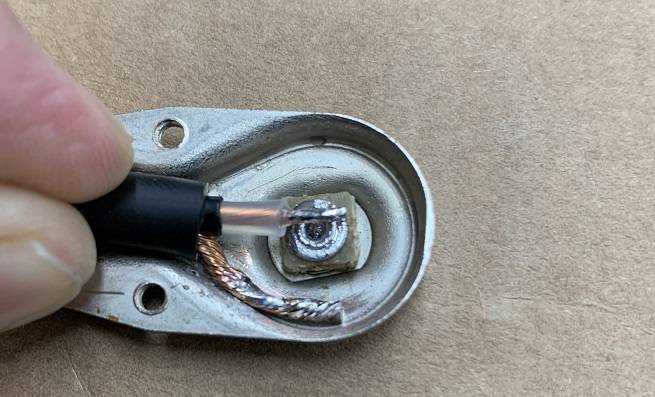
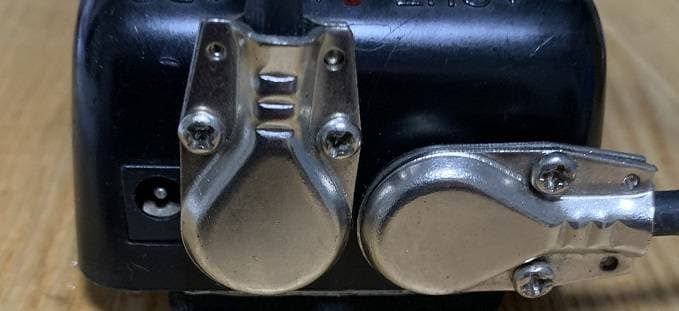
This shape is called “flat type” or “pancake,” and the terminals inside the 228 made by Switchcraft are as shown in the image below.
As you can see, there are no terminals to solder wires to.
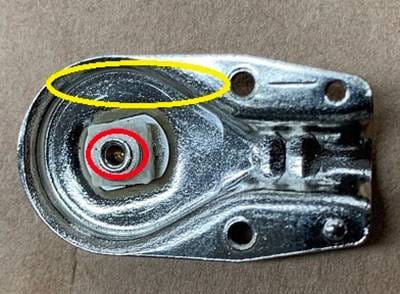
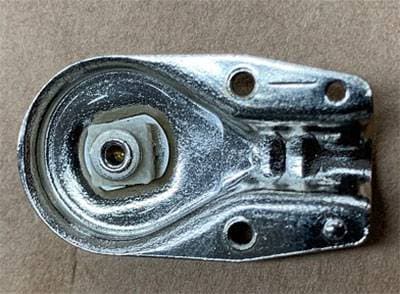
The area circled by a circle is directly soldered, but it is difficult to get solder on it, and beginners always have a hard time with this. The ground side (where the shield wire is wired) is soldered directly to the housing, but it is necessary to use sandpaper to make it easier to apply solder.
This type of plug has a similar shape to that of plugs made by other manufacturers. It is quite common that the tip of the plug has become wobbly, because the resin inside has melted due to excessive warming, and the plug has been ruined.
Therefore, for beginners in soldering, I will use this plug instead of Switchcraft's.
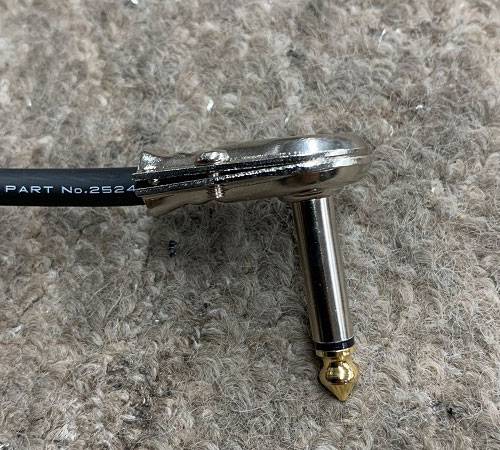
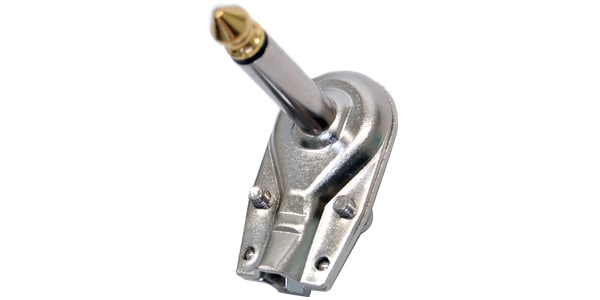
Classic Pro / P10R Mono Phone Plug Type L
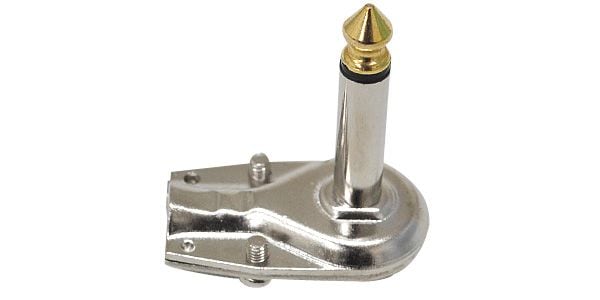
What is good about this plug?
It has terminals for soldering wires as shown in the image.
By the way, the plug in this image is one that I personally had. Even before I joined Sound House, I liked and used this plug a lot because it was easy to work with.
Spare solder like this

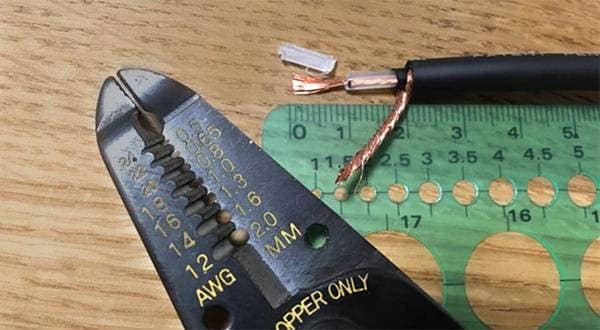
Cut the cable like this
And then soldering it. There is a hole in the terminal, but you don't have to go through it, so it's better to leave it as it is.
Cover the cable with the attached shrink tube for insulation. This type of plug often loses sound because the core wire (TIP) touches the surroundings and conducts to the shield wire (Sleeve) side. Please be careful not to let the Tip side touch the Sleeve side when you put the lid on.
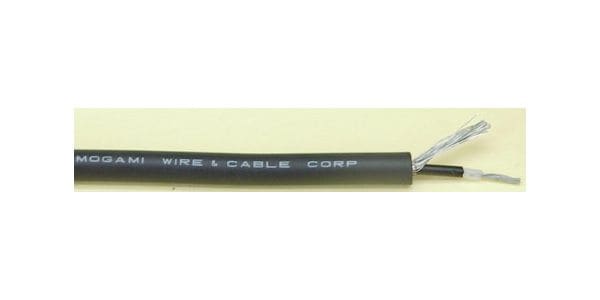
Again, I made this plug with Mogami's 2524, but it is just about the same thickness as the cable. (It has a bit of space.)
In choosing a cable, there are various cable diameters. When making a patch cable with this plug, it is good to use 2319.
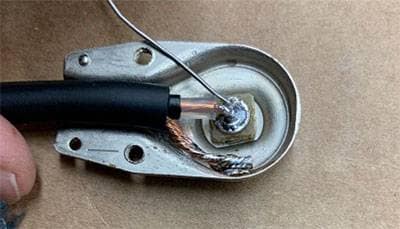
I was going to end here, but I'll quickly introduce 228 that I found it at home for those who want to use Switchcraft plugs.

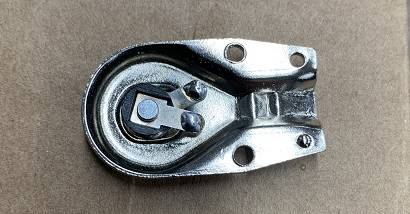
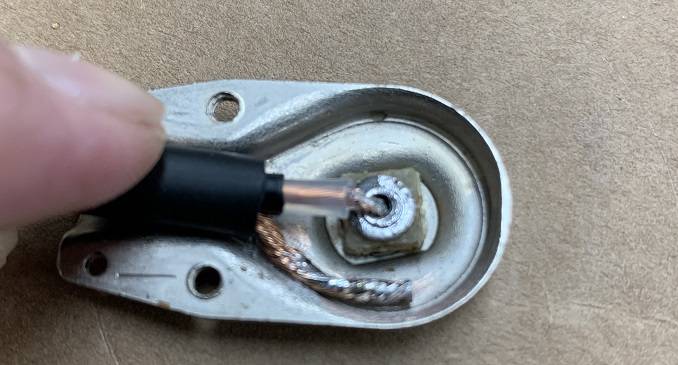
Please lightly scrape the yellow circled area in the image with sandpaper.
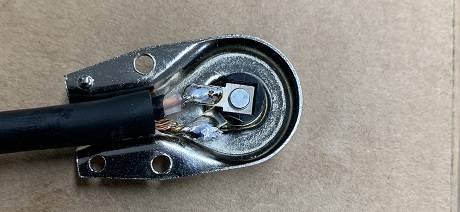
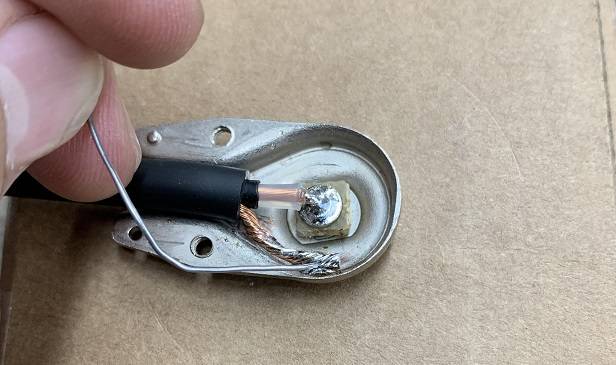
Strip the cable, pre-solder it, and cut it at about the length shown in the image.
Bend the tip (core wire) side with radio pliers so that it goes into the hole.

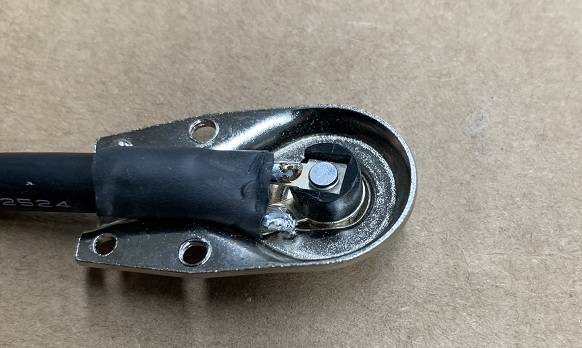
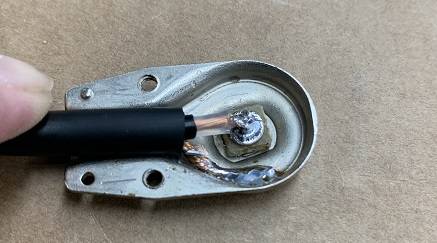
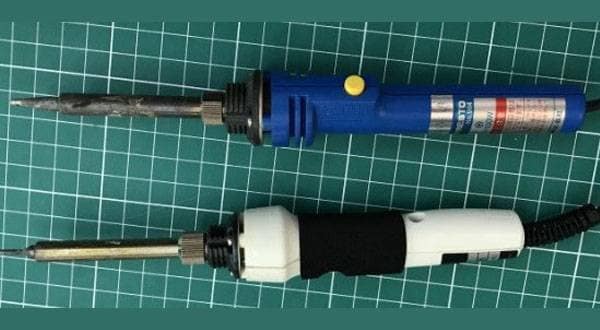
Pre-solder the plug here. The shield wire (Sleeve) side at this point is difficult to get solder on. It may be difficult if you do not have a soldering iron with temperature control.
If you have a soldering iron with temperature control, the key is to raise the temperature and heat the plug for a moment and concentrate on one point as much as possible to quickly apply solder.
Apply the soldering iron to the plug to melt the preliminary solder while applying new solder.
The old solder will melt more easily if you melt it while applying new solder.
All done! Switchcraft #228 does not come with anything to insulate it. If it is properly made, it will not short-circuit and cause loss of sound, but if you are concerned about this, you may want to put insulating tape on the lid side.
Note that patch cables with flat plugs are not suitable for effects pedals with jacks on the top.
When I stuck the plug into this type of pedal…
It just barely fits, but it is impossible to stick an adapter plug in.
Be careful not to use the plugs in such a way that they interfere with each other, or the jacks inside the effects pedal or the circuit board may be damaged.
I personally used to make patch cables with Classic pro P10R and George l's 155. As I said, soldered cables are far more durable than solderless plugs.
Some people may lose sleep at night worrying if the cables don't match the cables used for their guitar, effects board, or amp, but I personally don't care that much.
I think everyone should be free to be particular about that.
Maybe I'll do a solderless plug comparison sometime soon....
That's all for this time. I'm not sure if I'll be back next time with another cable making blog.


![[Latest for 2025!] Easy Beginner Speaker Cable Selection Guide + Recommended Popular Products!](/contents/uploads/thumbs/2/2019/8/20190809_2_7187_1.jpg)
 ギターケーブルの作り方
 ケーブルの選び方
 配線カスタマイズ 第1回
 パーツの配線を知ろう
 虎の巻 ケーブル講座
 ケーブル購入ガイド