In the previous blog post, Unboxing edition, I introduced what comes in the box and why I decided to buy the Osmo Nano. This time, I’ll go over the initial setup process, including activation and the basic operations you’ll need before you start shooting.
1. Activation
Before using the Osmo Nano for the first time, you’ll need to activate it using DJI’s app.
The battery may have a low charge when you first open the package, so if you’re concerned, it’s a good idea to charge it before getting started.
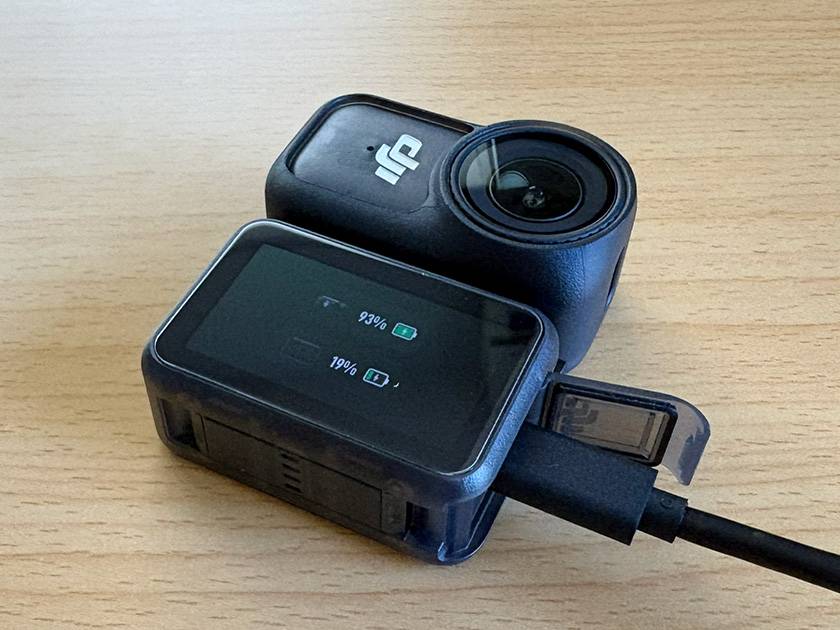
*Please note that the actual screen displays and procedures may vary slightly depending on the app version and your operating system (iOS or Android). In most cases, simply following the on-screen instructions will do the trick!
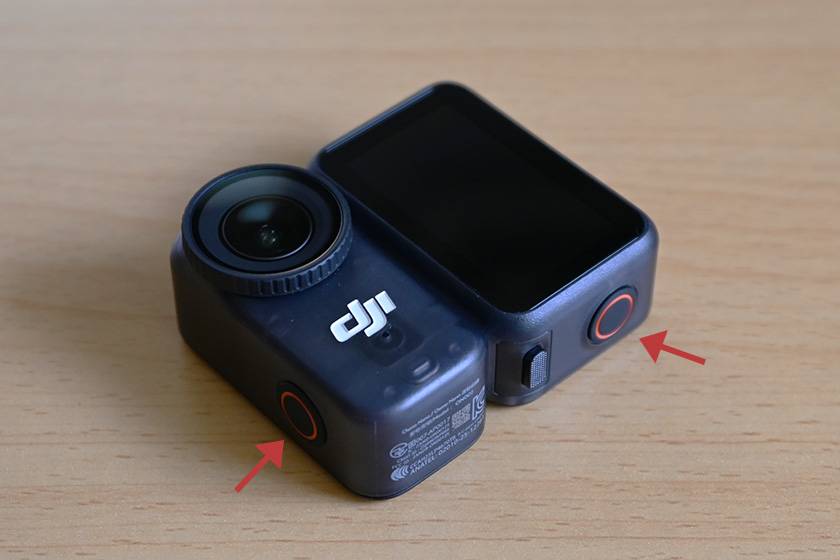
① Press and hold the power button on either the camera or the Vision Dock to turn it on.
② Scan the QR code displayed on the screen with your smartphone, or search for and download the DJI Mimo app from the App Store or Google Play.
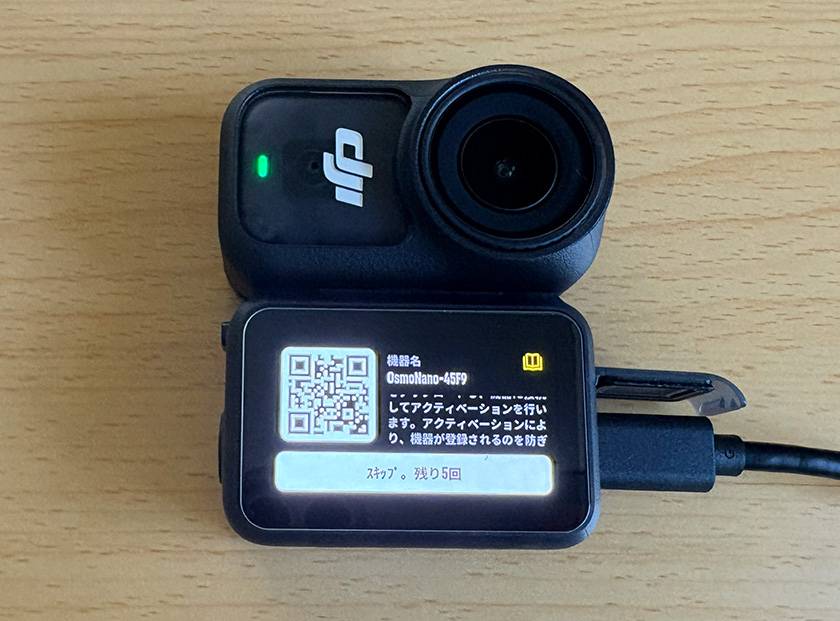
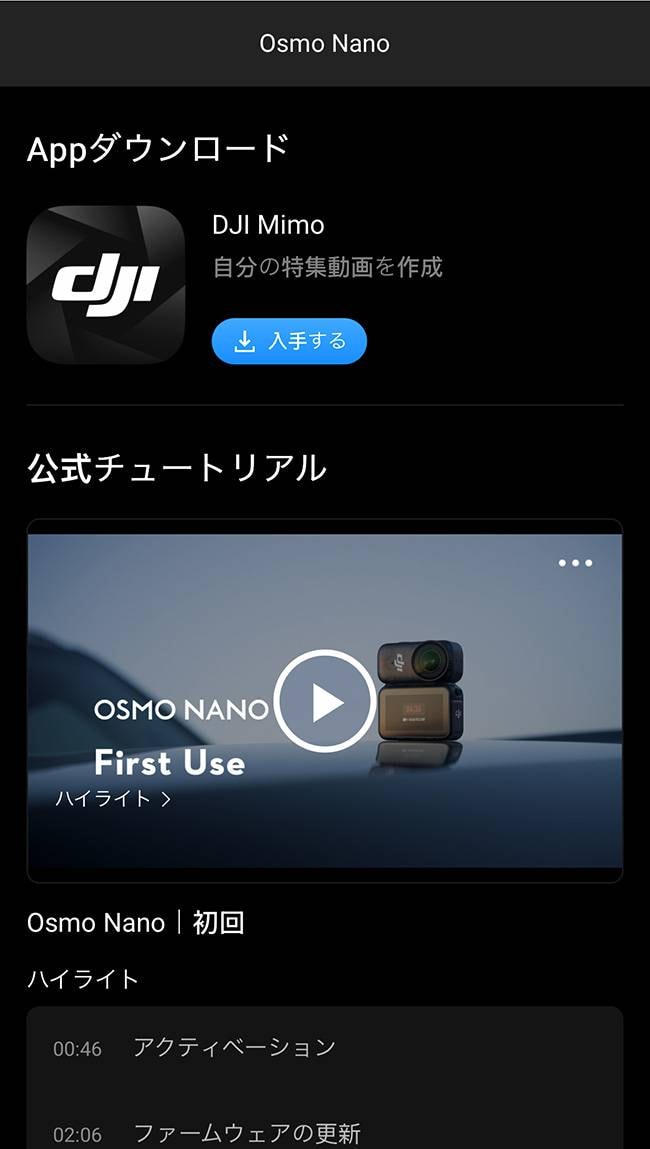
③ Make sure that both Bluetooth and Wi-Fi are turned on on your smartphone.
④ Launch the DJI Mimo app on your smartphone.
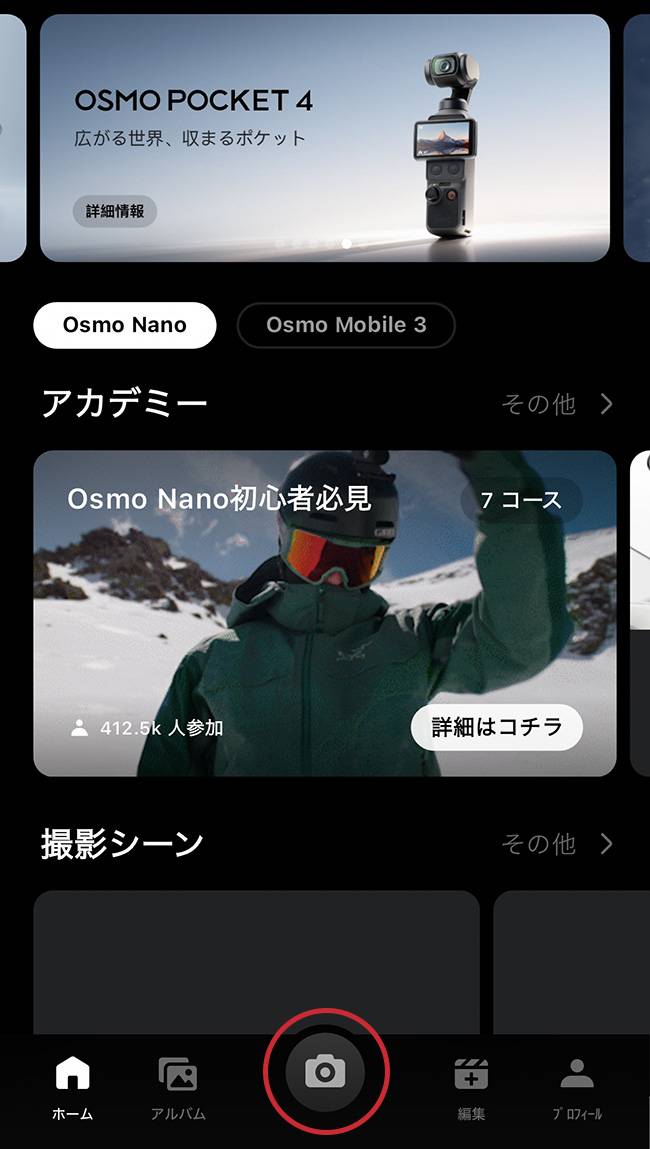
When the connection screen appears, select Osmo Nano and tap ‘Connect’.
*If the connection screen does not appear automatically, tap the camera icon at the bottom of the home screen. The app will search for nearby devices. Once the Osmo Nano is detected, tap ‘Connect’.
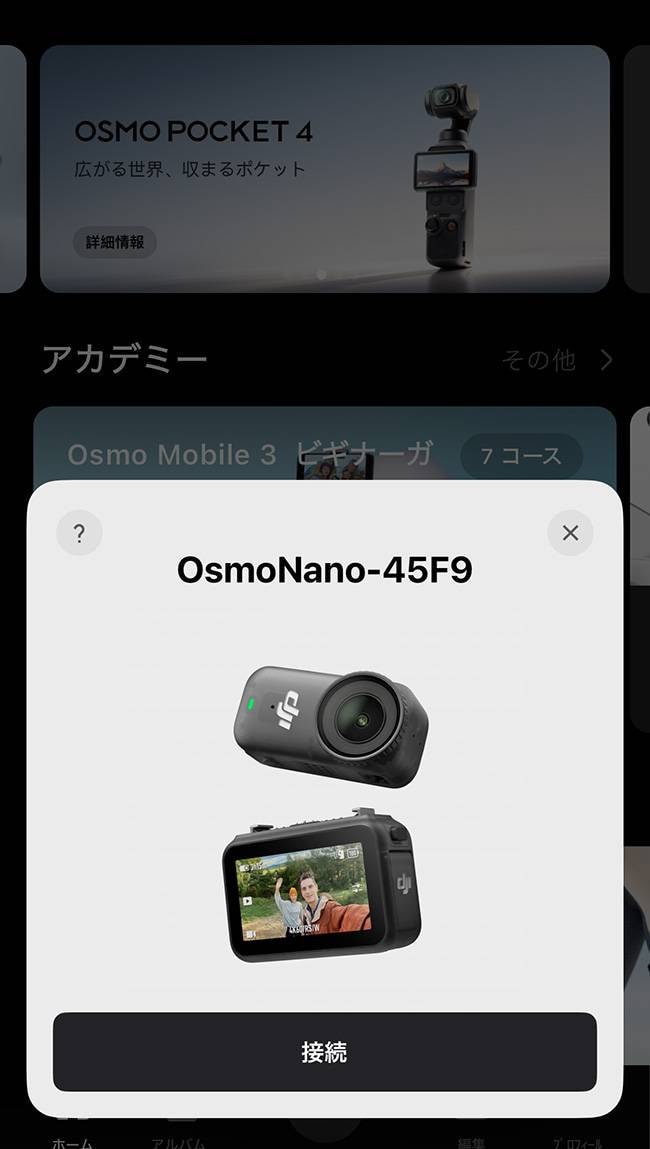
⑤ A confirmation code will appear on both the Osmo Nano and your smartphone.
Make sure the codes match, then follow the on-screen instructions to approve the pairing.
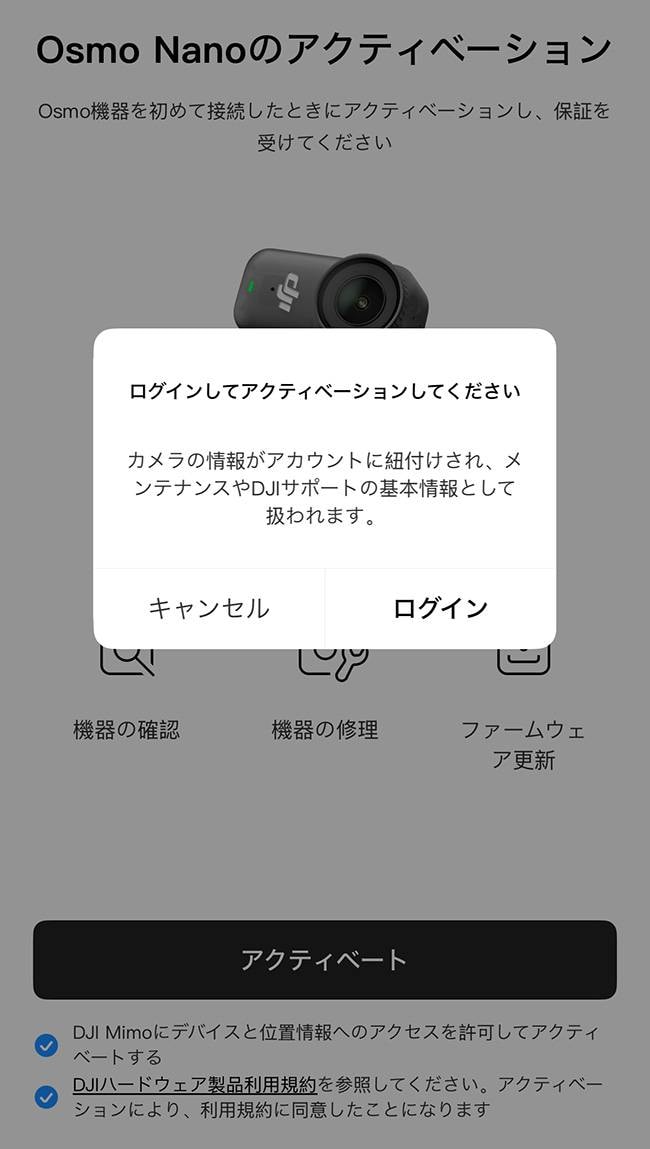
⑥ Tap ‘Activate’. You’ll be prompted to log in to your DJI account. If this is your first time using the DJI app, select ‘Log In’ and follow the instructions to create a new account.
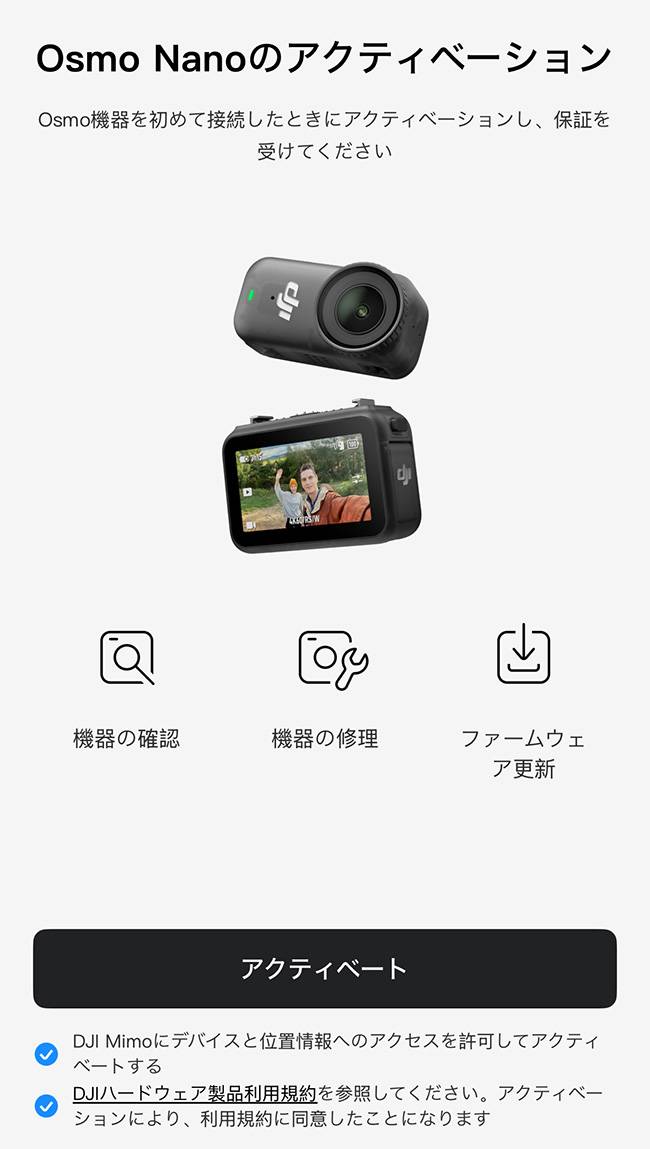
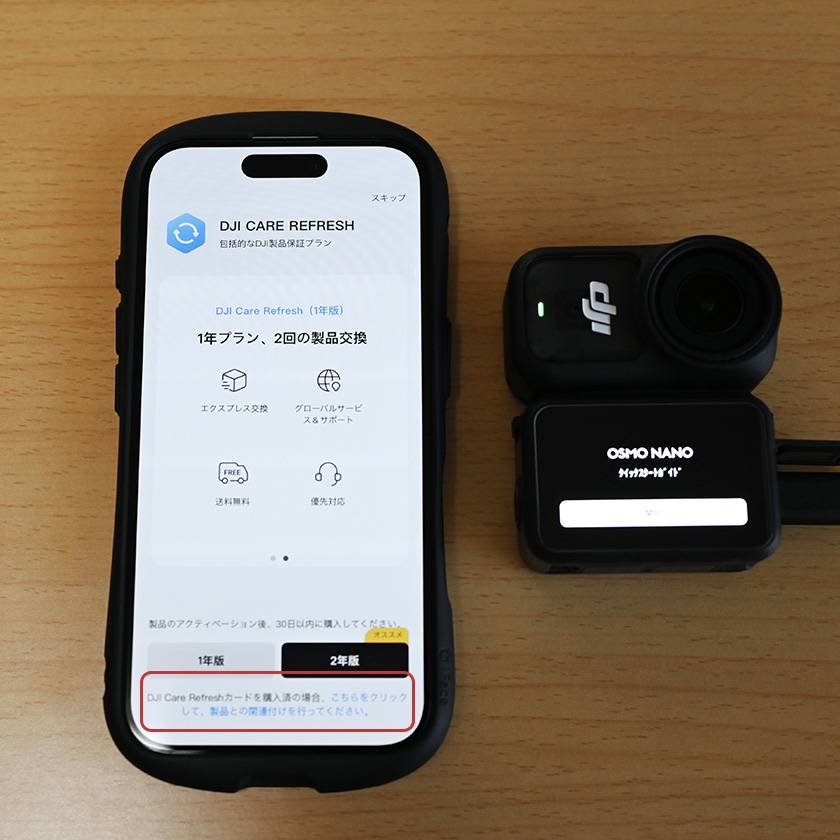
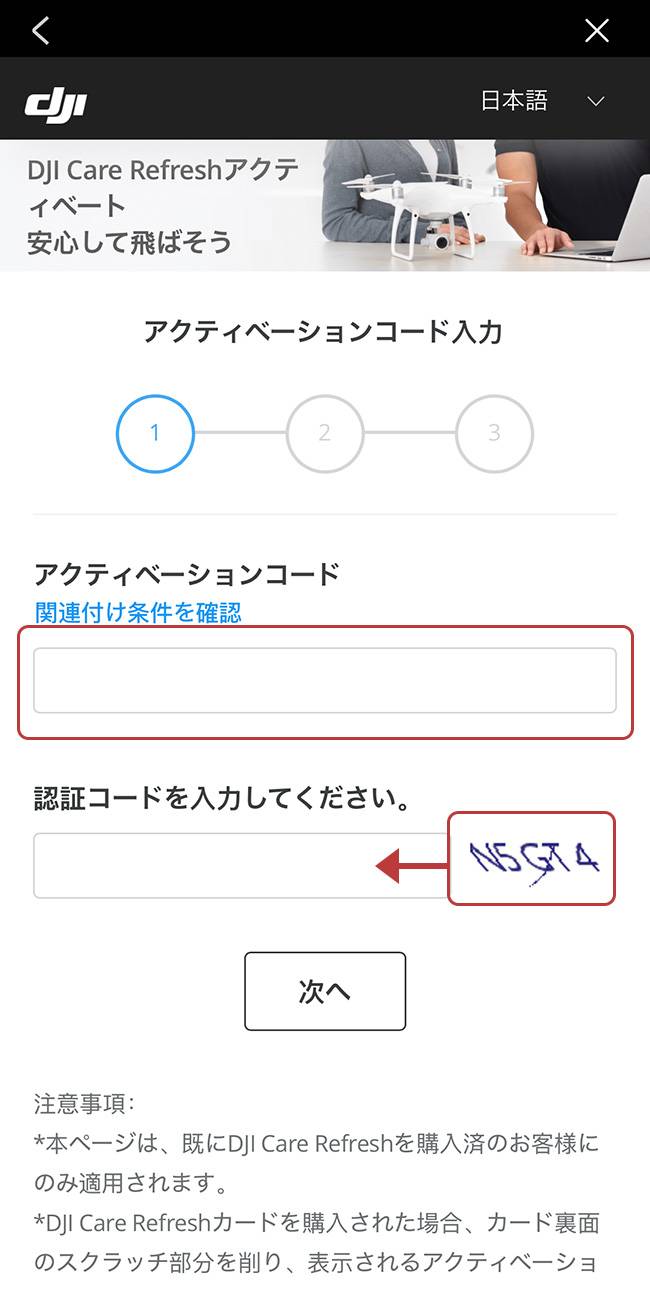
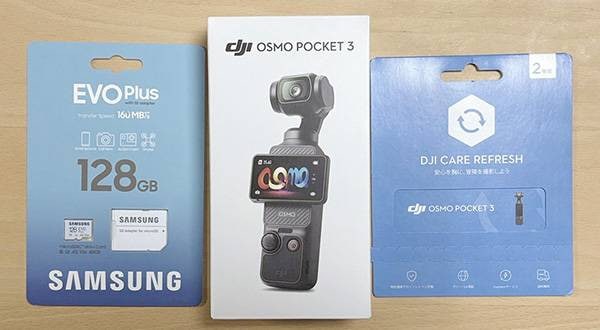
⑦ I purchased the Osmo Nano with the two-year DJI Care Refresh plan, so I proceeded directly to ‘Care Refresh Activation’. Enter the activation code included in the package and continue to the next step.
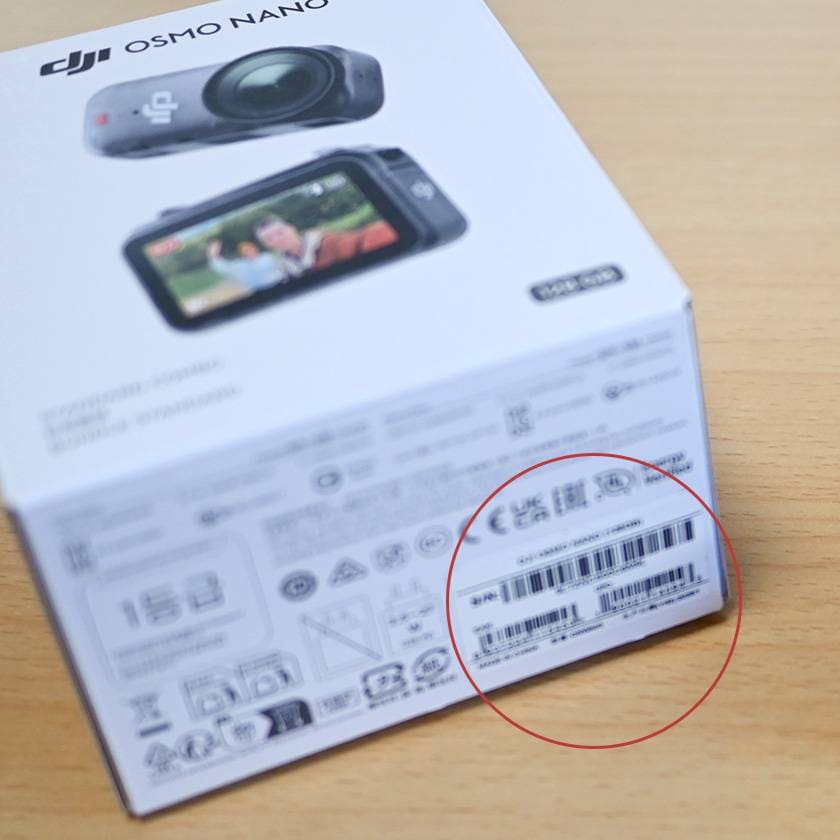
⑧ When prompted, enter the serial number printed on the product box.
⑨ Follow the instructions and submit your name, phone number, and email address. Once that’s done, activation is complete!
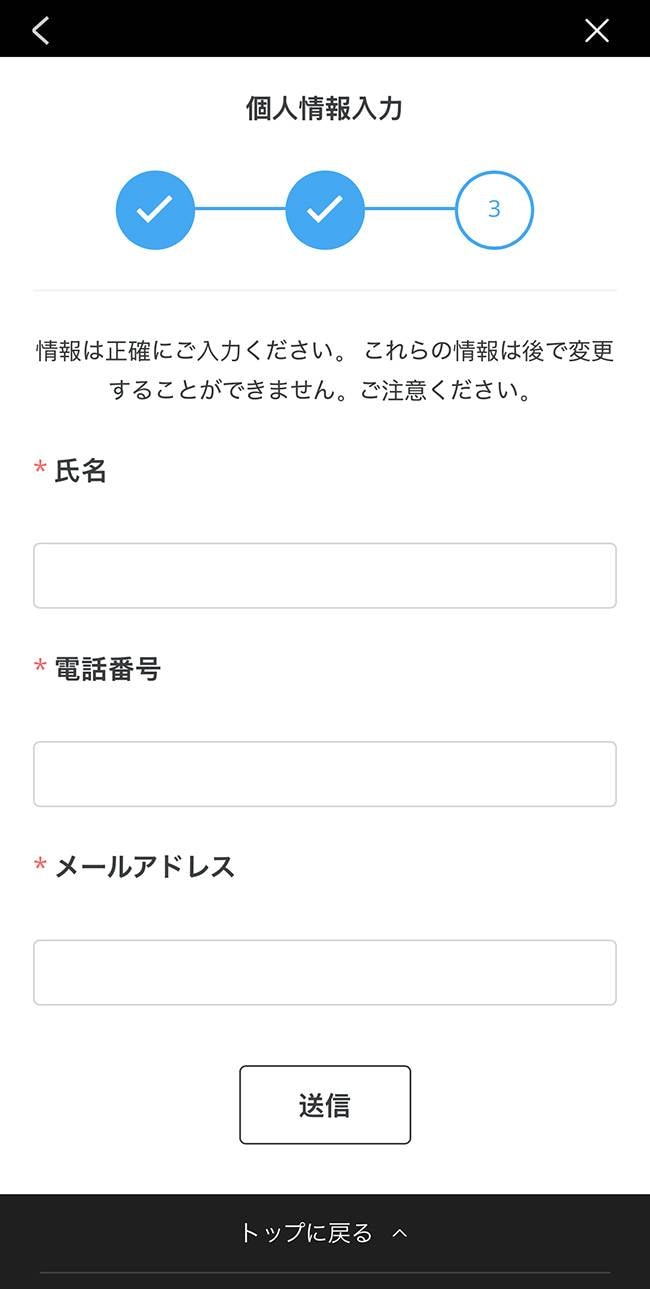
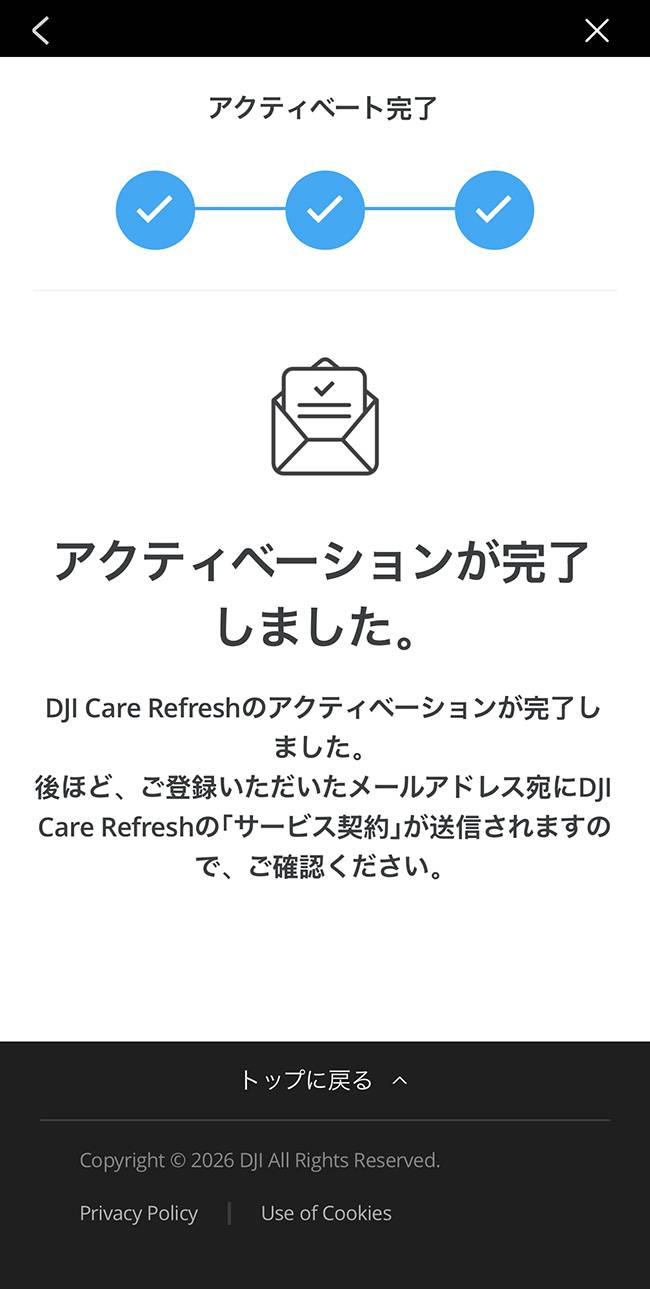
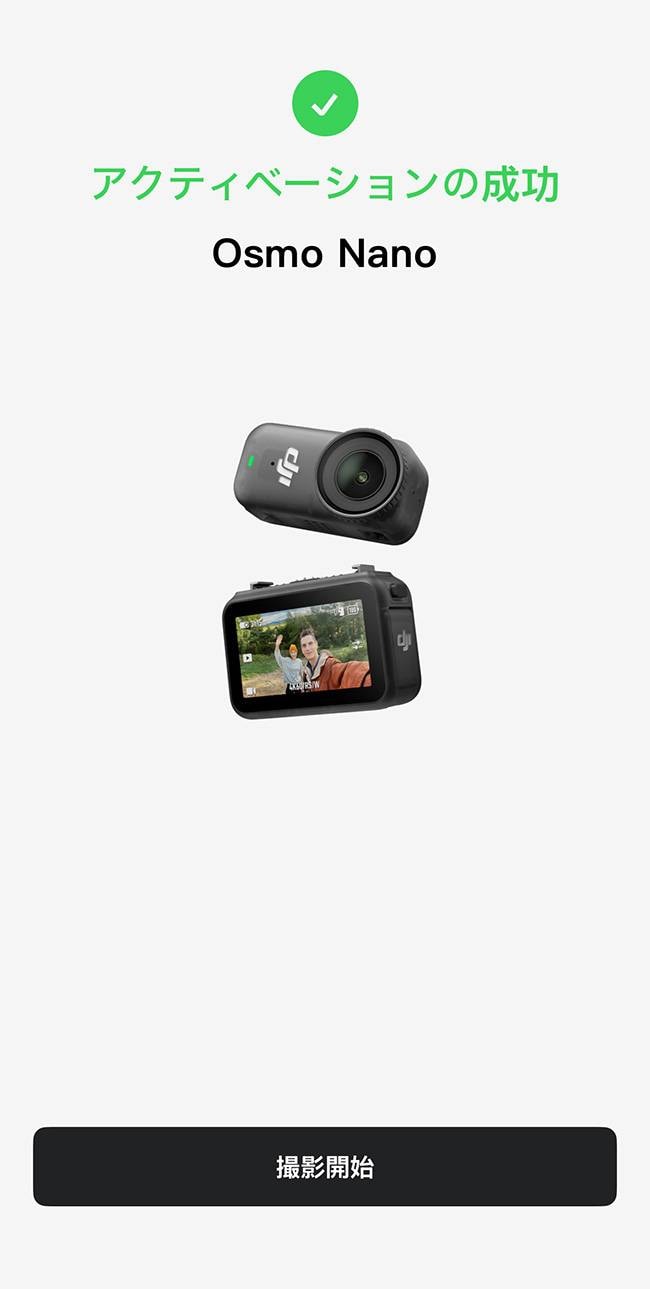
2. Firmware Update
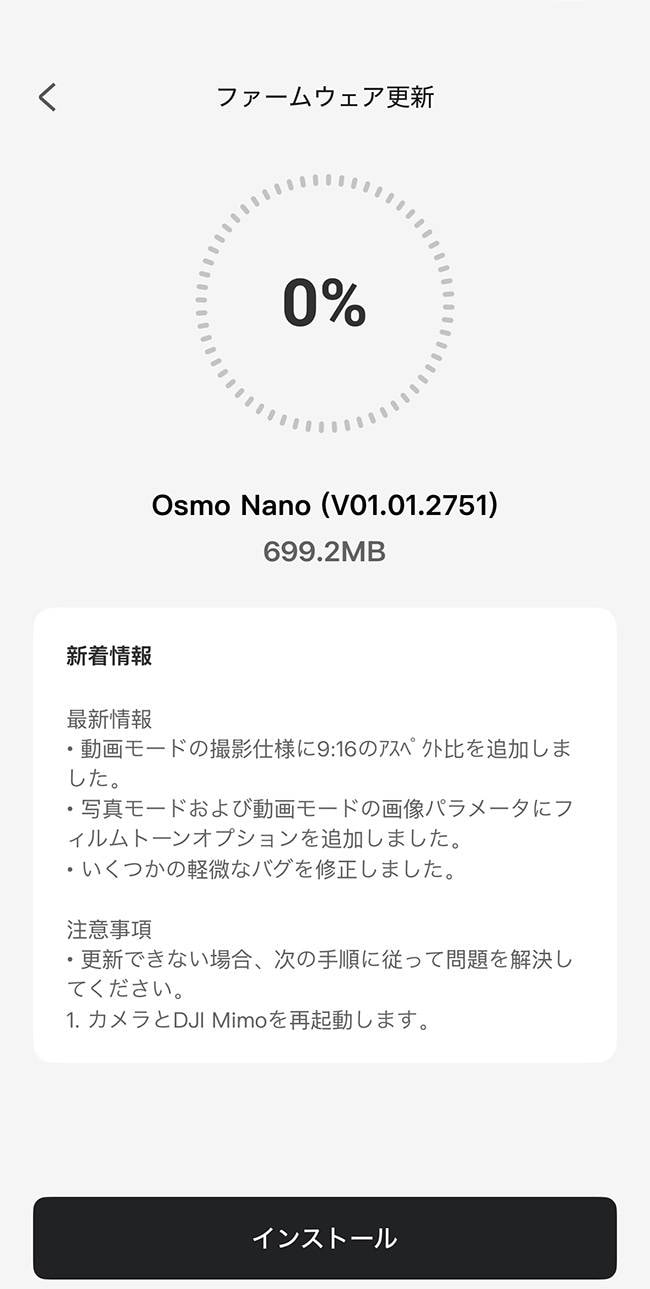
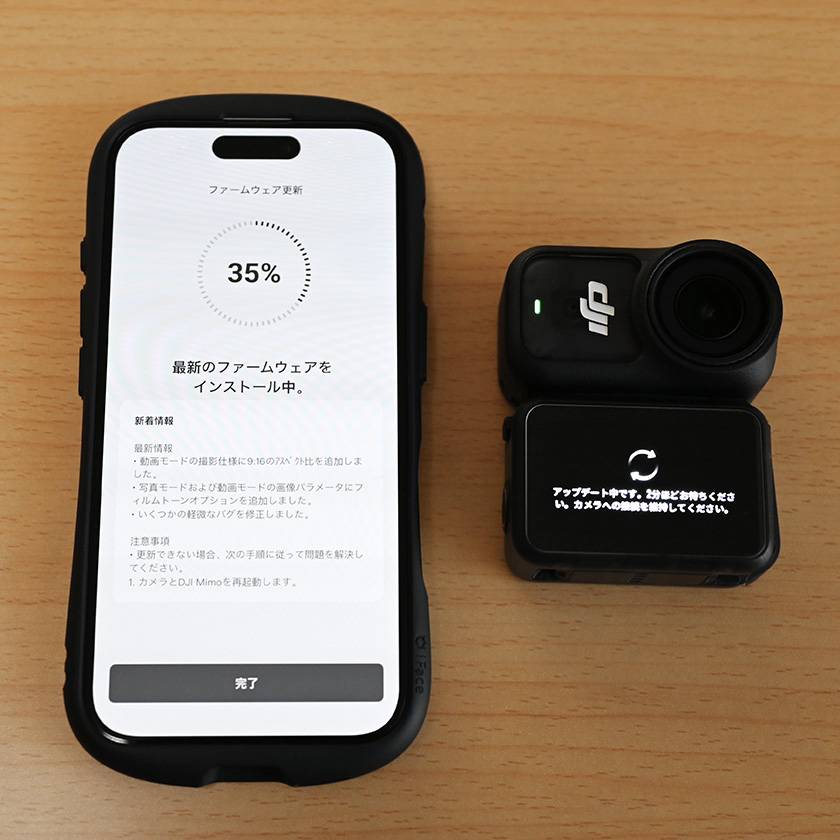
After activation, it’s a good idea to update the device to the latest firmware.
(In my case, an update notification appeared automatically, so I simply selected ‘Update Now’.)
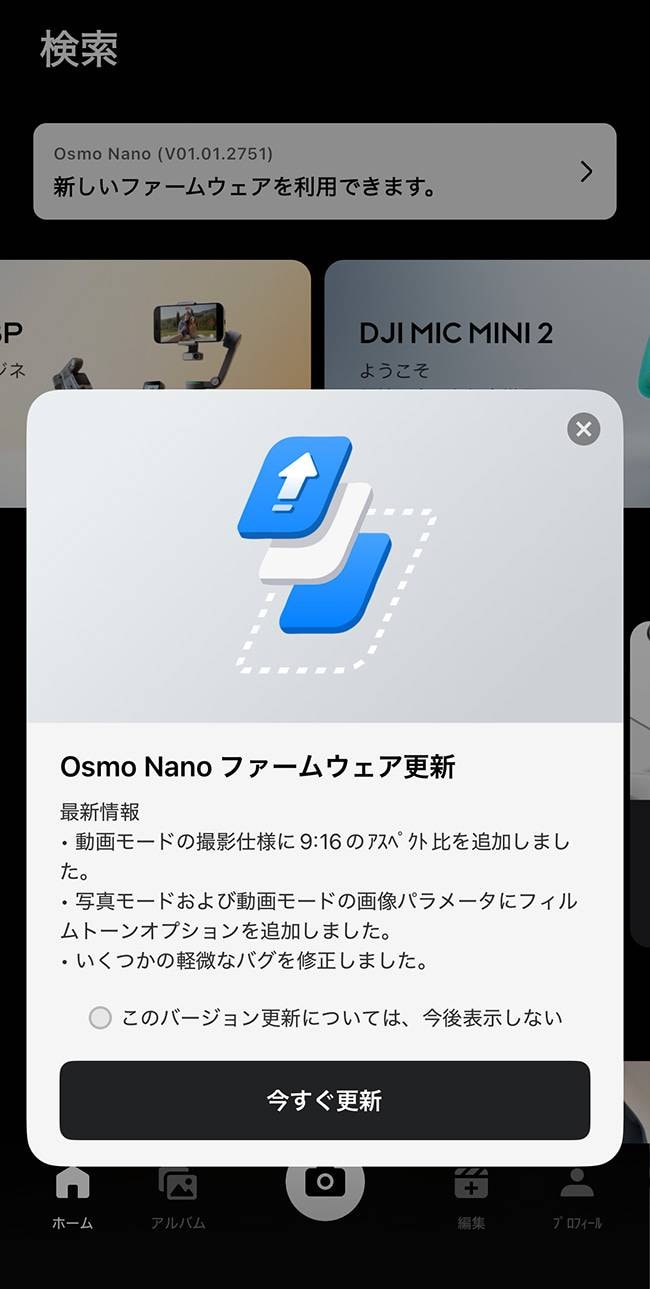
3. Basic Operations
*Operation methods may vary depending on the firmware version.
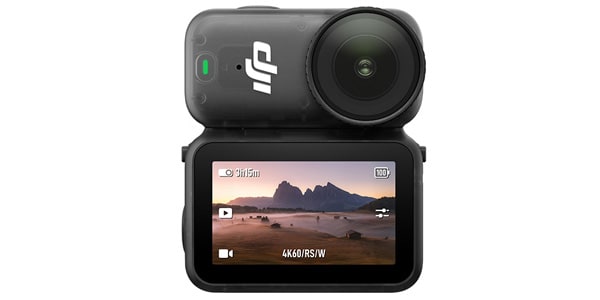
① Shooting with the Vision Dock + Camera
- Press and hold the power button: Power on/off
- Press the power button once while powered on: Start/stop recording
② Shooting with the Camera Only
- Simply press the power button once to power on the camera and immediately begin recording.
*The camera will use the shooting settings that were selected during your previous session.
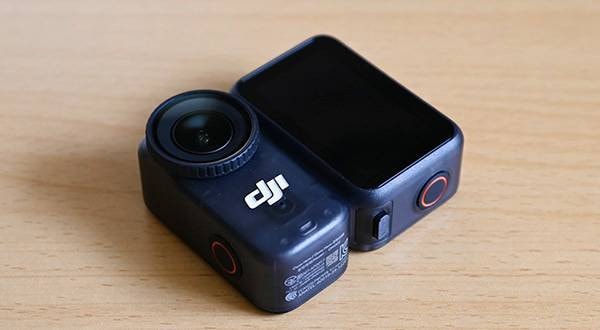
Monitoring with the Vision Dock
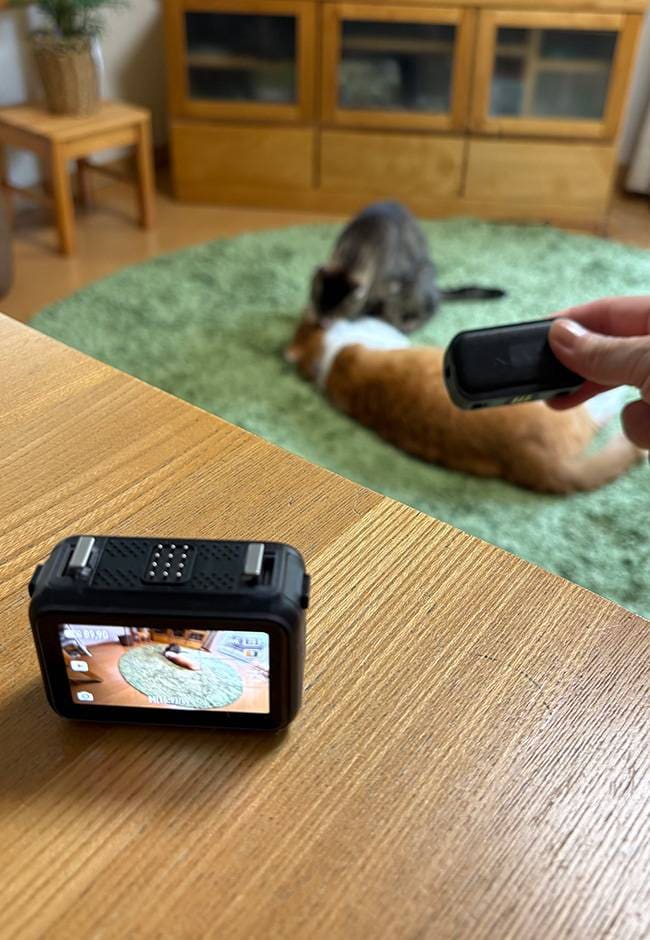
When the Vision Dock and camera are separated, turning on the Vision Dock will automatically power on the camera, allowing you to view the live feed and operate the camera remotely.
Monitoring with the Smartphone App
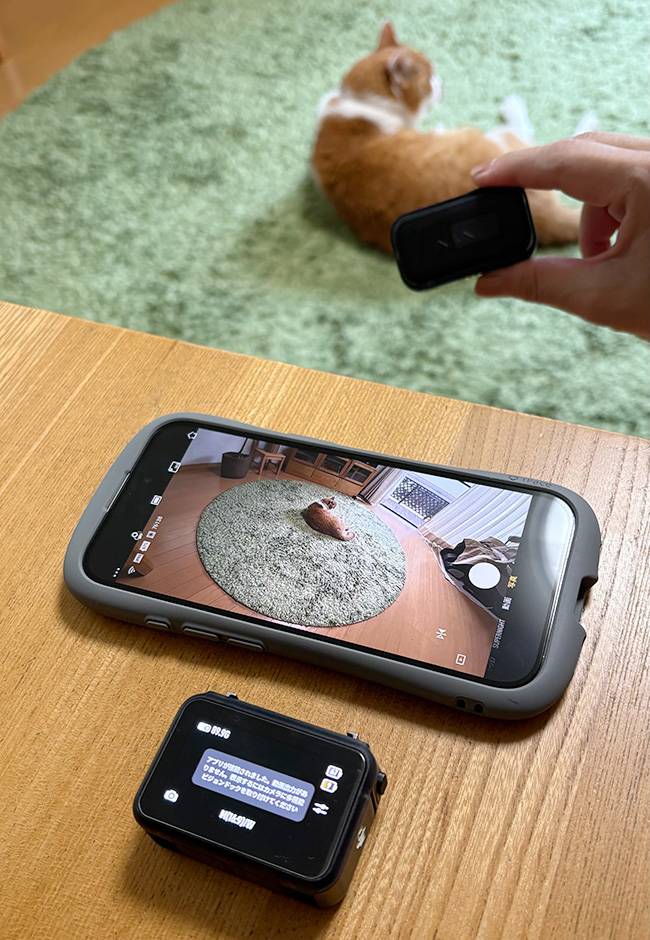
With the camera powered on, launch the DJI Mimo app and connect to the Osmo Nano to access live monitoring and camera controls.
*While connected to the smartphone app, the live image will not be displayed on the Vision Dock.
③ Touchscreen Controls
Switching Shooting Modes (Swipe Left or Right)
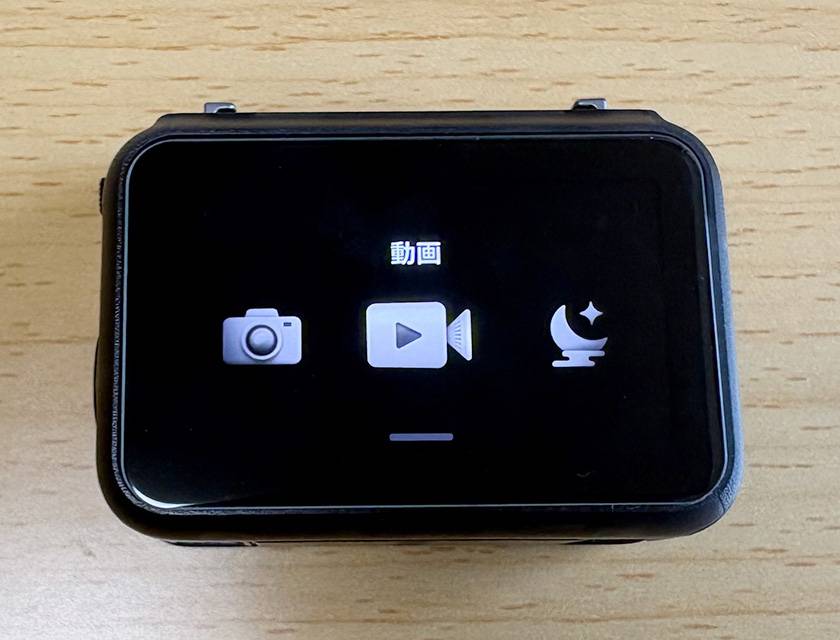
Tap the icon in the lower-left corner of the screen or swipe left or right to switch between shooting modes such as Photo, Video, Night Mode, Slow Motion, and more.
Adjusting Shooting Parameters (Swipe Up)
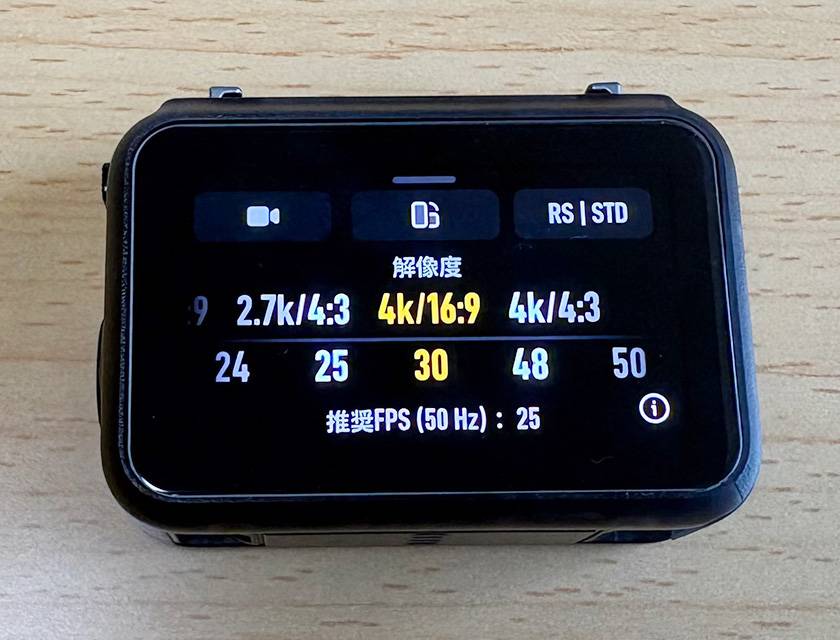
Swipe up from the bottom of the screen to adjust settings for the selected shooting mode, including video resolution, frame rate, stabilization mode, and other recording parameters.
Control Center (Swipe Down)
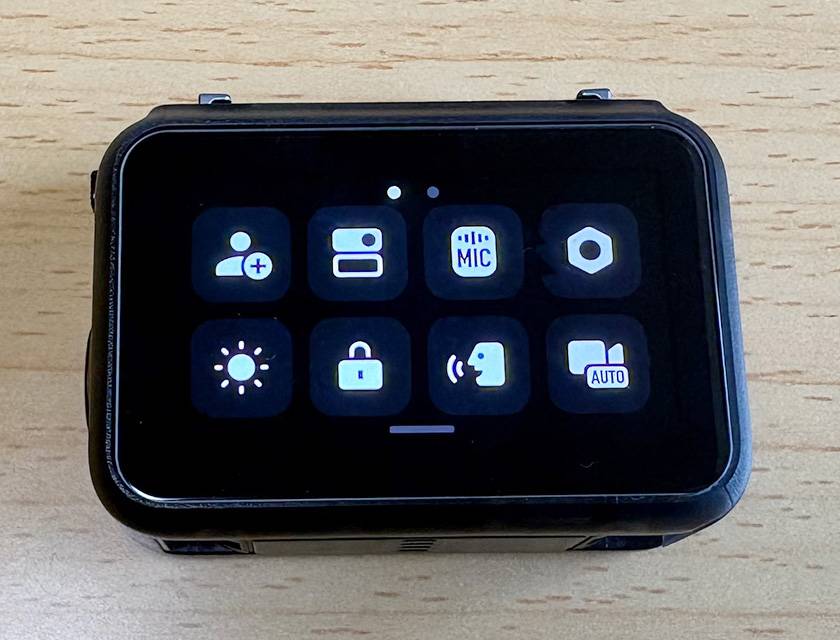
Swipe down from the top of the screen to open the Control Center.
From here, you can save custom shooting settings, configure button functions, connect a wireless microphone, adjust screen brightness, and access various system settings.
That covers the basic operations of the Osmo Nano. For more detailed information, be sure to check out the official user manual.
Next time, I will finally take the Osmo Nano outdoors!
I did a few test shoots at a seaside car café and during an overnight car camping trip, so I’ll do my best to share a hands-on shooting report. Stay tuned (^−^)/




 DJI Osmo - 手軽にに高画質な動画を
 Blackmagic Design ATEM Mini
 VSGO 特集
 ミュージックビデオ撮影テクニック!
 配信・ポッドキャスト特集!(ライブ/動画/ゲーム実況)
 キャンプしよう!キャンプinフェスでも活躍!アウトドア特集
 Discount Sale
 Outlet
 New Arrivals
 Podcast (streaming)
 Headphones / Earphones
 Microphones
 Wireless Equipment
 Speakers
 Power Amps
 Mixers
 Processors
 Portable PA Systems
 Recorders
 Karaoke
 Guitars
 Basses
 Ukuleles
 Drums & Percussion
 Pianos / Synthesizers
 Wind Instruments
 Stringed Instruments
 Japanese Instruments
 Harmonicas, Other
 Software
 DJ & VJ
 Stands
 Cables & Connectors
 Racks & Cases
 Lighting
 Stage & Truss
 Video Equipment
 PC PERIPHERALS
 Power Supplies
 Studio Furniture
 Household Items, Other
 Alcoholic Beverages