Hello! I usually post about technical topics, but this time, I’m sharing something completely hobby-related.
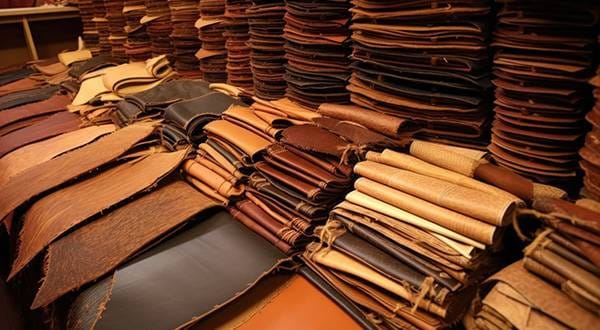
Recently, I’ve started leather crafting, something I’ve wanted to try for a long time.
So far, I’ve only made simple things like cardholders and coin cases, but I decided to repair a strap that had a broken hook. From the perspective of experienced leather crafters, my methods and finish may seem crude, but hey, everything is a challenge, right?
To get straight to the point: “It’s cheaper and easier to just buy a new one.” So, if you’re curious, consider this an amusing experiment.
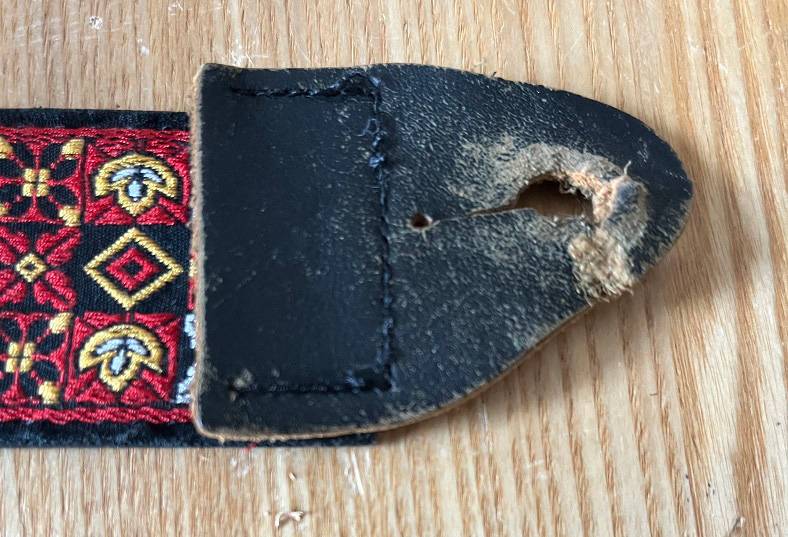
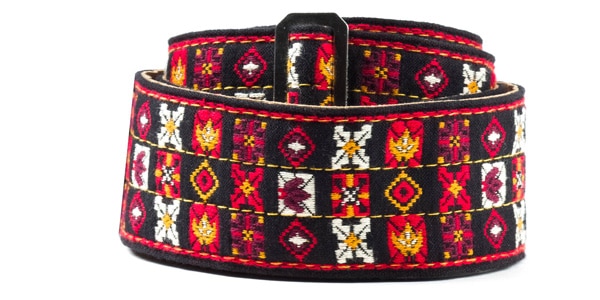
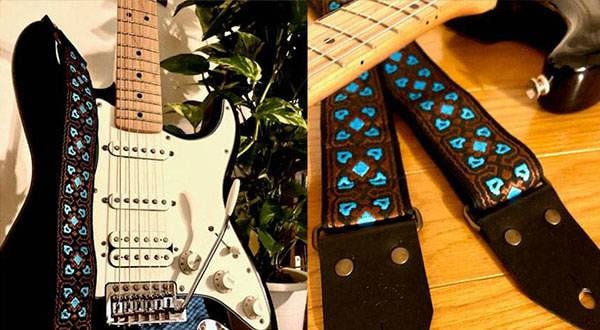
This is the strap that broke. Some of you might recognize the pattern, which is famous for being used by Jimi Hendrix at Woodstock. I believe this one was sold by Greco about 20 years ago.
Even now, a few manufacturers still produce straps with this pattern. Sound House carries a product by Jim Dunlop:
Jim Dunlop / JH01 STRP HENDRIX FESTIVAL-EA
First, I used a cutter to remove the sewn part.
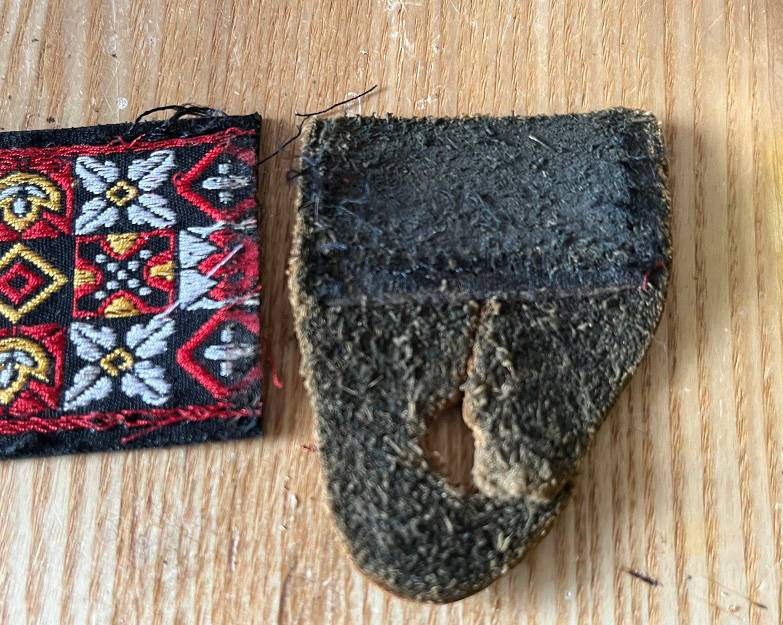
The leather on the opposite side had also dried out and cracked, so I decided to replace it.
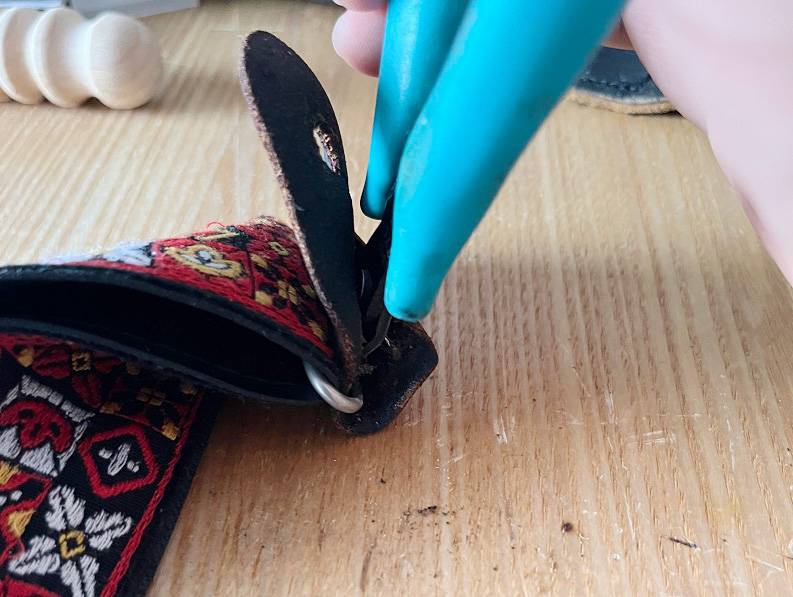
Since the strap was held together with eyelets, I destroyed the eyelets to take it apart.
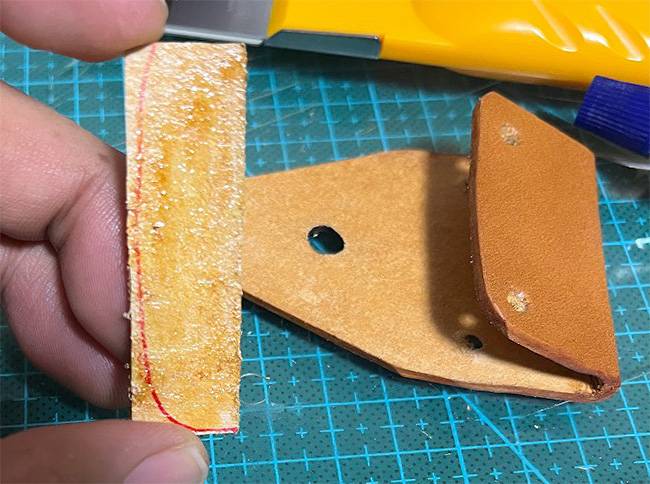
I bought 2mm-thick leather from a local hardware store.
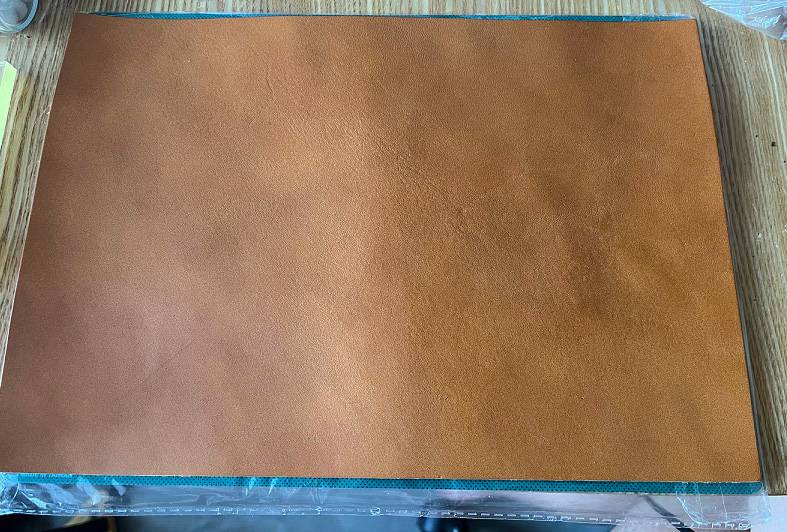
It cost about 1,200 yen for an A4-sized piece.
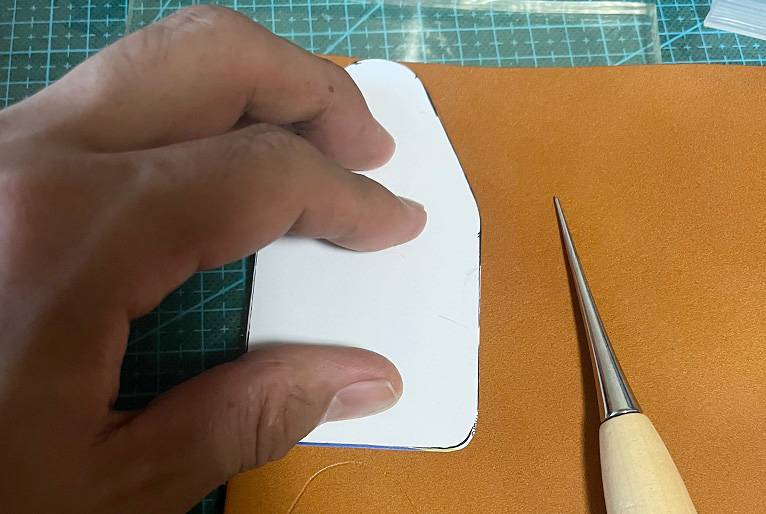
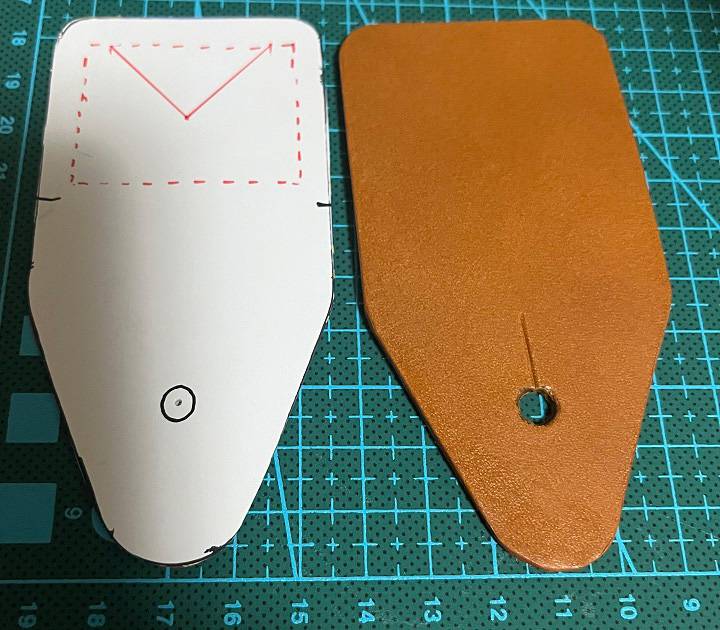
I traced the leather along the edge of a pattern using a scratch awl.
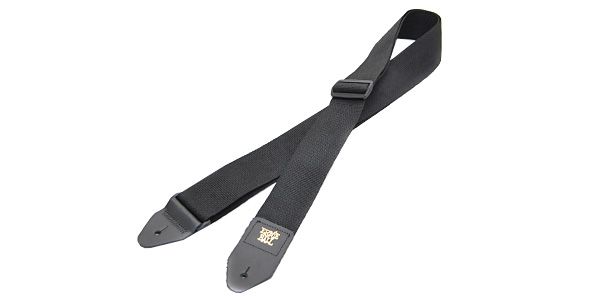
Suddenly introducing a pattern here, but I had an Ernie Ball strap at home that I wasn’t really using, so I traced it to make the pattern.
Ernie Ball / 4037 Polypro Straps Black Classic Guitar Strap
Some of you might be thinking, “If you have an unused strap, why bother repairing the old one?”
I thought the same thing.
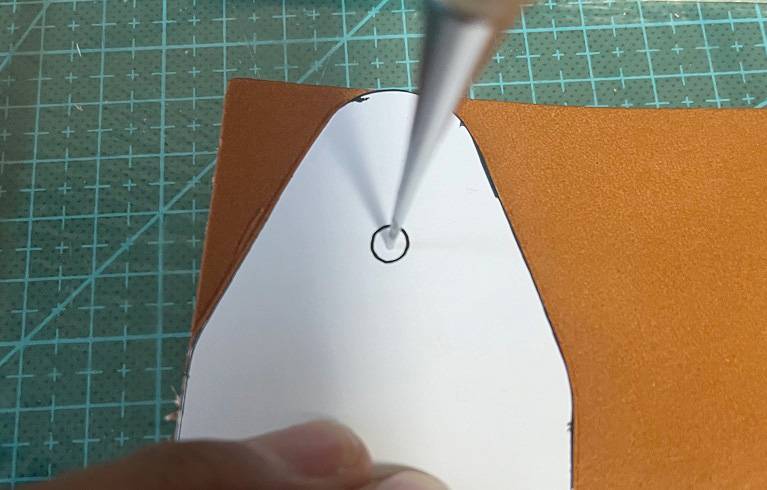
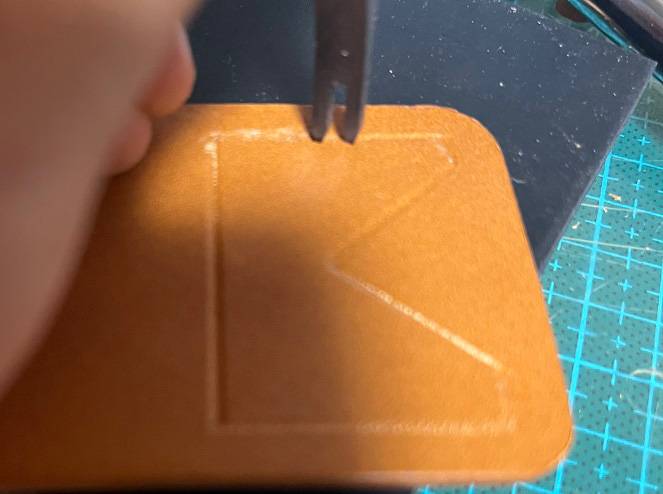
I marked the center of the strap hole.
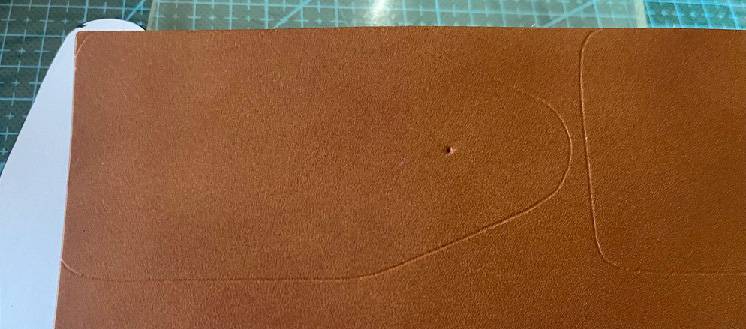
I traced the cutting lines like this:
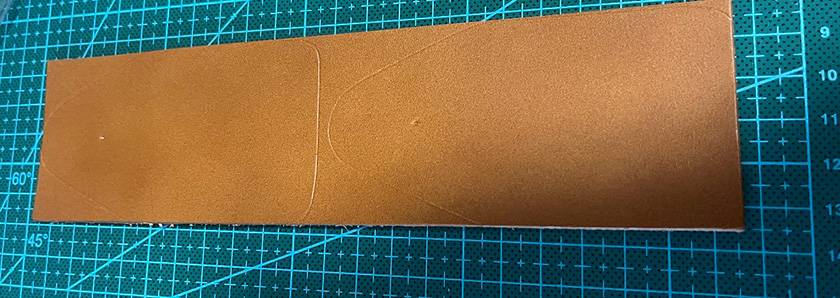
Then, I started cutting the leather roughly.
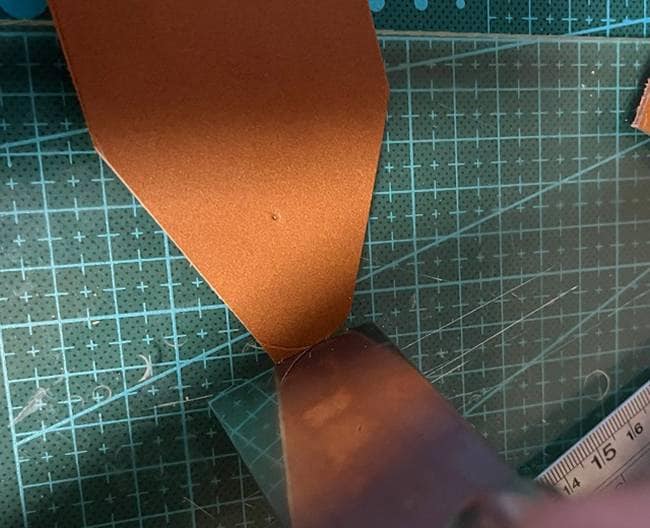
For the round parts, I carefully cut with a leather knife bit by bit.
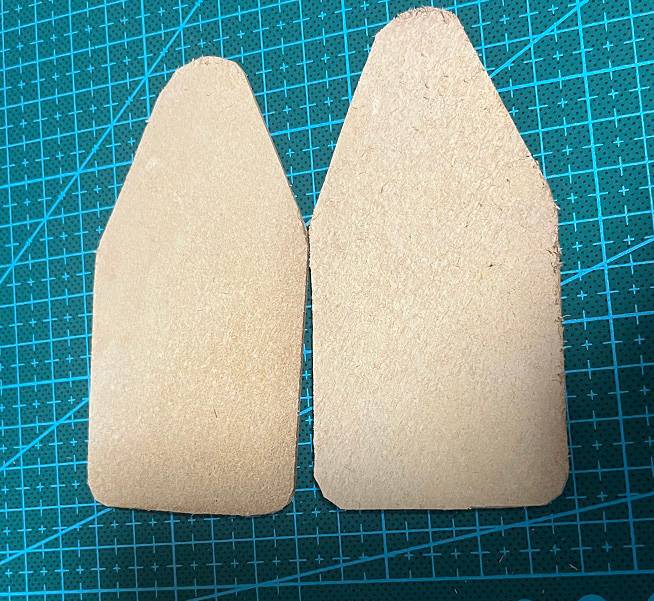
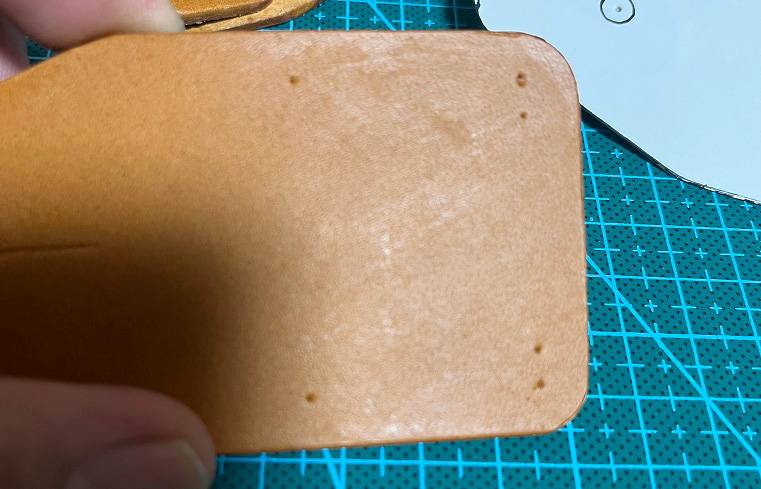
This is how it looked after cutting.
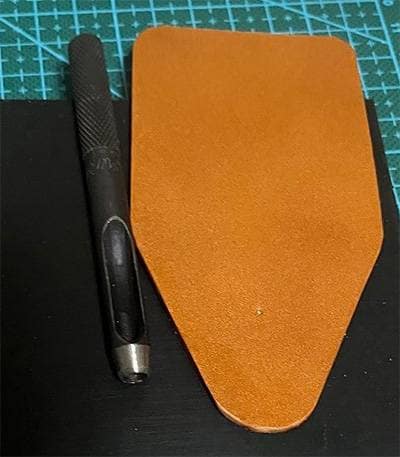
The backside of the leather is called ‘split’, and the cut edges are called ‘edge’. I used tools like edge bevelers and sandpaper to smooth them, then applied finishing materials for a polished look.
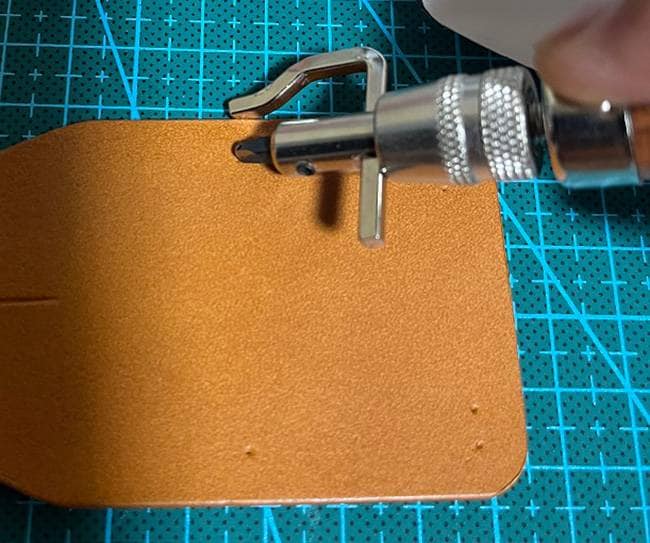
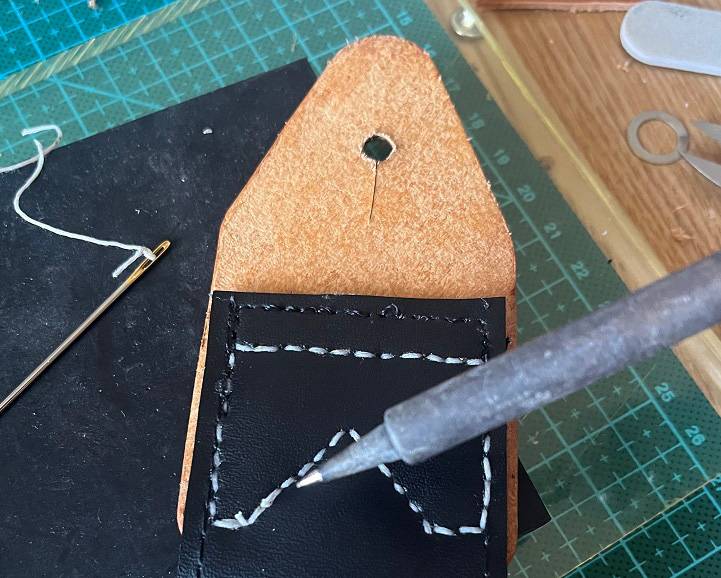
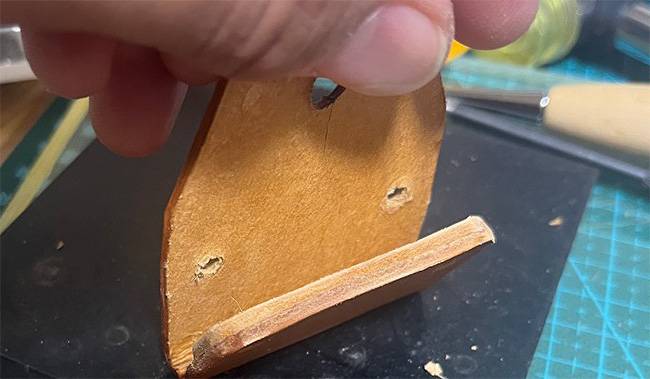
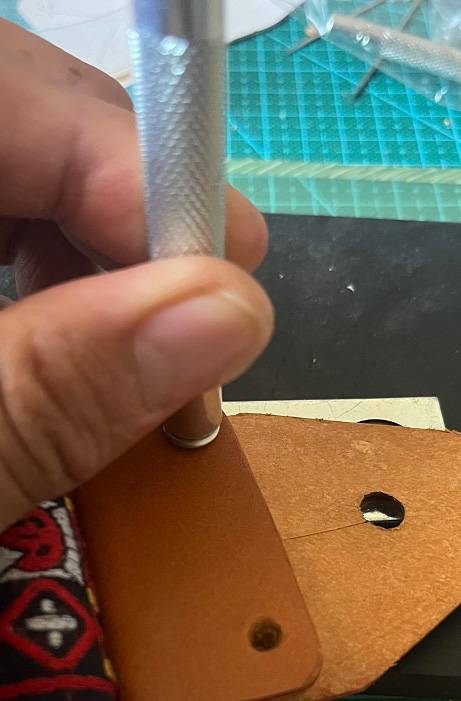
Next, I punched the hole for the strap pin.
This is where I noticed for the first time that both the front and back pieces of leather on the Ernie Ball strap were the same shape, though it wasn’t obvious at first glance because the back part was folded.
So, I made two parts and folded one side.
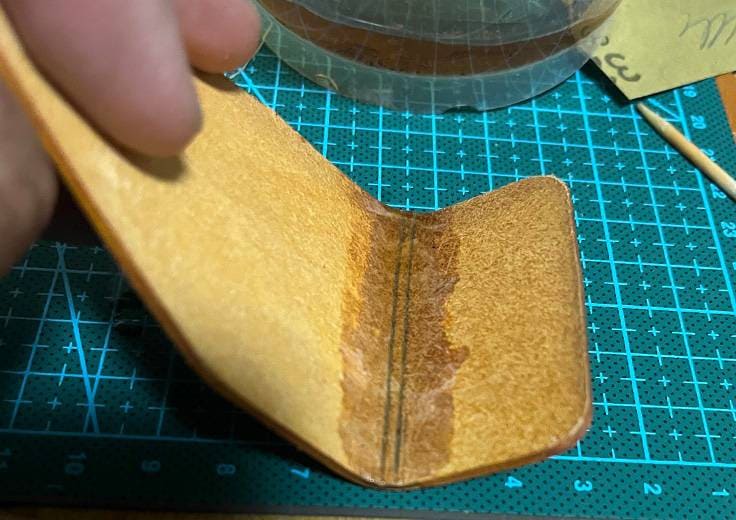
I scored a line, wet the leather, and slowly folded it.
Once folded, I placed a weight on it and let it sit for a day. Since wetting leather removes its oils, it’s important to apply oil after it dries.
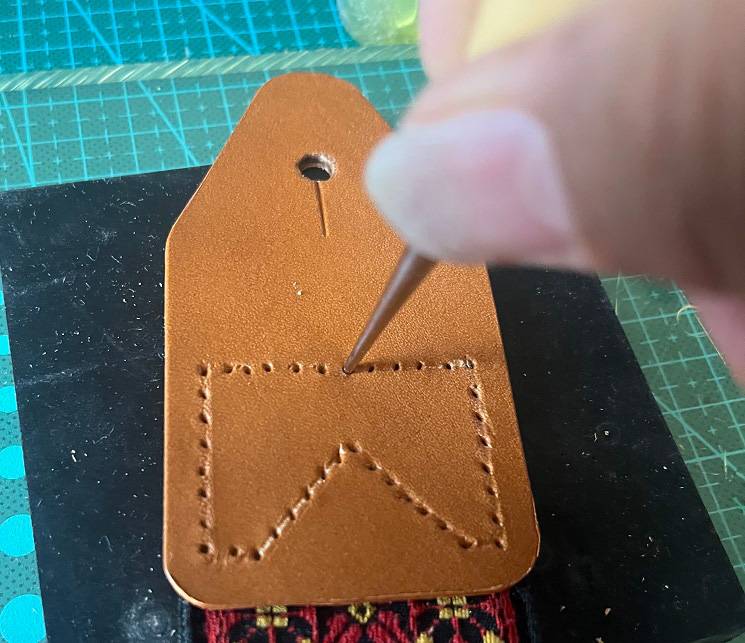
On the other piece, I marked the sewing holes. I drew a sewing line on the pattern

and punched holes at each end.
At first, I thought it was a good idea to punch the end holes, but later realized it wasn’t, as the spacing didn’t match the chisel I used for the other stitches.
I drew a line using a multi-stitch groover
and punched holes with a chisel.
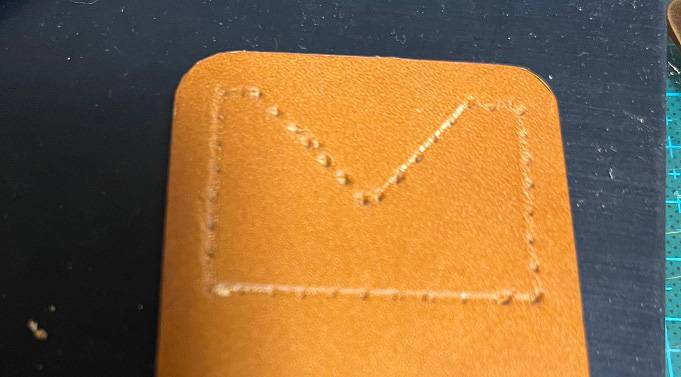
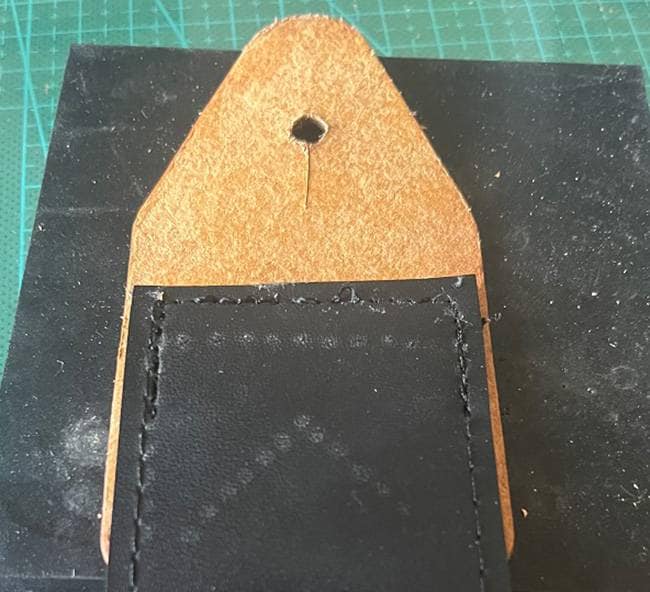
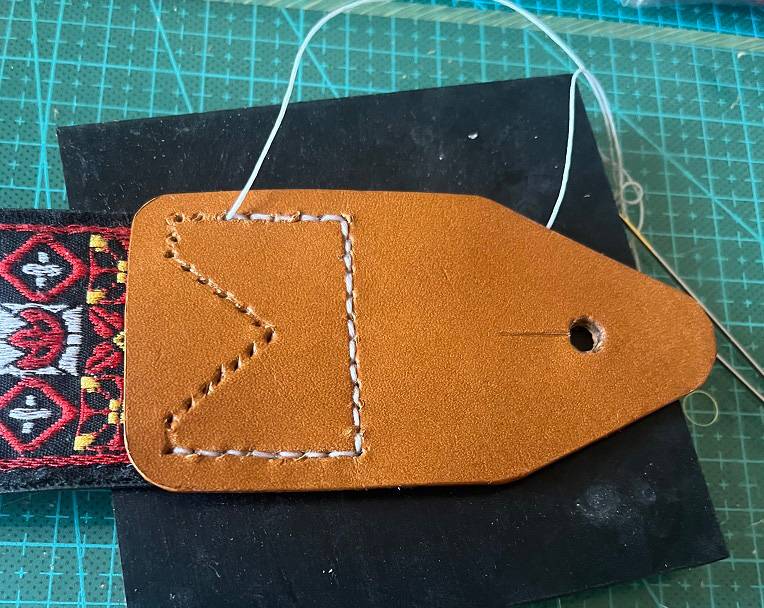
I curved the upper part into a V-shape so I could store a pick inside.
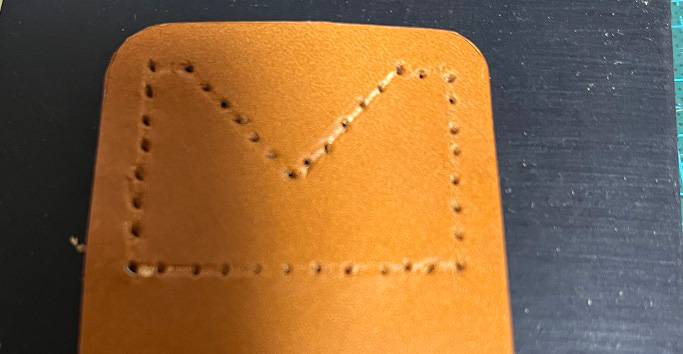
I then used an awl to further open the holes.
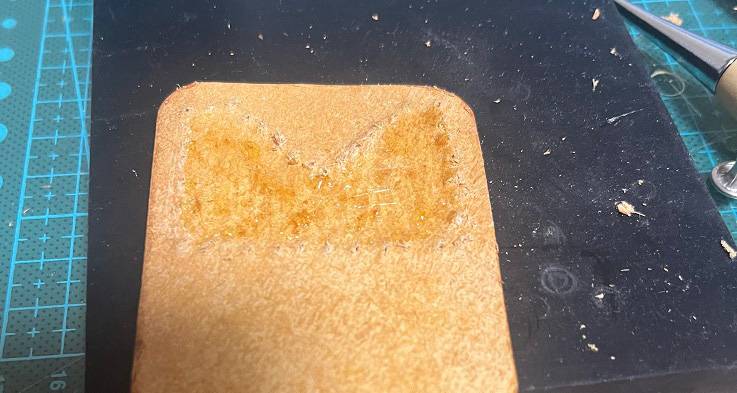
I sanded the inner part of the leather to roughen it and applied glue to stick the pieces together.
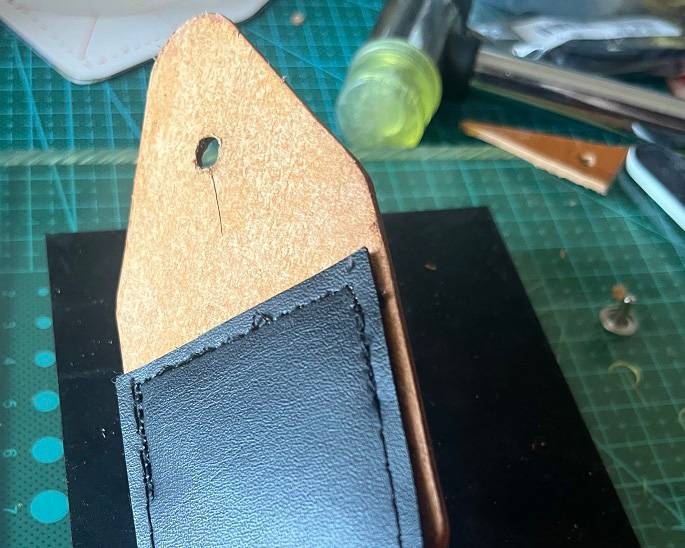
I re-punched the holes with an awl to make them go all the way through.
Finally, I sewed the pieces together.
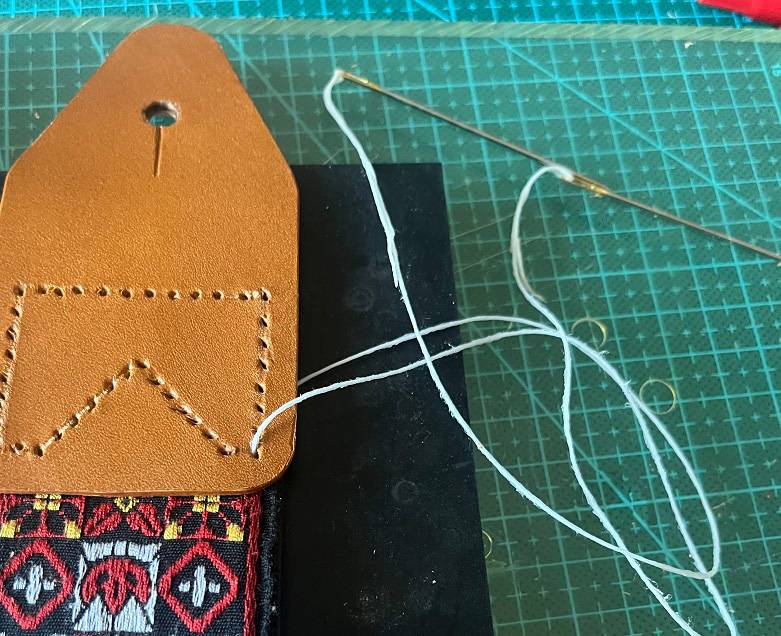
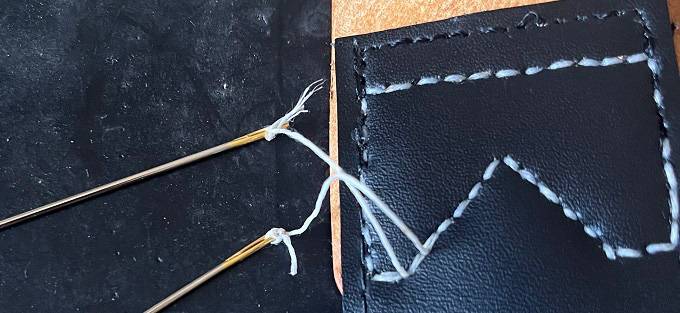
Even though I cut the thread longer than needed, it ended up being pretty tight.
I used waxed thread, so I sealed the ends with a soldering iron.
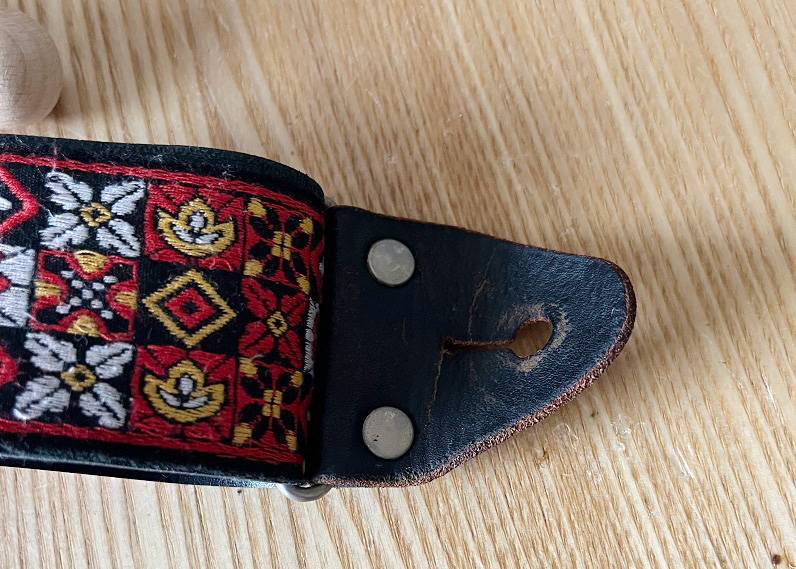
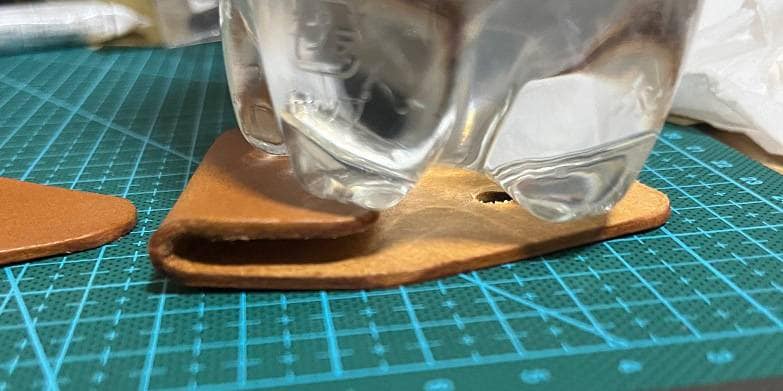
For the folded side, I was ready to attach the eyelet, only to realize the one I bought was too long.
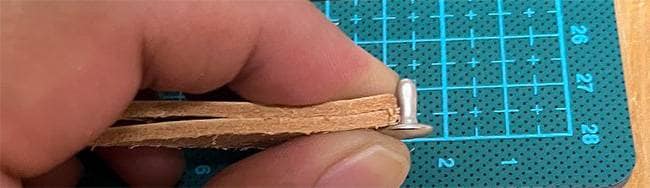
I chose the shortest one available at the hardware store, but...
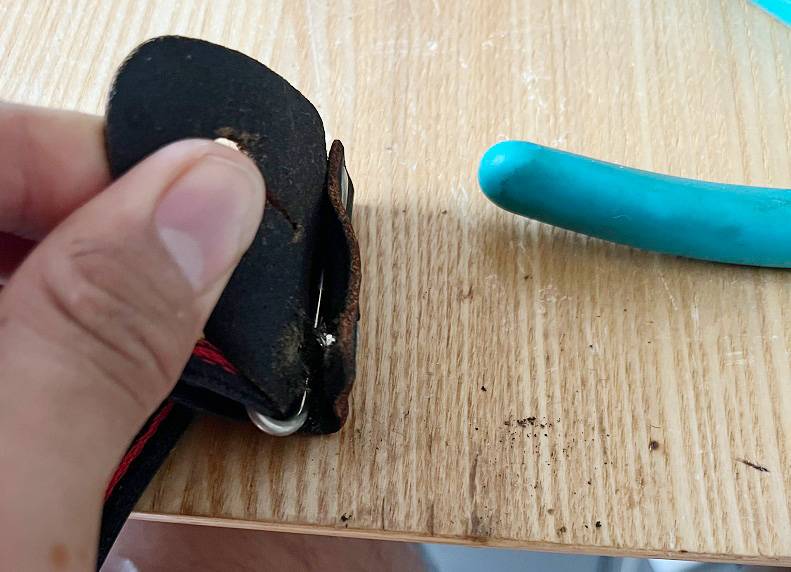
Then it hit me:
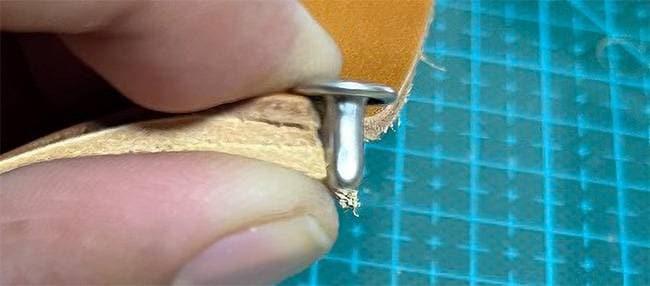
Using three layers of leather would make it just the right length!
I cut and glued extra leather to create the third layer.
I looped it through the metal ring
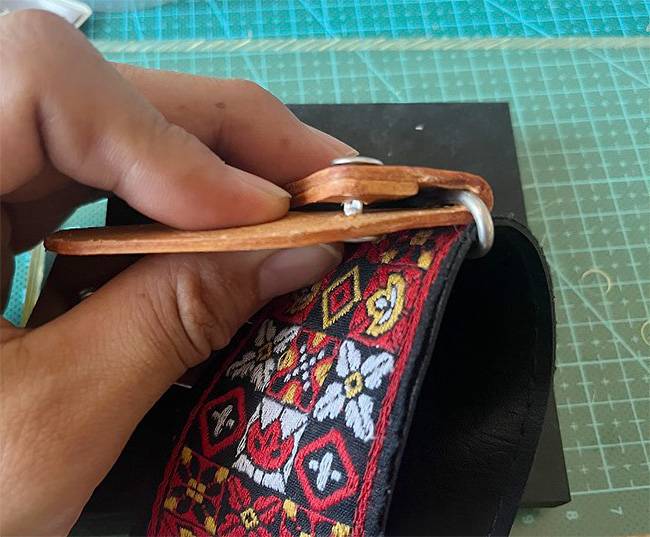
and punched the eyelet. And with that, the repair was complete!
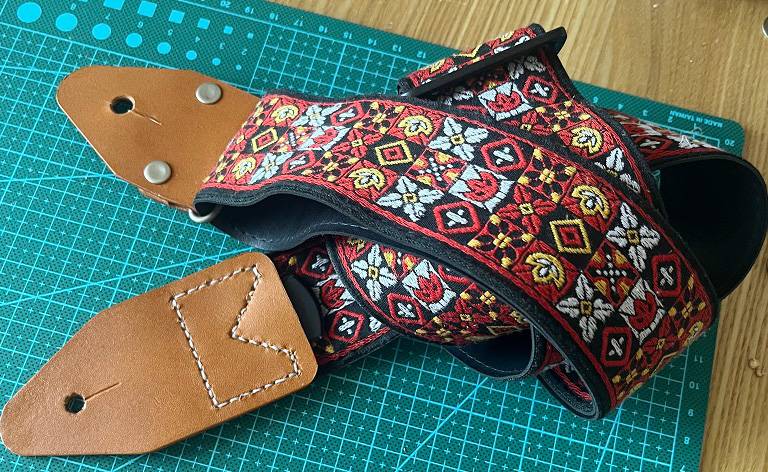
I’d give it about 30 points. If you look closely, it’s crooked, and the stitching is quite rough. I’m sure skilled leather crafters would laugh at it. It took me about two weeks to make it little by little.
I have no idea how much it would cost to have a pro make something like this, but since it’s a custom piece, it could be quite expensive.
Between the tools and materials, this project ended up costing quite a bit.
So, let me be clear: “It’s cheaper and easier to just buy a new one!”
By the way, Sound House doesn’t offer repair services for straps like this, so please keep that in mind.


![[2025 Edition] 8 Recommended Straps That Pair Perfectly with Gibson Guitars](/contents/uploads/thumbs/2/2022/5/20220525_2_18113_1.jpg)

 JBL / IRX ONE 特集
 Getm Getm ギターストラップ
 ストラップの選び方
 ギターのお手入れ
 お手入れに必要な道具
 ギター演奏に必要なものは?