For those who do repairs, it’s a common story that repairs that seem easy are actually quite difficult.
This time, I’d like to introduce a recent repair I did as an example.
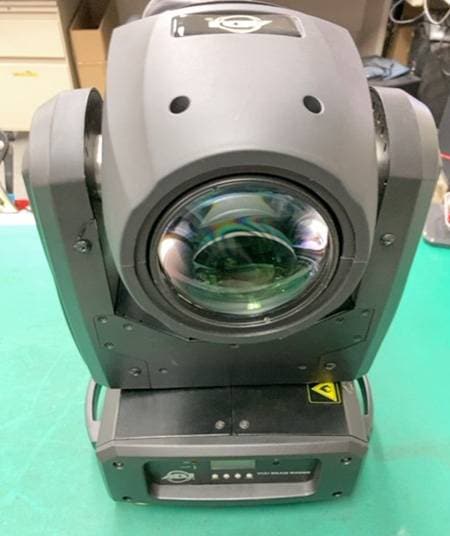
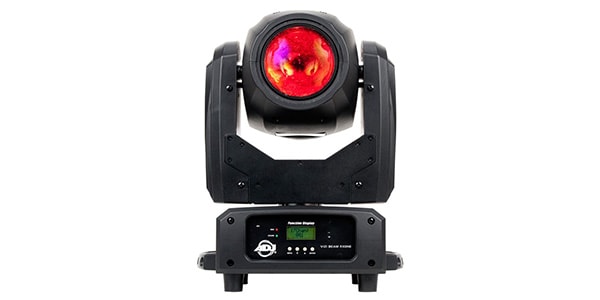
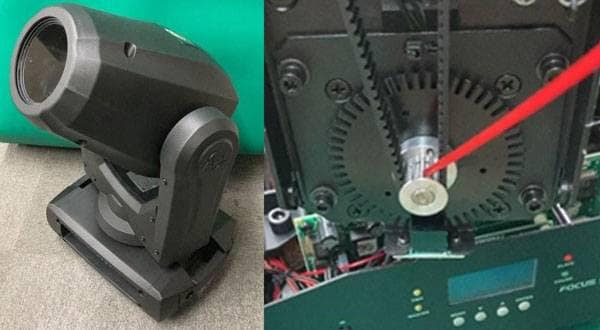
American DJ / VIZI BEAM RXONE Moving Head
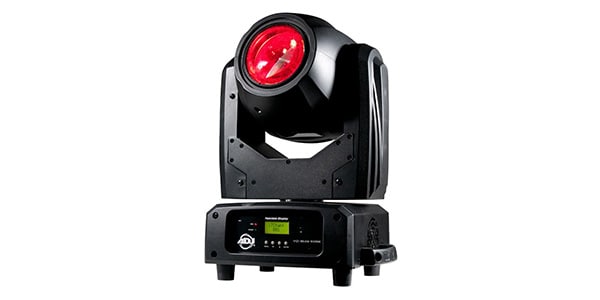
We received it with the issue that it wouldn’t start properly even when powered on.
While setting up the unit to check its operation, I noticed something off with the horizontal rotation. Upon investigation before powering it up...
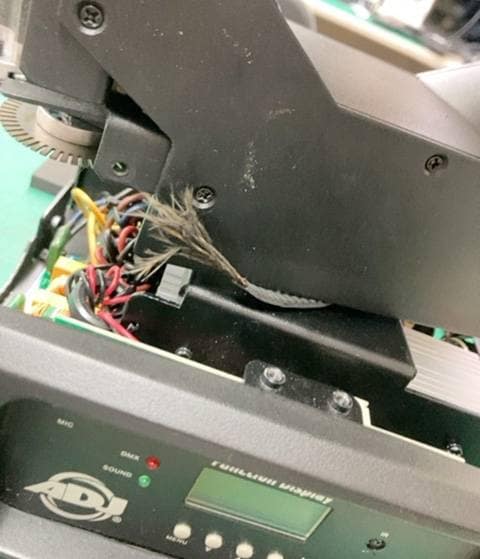
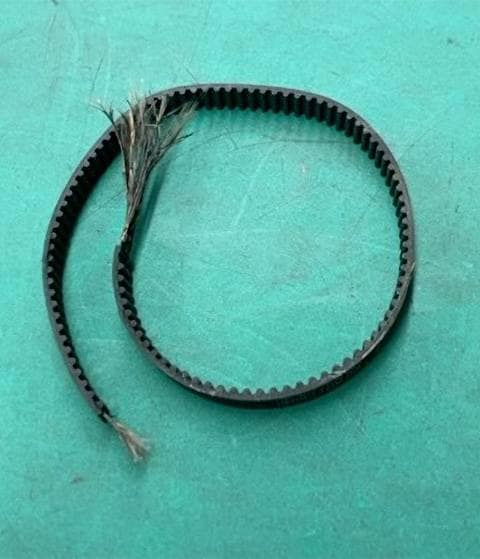
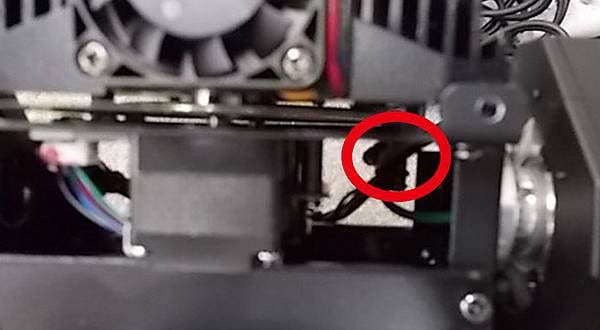
The pan belt was broken.
(In moving heads, horizontal rotation is called pan, and vertical rotation is called tilt, so the horizontal rotation belt is named the pan belt.)
In a moving head, the most physically active parts are the belts. After years of use, they can wear out and break.
This unit had been in use for over four years, so it seemed the parts had reached the end of their lifespan and broke.
First, I removed the belt and powered on the unit, manually resetting it to check for any other issues besides the pan operation. Fortunately, there were no other malfunctions, so it seemed only the pan belt needed replacement.
Now, here’s the main point.
You might think that just replacing the pan belt would be simple, but actually, replacing the pan belt in a moving head is the most difficult task.
The problem lies in the location of the pan belt. In most moving heads, the belt runs between the base and the arm, and this model is no exception.
Several power and data transmission cables ran from the base to the head, and to replace the pan belt, I first needed to remove all these cables.
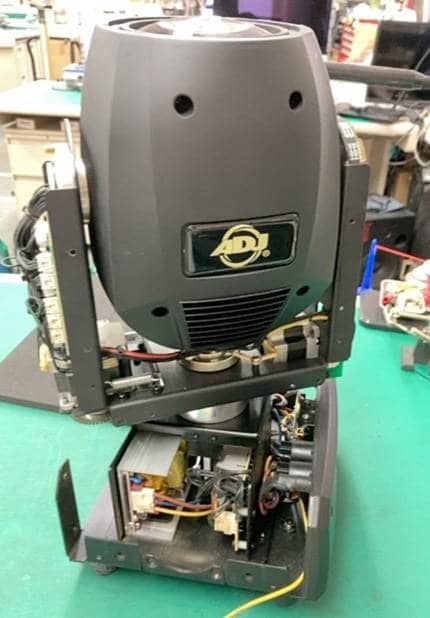
Next, after disconnecting the cables, I needed to separate the base and the arm to thread the pan belt. This required disassembling the base’s casing parts so that it became smaller than the pan belt’s diameter. By this point, almost all the casing parts of the base were disassembled.
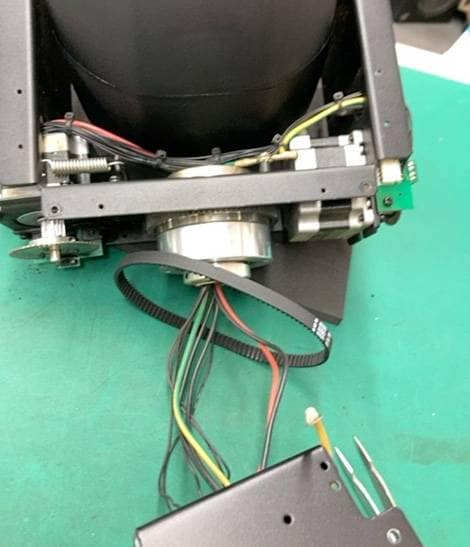
After threading the pan belt, I removed the motor and the gears of the supports to install the belt. Finally, the parts replacement was complete. Keeping track of the cable routes and connector locations, as well as the positions of the casing parts, while disassembling and considering reassembly took nearly two hours.
After replacing the parts, reassembly followed the reverse order of disassembly. Cleaning the disassembled parts along the way and performing the final operation check took about four hours in total.
While only one belt was replaced, the repair process turned out to be quite challenging when broken down.
This was an introduction to the behind-the-scenes of this kind of repair. I hope that the repaired product will be used and cherished for a long time.


 STAGE EVOLUTION ステージ照明
 AMERICAN DJ ステージ照明
 Eliminator ムービングヘッドの選び方
 ステージ照明の調光器
 小さなパーティでも役立つカッコイイ照明機材
 照明入門講座