Following up from the last issue, this time I’m crafting? I'm not that good at crafts as you may have guessed. As those who have seen my last blog may have been able to tell that I’m not so good at crafts. (Though I rather enjoy it a lot!). So, I hope this blog on assembling floor lamps will reassure you that even a clumsy person like me can make them!
This time, I’m going to assemble this “SFL60” floor light from Stage Evolution.
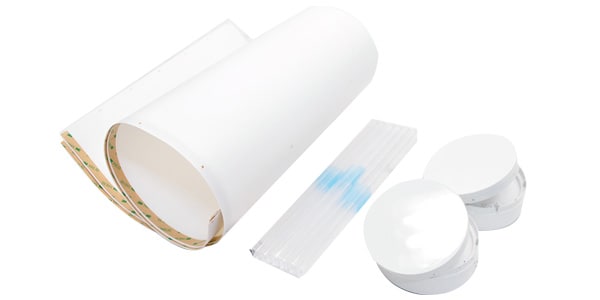
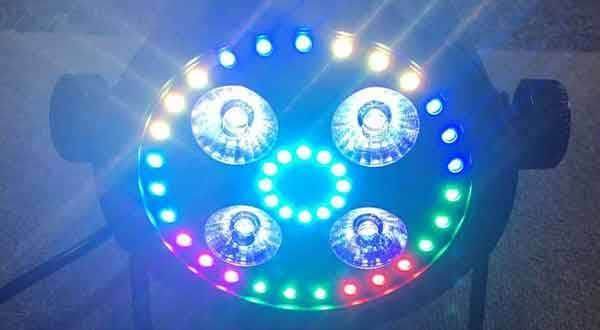
The product is as follows↓
What is a floor light?
A low-cost and lightweight lighting fixture that is placed directly on the floor. The pillar is high, making it suitable for partial lighting such as in a corner of a room.
Let's start assembling the product!
*The product is assembled and comes in the box as shown below. This ↓ is for one unit.

Step 1: Assemble the three clear plastic rods and place them on the base that will serve as the base of the light.

Insert it like this.↓

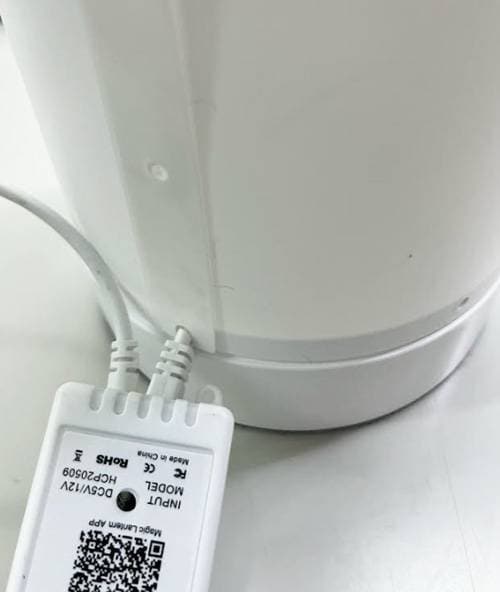
The base is here *Bottom side is black.↓


Here is the finished product of step 1.↓
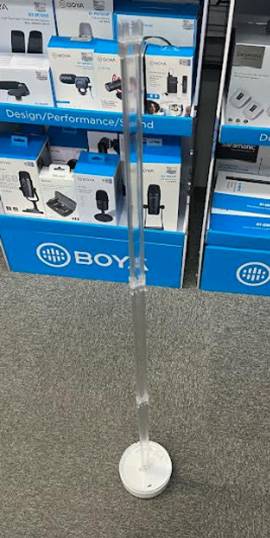
It’s so long. By the way, the height of the finished product is about 104cm.

The tip is fixed tightly. It may take a little bit of effort to fit it into the base plate.
Step 2: Stretch LED tape on a clear plastic rod
Here is the LED tape to be applied ↓.

On the back side of the tape, peel off the double-sided tape portion and affix it to a clear plastic stick.
Caution!
Be careful not to remove the double-sided tape all at once & attach it so that the part with the attached cord is on the bottom.

Here is the completed form of Step 2↓

Yeah, OK. (No comment, especially in this state lol)

By the way, the cord is fixed in place between the recesses of the base.
Step 3: Roll up the side sheets and pin only the overlapping parts first.

Step 3 was the most difficult part. Also, the overlapping part is covered with double-sided tape, so it is difficult to fasten the pins. I'm a sloppy person, so I used a ballpoint pen.

I hope you will be able to get through it with your spirit!
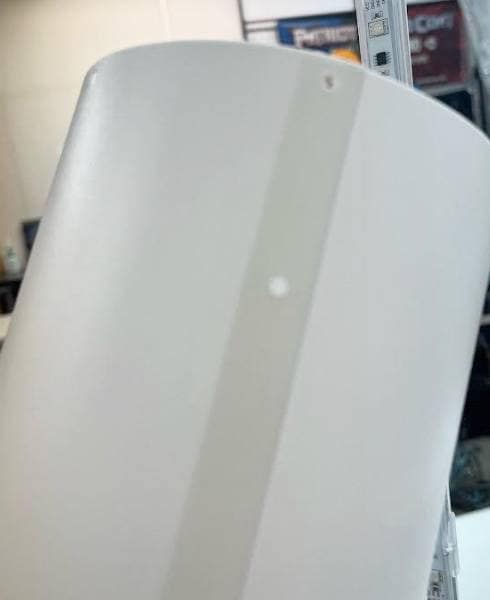
Step 4: Place the side sheets on the bases made in Step 3 and pin them in place.
Caution!
Side sheets should be fitted and secured with the concave side down (see photo below).
↓Through the hole in which the cable is threaded

Step 5. Take the tip of the plastic rod and attach the base of the top end and pin it in place (*’▽’)
↓Take the tip off

↓Fit and pin it in place

Now complete! Thank you for your hard work!

By the way, it took me 30 minutes to make it without a manual. (´;ω;`)
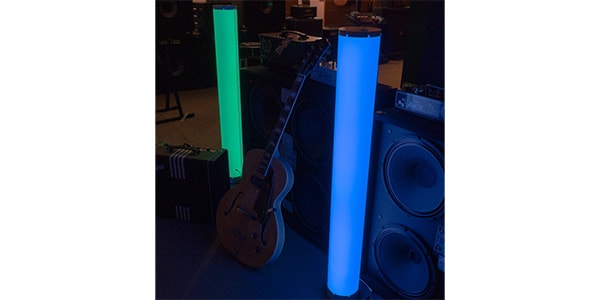
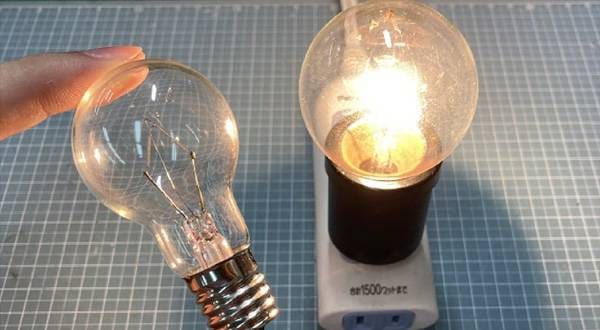
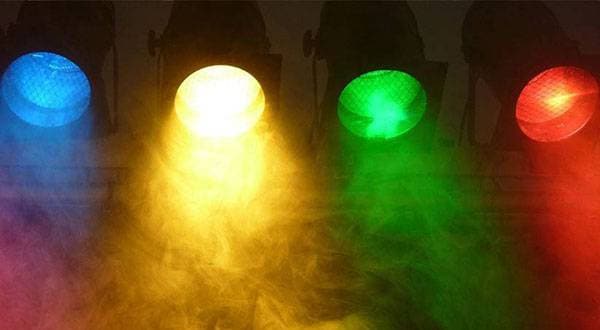
Here's the photo of the lit up device you've been waiting for.


Wow.... It's so bright except for the light........ Thank goodness.
The light is turned on by remote control.

How was it? I hope you will try making one too!


 STAGE EVOLUTION ステージ照明
 ステージ照明の調光器
 ELATION Six +Par シリーズ
 小さなパーティでも役立つカッコイイ照明機材
 学校向け機材特設ページ
 照明入門講座