In this article, I’ll introduce how to connect your karaoke amplifier and cables.
I’ve briefly covered this topic in my previous post titled “How to Enjoy Karaoke at Home”, but we often receive inquiries from beginners asking, “How do I connect the speaker cables?” So this time, I’ll explain the connection method in detail.
I’ll use two karaoke amplifiers that are available for purchase at Sound House as examples for this explanation:

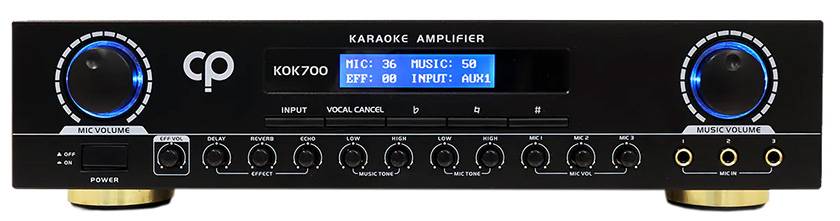
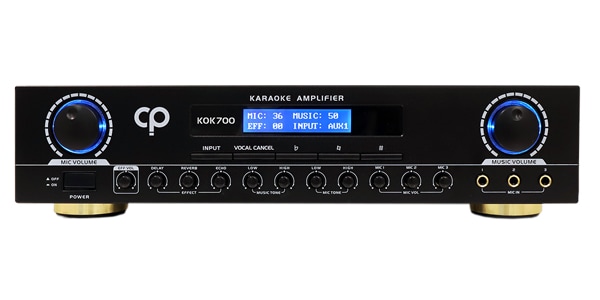
CLASSIC PRO / KOK700 Karaoke Amplifier
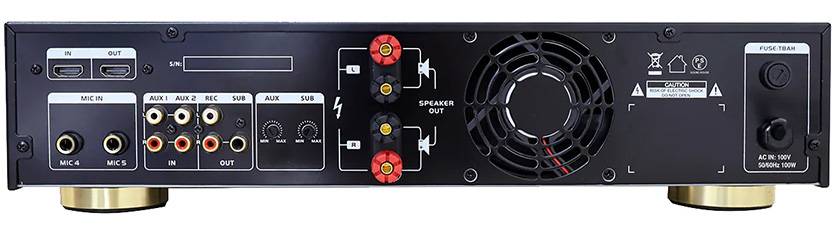
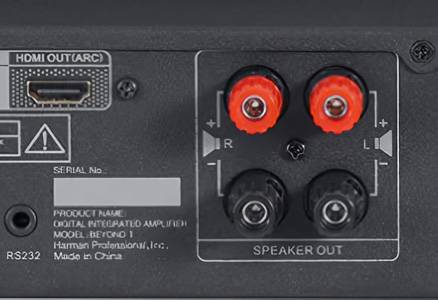
First, let’s take a look at the terminals on the back panel!
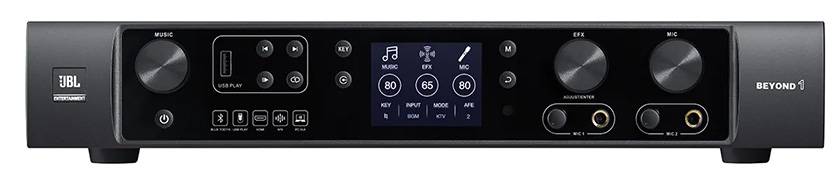
■ BEYOND1
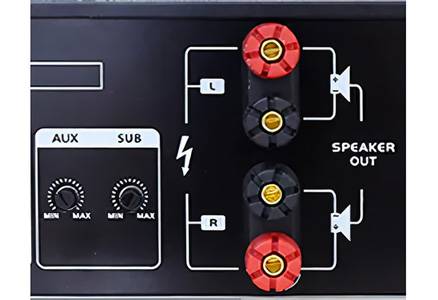
■ KOK700
The terminal arrangements are slightly different, but each has connectors called binding posts, which are red and black.
To play sound through the speakers, connect one end of the speaker cable to these connectors and the other end to the speakers.
*I will show how to connect to the binding posts later.
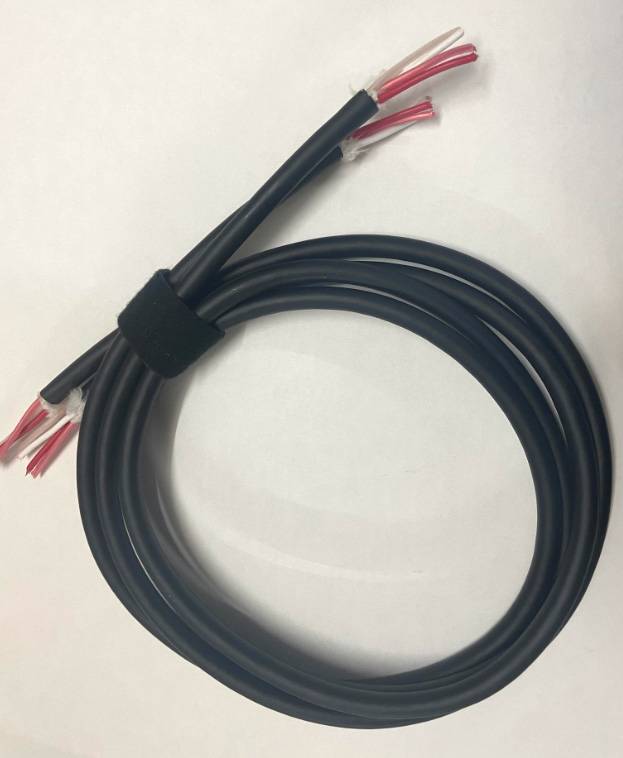
Next, let’s look at the speaker cable.
I’ll use the Canare 4S6G cable.
Canare / 4S6G BLACK Standard Speaker Cable
The black part of the cable is called the sheath. When you strip the sheath, you’ll find four core wires and a white string inside.
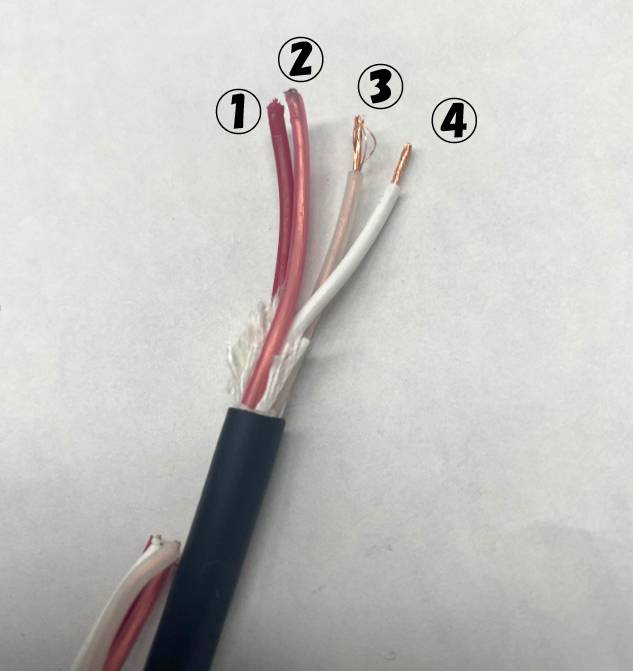
After cutting the black sheath with a cutter and exposing the wires, you can cut off the white string with scissors, as it is unnecessary.
Here is the twisted cable combining wires ①② and ③④!
It doesn’t matter whether you designate the red or white wires as positive or negative.
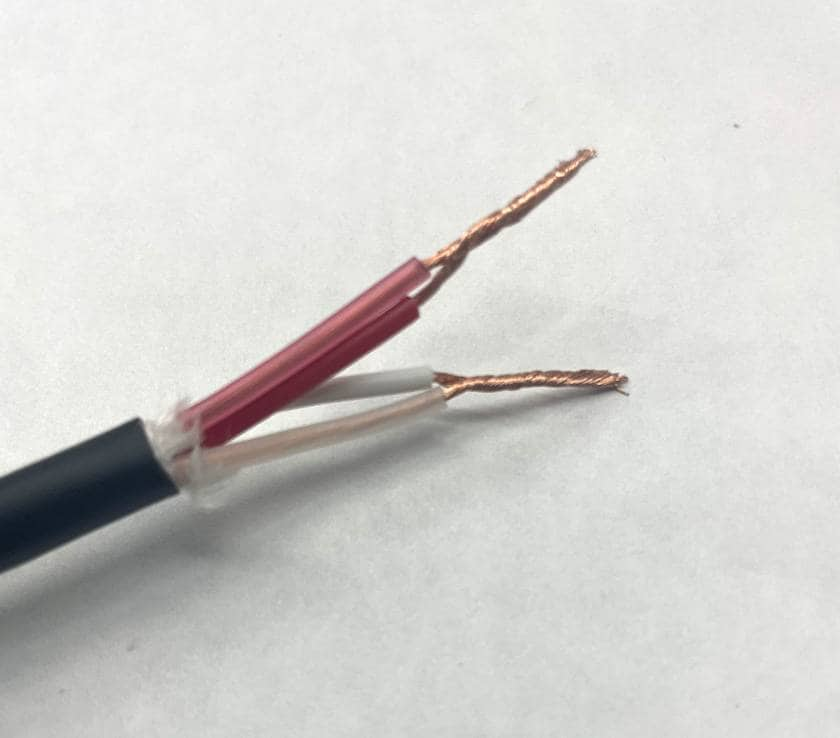
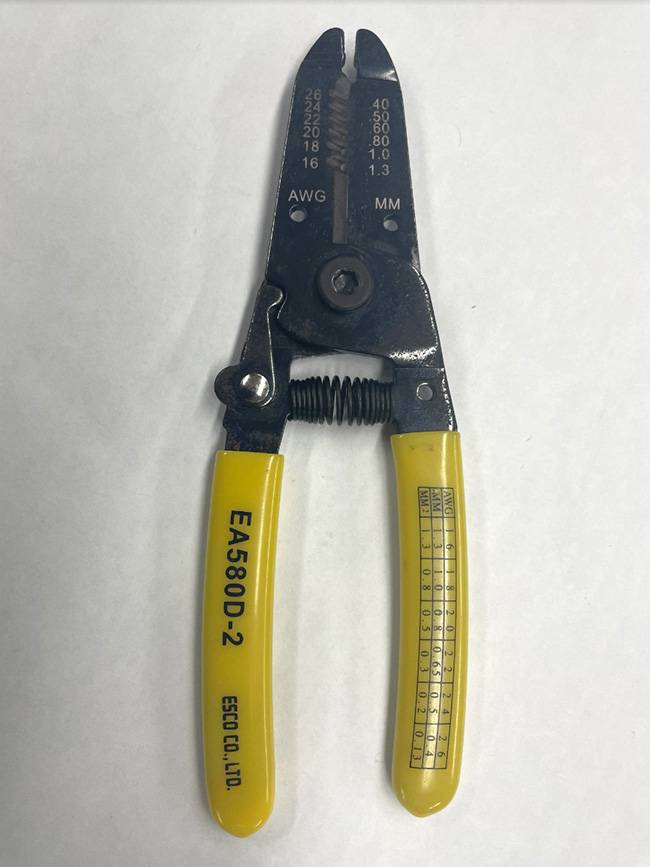
A tool called a wire stripper is handy for removing the sheath around the copper wires!
The numbers and the letters ‘AWG’ printed on the tool stand for American Wire Gauge, which is a standard for the thickness of electrical conductors.
When you connect the twisted cable to the BEYOND1 and KOK700, it will look like the pictures below.
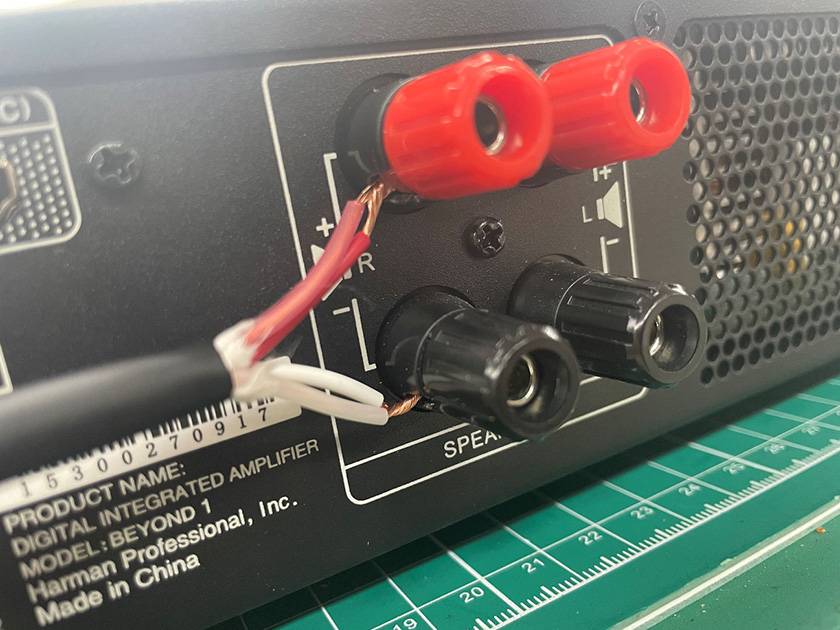
■ BEYOND1
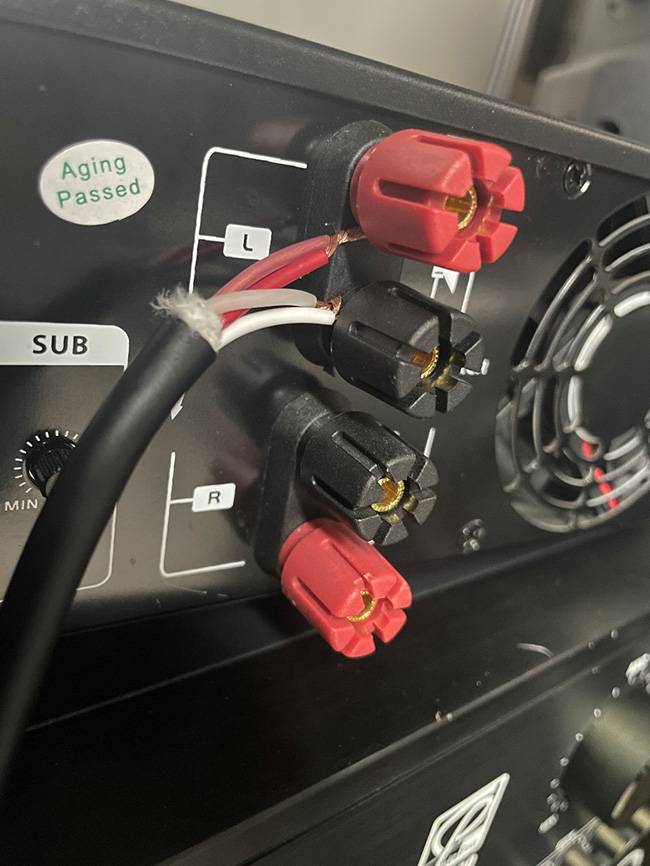
■ KOK700
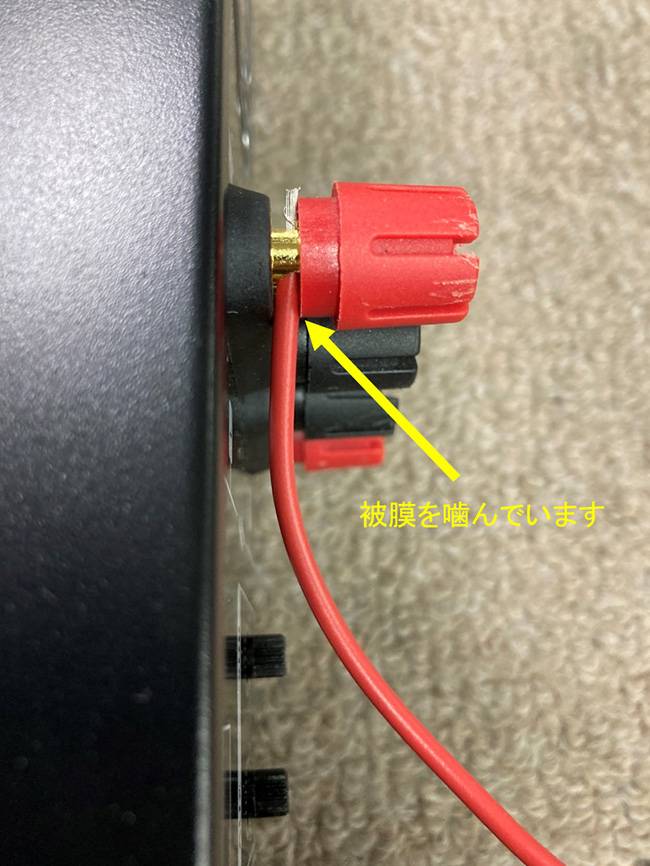
You can create a gap at the base of the connector by turning the binding post. Insert the speaker cable into this gap and then tighten the connector again to connect.
We receive inquiries “No sound is coming out,” but this often happens when the speaker cable is connected with the insulation still on, preventing the signal from properly transmitting to the speaker. The image below shows an incorrect connection.
By following this article, you should be able to connect your speaker cables perfectly. Now please enjoy karaoke to your heart’s content!
(2023-05-12 release 2023-07-27 update)


![[Latest for 2023] How to Enjoy Karaoke at Home - A Guide to Choosing Equipment!](/contents/uploads/thumbs/2/2023/3/20230303_2_21542_1.jpg)
![[For 2023] Recommended Karaoke Practice Products for Beginning Voice Training!](/contents/uploads/thumbs/2/2023/1/20230126_2_20922_1.jpg)


 タイプで選ぶ「良音」カラオケ配信機材
 コンデンサーマイクとは
 マイクケーブルの作り方
 ワイヤレスマイクロホン
 ワンランク上のボーカルマイク選び
 虎の巻 カラオケ初心者講座