Introduction
My first impressions after using this product was that anyone can easily create radio programs with good sound quality with a Vocaster. I felt very satisfied with the quality and felt that it was worth more than the listed price. If you are interested in starting audio streaming, I recommend reading this article to the end.
Contents
- Unboxing: Accessories and Differences between the Vocaster One and Two
- Set Up
- The Vocaster Hub and About the Functions of the Three Buttons
- Recording and Editing with the Hindenburg Lite
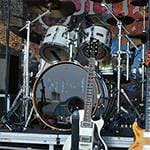
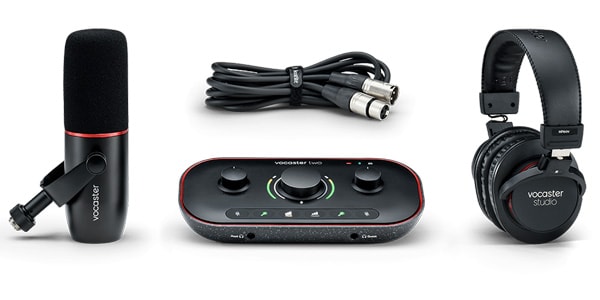
1. Unboxing: Accessories and Differences between the Vocaster One and Two

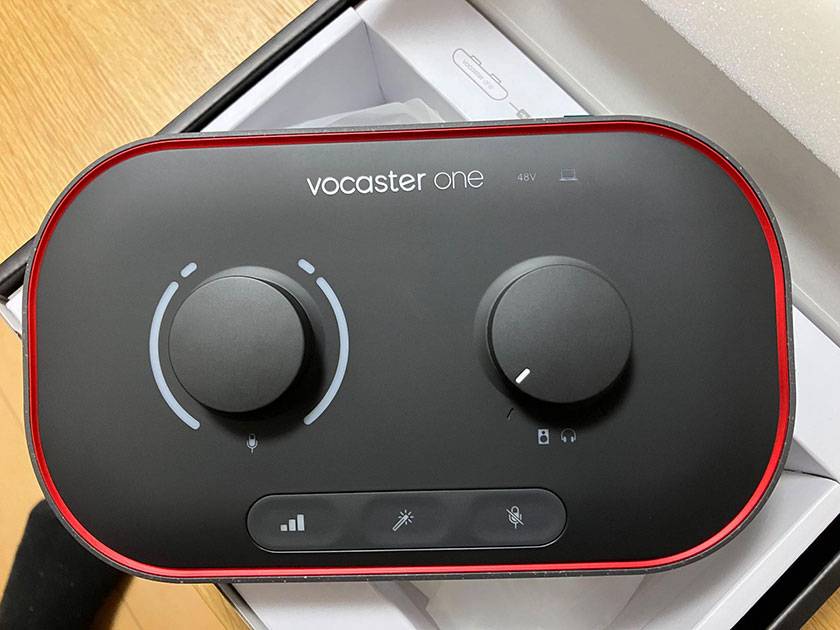
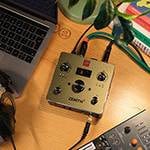
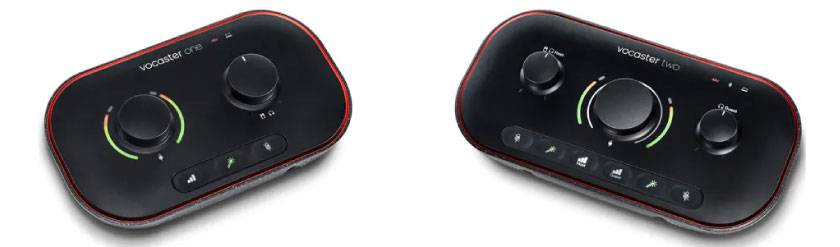
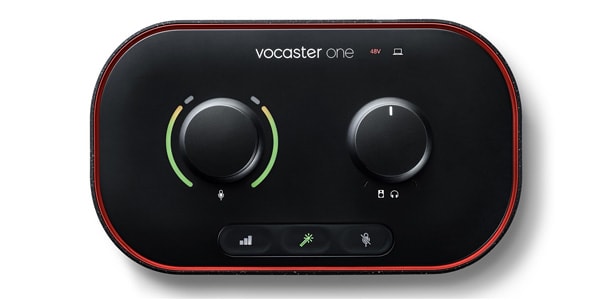
Now, let’s get to the unboxing of the Vocaster One! Just looking at the luxurious red and black design that is a mark of the Focusrite brand motivates me to make more music. The knobs are simple with control knobs that adjust the volume for the input and output. I will talk more about the three buttons on the bottom later.
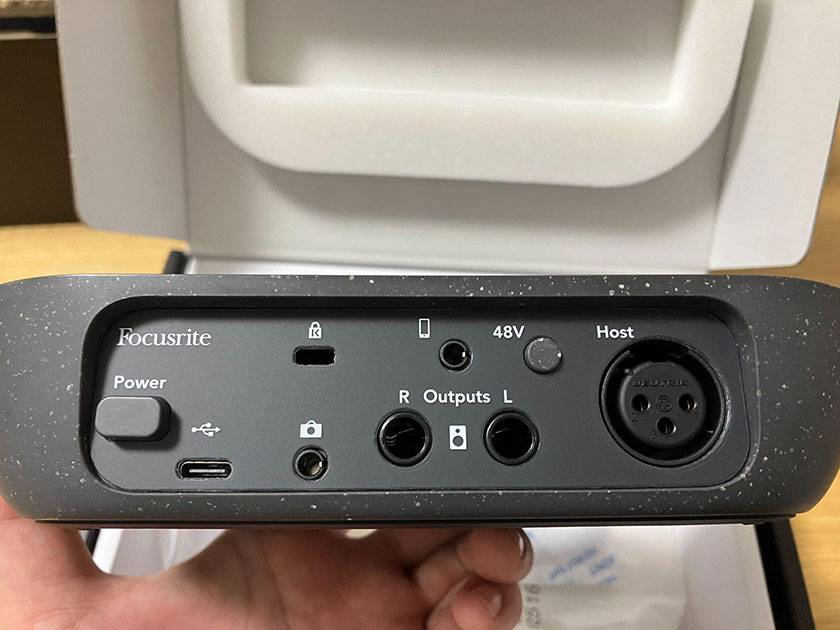
The side of the unit looks like this. In addition to the microphone input and speaker output, do you notice an icon that looks like a smartphone? Connect a smartphone with a TRRS cable to capture phone calls. The Vocaster One also has an audio output jack for a camera, so it can be used for audio recording during video shooting.

This time I have one more audio interface here for review!
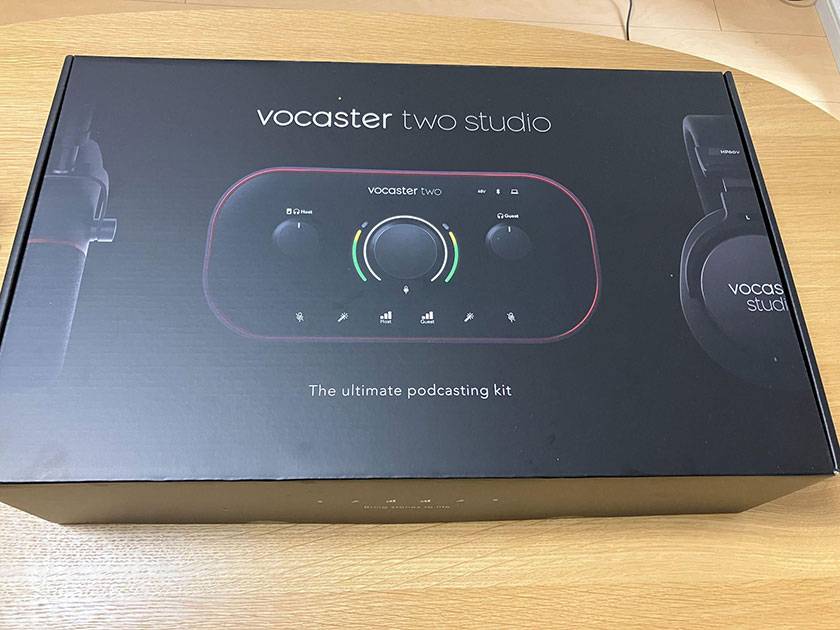
The Vocaster Two, which is a higher grade than the Vocaster One, comes with headphones and a dynamic microphone in the Vocaster Two Studio kit.
Take the Vocaster Two and put it side by side with the Vocaster One...
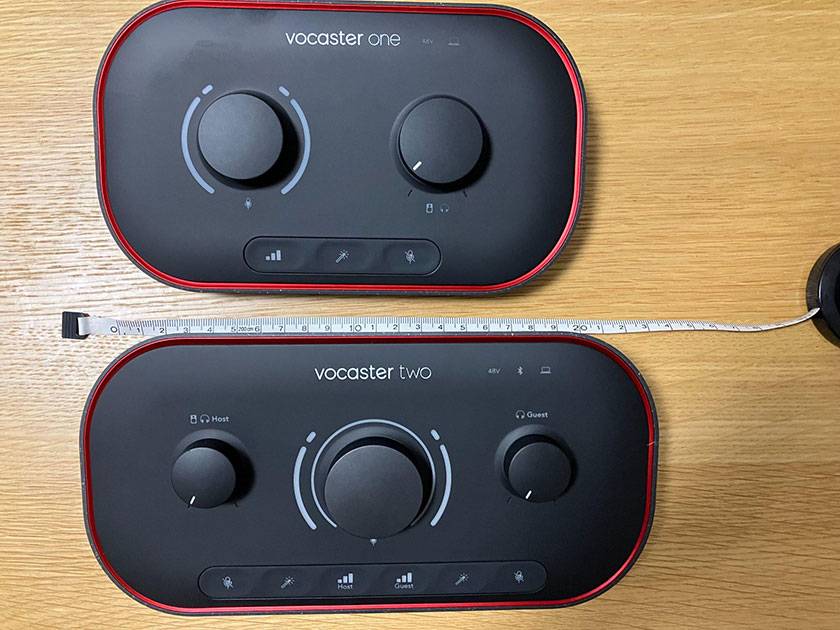
Like this.
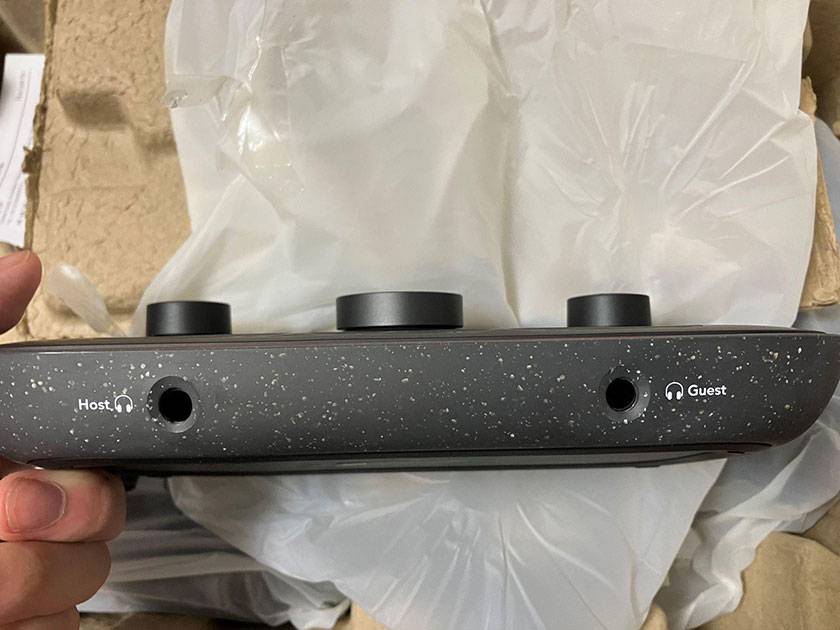
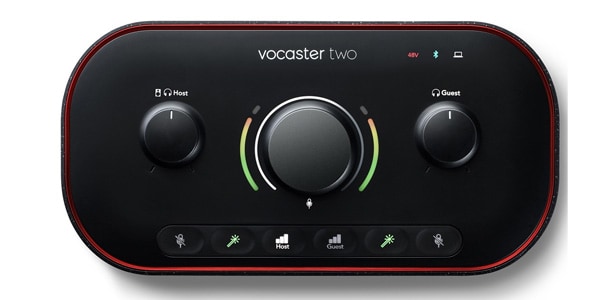
Both models are roughly 20 cm in width. The difference between the two models is that the Vocaster Two has two microphone inputs and two headphone outputs. In other words, the Vocaster Two can be used for recording a podcaster with a guest speaker.
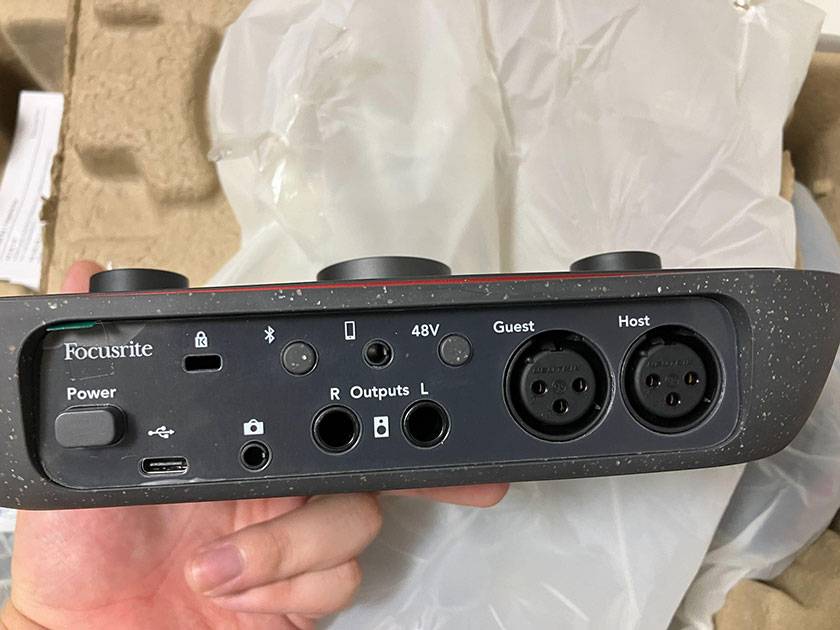
This is not the only difference. Can you spot a difference in the picture above? Yes, there is a Bluetooth icon.
The Vocaster Two can also be connected via TRRS to play music and capture phone calls by pairing it with a smartphone via Bluetooth.
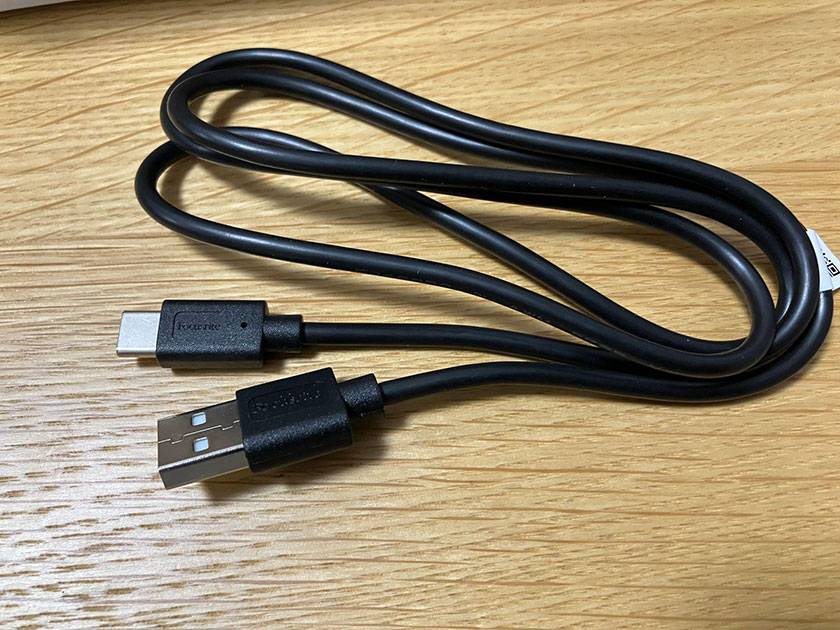
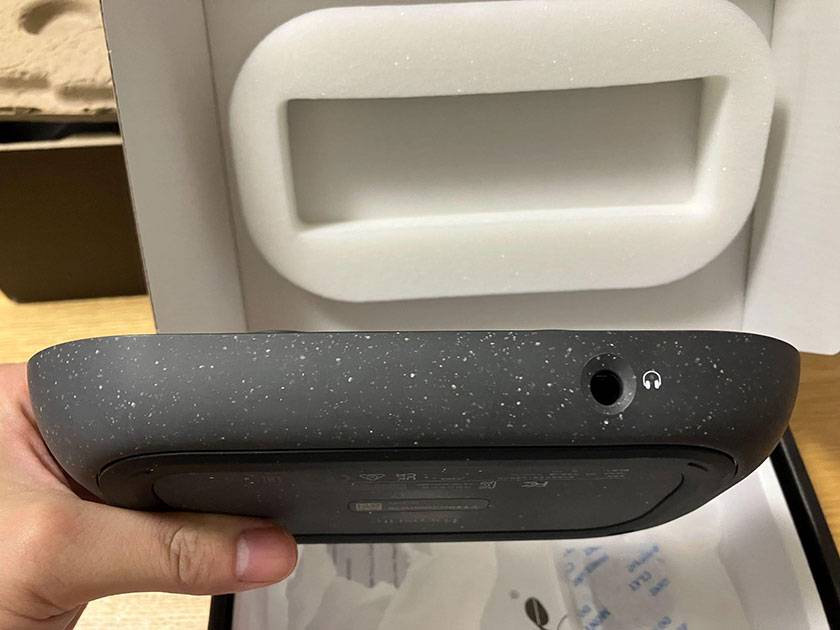
For both Vocaster models, a USB-C to USB-A cable is included for connecting to a computer. You won’t need a power cable because the Vocaster series is bus-powered, so the power is supplied from the computer it’s connected to.
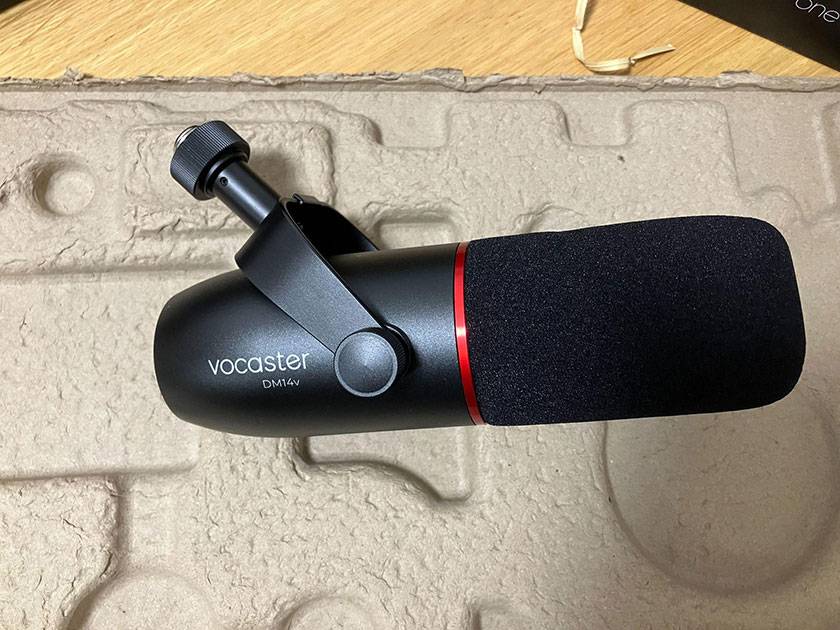
Left: HP60v, Right: Vocaster DM14v
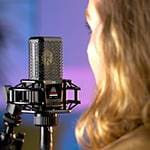
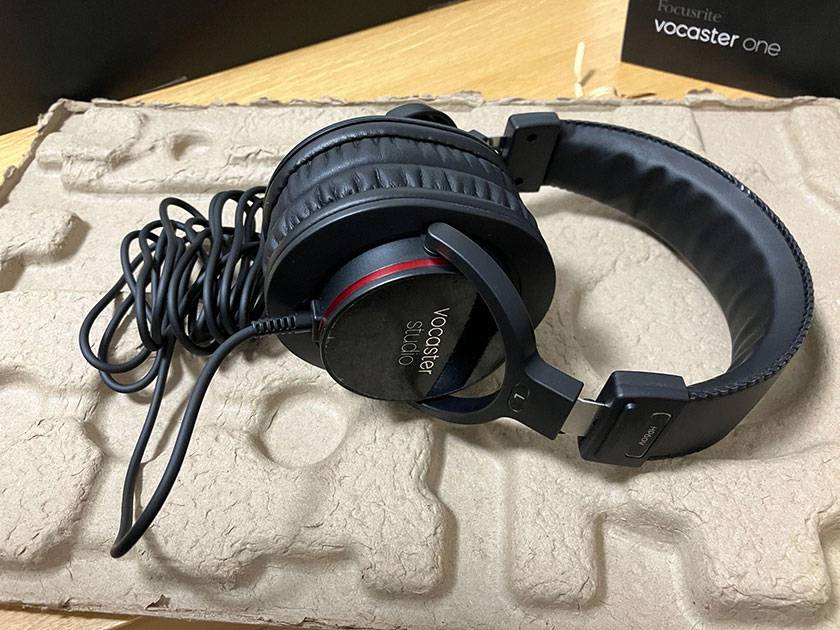
The picture on the left is the HP60v closed-back headphones, and on the right is the Vocaster DM14v dynamic microphone included in the Vocaster Two Studio.
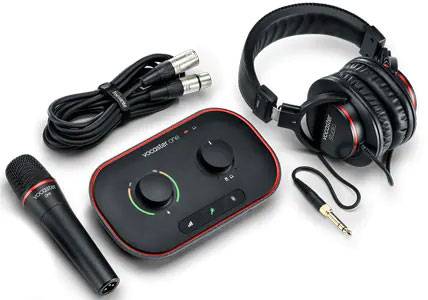
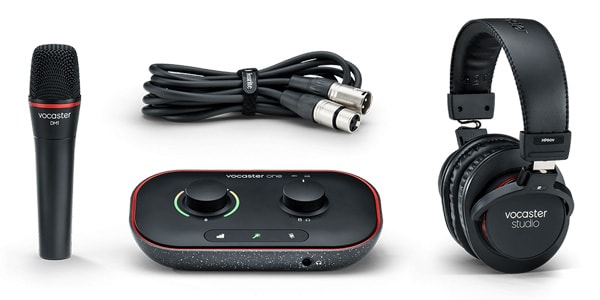
The Vocaster One Studio comes with the HP60v headphones and the Vocaster DM1 handheld dynamic microphone.
If you’re thinking about trying voice streaming or voiceover recording by yourself and you only have a computer, I recommend that you purchase the Vocaster One Studio kit.
2. Set Up

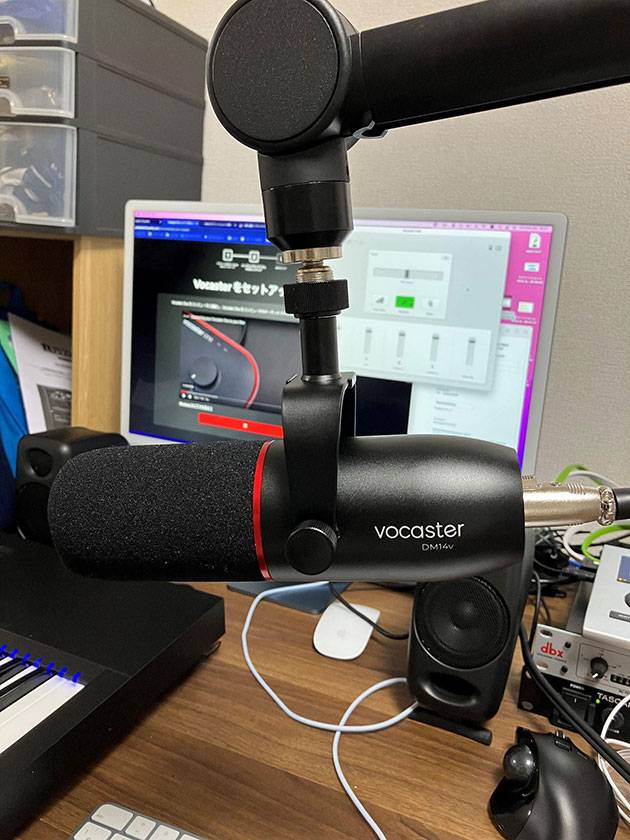
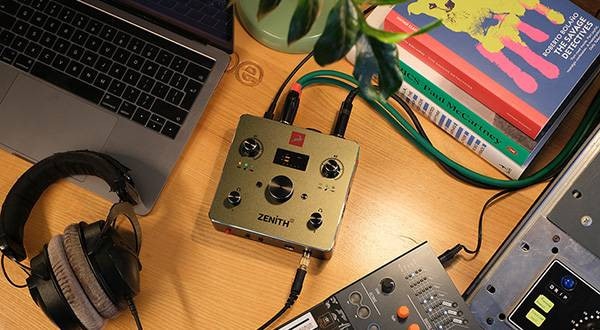
This is what the setup looks like when the cable is connected to the Vocaster One.
This time, I connected the Vocaster DM14v microphone and the HP60v monitor headphones that come with the Vocaster Two Studio. I set up the microphone on a desk arm microphone stand.
Next, let’s move onto the setup on the computer.
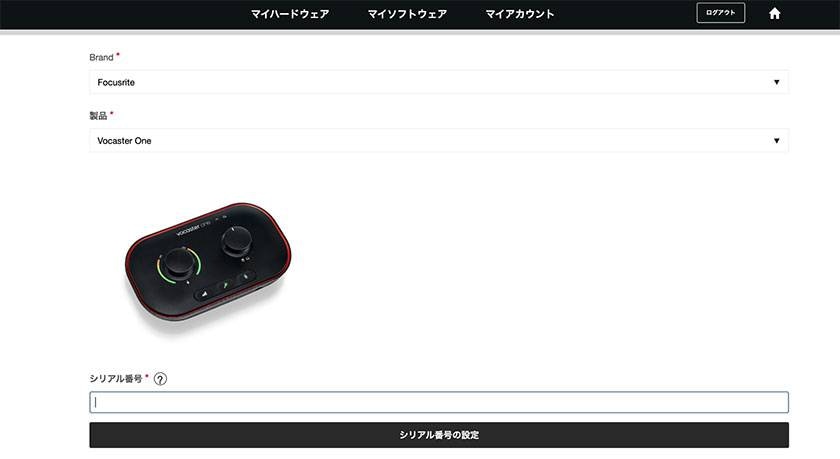
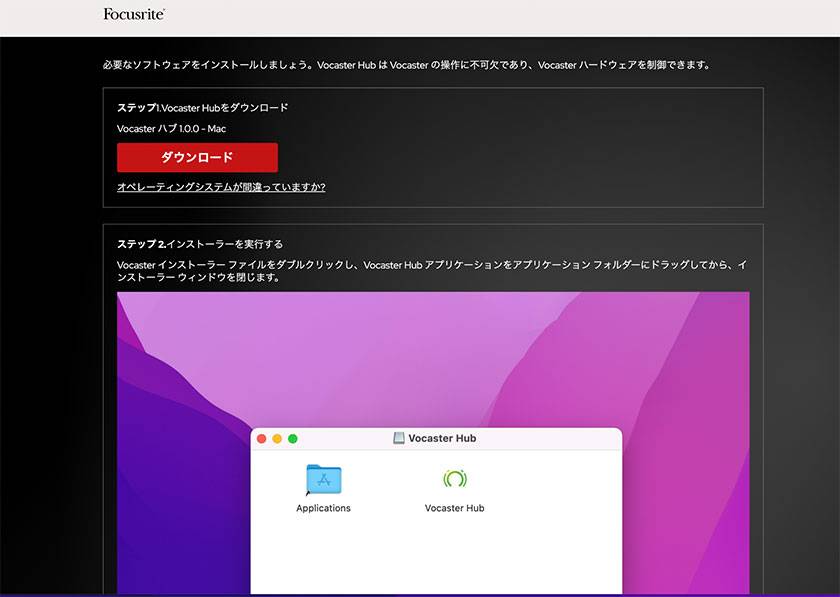
After registering the product on the manufacturer’s website, follow the instruction prompt for installing the Vocaster Hub application that controls the Vocaster.

This video explains every function and how to set up the application at every step. I felt that complete beginners can feel confident setting up the program themselves.
3. The Vocaster Hub and About the Functions of the Three Buttons
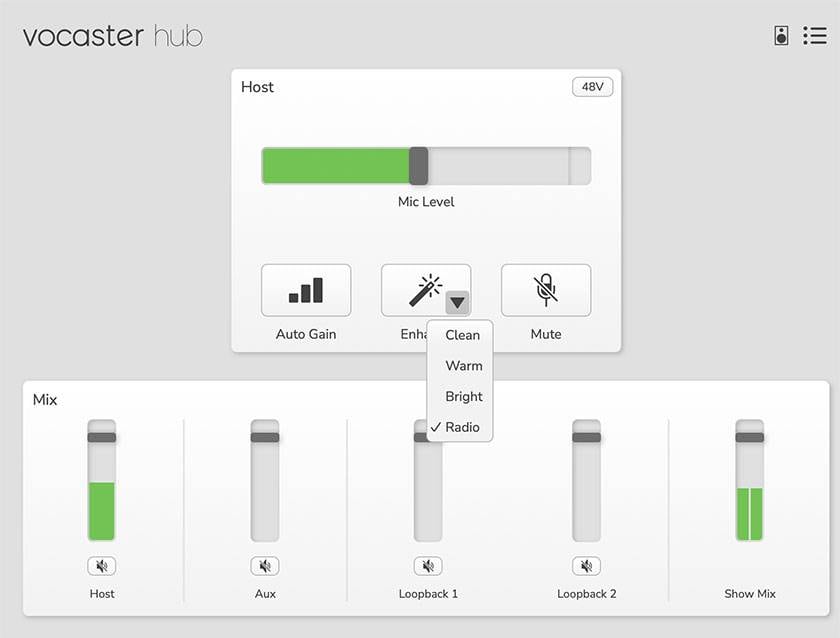
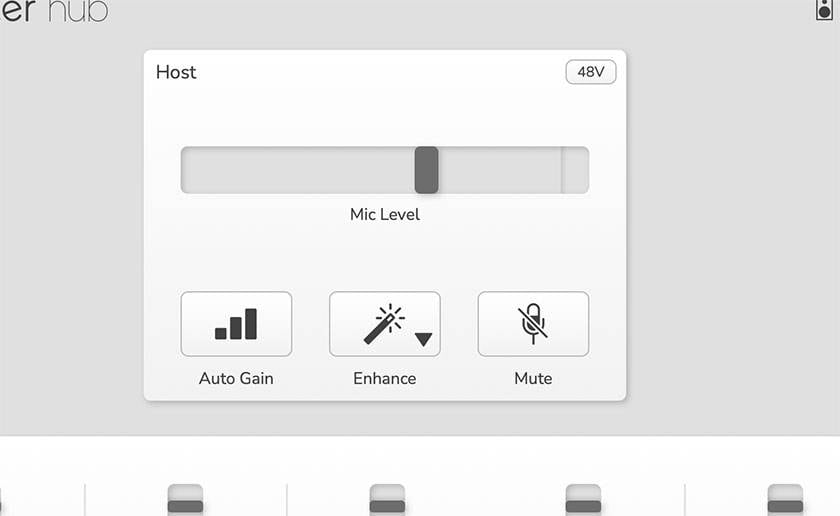
The Vocaster Hub application for control has several functions in addition to adjusting input and output volume. The most notable functions are Auto Gain, Enhance, and Mute.
More about these function as below:
Mute turns off the microphone input.
Enhance changes the presets for maximum sound quality in different situations.
Auto Gain automatically adjusts to the ideal mic level by pressing the Auto Gain button while speaking.
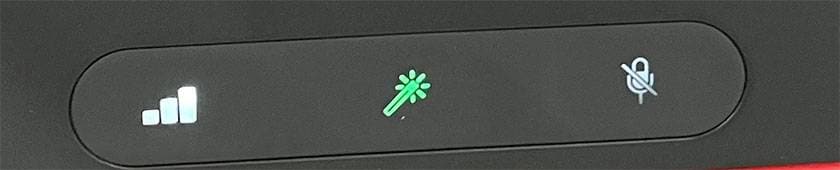
You can access these functions just by pressing the three buttons at the bottom of the unit. For example, if you suddenly need to sneeze during voice streaming, just press the Mute button for no sound.
Out of the three functions, I found Auto Gain to be particularly amazing!
Press the button to automatically start adjusting...

Speak into the microphone for 10 seconds and the mic volume is adjusted without doing anything yourself.
You can start recording with little to no preparation.
Simply press and hold the button on the Vocaster for setting, and you won’t even have to use the Vocaster Hub.
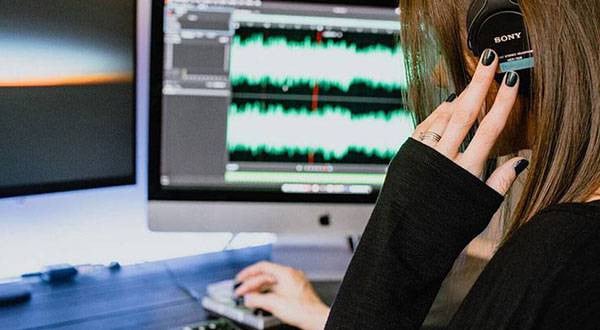
4. Recording and Editing with the Hindenburg Lite
Now the setup is done and you are ready to record audio.
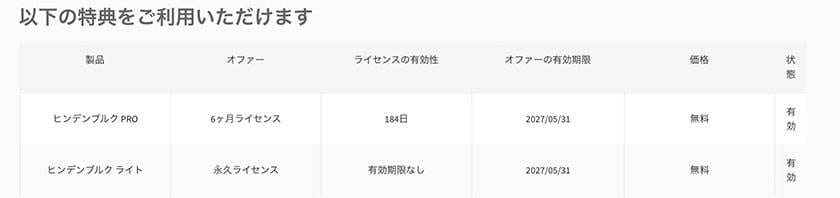
After purchasing a Vocaster series and registering as a user, you’ll be eligible to download and use the recording software, the Hindenburg Lite and the Hindenburg Pro (6-month free trial).
This time, I used the Hindenburg for recording.

Here is a screen capture of my recording with the Hindenburg.
Please also watch the official video showing how to use the software.
[Official Video]
I recorded the audio on a track using the loopback function while playing music on the computer as a pseudo-radio, and then recorded the mic sound on another track at the same time.
I already felt good while recording, but when I played it back, the sound was excellent. The human voice was especially clear in the recording. I let my colleagues listen to the recorded audio file and they commented that it sounded as if the voice was talking right next to them.
In addition, this Hindenburg...

allows you to cut audio, adjust volume, apply EQ or comp, and intuitively make other audio edits. Export the edited audio with this software and watch it easily become data for streaming.
It’s great that you can do it with included software... The Hindenburg is good for those who don’t have DAW software.
Conclusion
How was it? I think that the Vocaster series can be great for Zoom meetings, OBS streamings, YouTube Live, and any other form of streaming. With smartphones and computers being essential items in our everyday lives, streaming has become more accessible, so maybe you can get a Vocaster series and try to stand out in sound quality from other streamers. I hope that this article helped you understand the appeal of the Focusrite Vocaster series.


![[2022 Latest Edition] Overview of Some New Audio Interfaces!](/contents/uploads/thumbs/2/2021/3/20210311_2_12472_1.jpg)
![[2023 Latest Edition] Overview of Some New Audio Interfaces!](/contents/uploads/thumbs/2/2021/1/20210108_2_12044_1.jpg)

 厳選!人気のおすすめオーディオインターフェイス特集
 Focusriteオーディオインターフェイスで始める音楽制作
 DTMセール情報まとめ
 機能で選ぶ オーディオインターフェイス
 DTMに必要な機材
 DTM・DAW購入ガイド