In my last post, I covered how to solder straight phone plugs, so this time I’ll be explaining how to solder L-shaped phone plugs.
If you haven’t read the previous article, it might be smoother to start from there.
Once again, I’ll be using Switchcraft plugs for this explanation, but if you’re making your first cable, I recommend using more affordable plugs like CLASSIC PRO. The cable I’ll use is the same Mogami 2524 featured in the last edition.
CLASSIC PRO / P12R L-Shaped Phone Plug

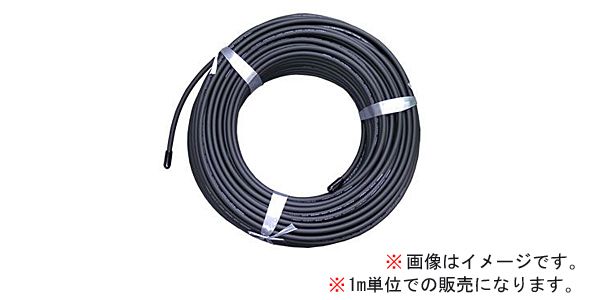
Mogami / 2524 Shielded Cable for Guitar
First off, let me say that the process is basically the same as with straight plugs. I’ll be adding a few extra tips as we go along.
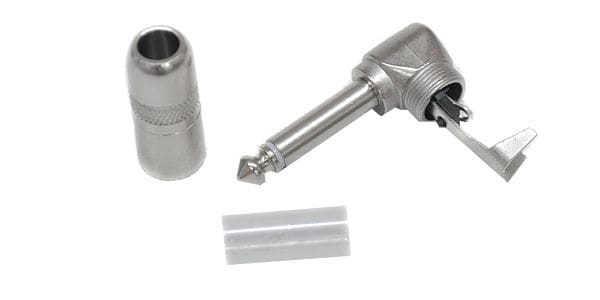
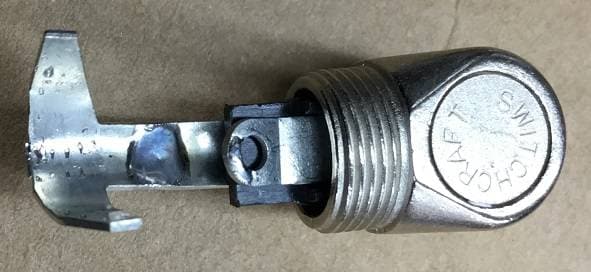
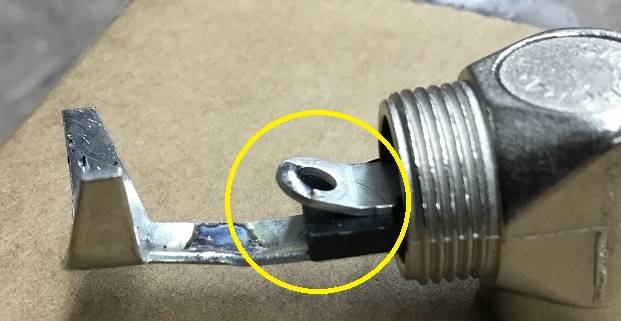
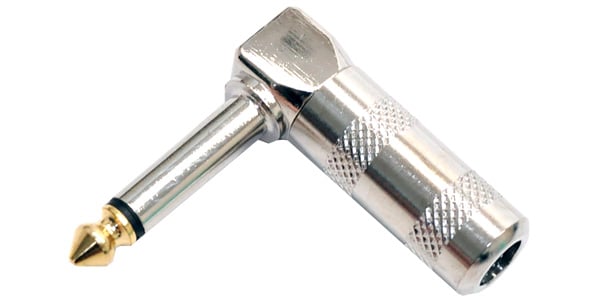
The plug structure is also quite similar to the straight one.
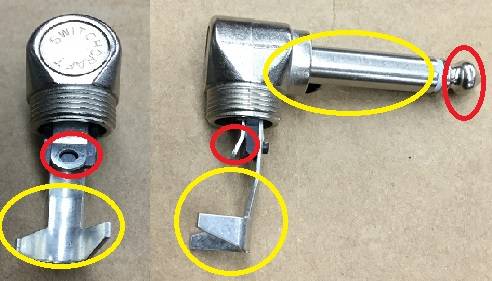
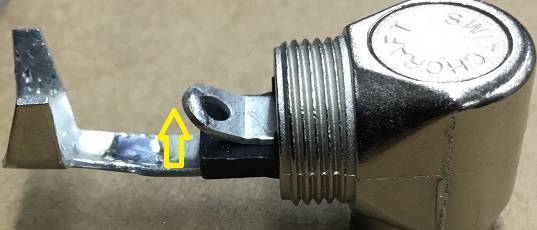
The red circle marks the Tip, and the yellow one marks the Sleeve. Both are connected similarly to a straight plug. Like before, let’s slightly open up the part that holds the sleeve in place.
In the last post, I mentioned I’d try to find a tool to help hold L-shaped plugs in place, and I finally found something simple.
This is it!!
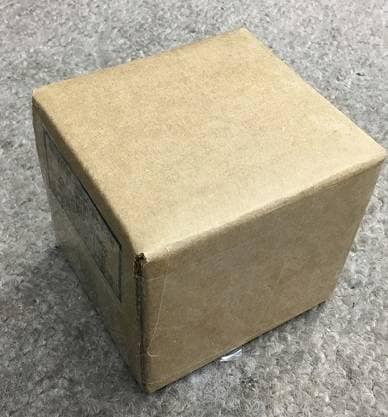
Tadaaa!!
Yes, it’s a cardboard box!
All I did was poke a hole in a cardboard box to secure the plug—instant, easy holder!
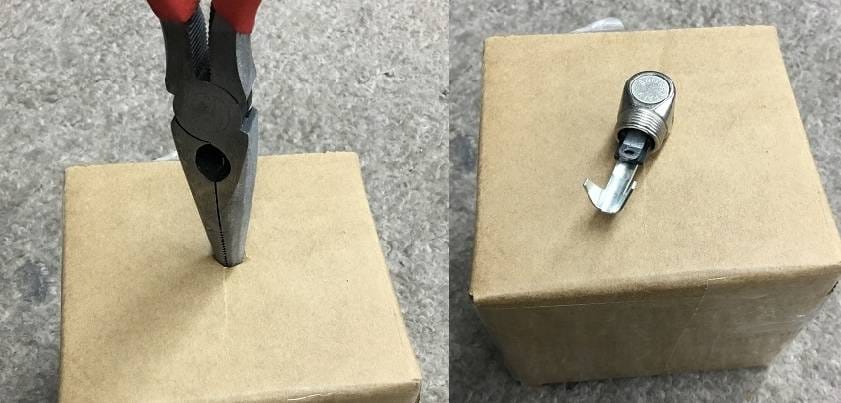
It doesn’t have to be fancy; anything that can lightly secure the plug will do. Be cautious with materials like styrofoam that could melt.
Now, let’s begin.
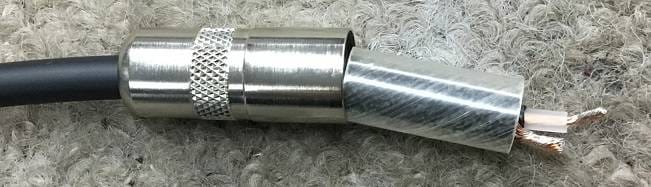
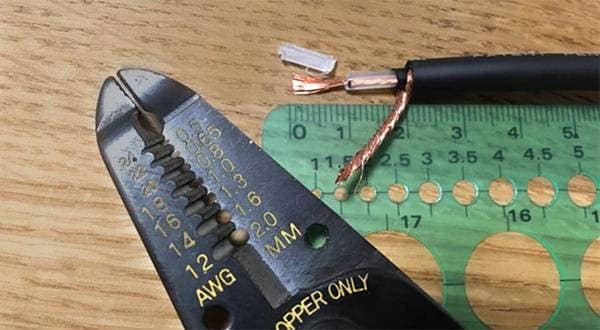
First, use a cutter to strip the cable jacket and spread the shield wire.
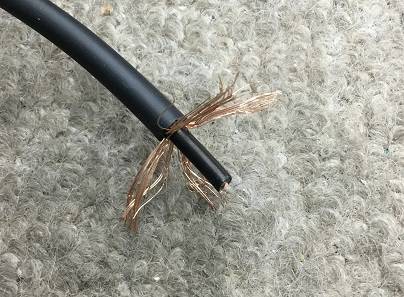
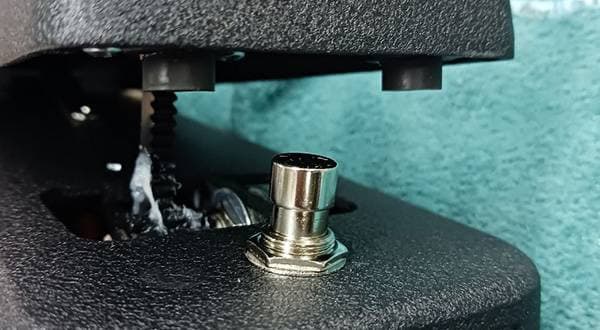
Here’s the key point for L-shaped plugs: Gather the shield wire inside the cable bend, like this:
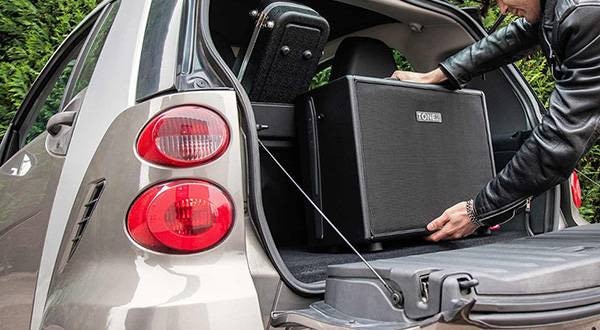
For straight plugs, the shield wire placement doesn’t matter, but with L-shaped plugs, this position determines the plug’s angle. If placed randomly, the plug might stick out awkwardly like this after completion:

This can cause the plug to snag on things, like when putting it in a guitar case pocket.
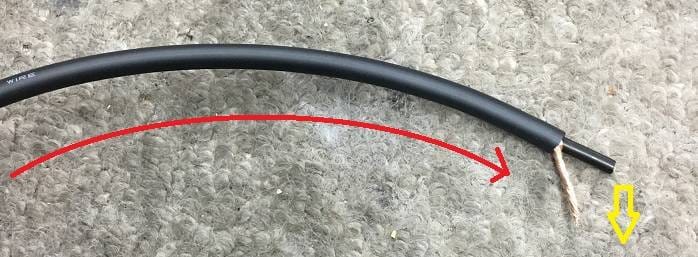
Aligning the shield wire with the cable’s natural bend will ensure the plug faces inward, like this. Conversely, this means you can adjust the direction of the L-shape by where you gather the shield wire. You can use this technique when making patch cables to create a crank or any desired angle.
By the way, there’s been talk recently about cable directionality.
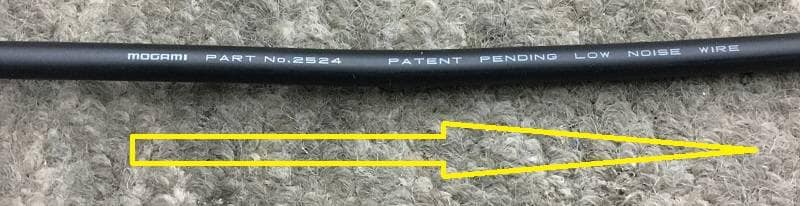
The directionality is whether electricity flows better in the direction of the printed text on the cable. If you’re making an S-L type cable (one straight plug, one L-shaped plug), consider which end to use on the instrument side. There are various opinions on this, so feel free to research it if you’re curious.
Personally, I experimented with it for a while but didn’t notice a significant difference, so I stopped paying attention to it.
Back to making the cable. In this tutorial, I’m using Switchcraft’s L-shaped plug. L-shaped plugs can vary significantly between brands. If you’re using CLASSIC PRO’s P12R, follow the same soldering steps as with the straight plug.
At this point, be sure to slide on the cover and the insulation tube to the cable. You don’t want to finish soldering only to realize you forgot them, as I’ve done many times...
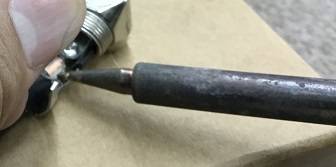
Now, tin the plug with a bit of solder.
Test the fit with the cable.
Once you’ve found the right length, cut the cable and tin the wires with solder.
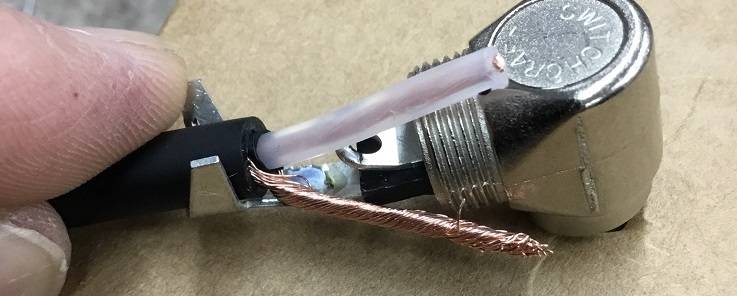
If you look closely, Switchcraft’s L-shaped plugs have a Tip terminal that bends outward. We can take advantage of this.
Bend this part a little more.
Insert the core wire into the terminal from underneath and line up the cable.
Now, simply solder the core wire to the terminal.
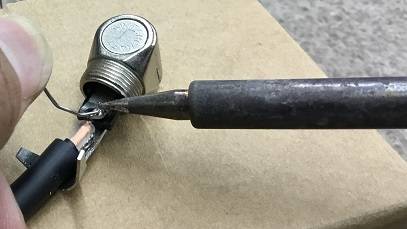
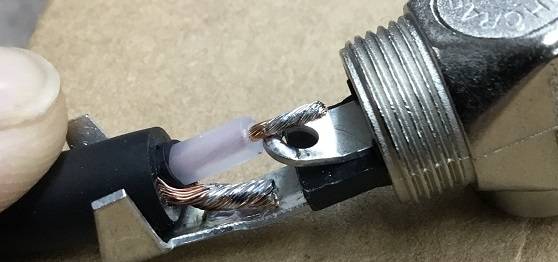
Solder the core wire.
Then solder the shield wire from the side.
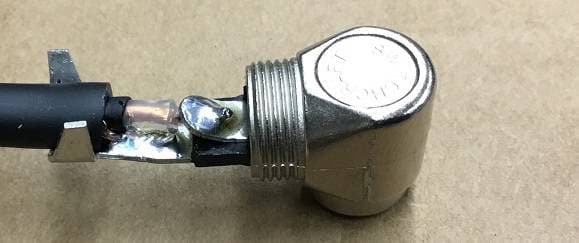
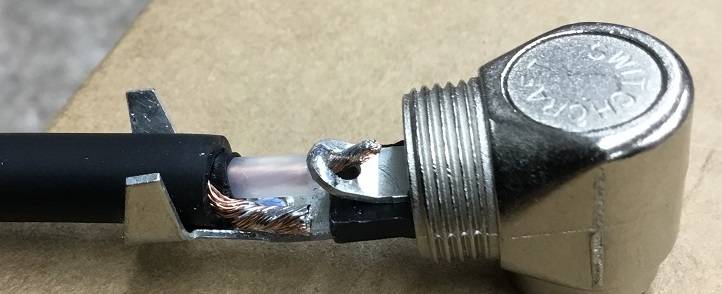
Here’s what it should look like.
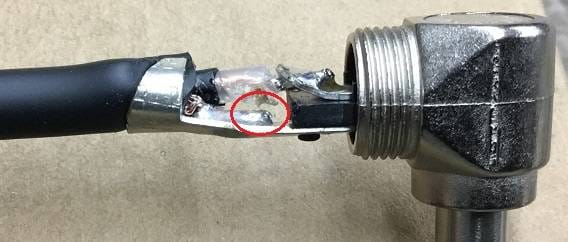
Ensure the core wire and shield wire don’t touch—excess heat can melt the insulation, causing contact at the circled point. If you have a multimeter, you can check for contact by moving the cable.
Once confirmed, tighten the clamp that holds the cable in place.
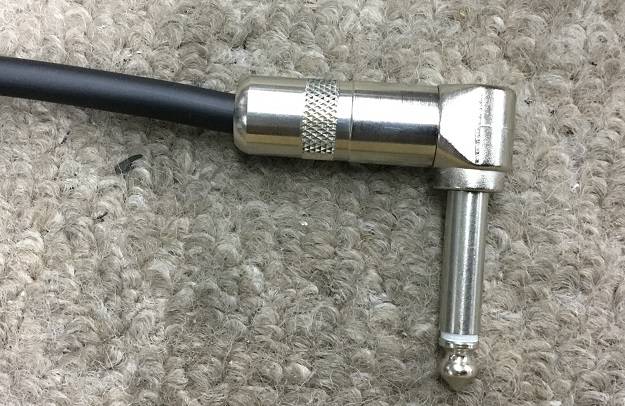
Slide the cover over and you’re done!
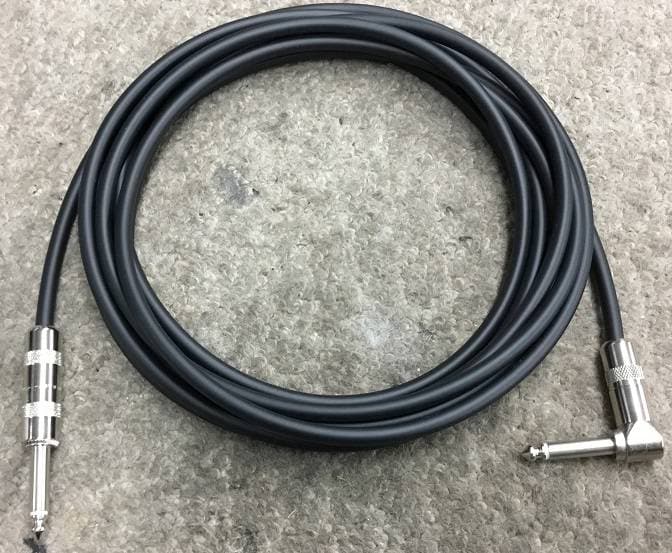
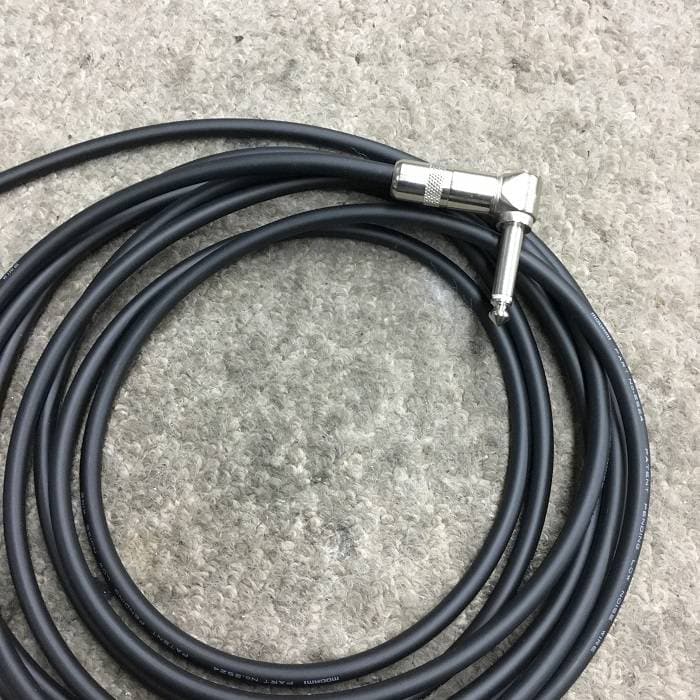
Now you’ve completed an S-L shielded cable with both straight and L-shaped plugs. If you have a multimeter, confirm the Tip-to-Tip and Sleeve-to-Sleeve connections, and that there’s no connection between Tip and Sleeve.
If not, connect the cable to your guitar and amp, keeping the volume low in case something’s wrong.
Gradually increase the volume—do you hear any sound? If only one of Tip or Sleeve is connected, you might hear loud noise or experience signal dropouts when the cable is touched.
That’s it! I hope this guide to making shielded cables across three parts has inspired some of you to try making your own! Be careful not to burn yourself, and remember that the plugs can get quite hot after soldering.
Sound House also sells cable ties, which are handy for organizing your DIY cables.


![[2023 Edition] Recommended Popular Speaker Cables and How to Choose One Out of the Many Available](/contents/uploads/thumbs/2/2019/8/20190809_2_7187_1.jpg)
 ギターケーブルの作り方
 ケーブルの選び方
 配線カスタマイズ 第1回
 パーツの配線を知ろう
 虎の巻 ケーブル講座
 ケーブル購入ガイド