Working-at-home and live streaming have become the norm in the last few months. Even as you’re looking at this page, there are probably people who are riding the wave of the times.
So this time, what I will introduce is an example of the equipment required when recording from a microphone to a PC. Even if you have never recorded before, you can record to a PC by first preparing the following hardware. Software will be introduced in a separate installation.
Let's take a quick look. The whole picture looks like this!
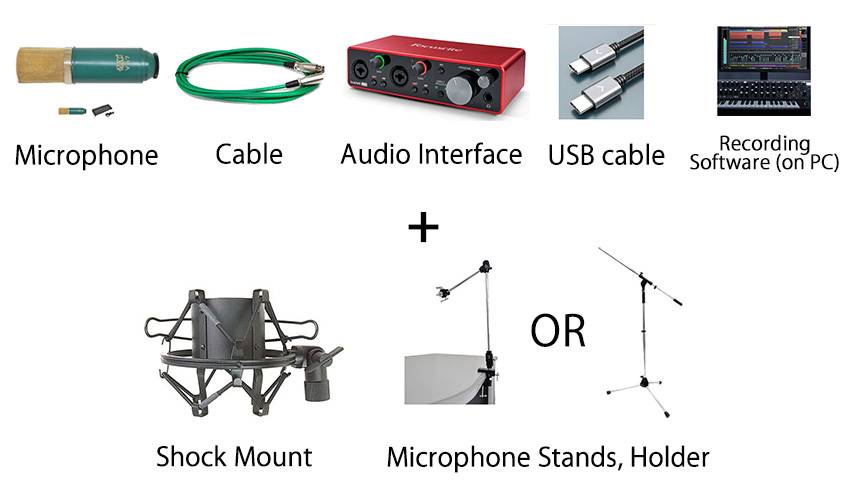
You will need products like these. This time, as an example, I’ll introduce a set in which a condenser microphone is fixed to a microphone stand and you can record songs, musical instruments, and readings.
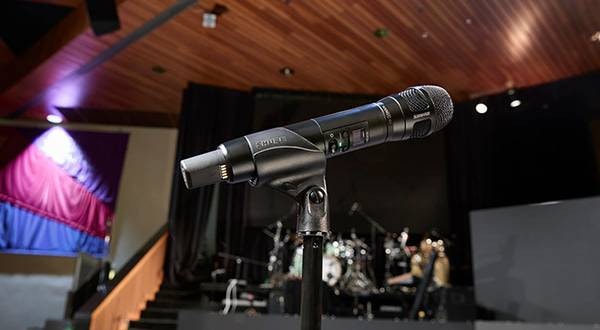
Condenser microphone
First of all, a microphone is required to record your voice. Connect the microphone to a "mixer" or "audio interface".
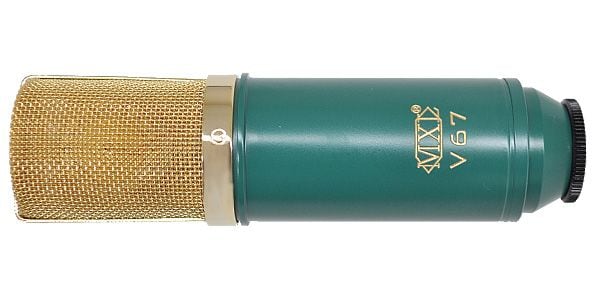
Especially when you don't need to record loud sound like live performance, I recommend using a condenser microphone. Generally, they reproduce a clear sound, and each word is clearly recorded. On the other hand, a dynamic microphone is characterized by its robustness – it does not easily break even when recording loud sounds.
Regarding the power supply for the microphone, a condenser microphone often requires a "phantom power supply". This sends the power to the mic directly from the machine to which it’s connected, this time the audio interface. There are various types of audio interfaces, and depending on the model, some turn on phantom power with a switch and others constantly supply phantom power (there is no feature to turn off the power). Detailed specifications are introduced below and on the product pages!
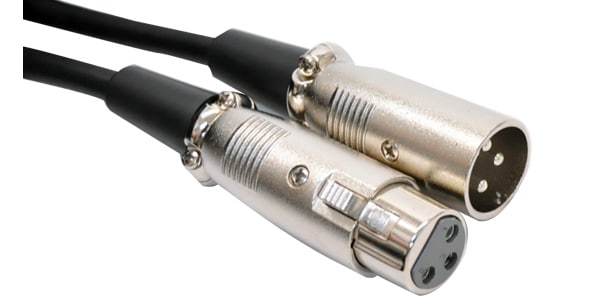
Cable ①
When connecting a condenser microphone, make sure you do not connect to the wrong terminals. Generally, XLR is the mainstream for phantom power. There are other types that allow for USB connection, so be sure to check the specifications.
The "phantom power supply" that I mentioned earlier will enter the microphone through this cable and the mic’s power will be turned on.
XLR terminal cable example
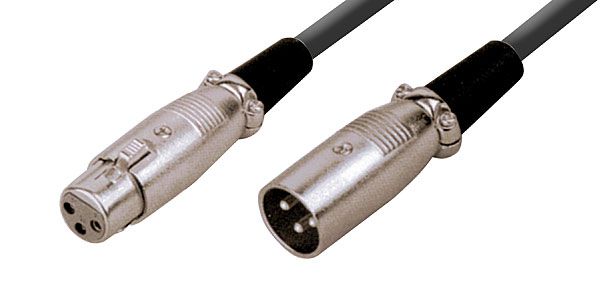
In this way, the XLR terminal has three pins on the connective terminal.
Click here for more detailed articles on microphone cables! → Related article: "About microphone cable"
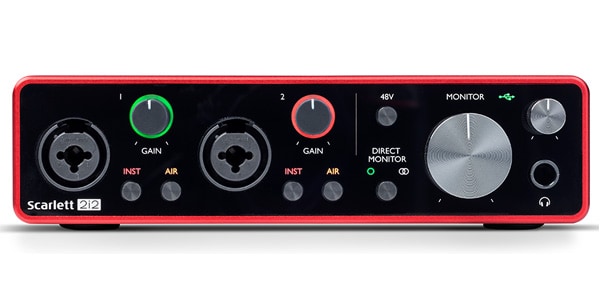
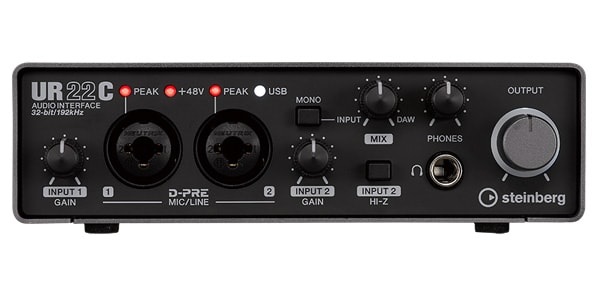
Audio interface
The audio interface is an indispensable item when recording voice to PC. I will omit the minute details, but it is a machine that converts analog information called "sound" into digital information called "signal" so that it works with a PC.
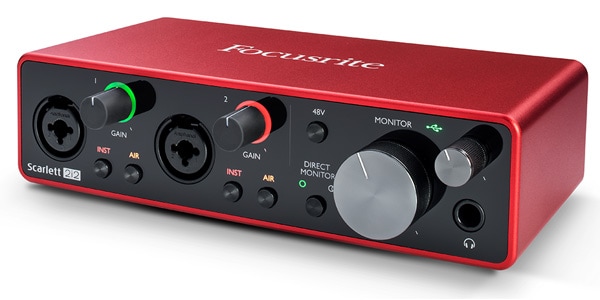
As you can see from the image above, there are two holes of the same shape on the left side. This product uses terminals called "combo jacks", and in addition to the XLR terminal, a cable with a phone plug can also be used. If the equipment you’re connecting to your audio interface requires phantom power, you’ll need to use a cable with an XLR connector.
Click here for details → Related article: [For beginners!] Choose an audio interface one rank higher
In the case of the above model, there is a “+48V” selector switch in the second section from the left. You can select the phantom power supply for the microphone by turning this ON/OFF.
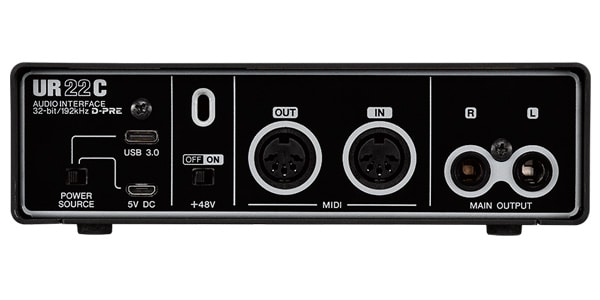
Also, speaking of power supplies. Actually, the audio interface itself has some different power supply methods. The most common type runs on "USB bus power", in which the audio interface automatically turns on when it is connected to a PC via USB. Check the product page!!
Cable ②
The signal which passes through the audio interface is sent to a PC or recorder via a USB cable or the like. This time, I’m assuming you’re recording with a PC, so prepare a cable to connect the audio interface out to the PC in.
The outlet of the above Scarlet audio interface is USB-C, so use a cable suitable for the PC, such as USB-C to USB1.1/2.0/3.0.
By the way, the following are USB-C cables.
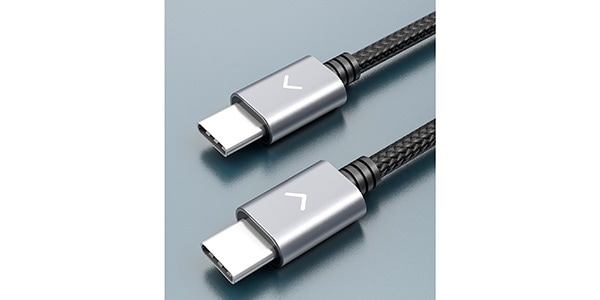
Also, in many cases, the audio interface will come with a USB cable, so you should use the one provided. The product in the above image is a USB-C type, but there are several types such as USB 1.1 to USB 2.0, 3.0, so let's check in advance which cables are compatible.
For details, → Related article: [ZOOM for meetings, recordings, teleworking] MXL USB microphone Around the middle of the article! !!
PC
You will need recording software or applications such as "DAW software" on the PC with Windows or Mac OS. If it's a Mac, GarageBand and so on are installed from the start.
Start the software on your PC, make sure that the microphone and audio interface are turned on, and you are ready to start recording!
Detailed operations on the PC side will be introduced in a separate installment, so check out the future information.
Required items list
- Condenser microphone
- XLR cable
- Audio interface
- USB cable
- PC
- DAW software, recording software, applications, etc.
That's all for today!
Please keep an eye out for the practical edition.
Thank you for reading.