


Sorry I haven’t written in a while.
My name is Shion Yodogawa, and I submitted an article titled “Trying to Reproduce the Guitar Sound of My Favorite Song Using AI” in the last issue.
This time, I would like to introduce the process of creating a solo piano soundtrack using the equipment I bought at Sound House and export the soundtrack and distribute it through CD Baby, an overseas music distributor. I hope you will find this article useful.
Equipment I’m using
First, let me introduce the equipment I will be using to create my own music.
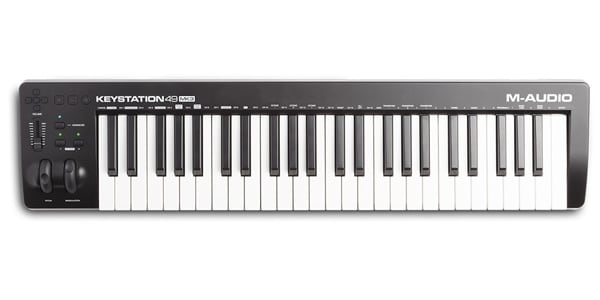
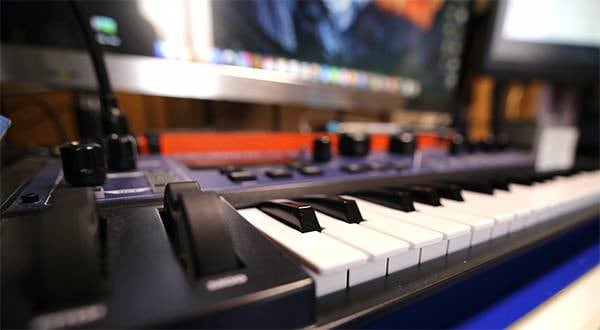
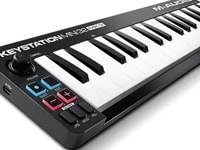
- M-AUDIO / Keystation49 mk3 USB MIDI keyboard with 49 keys.
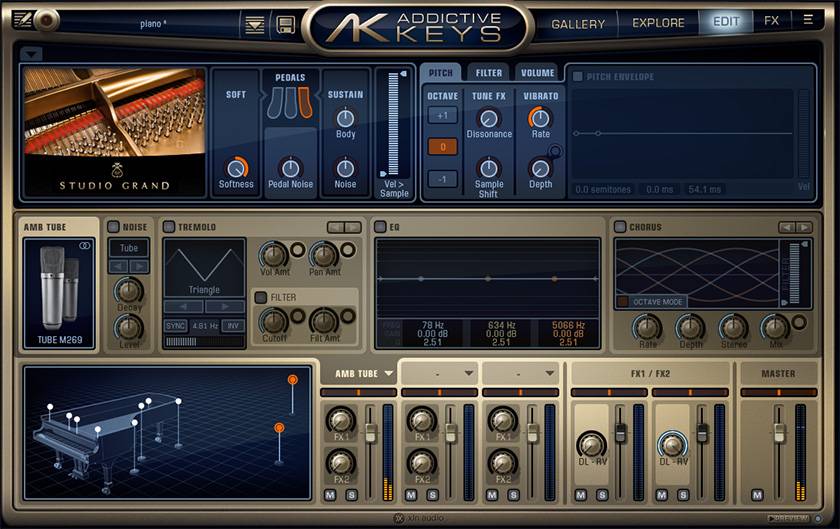
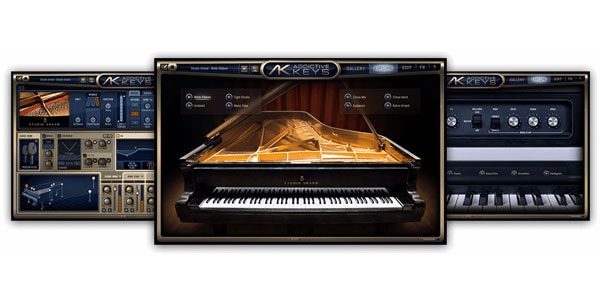
This is a 49-key MIDI keyboard. I’m using it to connect to a computer and play a piano instrument. - XLN AUDIO / Addictive Keys: Duo Bundle Simple Package
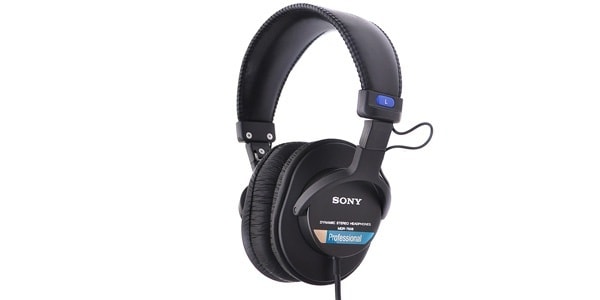
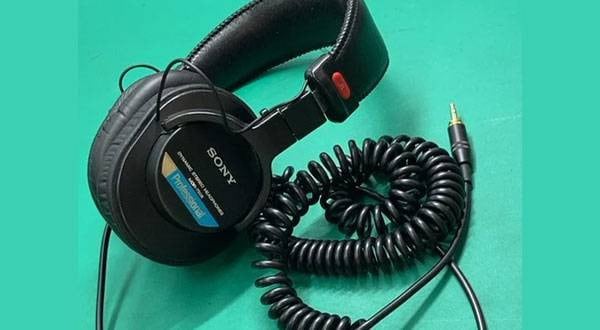
Piano sound source that runs on a PC. Studio Grand is used for the tone. - SONY / MDR-7506 Studio monitor headphones
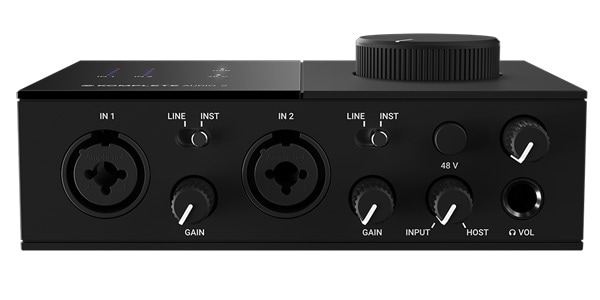
I’m using this to check the sound source played in real time. - Native Instruments / KOMPLETE AUDIO 2 audio interface
I’m using this to connect headphones to a computer.
Recording Preparation
First, launch the DAW of your choice (in this case we used REAPER). Create a new track and insert Addictive Keys as a plug-in. In this case, I wanted to create a slightly lo-fi image, so I selected AMB TUBE as the microphone preset.
Set the input to Keystation49 mk3 and start monitoring. If you hear a piano sound, you are ready to go.
When you are finished recording
Next, when you have finished recording all the songs, select a range for each song and export it to a wav file. Then, create a new project and import the exported wav files into the timeline.
Normally, at this stage, I would use an auto-volume plug-in or automation to eliminate volume differences between songs, but in this case, I wanted to create a lo-fi image with a wide dynamic range and a sound source that is one step removed from the loudness controversy, so I normalized the True Peak to -1db. So, I normalized the True Peak to be -1db, and then exported it with only the dither applied.
After exporting a 44.1khz / 16bit wav file for each track, the production is complete.
Upload music to various streaming services with CD Baby
Now that I have completed the sound source, I decided to distribute the music through CD Baby, an overseas music distributor.
Here are the actual steps of the distribution procedure.
1. Create an account with CD Baby
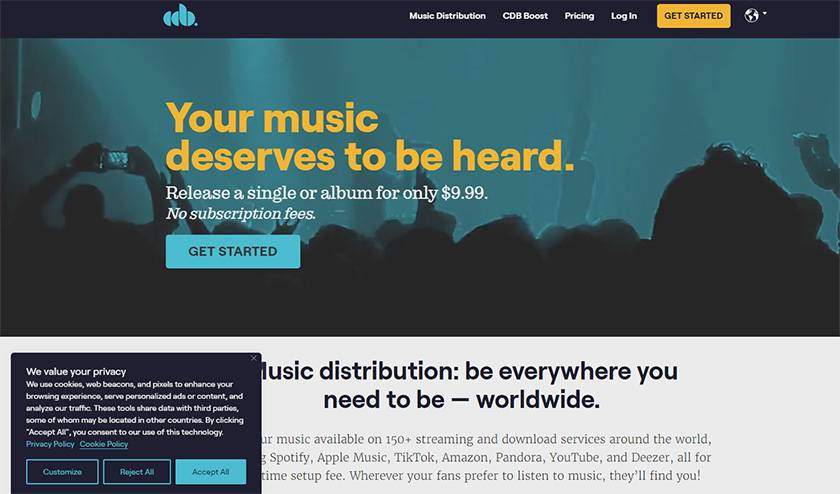
Open cdbaby.com and click the “GET STARTED” button in the upper right corner.
This will bring up the account registration screen.
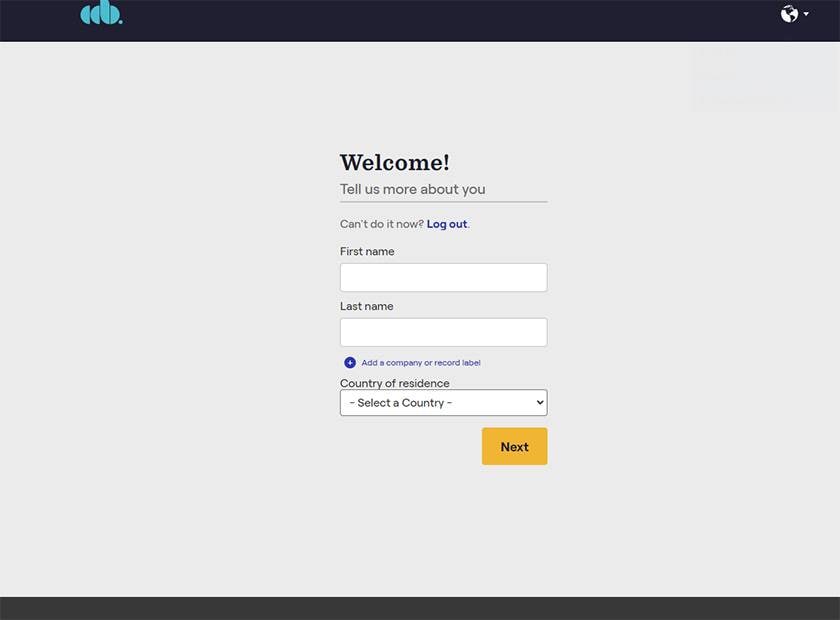
Enter your email address, name, country, username, password, etc., and press the “Create Account” button.
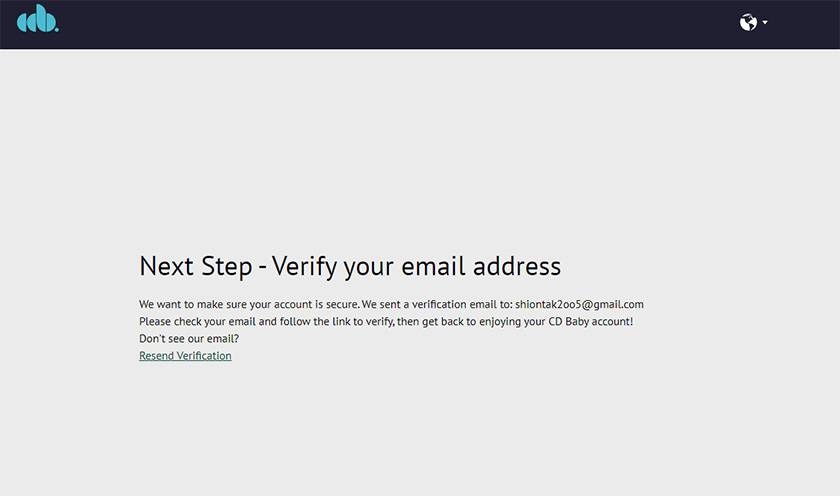
A confirmation e-mail will then be sent to the e-mail address you entered.
Click the “Verify Now” button on the email you received to complete your account setup.
2. Enter information about the songs you want to distribute
After creating an account, you will see the following screen.
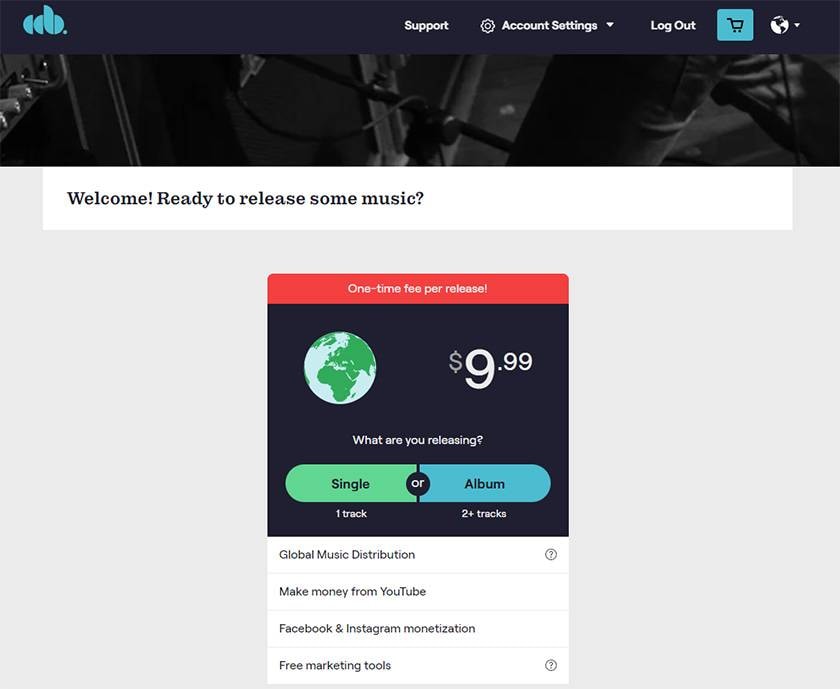
This time, I selected “Album” because I wanted to distribute multiple songs.
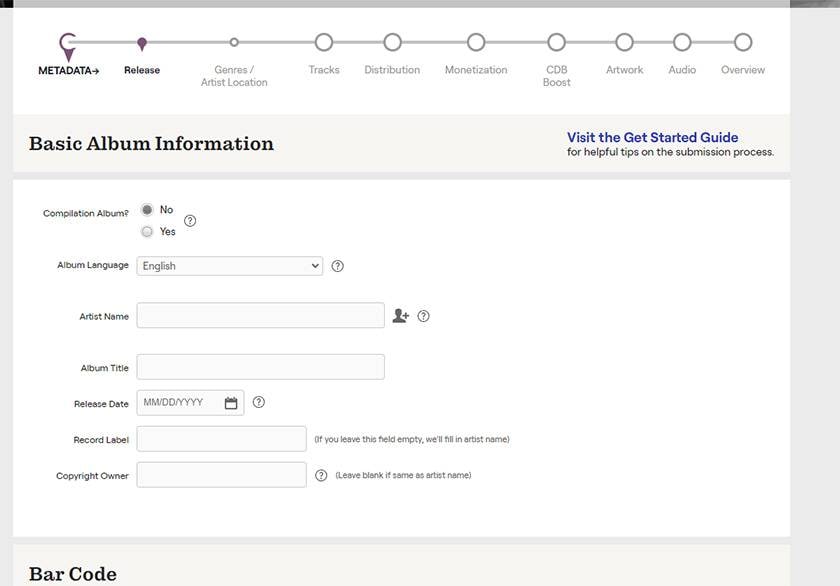
When you select “Album,” you will see a screen like this.
Fill in each item as shown below.
- Compilation Album
- Select “Yes” if more than one artist is participating, otherwise select “No”. In this case, I chose “No” because there are no artists participating.
- Album Language
- In this case, I chose Japanese.
- Artist Name
- Enter the artist name. This time, I entered the name in Japanese, and it went through without any problem.
- Album Title
- Enter the name of the album. This time, I entered the name in English, so I have not tested it yet, but I think it may be possible to distribute in Japanese too.
- Release Date
- Select the release date of the album. This will be displayed in month/day/year format, so be careful not to make a mistake...
- Record Label
- Enter a label name if you wish. In this case, I left it blank.
- Copyright Owner
- Enter the copyright owner (probably the person who owns the original recording rights). In this case, I left this field blank as well.
After entering the information, scroll down to enter the barcode acquisition information.
If the album already has a barcode such as UPC, enter it here.
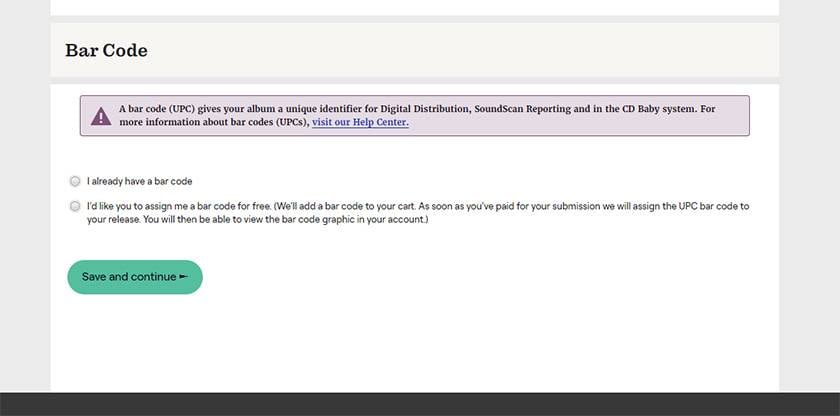
In this case, since I do not have a bar code, I selected “assign me bar code”.
Next, select and enter the genre and other information.
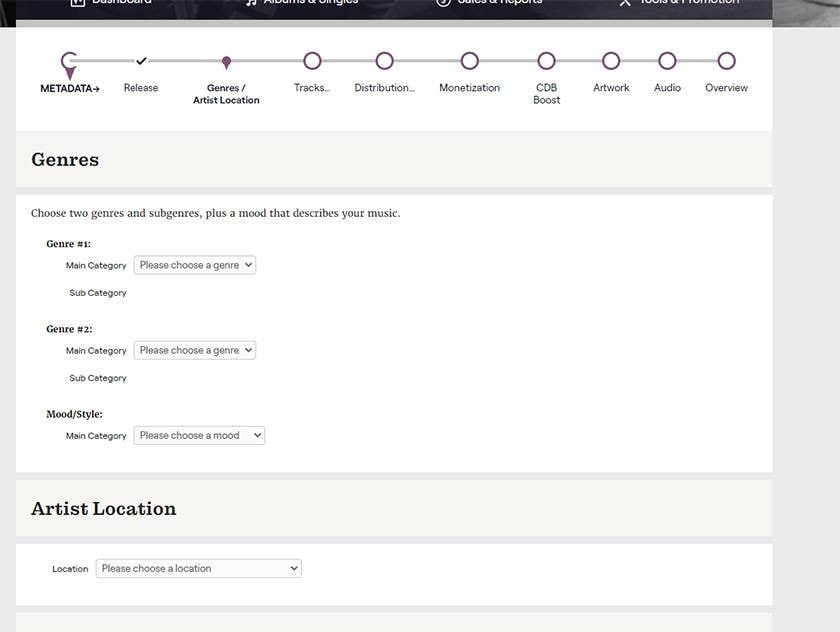
In the main category, you can select pop music, jazz, etc., and in the subcategory, you can select J-POP, jazz fusion, etc.
For the Artist location, I chose “Japan” because the artist is active in Japan.
Next, you will be prompted to enter the number of albums.
If the album consists of two or more copies, enter the number of copies, otherwise enter “1”.
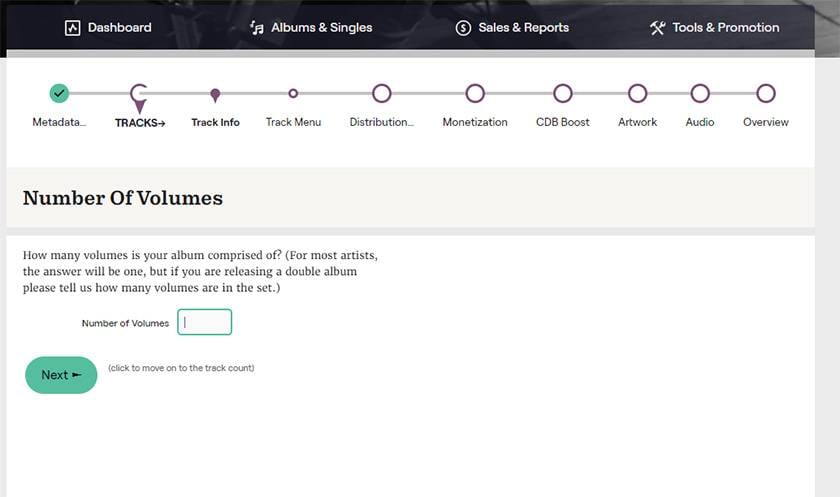
In this case, I entered “1”.
Next, enter the number of songs on each disc.

In this case, there are 4 songs, so I entered 4.
Next is the screen for entering the title of each track.
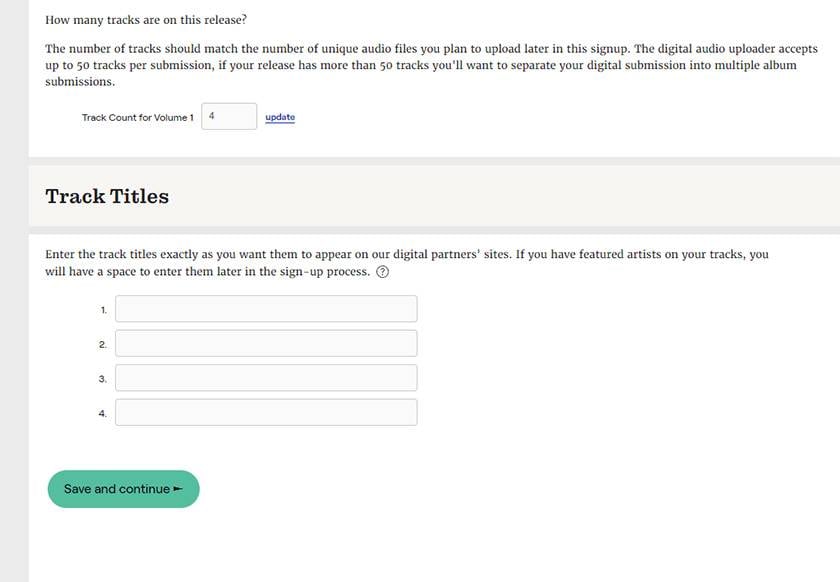
This time, I entered the title in Japanese, and it went through without any problems.
On the next screen, you enter the details of the song.
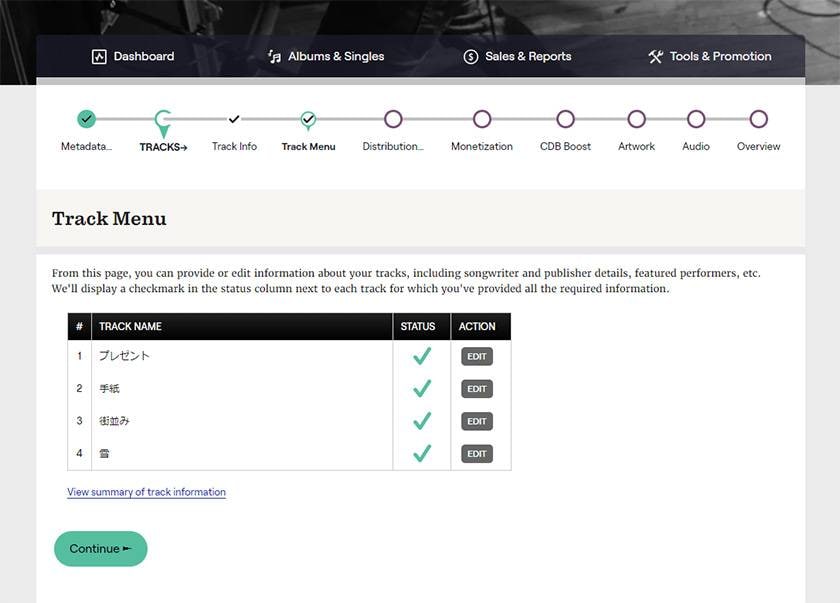
Press the buttons marked “START” and “EDIT,” and enter the information in order.
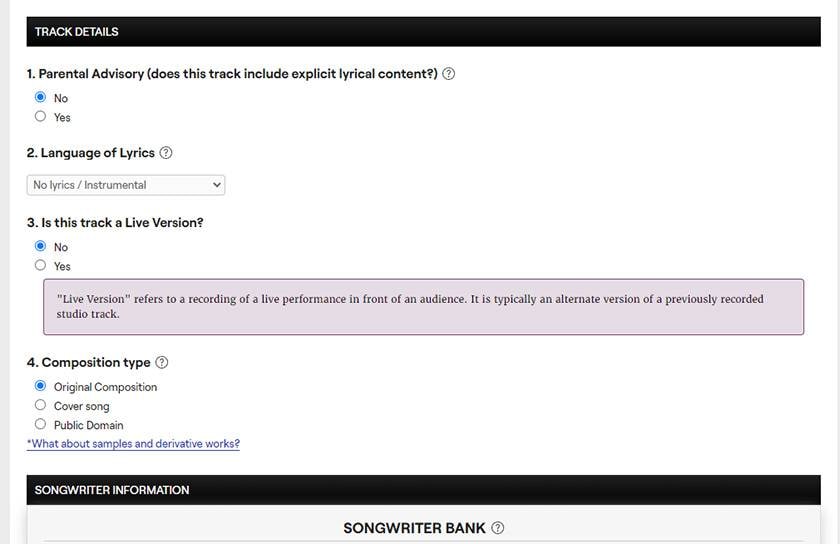
- Parental Advisory
- Select Yes for NSFW or violent content, No for non-NSFW content.
- Language Of Lyrics
- Enter the language of the lyrics. In this case, I chose “Instrumental” since this is an instrumental track.
- Is this track a Live Version
- Enter “Yes” if it is a live version, otherwise enter “No”.
- Composition type
- Select the composition type of the track. Select “Original” for an original song, “Cover song” for a cover song, or “Public Domain” for a public domain song. In this case, I selected “Original”.
Repeat this process for all songs and then proceed.
The next screen is to enter whether you have an ISRC.
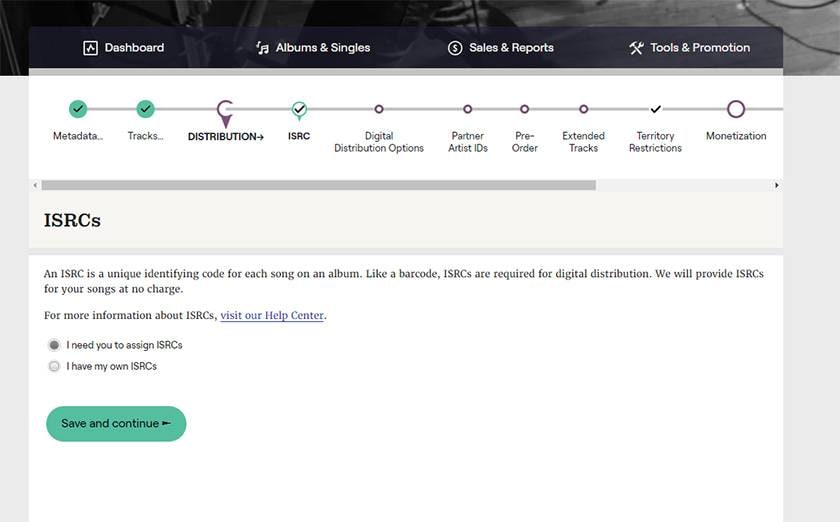
This time, since I did not have one, I selected the one marked “need”.
Next, you will be taken to a screen where you can select the destination.
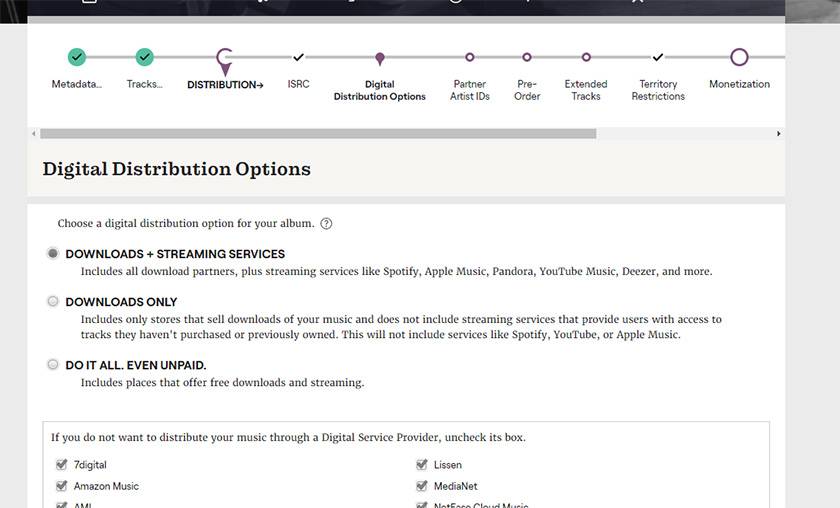
In this case, I selected only amazon music, apple music, line music, and youtube music.
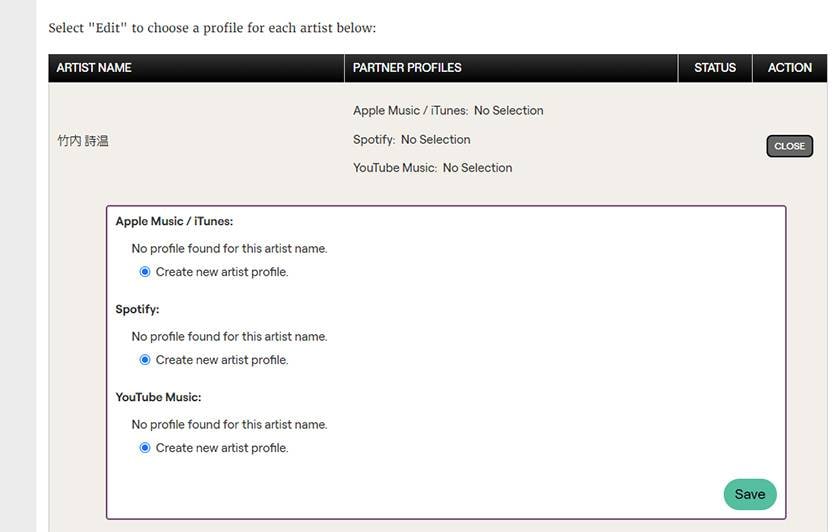
Now, you will be asked if you want to create a new artist for each destination. If you have previously distributed as the same artist, select it here.
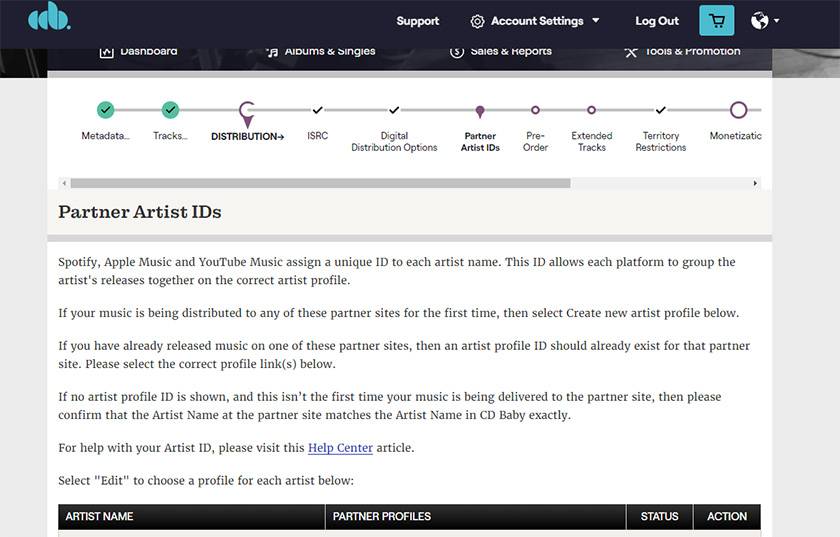
Since this is my first distribution, I selected “Create”.
The next screen is to confirm whether or not a pre-order is available. This is a system that allows you to complete procedures such as purchases before the delivery date.
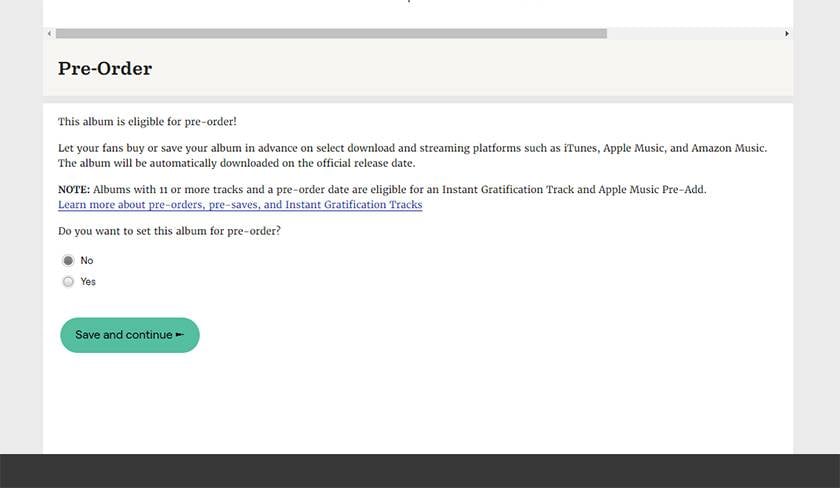
In this case, I chose “No” because I did not think it was necessary.
Next, you will be asked if there are any tracks longer than 10 minutes.
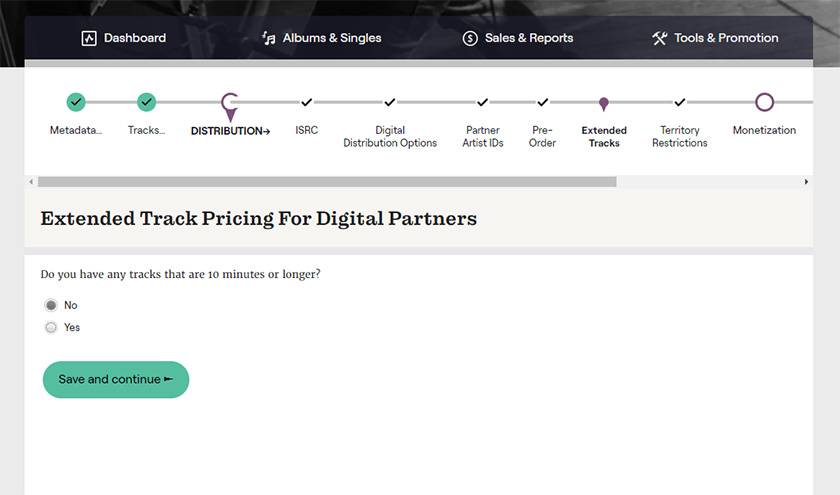
In this case, there are none, so I chose “No”.
Next, you will be asked to select the region where you would like to distribute.
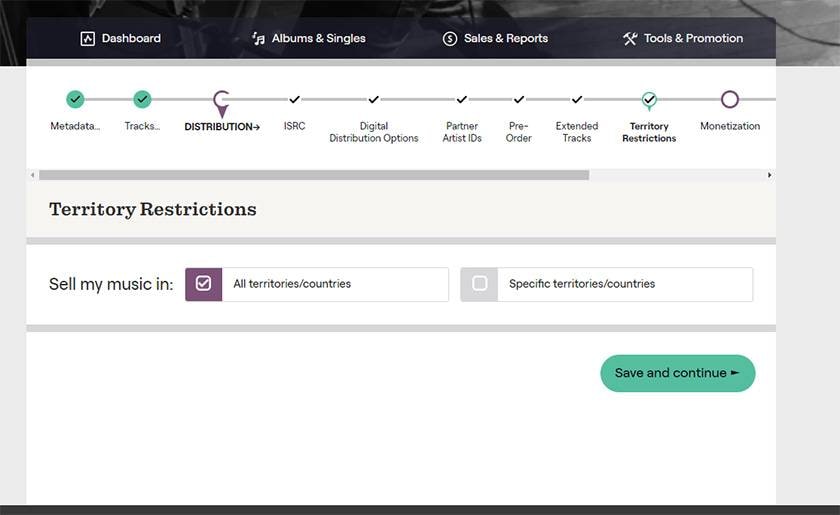
In this case, I selected “all regions”.
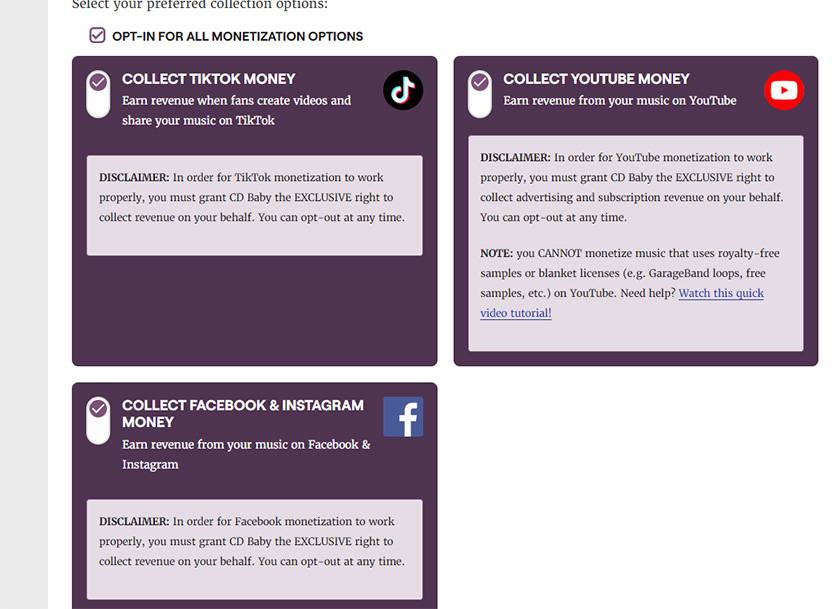
Next, you can select the option to monetize your so-called short videos. If you activate this option, you will receive a share of the revenue from the short videos in which the songs you have distributed are used.
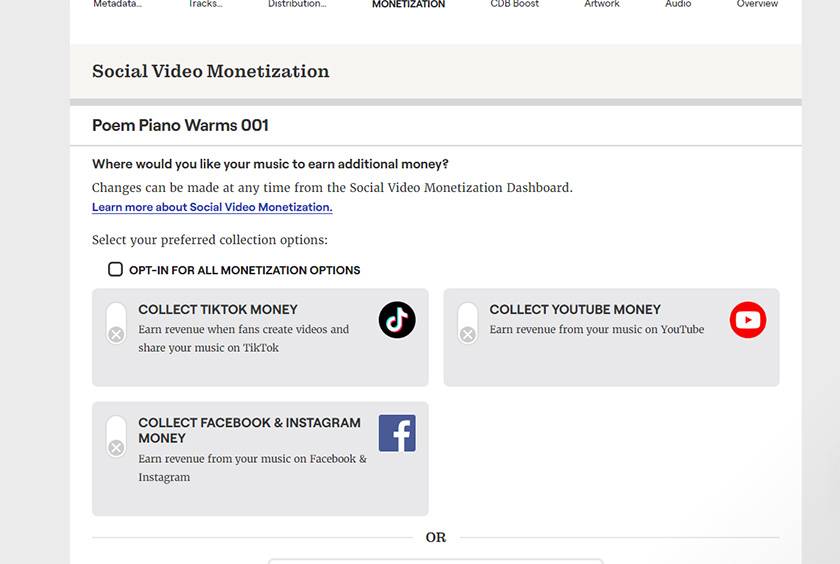
In this case, I activated all of them.
The next screen allows you to select the part of the short video you just selected that will be used.
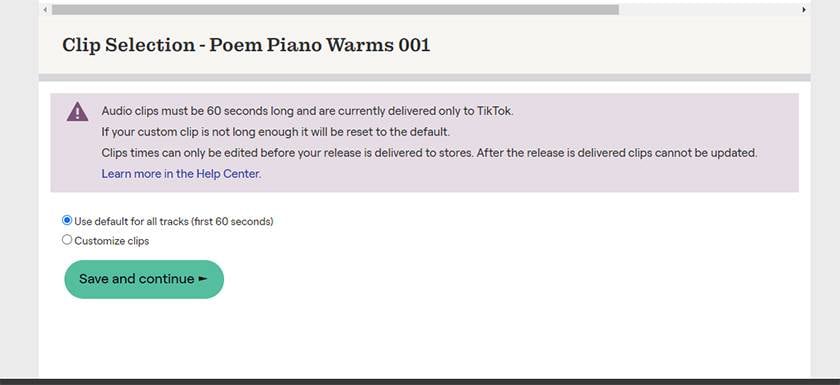
In this case, I left the default settings as they were and continued on.
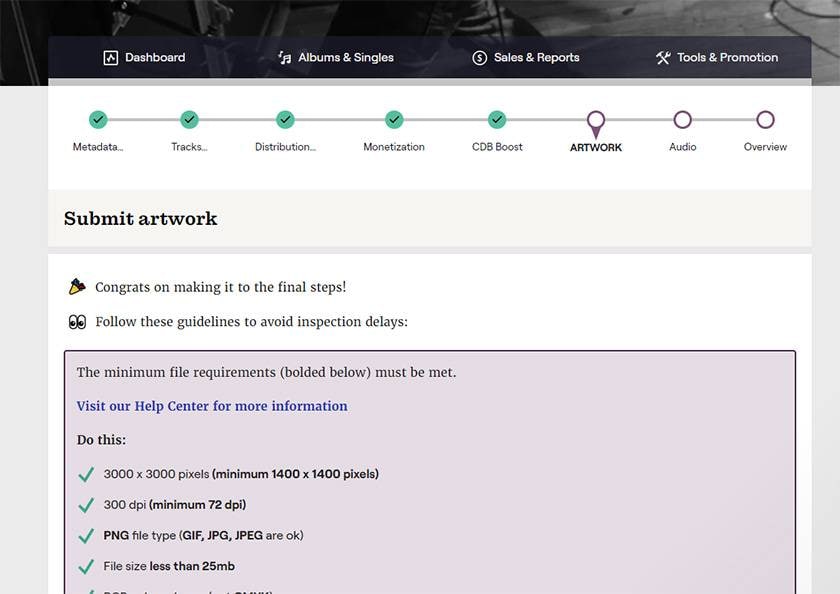
The next screen is for uploading the jacket photo.
Finally, upload the actual sound files to be distributed.
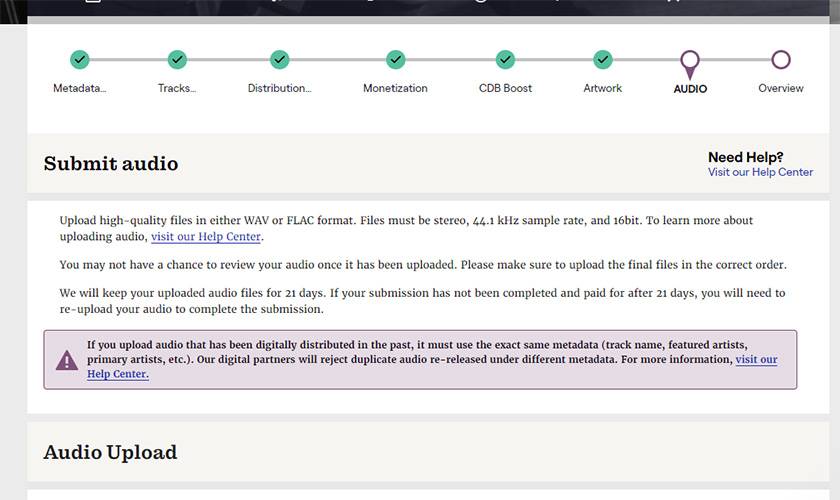
Once you have uploaded each item, this process is complete. Thank you for your time!
3. Pay the streaming fee
Finally, pay the distribution fee.
First, once you have completed the previous step, you will see a screen like this.
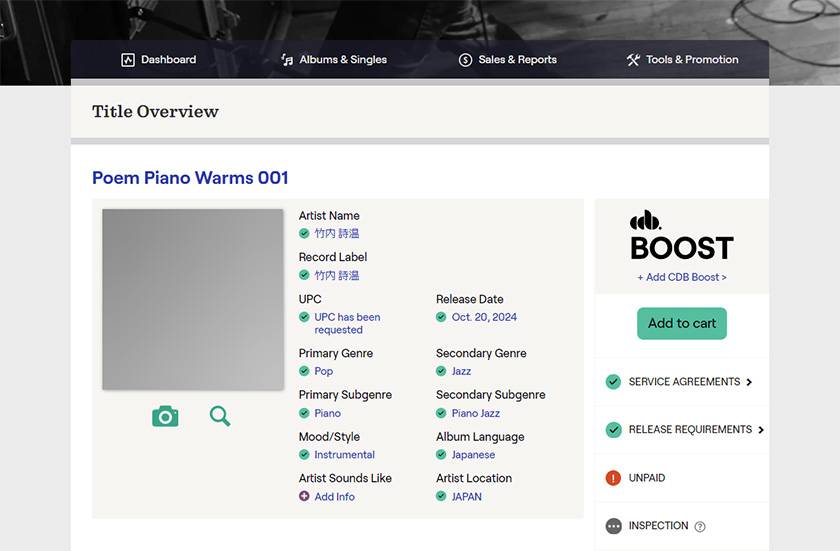
Here, press the button marked Add to cart.
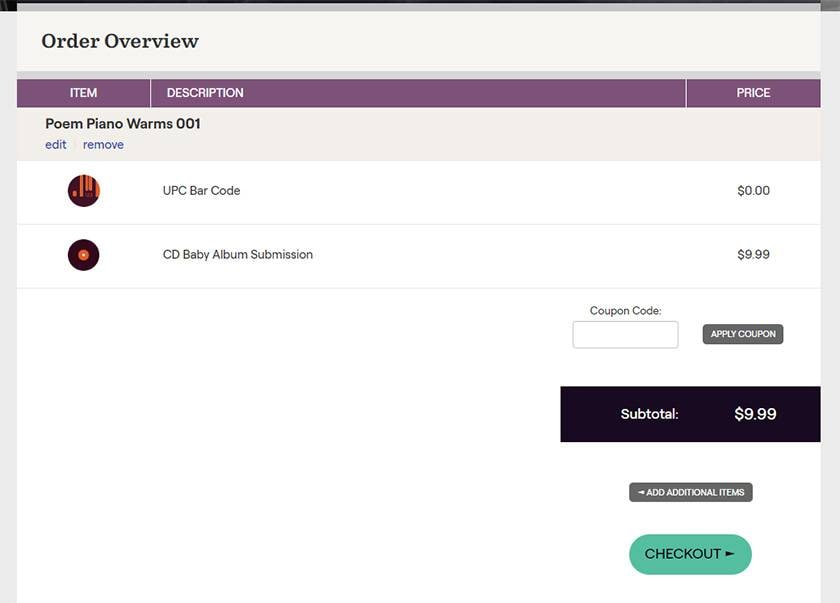
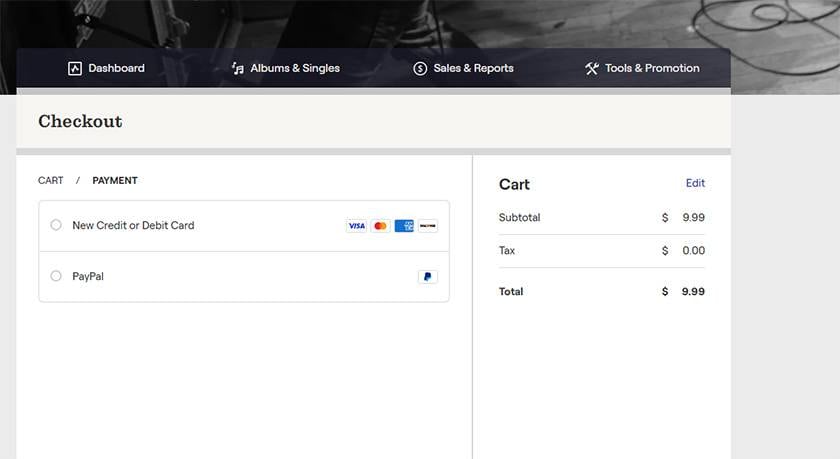
You will then be taken to a screen like this to check out and you will be prompted to select a payment method. In this case, I chose paypal.
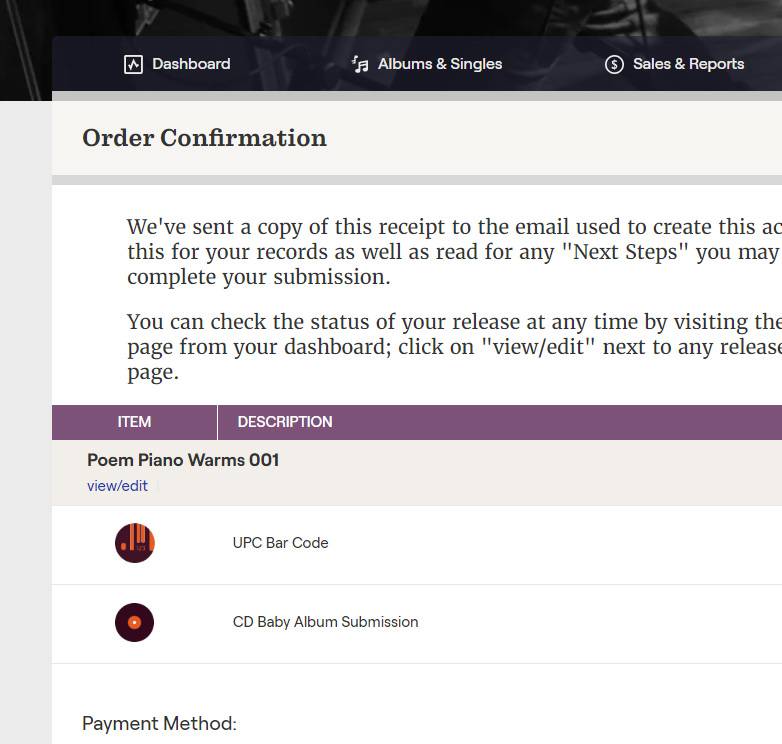
When payment is completed, you will see a screen like this. Thank you for your time!
After about 5 days of review by cdbaby, the CDs will be sent to their respective destinations and will be available on the release date!
What was good and different about CD Baby
Now, I would like to list the good points and the different points from others that I felt after using CD Baby.
Good points
- Low price
- As of October 2024, I can stream for $9.99 and there is no renewal fee, which is a big advantage for me.
- Application requirements for an official YouTube artist channel were less stringent than other companies.
- I was thinking of applying for an official YouTube artist channel in the future, and I liked the fact that CD Baby does not require a subscriber count, making the application process relatively easy.
What makes CD Baby different from others
- No notification of the URL of the destination
- I noticed that CD Baby requires you to search for the URL of the music you want to distribute by yourself, whereas other companies show you the URL of the music you want to distribute.
- Payment is in dollars.
- This can be both an advantage and a disadvantage, but there is a slight concern that the payment of the distribution fee and the payment when the revenue comes in are both in dollars, so they are easily affected by exchange rates.
In closing
In this article, I introduced the process of creating compositions and teaching you how to use CD Baby.
I hope this article will be of some help to you in your musical activities.
Thank you for reading to the end.
The column “sound & person” is made possible by your contributions.
For more information about submissions, click here.


![[2023] Top Recommended Popular MIDI Keyboards](/contents/uploads/thumbs/2/2022/6/20220608_2_18195_1.jpg)

 SONY MDR-MV1 特集
 厳選!人気のおすすめオーディオインターフェイス特集
 USB接続MIDIインターフェイス
 USB接続対応のMIDIキーボード
 機能で選ぶ オーディオインターフェイス
 XLN AUDIO 特集


