


Hello!
I am Takuto Fujioka, a guitarist-specialized chiropractor.
Thank you for all your hard work!
Today, I want to talk to all of you about the “pots” found on guitars.
Have you ever replaced the potentiometer (pot) on your guitar?
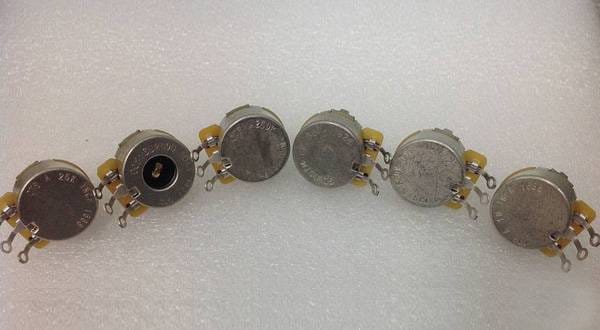
Pots have a resistance value, and depending on this value, there are several types.
Typically, guitars with single-coil pickups use 250kΩ pots, and guitars with humbucker pickups use 500kΩ pots.
However, there is no strict rule about this, and it's okay to use a 500kΩ pot with single-coil pickups or a 250kΩ pot with humbuckers. However, changing the resistance value of the pot will affect the tone quality, so it’s important to be careful.
The reason single-coil pickup guitars typically use 250kΩ pots is to tame the bright, sharp high frequencies. On the other hand, humbuckers use higher resistance 500kΩ pots to maintain the clarity and presence of the higher frequencies.
In most cases, you’ll have the option to choose between 250kΩ and 500kΩ pots. But, I would like to suggest a third option: the 300kΩ pot.
Originally, 300kΩ pots were commonly used with P-90 pickups. The P-90 itself is often described as having a sound that falls between a single-coil and a humbucker, so it's reasonable to assume that the pot used for it is also in between the 250kΩ and 500kΩ range.
This somewhat unique 300kΩ pot, however, is interesting when combined with both single-coil and humbucker pickups, and personally, I highly recommend it.
The 300kΩ pot has the characteristic of being between 250kΩ and 500kΩ, and this quality has a subtle but positive influence on the output of the pickups.
For example, if you use the front pickup on a single-coil guitar, have you ever thought, "I wish I had just a little more sharpness in the high end"? In such a case, using a 300kΩ pot will slightly increase the high frequencies that were somewhat suppressed by the pot while adjusting the amp, swapping the pickup, or adding a high-pass capacitor could be some solutions. It's not a harsh increase in high-end frequencies, but rather, it feels like the sound has gained a little more power. I believe that by swapping the pot, you can better bring out the unique characteristics and performance of the pickups you already have, rather than making more drastic changes with other parts or reworking the entire tone.
For humbuckers, the high frequencies that can be piercing to the ears seem to be tamed, and the overall tone becomes more balanced. In fact, there is a story that Gibson used 300kΩ pots in some of their Les Paul models in the past.
Personally, I really like the sound when I use a 300kΩ pot with humbuckers.
Also, for guitars like the Telecaster, which commonly have a humbucker in the front and a single-coil in the rear, I think the 300Ω pot would be a good fit due to the differing pickup types.
I’ve covered a lot so far, but now let’s talk about how to actually replace a pot.
Pot replacement requires soldering to rewire the connections, which raises the difficulty a bit. However, as long as you don’t mess up the connections, it’s surprisingly manageable. Once you get the hang of soldering, you’ll be able to do your own wiring swaps and repairs, meaning you won’t need to take your guitar to the shop anymore. If you're someone who wants to learn more about the structure of your guitar, this is a perfect opportunity to give it a try.
First, let’s gather the necessary items!
Necessary Items:
● Replacement pot
● Soldering iron
FERNANDES / SI-1500 Soldering Iron

● Solder
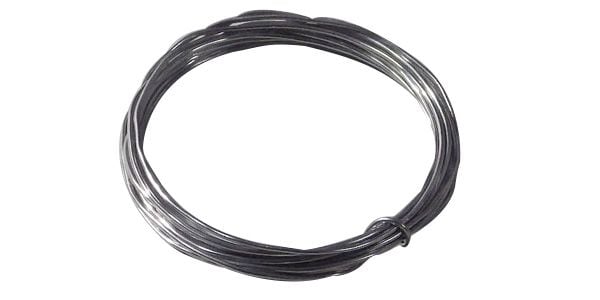
MONTREUX / Kester 44 1.5m [1475]
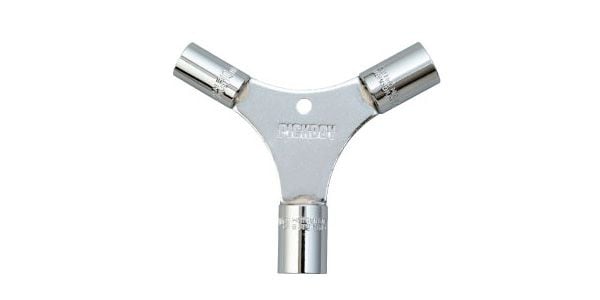
● Wrench
● Screwdriver (used for removing the pickguard or plate screws)
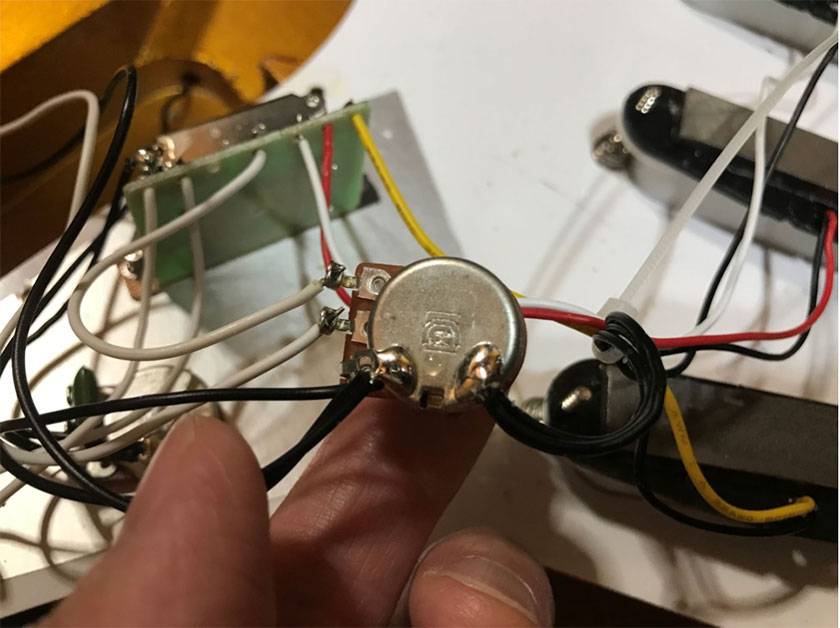
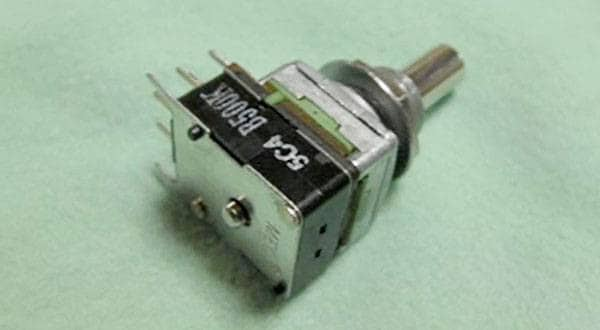
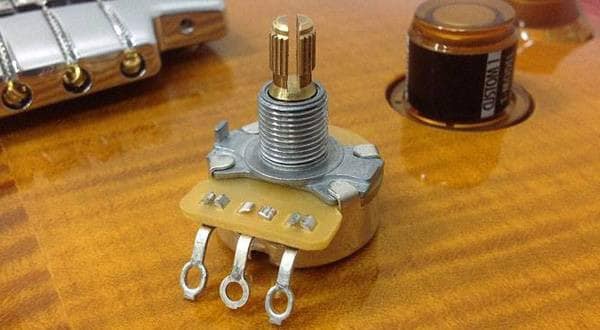
The pot has three terminals:
From the right, they are the input terminal, output terminal, and earth terminal, each with its specific role.
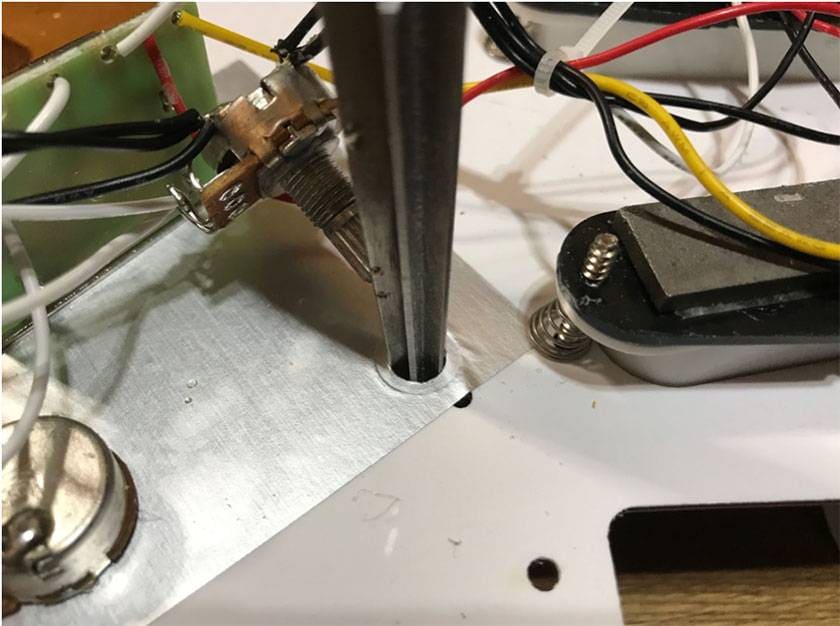
Step 1: Remove the original pot
Most pots on guitars have the same structure, so when replacing them, it’s helpful to take a photo of how the original pot is wired. This will prevent any wiring mistakes.
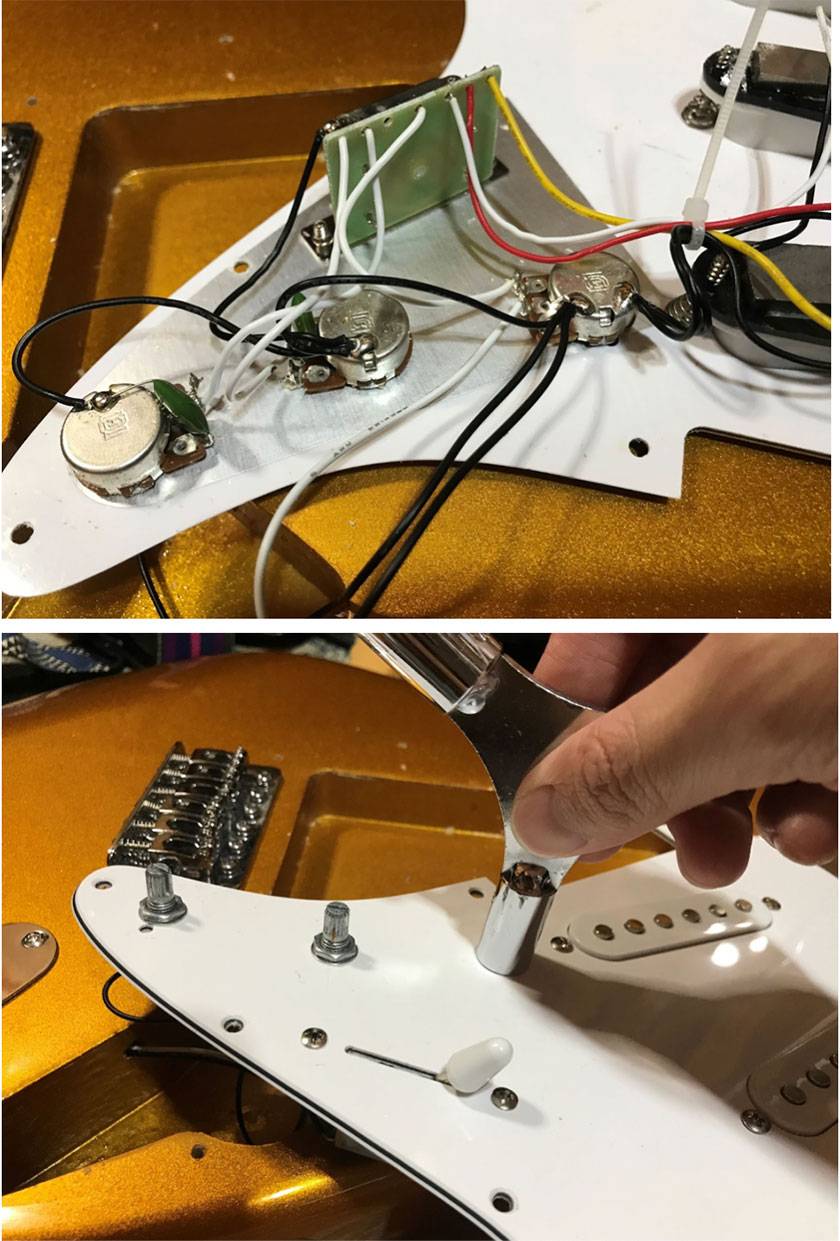
If the pot size doesn’t fit, you may need to widen the hole with a reamer.
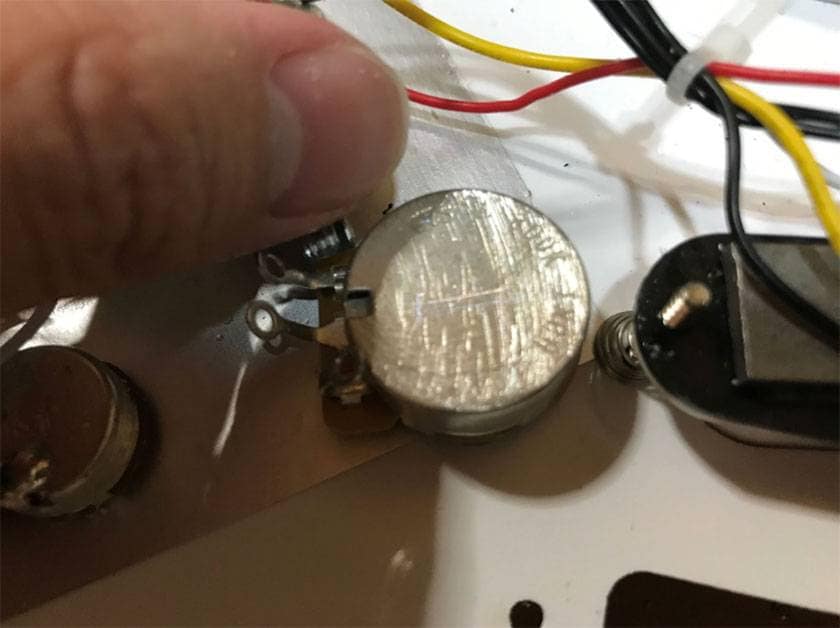
Step 2: Solder the earth terminal to the pot body
Solder the earth terminal (the far-right one) to the pot body. You can either solder them directly or use wiring. To make the soldering easier and use less solder, it helps to scrape the pot body with a file to create a rough surface.
This will make the solder adhere better and prevent creating a "blob" of solder.
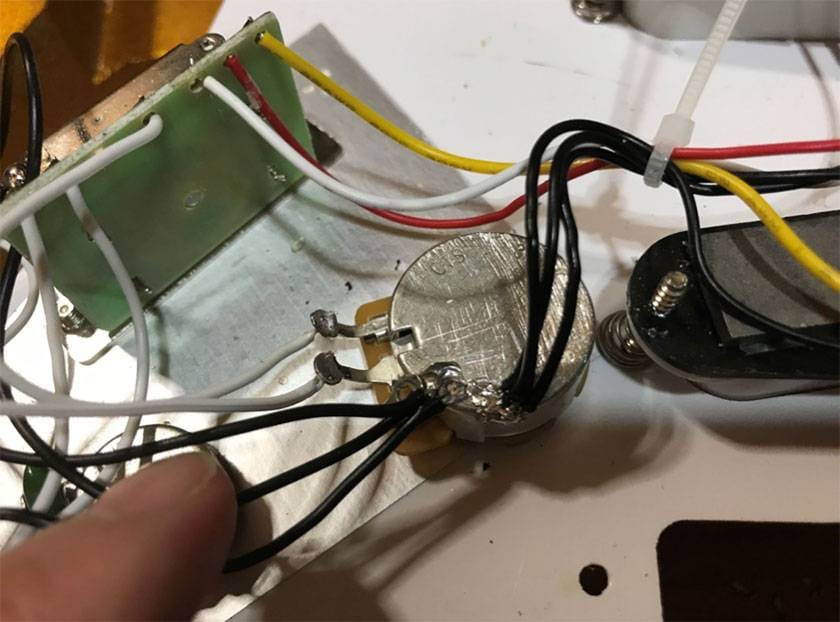
Step 3: Connect the input and output terminals
Refer to the photo you took earlier and reconnect the wiring to the respective terminals.
Be careful not to reverse the wiring, as that could result in a "noise machine" that only produces noise when connected to the amplifier.
If there is leftover solder on the wires, it’s better to either cut the wire and strip the insulation again or use solder wick to remove excess solder before continuing.
When wiring, make sure to insert the wire into the terminal hole and solder it properly so the connection between the wire and the terminal is secure.
If there’s no solid connection with the terminal, the wiring is likely to come loose later, leading to potential issues.
Once you’ve done this, just secure the pot back in place where it was originally installed, and you’re done!
Replacing a pot is quite simple once you understand the key points. Give it a try!
See you next time!
The column "sound & person" is built from contributions from our readers.
For more details on submitting, please click here.


 ピックアップ交換大作戦!
 パーツの配線を知ろう
 ピックアップの種類(エレキギター)
 ギターのお手入れ
 お手入れに必要な道具
 ギターの各部名称


