


When the Telecaster, the world’s first mass-produced electric guitar, was introduced, Leo Fender broke new ground by incorporating a production method that made extensive use of screws, inspired by feedback from his peers.
The Stratocaster, for instance, uses more than 60 screws of various sizes.
This abundance of screws is part of why Stratocasters were often referred to as ‘industrial products’ in the 20th century.
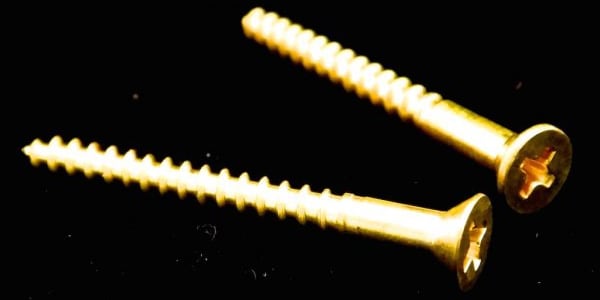
Key screws include the four connecting the neck and body, and the two supporting the tremolo claw. These screws vary depending on the manufacturing era and can be either wood screws or tapping screws.
Adjusting screws alone can alter the tone or improve functionality, making the Stratocaster an instrument with incredible depth.
Renowned guitarist Masami Tsuchiya is a master of adjusting every screw on a Stratocaster to alter its sound. Calling him a ‘tinkerer’ would be an understatement—he’s a maestro of ultimate customization.
For example, the screws on the neck joint plate are crucial for the Strat. If they’re not tightened firmly, sustain is significantly affected. In extreme cases, looseness could throw the balance of the neck and body off, jeopardizing the instrument’s integrity (Though Tsuchiya deliberately fine-tunes even these screws).
Vintage models with removable joint plates often require extra care, as loosening screws to adjust the neck’s curvature can lead to slack. Use caution when handling screwdrivers during adjustments.
That said, I’ve never encountered issues with joint screws in my years with Strats. As long as the screws properly engage the wood threads, there’s no need to be overly concerned.
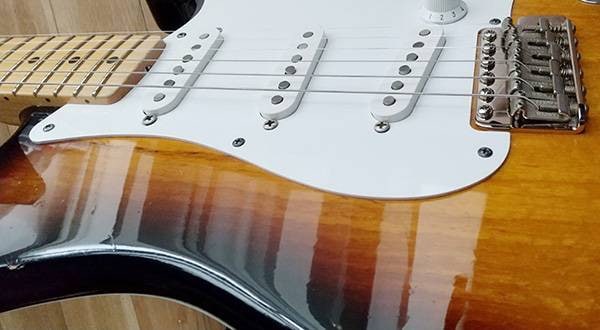
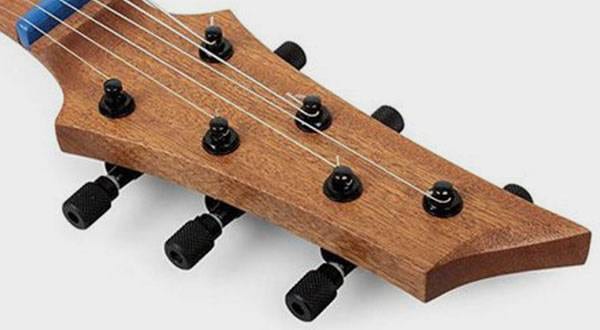
Even small pickguard screws—whether 8-point or 11-point—can subtly alter harmonic overtones when adjusted.
Note: Early slab-board Stratocasters sometimes had 10-point pickguards, and 8-point guards were found on some 1960s models with mint-green finishes (as noted in The Fender Stratocaster: 4th Edition).
Swapping out the two screws on the tremolo claw for brass screws noticeably improved sustain (in my personal experience).
FU-Tone / Claw Springs Brass Screws (2)
These screws are relatively easy to replace and don’t cost much, making them a highly recommended upgrade.
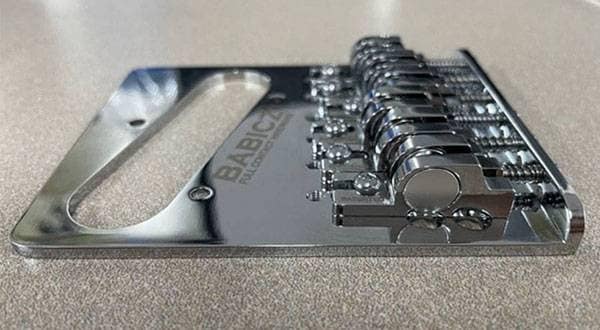
The six screws securing the synchronized tremolo unit’s bridge plate have long been a focus of adjustment at many music and repair shops. It’s said that fine-tuning these screws can improve the precision of tremolo arm movement, though many shops keep their adjustment techniques a closely guarded secret.
In other words, the abundance of screws can be a downside, as loosening screws may lead to malfunctions or other issues.
On the positive side, adjusting or replacing screws allows you to enjoy tonal changes. This opens the door to deeper customization. Compared to other electric guitars, the Stratocaster’s higher number of screws tends to enable more delicate and nuanced sound shaping.
However, adjusting screws to achieve tonal changes is a skill typically reserved for advanced players with a deep understanding of the instrument. For those less experienced, there’s a risk of damaging the guitar.
With that in mind, here’s an example of how replacing screws can alter the tone, tailored for Stratocaster players who are already familiar with its sound characteristics.
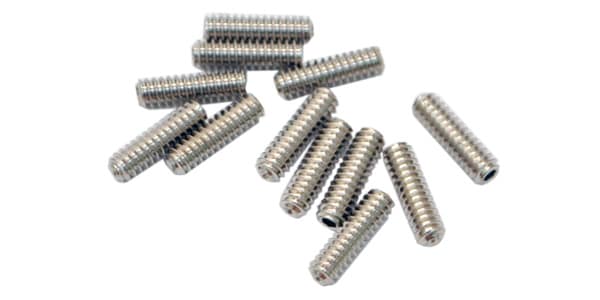
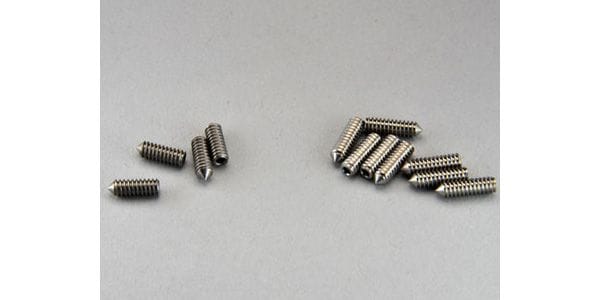
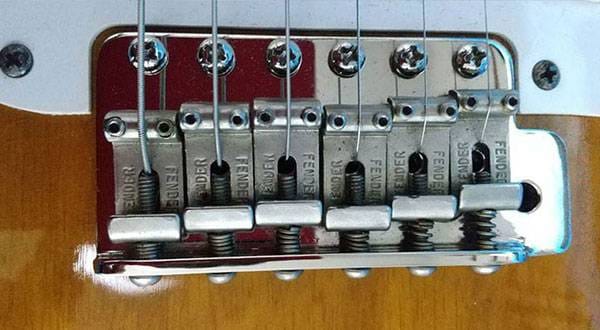
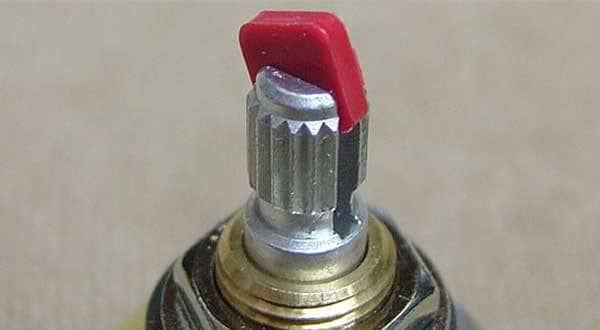
This time, I want to focus on the small screws, known as grub screws, that support the bridge saddles.
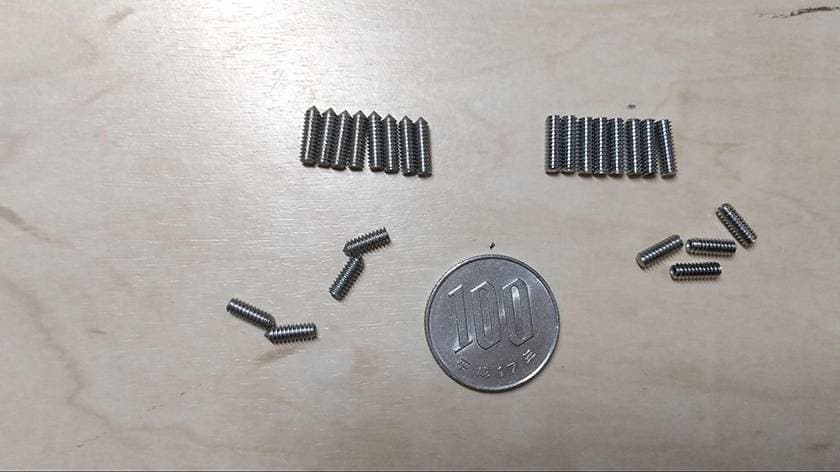
Though each of these 12 tiny screws measures less than a centimeter, they should not be underestimated.
This is because they play a critical role in transmitting string vibrations from the saddles directly to the body of the guitar.
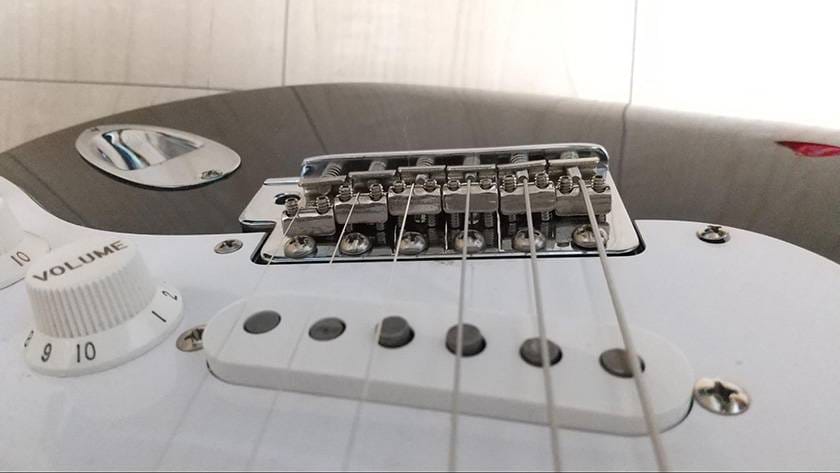
Viewed from the neck side of the bridge, the two small screws that support each saddle are the grub screws.
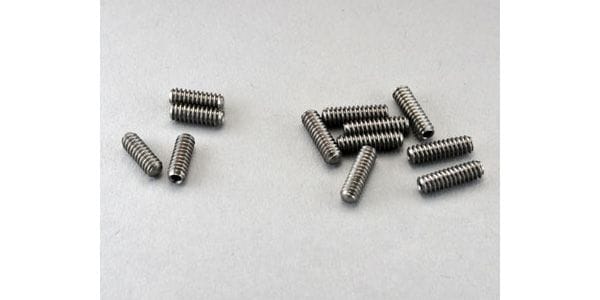
These screws are available in nickel or stainless steel, with Sound House predominantly offering stainless steel ones.
Additionally, they come in both imperial (inch) and metric (millimeter) specifications. When purchasing from Sound House, this distinction is crucial to keep in mind.
To replace the grub screws, the following tools are required. If you don’t already have them, consider purchasing them along with the screws—they’re reasonably priced.
It’s a good idea to buy multiple tools and store them separately in a toolbox or guitar case, as these small tools are easy to misplace.
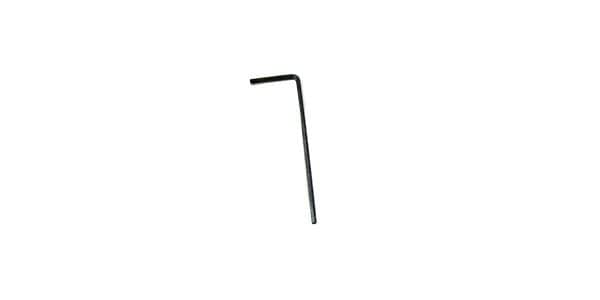
● Metric Hex Wrench
Montreux / Hex Wrench 1.5mm [8398]
![Montreux / Hex Wrench 1.5mm [8398]](https://www.soundhouse.co.jp/images/shop/prod_img/m/motreux_8398a.jpg)
● Imperial Hex Wrench
Montreux / Hex Wrench 1/20" [8405]
![Montreux / Hex Wrench 1/20 [8405]](https://www.soundhouse.co.jp/images/shop/prod_img/m/motreux_8405a.jpg)
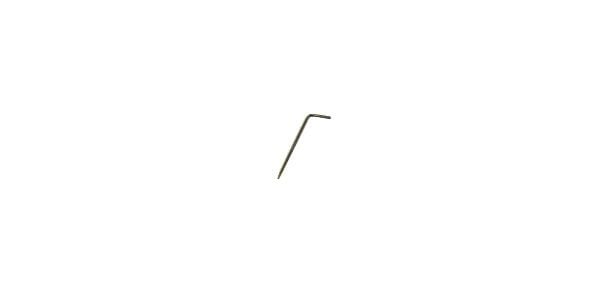
You only need a single hex wrench for the replacement.
...However, replacing the screws will require you to readjust the string height, which is a common concern among players.
Here’s a method I’ve found that allows most people to replace the grub screws themselves:
Take a look at the hand-drawn illustration.
Below are the replacement steps:
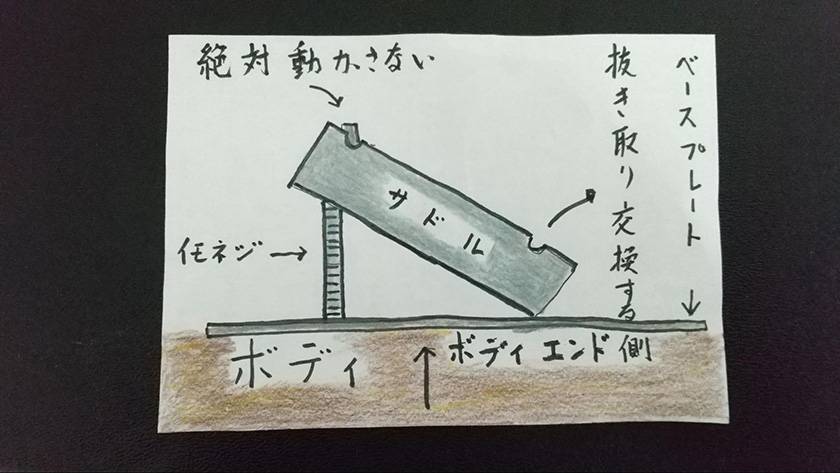
- ① Remove only one of the two grub screws. Do not touch or turn the other screw with the hex wrench under any circumstances.
- ② Insert the new grub screw.
- ③ Adjust the new screw to match the exact string height of the screw you did not remove.
- ④ Remove the other grub screw (the one that wasn’t touched initially).
- ⑤ Adjust the newly installed screw to match the string height of the first screw you replaced.
Using this method, I was able to complete the replacement myself without needing to readjust the string height.
One caution: Avoid replacing the grub screws too frequently, as this could loosen the threading on the saddle, potentially rendering it ineffective.
Next, I’ll briefly share my impressions of the tonal differences between materials. However, I encourage you to experience the differences for yourself.
First, nickel material:
● Allparts Metric
Allparts / GS-0049-001 Pack of 12 Nickel Metric Guitar Bridge Height Screws
● SCUD Inch Specification
Nickel screws don’t produce a particularly loud sound, but they offer a natural resonance.
Next, stainless steel:
(This is what I purchased from Sound House.)
● Montreux Oval Point
Montreux / Saddle Height Screw Set Inch Stainless Oval Point (12)
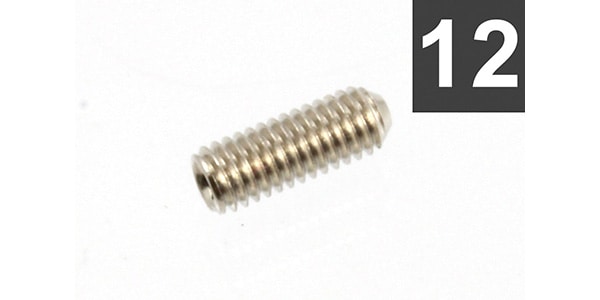
● Montreux Core Point
Montreux / Saddle Height Screw Set Inch Stainless Cone Point (12) [9250]
![Montreux / Saddle Height Screw Set Inch Stainless Cone Point (12) [9250]](https://www.soundhouse.co.jp/images/shop/prod_img/m/mont_9250a.jpg)
This type produces a louder output than nickel screws. The sound has a slightly firmer character with clear definition, leaning more toward a modern, powerful tone rather than a vintage one.
Additionally, the shape of the set screws where they contact the baseplate comes in two varieties:
- ● Oval Type (rounded tip):
- Provides a normal, warm, and natural sound.
- ● Core Type (pointed tip):
- Offers a relatively hard, sharp, and articulate tone.
In short, you can experiment with at least two variations of material and two types of baseplate contact points, making a minimum of four tonal options to explore.
After all this explanation, you might still wonder, “Can changing set screws really affect the sound?”
From my personal experience, switching from the original screws to stainless steel, and further changing from the oval type to the core type, resulted in a significant tonal difference.
In the end, I reverted to the default screws, but the change in sound was undeniably noticeable.
Even if you make a mistake during the replacement process, having a professional adjust the string height will resolve any issues.
After replacing the screws, keep a hex wrench on hand and promptly correct the saddle alignment if it becomes unstable.
I encourage you to experiment with replacing set screws and discover how they can transform the sound of your Stratocaster!
The “sound & person” column is made up of contributions from you.
For details about contributing, click here.


![[Repair] Making This YAMAHA Pacifica PAC312 Playable](/contents/uploads/thumbs/5/2021/10/20211025_5_14730_1.jpg)
 DIY ギターメンテナンス
 パーツの配線を知ろう
 ギターのお手入れ
 お手入れに必要な道具
 ギターの各部名称
 ギタースタートガイド


