It’s finally the last part of this blog series. This time, I’ll cover the acoustic treatment, the room layout, and how effective the soundproofing turned out to be. If you haven’t read the previous parts, please check out Part 1 and Part 2 as well.
Related Posts:
[DIY] Creating a Soundproof Room - Part 1
[DIY] Creating a Soundproof Room - Part 2
I left off last time with the walls completed, so this time I’ll be focusing on installing acoustic panels. I chose melamine foam for the acoustic treatment.
I was cutting and installing the foam to fit the sizes, and with each piece installed, I could feel the reduction in sound reverberation, which confirmed the effectiveness of the materials.
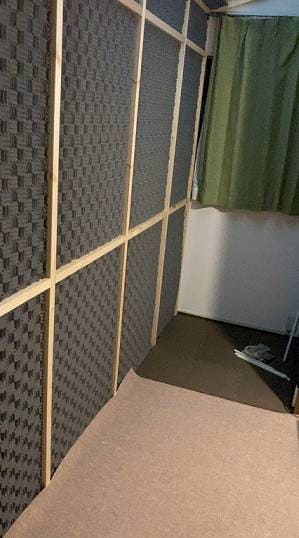
The main reason I chose melamine foam was its ‘good appearance’. While I do expect acoustic benefits, given the limited space and budget, this material allows for both acoustic treatment and a finished look.
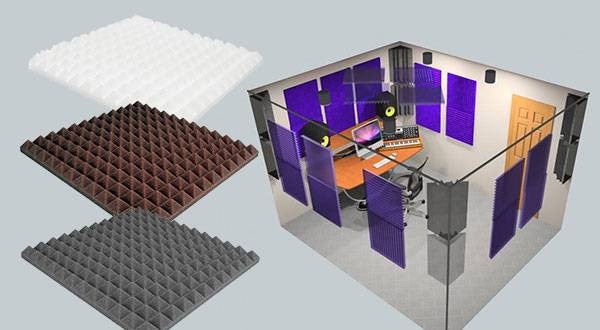
There are many types of acoustic panels available.
The melamine foam and urethane foam I used are just a few of them. More affordable options include glass wool and rock wool, often used in construction for insulation but also effective as acoustic materials.
As mentioned in the previous post, even everyday items like curtains and carpets can offer acoustic benefits.
I read this page when choosing acoustic panels.

After finishing one wall, I realized there was a significant problem: “The sound is being absorbed too much.”
The acoustic effect was impressive, but the room felt too dead, lacking any reflections, which felt uncomfortable. Moreover, low frequencies were not being absorbed as much as expected. Facing this issue, I decided to make some adjustments.
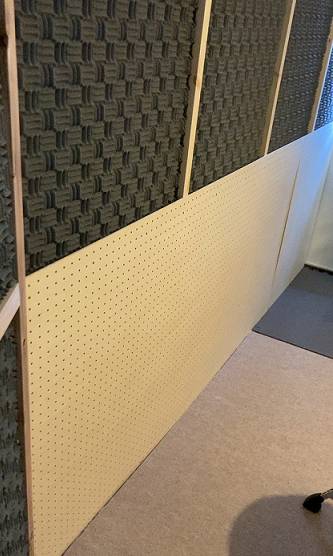
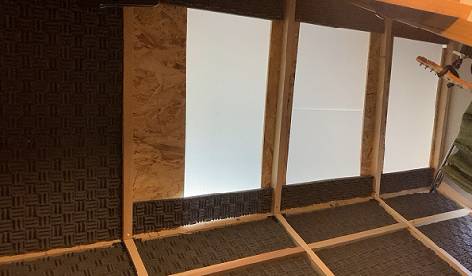
To address this, I opted to use perforated boards for half of the wall. You might have seen these used in music rooms or halls. Unlike the acoustic materials mentioned earlier, perforated boards are effective at absorbing low frequencies while allowing high frequencies to pass through.
However, proper installation is crucial; an air gap must be created behind the perforated board.
Here’s a brief explanation of sound. Sound travels through air vibrations. Low frequencies have fewer vibrations and are less likely to reflect. In contrast, high frequencies have more vibrations and are more easily reflected. Because high frequencies reflect easily, they are more likely to experience repeated reflections within acoustic materials, leading to a reduction in volume. Essentially, high frequencies lose energy more quickly.
Returning to the topic, the reason perforated boards are effective at absorbing low frequencies lies in the design of the board and its holes. Low frequencies are less likely to reflect, so they travel through floors and walls. Perforated boards use this property by vibrating and dissipating energy, which reduces the sound volume.
The holes in the board work by allowing sound to enter and resonate within the internal air layer, leading to attenuation in the resonant frequency range. This principle, known as Helmholtz resonance, is a technique also used in musical instruments and speakers.
In this case, with only the lower part of the board installed and an air gap of just 40 mm, the effect was minimal, but it did significantly improve the echo.
The explanation of the wall has been lengthy, so let me now introduce other areas.
Next, let me talk about the computer desk.
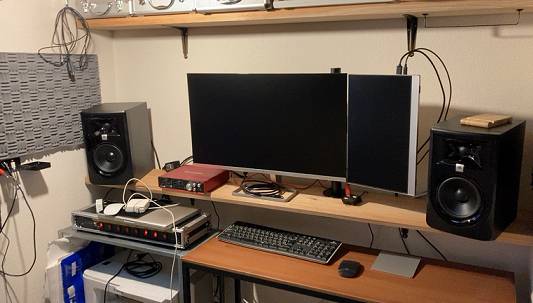
To raise the position of the display and monitor, I installed a board.
Acoustic treatment has also been added next to the monitor.
Now, let’s move on to the space next to the computer desk that hasn’t been mentioned yet.

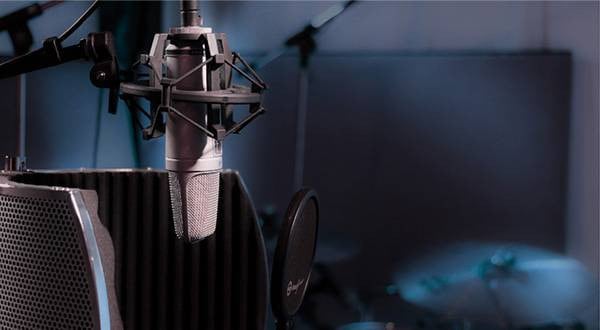
This area has been transformed into a recording booth.
Its moderate size and echo characteristics are perfect for mic recording.
The ceiling also has acoustic treatment installed.
I like the natural light, so I’ll have to tolerate a bit of sound leakage.
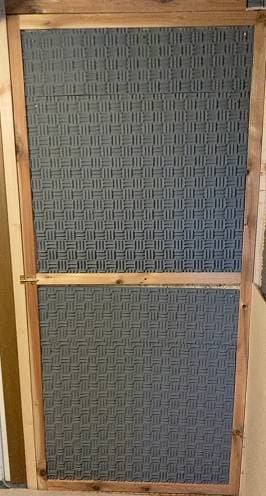
Acoustic treatment has also been added to the door.
Since there wasn’t enough thickness to install a lockable door handle, I used an internal lock to keep the door secured only when in use.
That concludes the introduction of the interior.
Finally, I used a smartphone noise meter app to measure the sound levels, so I’d like to share the results.
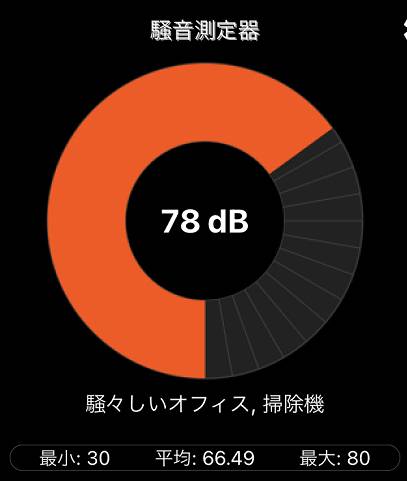
First, I played music inside the soundproof room.
78 dB—About the volume of a vacuum cleaner. Quite loud at home, isn’t it?
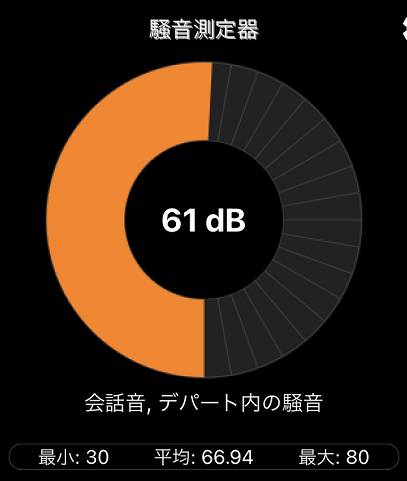
Next, I closed the door of the soundproof room and measured from outside.
The level dropped to 61 dB, a reduction of 17 dB.

Furthermore, I went to the adjacent room and measured with the door closed.
The level was 41 dB, quite low. The sound was mostly low-frequency leakage.
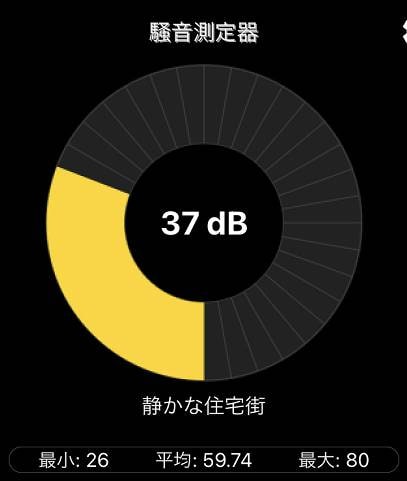
Finally, I measured downstairs.
The level was 37 dB—barely audible if you listen closely.
I also measured outside, but the ambient noise was louder, making the inside of the house quieter.
■ Conclusion
Building a DIY soundproof room demonstrated that you can achieve a significant level of soundproofing with some effort. It works well for playing acoustic guitars and making music with no time restrictions.
Another advantage of the soundproof room is that it blocks external noise, creating an environment where you can concentrate on computer work, even if you’re not making any noise. This benefit alone makes the effort worthwhile. It’s also highly recommended for working at home.
The main challenge was the time investment; it took about two months working on weekends. It’s a rewarding project for those who enjoy DIY, though starting with just acoustic materials can be a simpler alternative.
I was able to keep the material cost under 100,000 yen, which is relatively low given the current high prices.
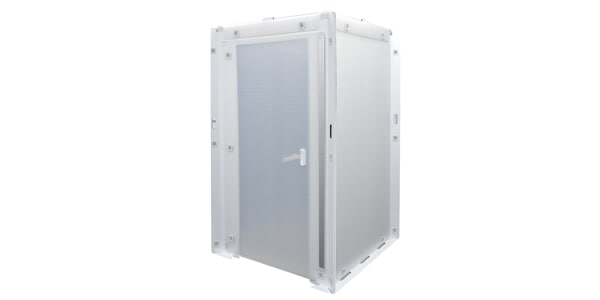
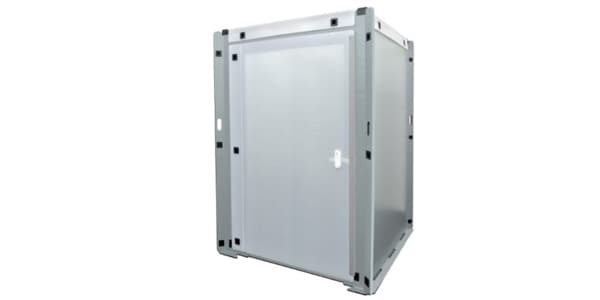
For those who find DIY challenging, Sound House now offers ready-made soundproof rooms that are easier to set up and more affordable. For rental properties where DIY might be difficult, the ability to easily install a soundproof room is quite convenient.
CLASSIC PRO / CQR300 Compact Soundproof Room, Size S
CLASSIC PRO / CQR505 Compact Soundproof Room, Size L, 195cm Model
For now, the project is considered complete, but I will continue to make minor adjustments and layout changes going forward.
After using it for a few months, if there are any interesting developments, I might write a special edition.
Thank you for reading.


![[DIY] Creating a Soundproof Room - Part 1](/contents/uploads/thumbs/2/2022/12/20221206_2_20287_1.jpg)


 ライブ配信に必要な機材を徹底解説 オンラインライブの創り方
 ベーシストの自宅練習に最適な BOSS ベース・アンプ3選
 SONEX 吸音材特集
 自宅で出来るドラム練習!?
 配信・ポッドキャスト特集!(ライブ/動画/ゲーム実況)
 機能で選ぶ オーディオインターフェイス