At last, we’ve come to the topic of the sound post.
I say “at last”, but the truth is, I’ve actually written about sound posts before on this blog.
⇒ Related Blog: “A Story About the Sound Post”
Back then, I sidestepped the subject a bit with musings like, “I wonder who first called the sound post tama-bashira, or “soul post” in Japanese...”—the kind of nostalgic rambling you’d expect from a typical “idle musings of an old guy” blog.
When I asked our beloved AI overlord about the origin of the term “tama bashira”, I got a quick, textbook reply:
“It comes from the Italian word Anima.”
Fair enough. That’s probably the model answer.
But here's what I really want to know:
Why on earth did Italians long ago choose to call what clearly looks like a simple wooden stick an “Anima” (soul)?
That’s the part I find intriguing.
Then again, there’s no end to the frustration of arguing with an AI, so I’ll leave this mystery as food for thought by this old man.
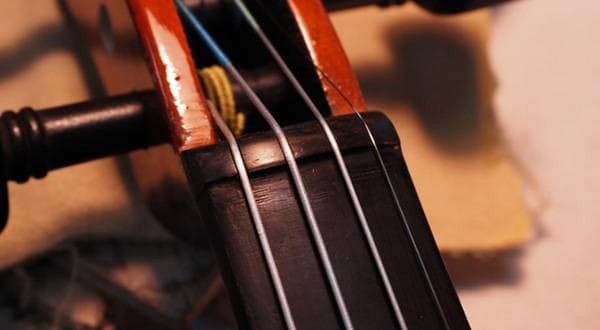
Now then, the sound post is a small wooden dowel shaped like this, with both ends cut at an angle.

This little piece stands upright between the front (top) and back plates inside the violin, wedged in place.

The primary role of the sound post is to transmit vibrations from the top plate to the back plate.
When a violin doesn’t have a sound post, its sound usually becomes muffled and lacking in clarity.
On the other hand, when the sound post is correctly fitted, the violin produces a crisp and beautiful tone, especially in the higher registers.
That said, sound can still be affected if the post is tilted or positioned incorrectly.
However, it’s not always so simple. There are violins that sound surprisingly good even with a slanted sound post.
Conversely, there are also cases where “fixing” the post (placing it perfectly) makes the sound worse.
There’s no shortage of such examples. In fact, I mentioned a similar case in a previous blog post, which I called the “K-san Episode”. I’ll share a short excerpt from that post below.
Here’s a little story that I’ll use as an example from about 25 years ago.
One day, an elderly gentleman—let’s call him Mr. K—came in as a customer. He was a long-time violin enthusiast and wanted to try replacing the sound post in his instrument. So, I performed the sound post replacement.
Once the work was done, we tried playing the instrument. The sound had definitely changed—but oddly enough, Mr. K felt that the previous sound was better. Why? It was puzzling.
In most cases, the sound usually improves when changing the sound post is done correctly. However, the definition of a "good sound" is ultimately subjective. Since it depends heavily on personal perception, there's no absolute or fixed standard.
In Mr. K’s case, the violin was quite an old one. It was an Italian-made vintage instrument. It’s likely that the top plate had warped slightly over the years at the exact spot where the sound post had been in contact. That kind of subtle shift made it difficult for a newly positioned post to produce the same tonal result.
So, relying on memory, we reinstalled the original sound post in the exact position it had been before, and sure enough, the tone returned to what it had been. It was a clear reminder that when it comes to sound, even well-intentioned adjustments can have unexpected outcomes, and sometimes, what seems "technically correct" doesn't always lead to better sound.
According to Mr. K, “I’ve had the sound post on this instrument looked at in various places, but no matter what they did, it just didn’t sound right.”
Apparently, he had tried having the sound post replaced at several different workshops, but in the end, he always ended up putting the original one back in.
I really wish he had told me that from the start…
This story is entirely true, with no embellishment.
The sound post that was in the instrument must have been the result of either the installer’s skill or some accidental combination of factors that, in the end, made the instrument sound its best.
Personally, I believe it was probably the latter.
Now, let’s get back to the blog.
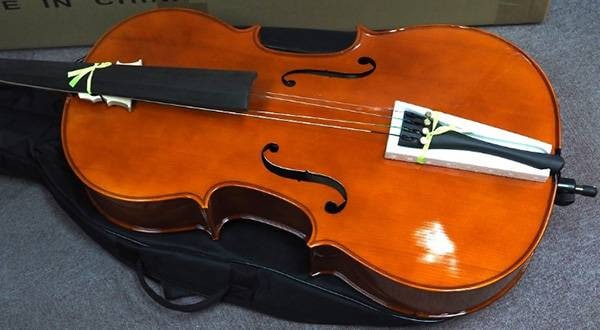
In this blog, where I’ve been tinkering with the PLAYTECH PVN244, the focus this time will be on its sound post.
The sound post in the PVN244 isn’t fundamentally different from a typical one, but as is often the case with mass-produced instruments, some unavoidable condition issues tend to occur.
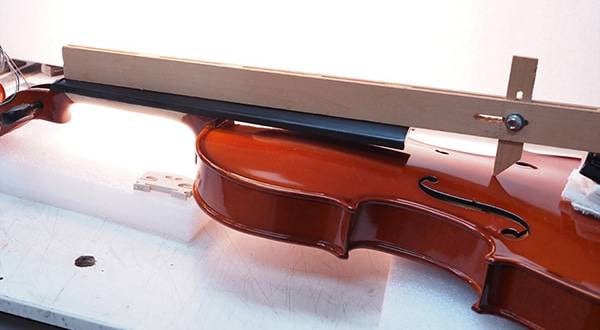
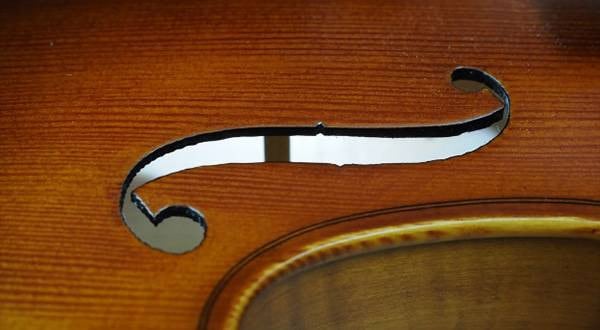
Please take a look at the image. It was difficult to photograph, but I took this shot with an iPad. There is slight distortion in the image, so please excuse it as an aberration from the ultra-wide lens.

Can you see how the sound post is tilted?
I will now correct this tilted sound post to its proper position and angle.
First, I will remove the sound post using a tool called a sound post setter.

From here, please watch the video tutorial on YouTube.
I will also explain the process using screenshots from the video.
Gently tap the lower end of the sound post (the side facing the back plate) from the neck toward the endpin, and the sound post will fall down.

Remove the fallen sound post through the F-hole.

Using a chisel, shave and shape the top and bottom ends of the sound post to prepare it.

Next, using the sound post setter tool, stand the post back up inside the violin.

This is a task that basically relies on the delicate feel of your fingertips. Looking at the images alone, it might be hard to tell what’s happening.

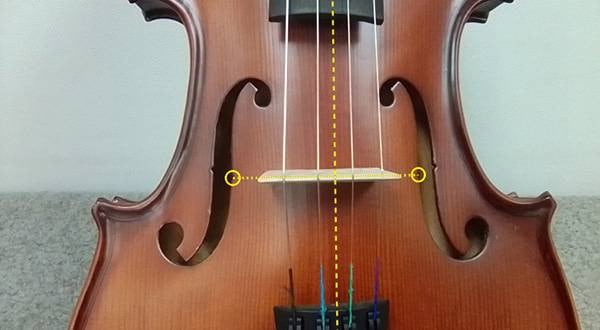
Fine adjustments to the position are made from the opposite F-hole.

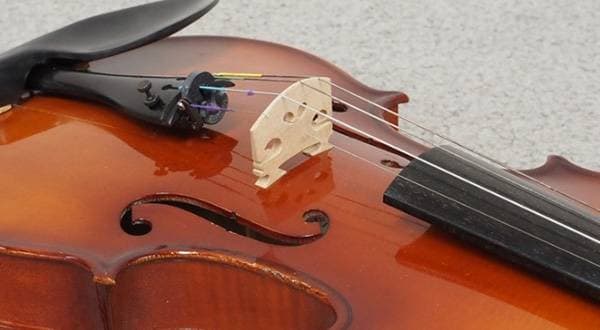
The correction to the proper position is now complete.

Now it’s standing straight, right?

Here, I’ve presented the procedure as if it were done without any difficulty, just to explain the steps clearly. However, in reality, adjusting the sound post can be surprisingly challenging.
When set correctly like this, the sound usually improves. But it’s also wise to keep in mind that, as in Mr. K’s story I mentioned earlier, sometimes things don’t go as planned.
By the way, regarding this PVN244, I believe the sound balance improved after the sound post was adjusted.
Now, for the next article in the series, I will be talking about the bridge, which greatly affects both tone and playability.
I have written about violin bridges before in this related blog:
⇒ Related blog: “About the Violin Bridge”
Next time, I will focus specifically on how the bridge on the PVN244 is actually shaved and adjusted.
Once the bridge adjustment is complete, the setup process is finished, and it will be time to play and listen to the sound.
This blog series has covered many steps, and next time will be the final article.
See you then!
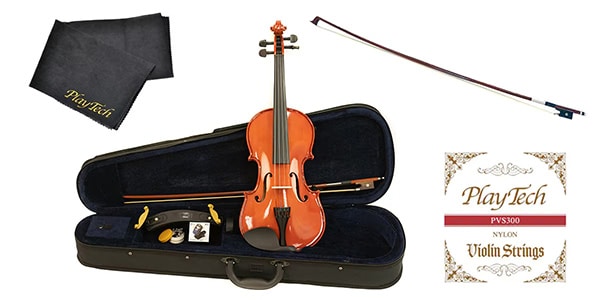
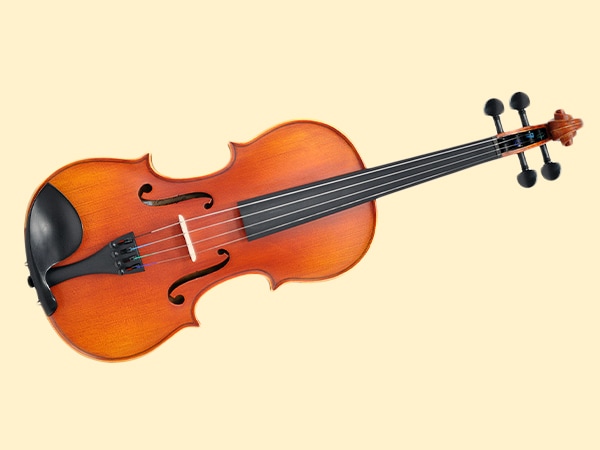
The star instrument of this blog series is the PLAYTECH PVN244.
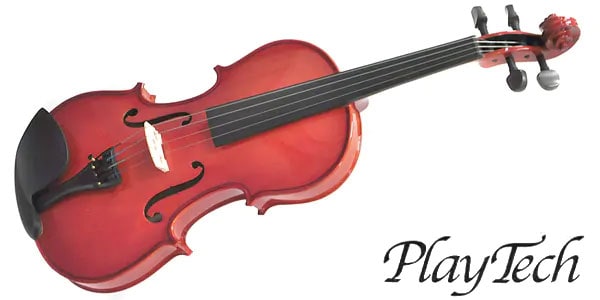
This is selling like crazy!!
I especially recommend a set that comes with a good bow.
PLAYTECH / PVN244 Violin 4/4 Beginner Set V


![How to Get the Best Sound Out of a Cheap Violin [Part 1] What Makes for a Good Sound? Who Decides?](/contents/uploads/thumbs/2/2025/4/20250409_2_31047_1.jpg)
 バイオリン 入門ガイド
 バイオリンスタートガイド
 PLAYTECH 弦楽器
 バイオリンの手入れ
 バイオリンの調弦 チューニング
 バイオリンの基本的な取り扱い