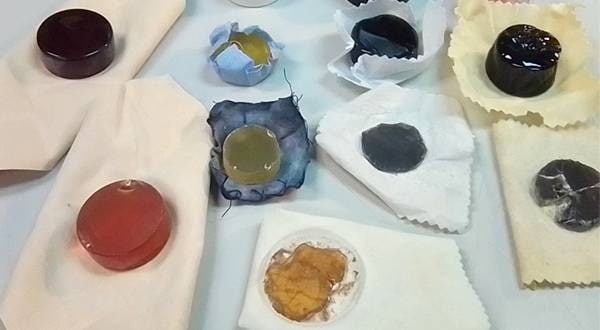
In the previous blog post, (Preparing Rosin) I discussed how to flatten the surface of pine rosin to make it easier to apply.

This time, I would like to talk about how to apply rosin.
Do you have any of these problems?
I sometimes receive inquiries such as “I bought new rosin, now, how do I apply it?”
Those who have bought brand new pine rosin
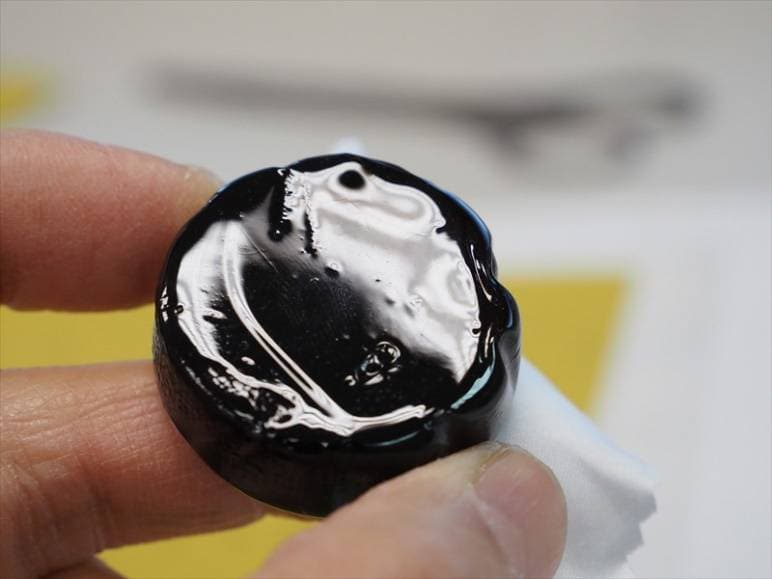
Usually you find a film on the surface, a coating that makes it impossible to apply, or that it was too hard to use.
These are some of the actual complaints I have received.
We sometimes receive such inquiries, which become laughable after gaining some knowledge. All rosin sold, without exception, first of all, have a smooth surface, however, they are not smooth.
As I discussed in our previous blog, if the surface of the pine rosin isn’t flat, there will be less contact surface against the bow and it will not be possible to apply it well.
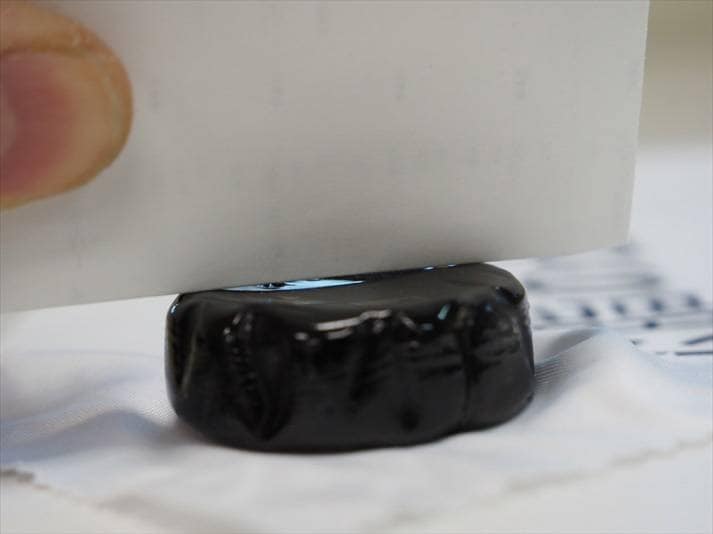
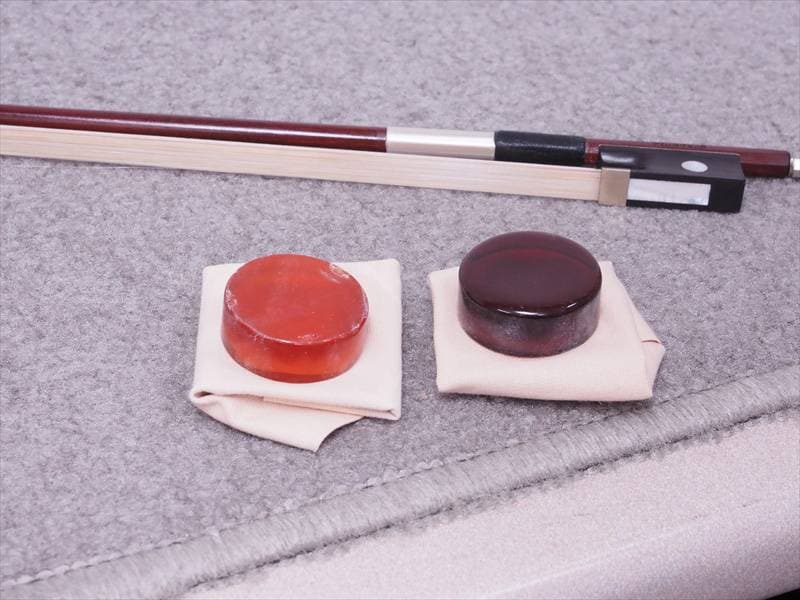
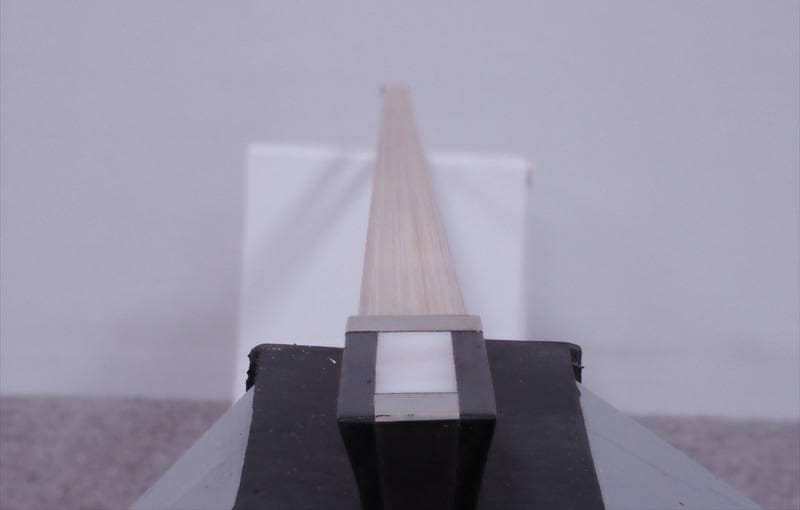
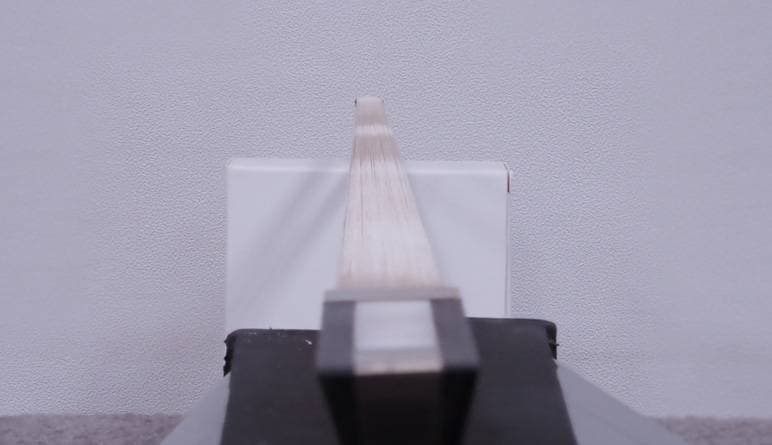
New rosin: bumpy and full of gaps
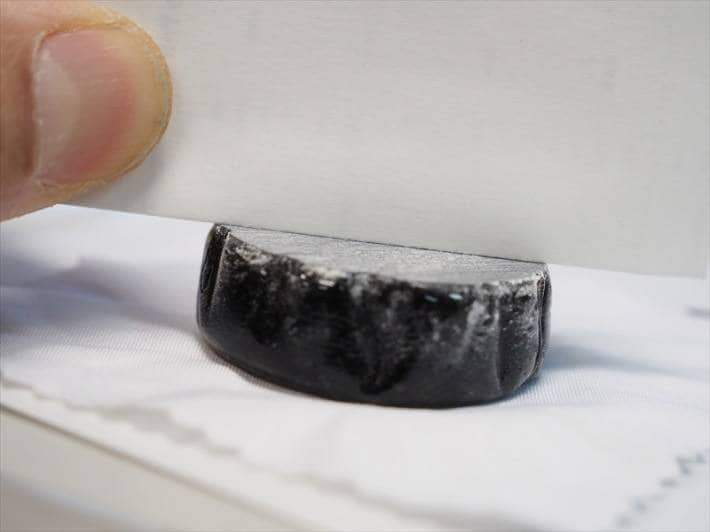
Pine resin that has been used down and flattened: no gaps!
Are you having trouble applying the bumpy rosin that came with your used violin?
You have received a second-hand violin from your teacher or a senior student, but the pine rosin was uneven. However, the rosin was bumpy. I can't complain because I know about this, so what should I do?
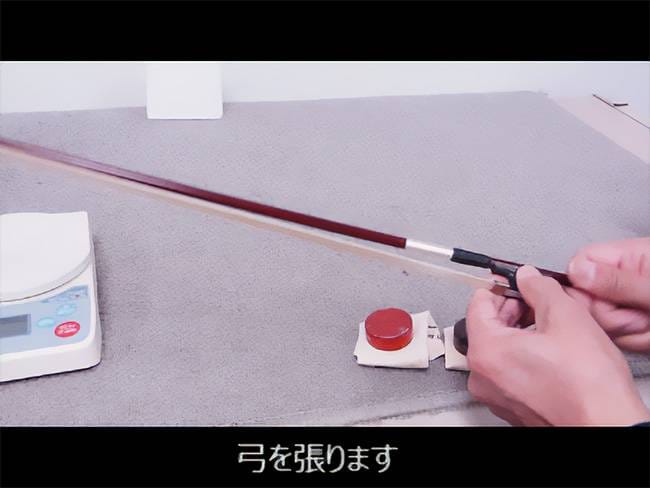
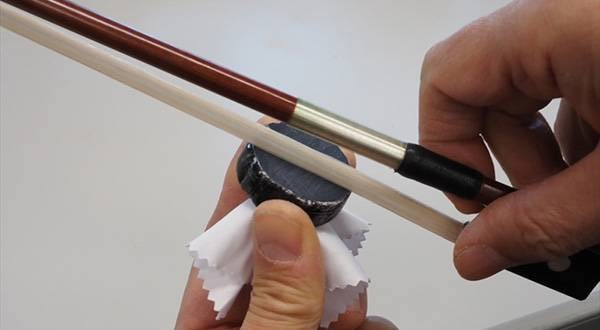
Once the pine resin is ready, it is time to apply it.
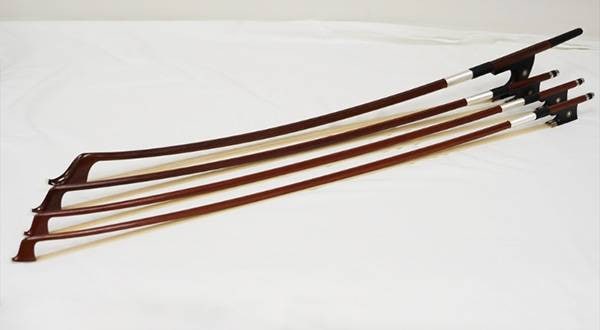
Please watch the “How to Apply Rosin” video, which is less than 2 minutes long.
The video and the following instructions are for applying rosin to a new bow or a bow that has just been rehaired.
- First, stretch the bow hair to about the tightness it will be in when you play.
- Most people hold the bow in their right hand and the rosin in their left hand.
- Start applying by moving the bow over the rosin first. Apply the rosin to the bow first by moving the bow back and forth in small increments.

- Move to the end of the bow and apply the same small strokes moving back and forth.
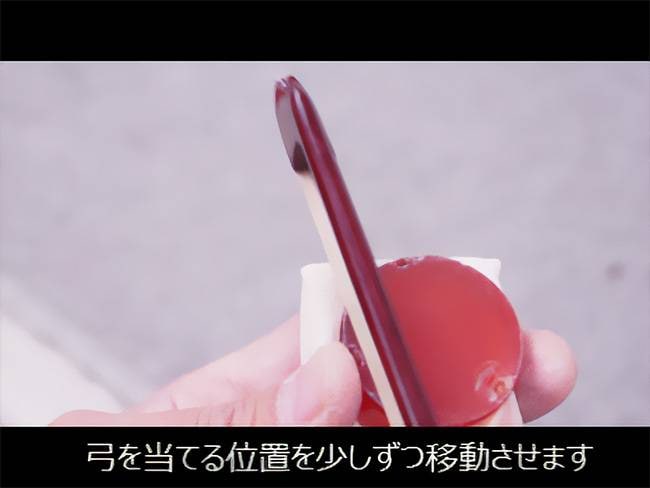
- You may apply it in the same way while changing the location of the bow hairs in small increments, or if you move the bow in large increments, apply it slowly and with even pressure.
- After applying the entire coat, check the amount of rosin on the bow hair. This is the state of the bow before applying rosin.
→ Look straight at the bow hairs from the frog as if you were looking at a balloon for an eye test.
You can see the unevenness between the areas with the rosin and the areas without. The areas with rosin are covered with white powder, while the areas without rosin appear slightly darker. This bow has rosin intentionally applied unevenly so that it is easy to see. If you actually paint it and look at it in this way of checking, you will see that it is more uneven than you may have originally thought. - Apply more rosin to the areas that are not covered.
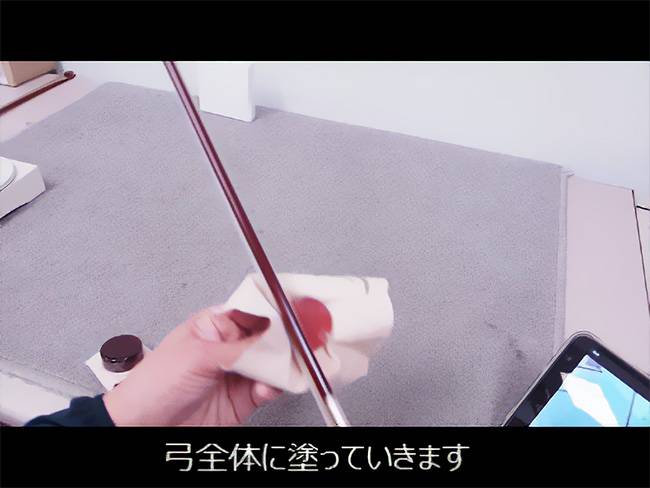
- Finally, apply the rosin in a large back-and-forth motion all over the bow, and then place the bow on the instrument and play a sound.
- If the sound comes out evenly all over the bow, the process is complete.
This is the method I use on a daily basis, but I am sure each player has his or her own opinion on how to apply rosin. Please be aware if there are any discrepancies between this method and that of your teacher or other instructor.
How much rosin should I apply?
This is a difficult question to answer. Because it is difficult to measure the amount of pine resin on a bow. In writing this blog, I tried to measure the amount of pine resin on a new bow with a scale that can measure to the nearest 0.1g, but the result was that I could not measure it at all. In other words, the amount of pine sap needed to play the bow is less than 0.1g.
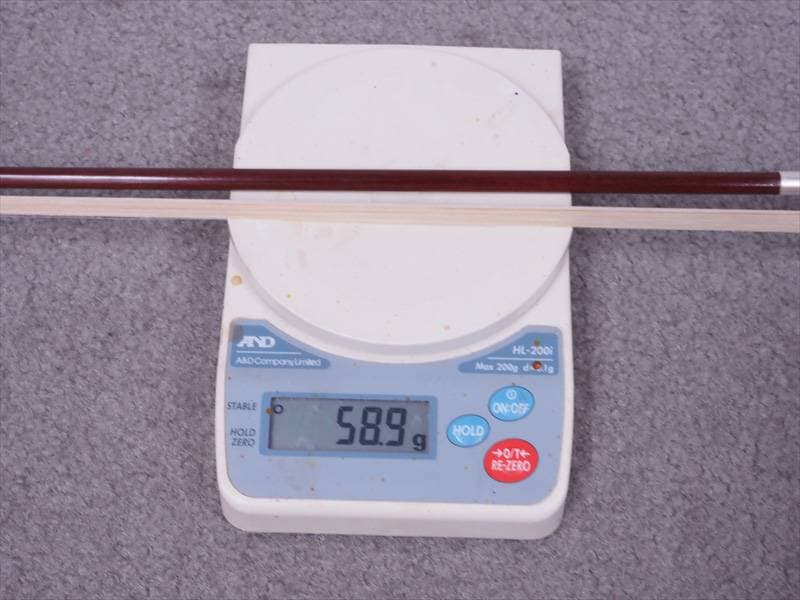
This bow was quite light.
Even if the value could be confirmed, it would not be possible to weigh it every time. In the end, it would be impossible to explain more than that you have to learn how to adjust the amount of sound to the point where “the sound comes out properly”.
As you get used to it, you will have a sense of whether it is OK or not, or whether you want to apply a little more or not, as soon as you make a sound.
How to keep the surface of pine needles smooth?
This is probably the most crucial part of today's blog.
Has your pine resin ever become bumpy from use?
Bumpy pine needles can be flattened out again by re-tooling, but is there any way to keep them flat?
I would like to conclude by saying that the following points should be taken into consideration in order to keep the surface of the pine needles flat in daily use.
① Keep the force applied to the bow as constant as possible.
I think that the level of pine sap is so low that it is not visible to the eye how much pine sap has been removed from the bow after a single back-and-forth motion. However, it must definitely be “decreasing,” and it is obvious that if the same spot is moved back and forth many times, that area will decrease first.
This is the most common cause of bumps and bruises.
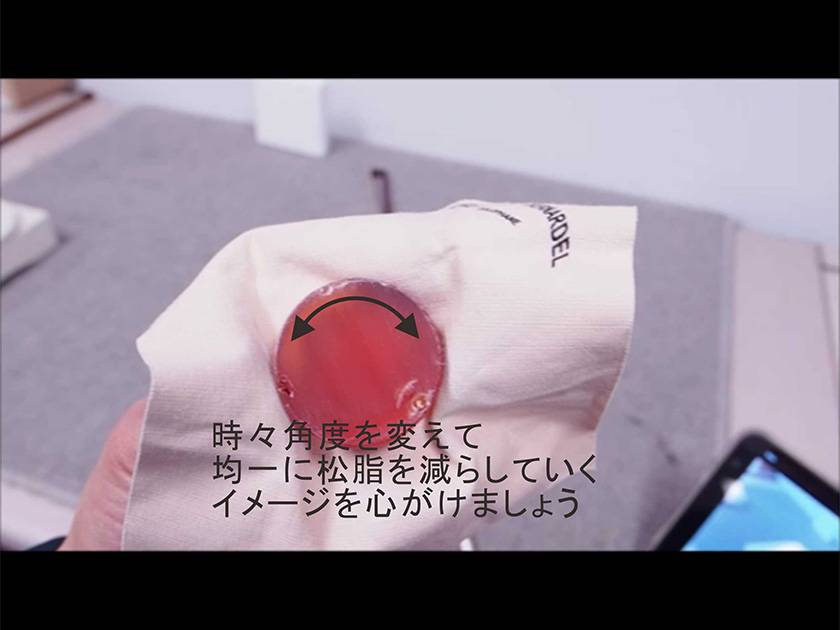
② Slightly shift the position of the surface against the rosin.
Shift the position of the surface of the rosin a little with each bowing back and forth.
At this time, do not change the angle of the rosin.
③ Try changing the angle of the rosin sometimes.
Apply the rosin from one end to the other this way, then change the angle of the rosin from 30 to 45 degrees and apply it in the same manner.
This is a sensory experience for me, but applying the rosin at the same force seems to work best if the speed at which the bow and rosin move is kept at a somewhat slow pace, along with the amount of force applied.
I think this can be learned relatively easily through repeated practice.
If you apply rosin too hastily, you will end up with bumpy rosin that will become difficult to apply.
The phrase “haste makes waste” applies here and there in my articles, and it seems to be effective here as well.
I have talked about rosin in three parts so far, but if you choose good rosin within your budget and follow the procedures to use it correctly, you will enjoy a good sound for a long time and it will be more economical. Why not take this opportunity to read “How to Prepare Rosin” and “How to Apply Rosin?”


![[2026 Edition] For Beginners and Students! Recommended Cello Accessories](/contents/uploads/thumbs/2/2024/10/20241029_2_29189_1.jpg)
![[Violin] A Peek into the Actual Inspection Process!](/contents/uploads/thumbs/2/2024/7/20240731_2_27925_1.jpg)
![[Attention, String Players!] How to properly rosin a bow and recommended rosins!](/contents/uploads/thumbs/2/2023/12/20231218_2_25008_1.jpg)
 チェロの弓の調整と松脂の塗り方
 チェロの各部名称と置き方
 バイオリンの手入れ
 バイオリンの弦交換
 バイオリン 弓の各部名称と松脂