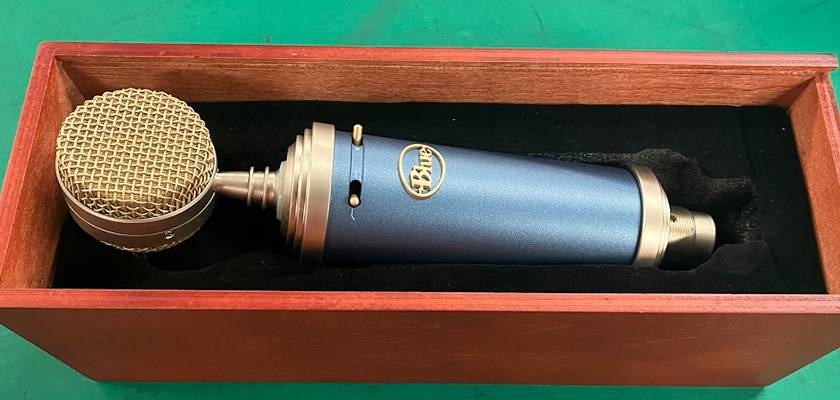
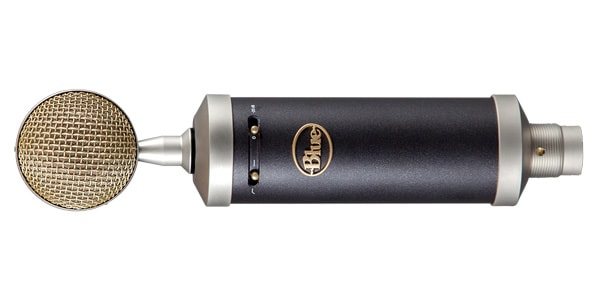
When you think of Blue microphones, the iconic look with the separated diaphragm and body comes to mind, a charming design loved by many for a long time. But it’s not just about the looks—these microphones deliver serious sound quality and are used professionally.

This guide will show you how to perform maintenance for switch issues to help you use your valuable microphone for a longer time. This maintenance technique can be used not only for the Bluebird SL but also for the Baby Bottle SL, which has the same shape.
Note: This maintenance process requires soldering and desoldering with a soldering iron.
The replacement work I will be doing involves the selector switch for low-cut and PAD switching.
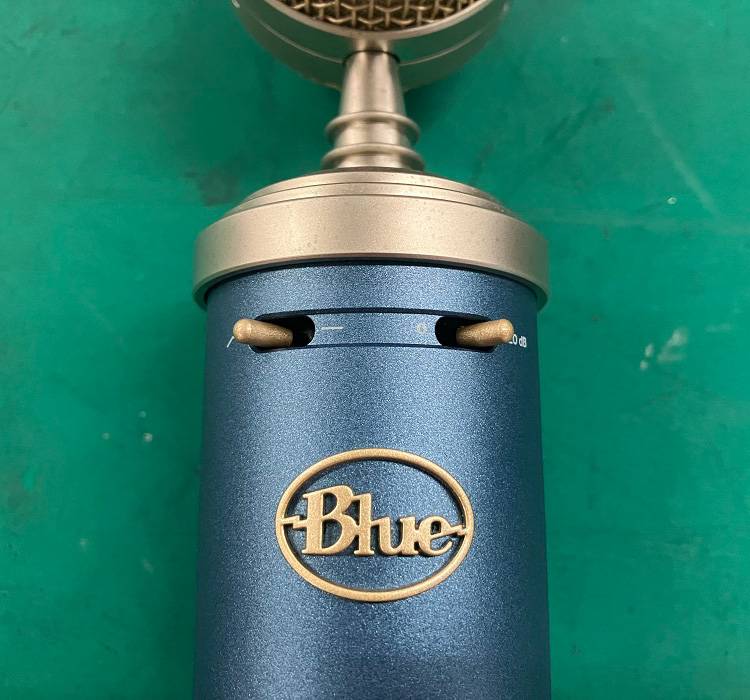
‘Selector Switch’
First, remove the switch knob.
Note: If you start disassembling without removing this knob, the switch knob might break, so be careful.
The knob may be lightly glued, so warm it gently with a hairdryer or similar tool. Warming it will help you remove the knob more cleanly.
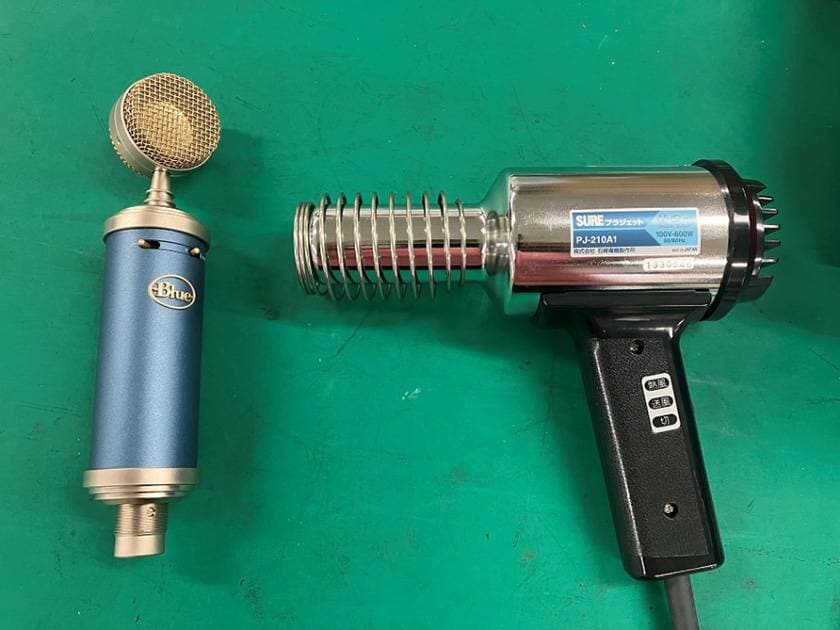
‘Warming the Knob’
Once warmed, remove the knob using the tip of tweezers or a precision screwdriver (flathead). If the knob is hard to remove, warm it again or use the tip of the tweezers or screwdriver to pry it off using the microphone body as a fulcrum. Be careful not to apply too much force, as the knob might fly off.
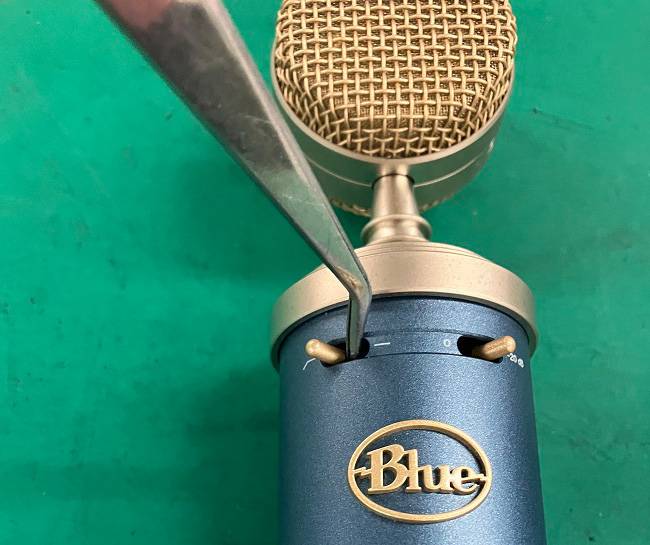
‘Removing the Knob with Tweezers’
‘Knob Removed’
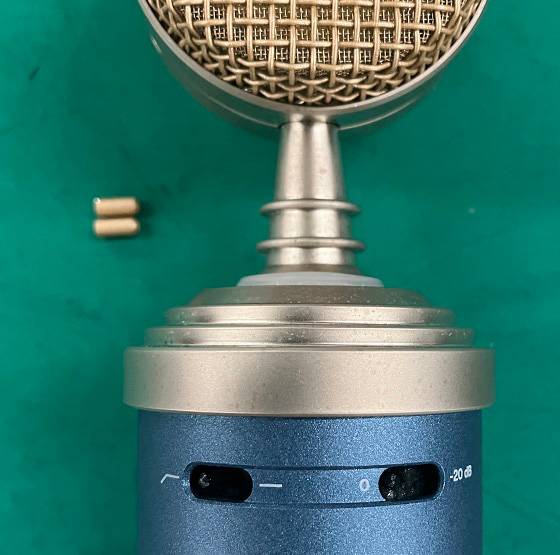
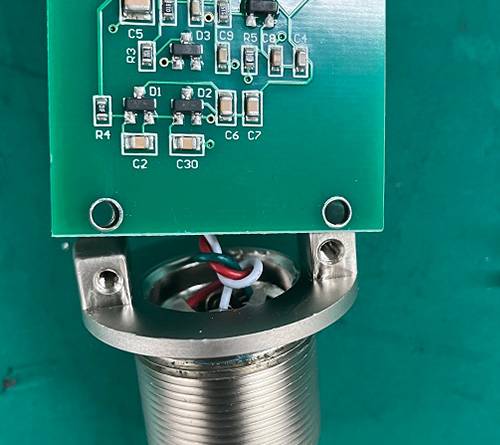
After removing the knob, rotate the bottom plate of the casing counterclockwise to remove the cylindrical casing.

‘Casing Removed’
Next, check the selector switch area. Peel off the circular protective tape that prevents dust from entering. Keep the tape for reuse when reassembling.
‘Protective Tape’
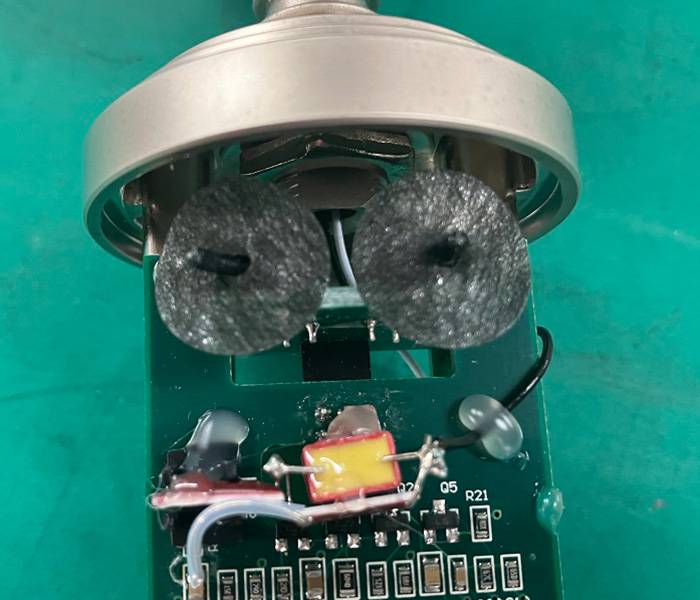
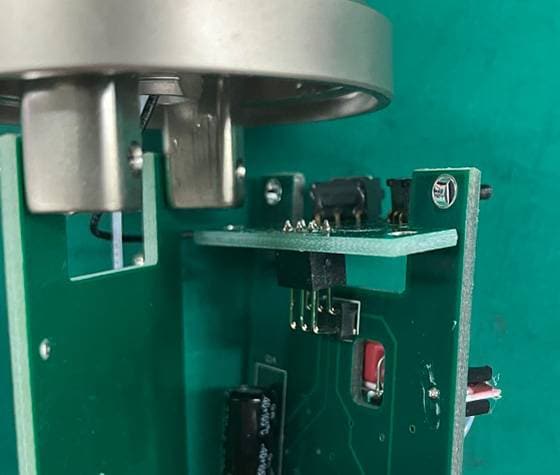
Now, carefully remove each board to detach the switch-mounted circuit board.
Start by removing the bottom part with the XLR terminal from the board. For this step, it’s sufficient to remove the screws. Handle with care to avoid disconnecting or breaking any wiring. Remove four screws in total.
‘Removing the XLR Terminal’
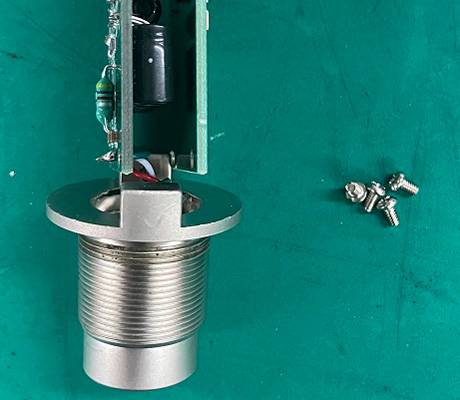
‘XLR Terminal Removed’
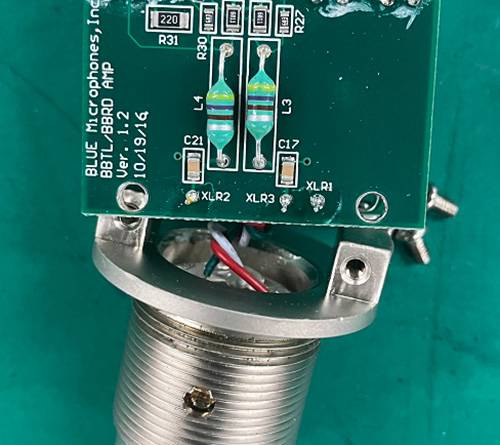
Next, remove the screws securing the switch plate (the board with the switch attached). These screws are in hard-to-see locations, but there are two screws, one on each side.
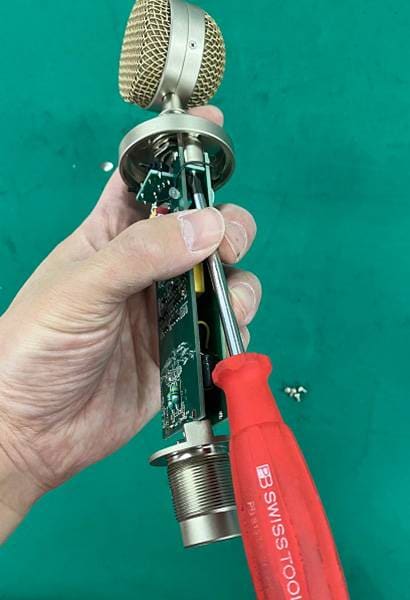
‘Removing the Switch Plate Screws’
Also, remove the two screws on the upper part of the front board. The front side is the side where the switch points towards you.
‘Removing the Front Board Upper Screws’
At this point, the switch plate should be detachable. Pull the switch plate upward to remove it from the contact pins.
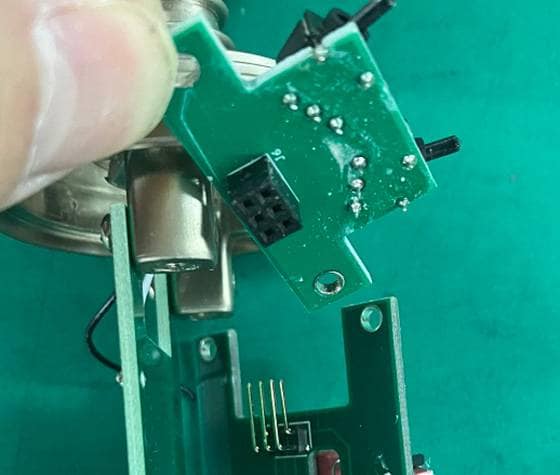
‘Removing the Switch Plate from the Contact Pins’
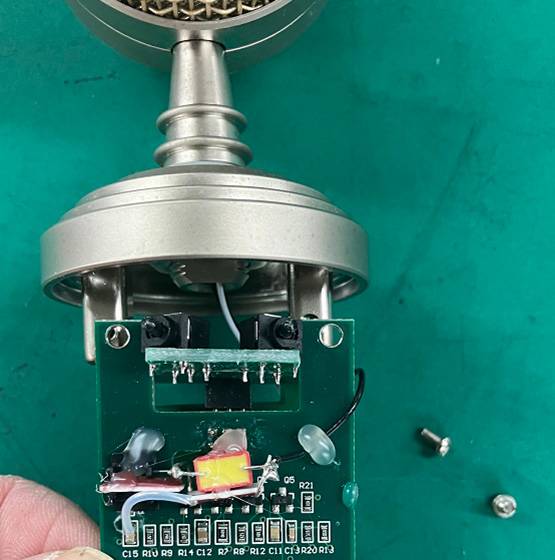
The switch plate has now been successfully removed.
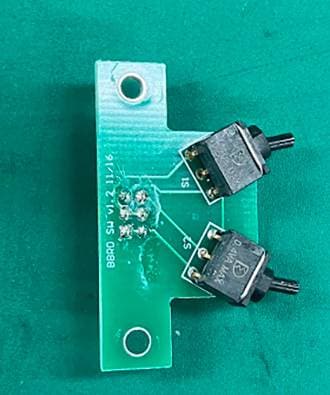
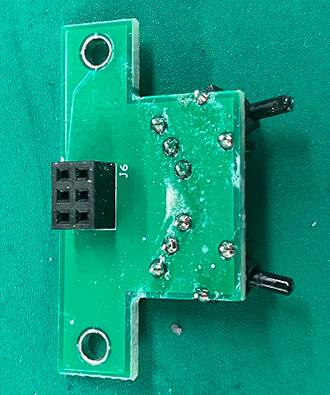
‘Switch Plate’
Use a soldering iron to replace the switch. There are various methods for soldering, but using a solder sucker makes the process cleaner and more efficient. If you are not familiar with soldering, removing the switch may be challenging. In such cases, you can cut the rear 3 of the 5-pin legs with fine nippers at the base of the switch, then remove the remaining 2 front pin legs with a soldering iron. The remaining legs can be removed one by one with a soldering iron later.
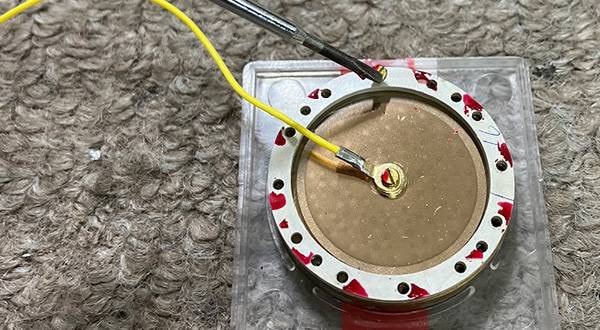
For reference, here is a switch removed during a previous replacement (it was replaced due to a broken switch lever).

‘Removed Switch’
The replacement switch is:
NKK G-12AH (Non-illuminated/Single Pole/ON-ON/Standard Lever/PC-H Terminal)
This can be used as a substitute.
It can be purchased from online parts retailers, but availability may vary depending on the manufacturer’s supply status. Make sure the switch is available and prepared before starting the work.
Once the new switch is installed, reassemble by following the steps in reverse order.
Finally, check for proper operation to complete the work.
While this guide explains the switch replacement process, if you find the task too difficult to perform yourself, don’t hesitate to consult the place where you purchased the microphone. For customers who purchased from us, we will repair the unit to the best of our ability (considering part availability and the condition of the unit). Please note that repairs may incur a fee, so we ask for your understanding in advance.
We aim to help you use your beloved items for as long as possible. We hope this guide is helpful to you.


![An Exploration of Microphones: [Condenser Microphone Edition]](/contents/uploads/thumbs/5/2021/10/20211027_5_14818_1.jpg)

 CLASSIC PRO USBマイク特集
 スマホ用マイク特集
 スマホ用ワイヤレスマイク特集
 初心者向けUSBマイクの選び方
 コンデンサーマイクとは
 ワンランク上のボーカルマイク選び