When you’ve used your instrument for a long time, issues with equipment are inevitable.
For drummers, common problems include external damage during transport, wear and tear on frequently detached parts, and the loosening or loss of small components like screws. If you’re unsure how to address these issues, it can render your drum set unusable, which is quite troubling.
Moreover, many people struggle with repairs because there aren’t always nearby places to get drum gears fixed.
This time, I’m going to introduce how to replace parts on your own, showing you how to deal with drum set parts that break, using an actual replacement as an example.
By the way, I previously shared an article about how I repaired a damaged bass drum shell after dropping it. I hope you find it helpful.
⇒ I repaired a bass drum shell
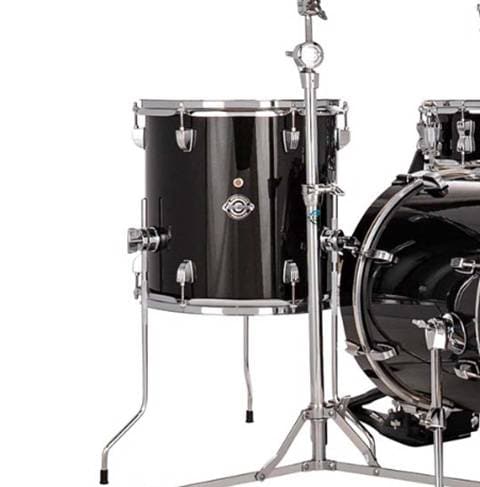
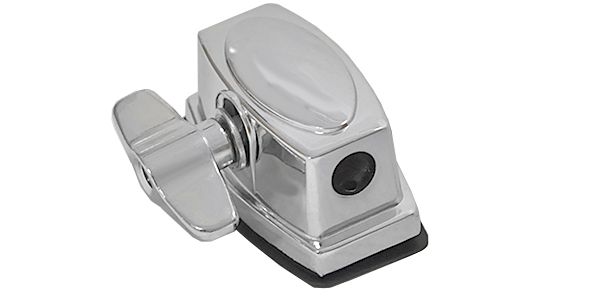
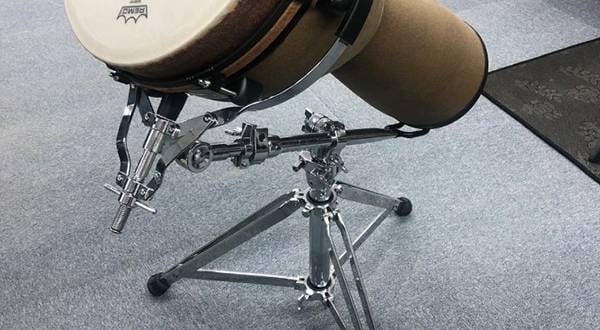
This time, the problem was with the leg bracket of the floor tom. The leg bracket is removed and attached frequently upon transport and performances, so the more you play the tom, the more the bracket wears out.
In my case, the wing nut and bolt threads for attaching the floor tom leg were stripped, making it impossible to secure the leg.
To fix this, I decided to replace the leg bracket. First, I removed the old bracket.
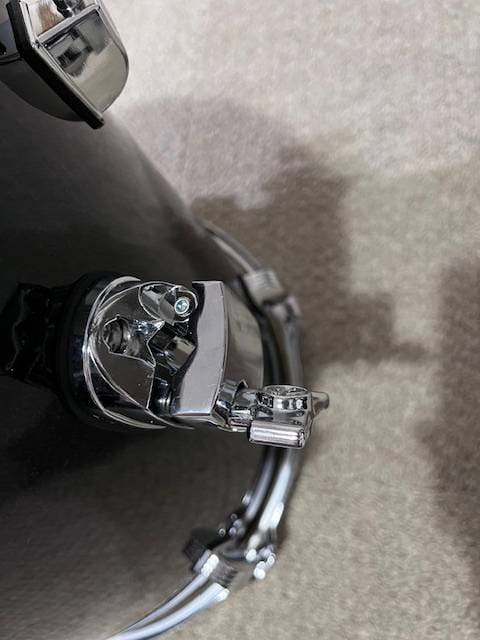
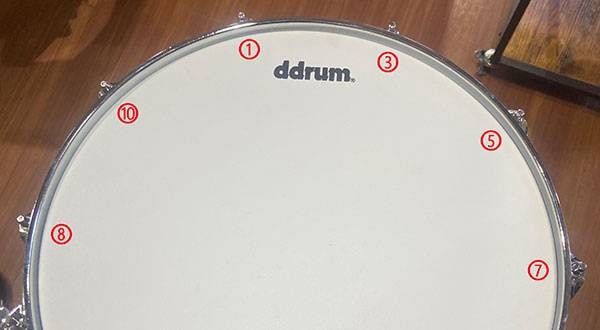
Most parts attached to the shell are secured with either Phillips or flathead screws, but this time I needed to loosen some nuts.
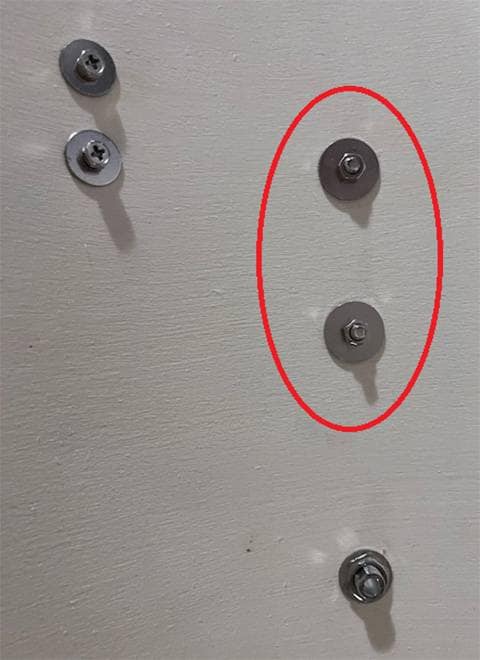
As shown in the picture, different parts of the same product can require various screws.
Depending on the situation, you might need a Phillips or flathead screwdriver, or a wrench, so it’s essential to have the right tools ready before starting.
To loosen the nuts, you’ll need tools like a ratchet wrench or a nut twister that matches the nut size.
Since drum equipment uses various nut sizes, I recommend using an adjustable wrench.
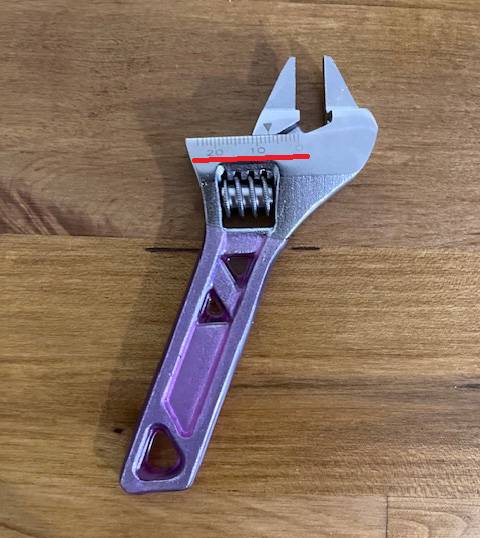
An adjustable wrench with a scale is particularly useful for purchasing parts, so I highly recommend it.
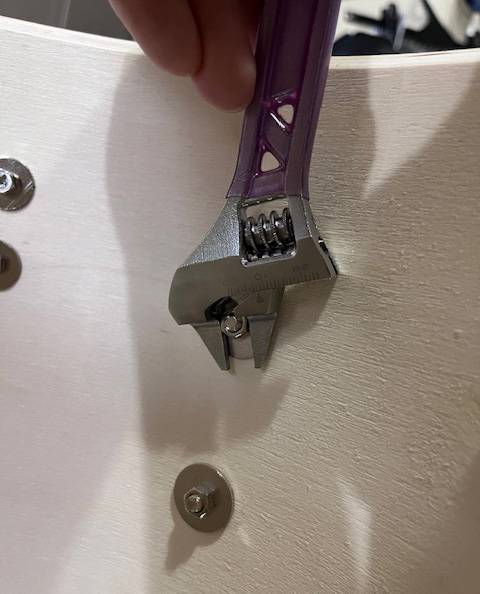
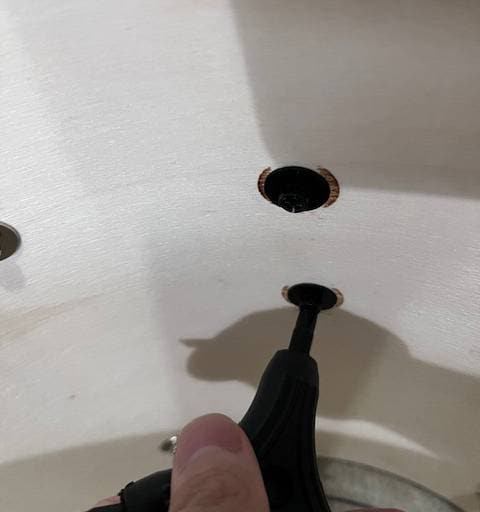
Adjust the wrench to the width of the nut and start turning.
Hmm... for some reason, the washer was left behind.
I tried removing it with my fingers, but it wouldn’t budge.
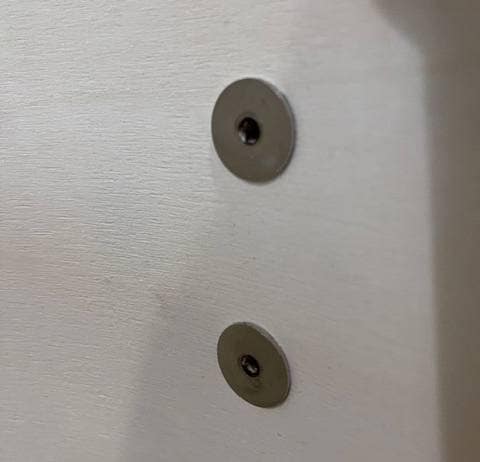
Replacement parts usually come with the correct size nuts and screws, so when metal parts like this are left behind, make sure to remove them if possible.
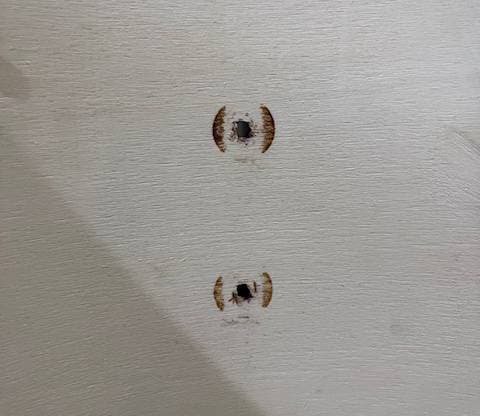
The washer had rusted and stuck to the shell, but I managed to remove it without damaging the shell.
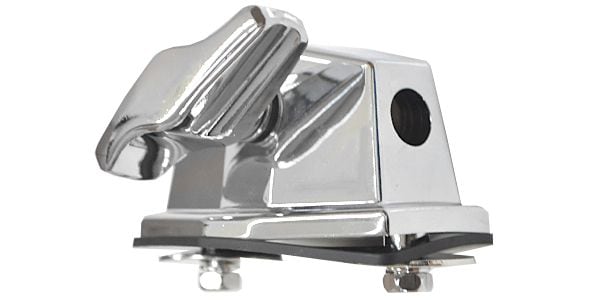
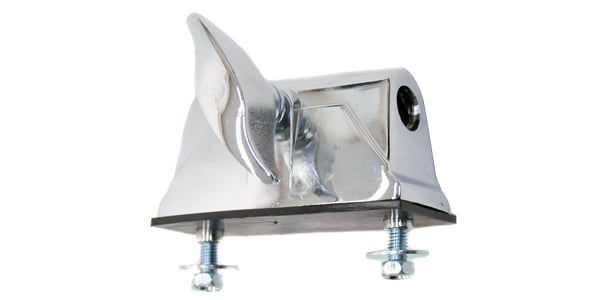
Next, take the replacement part.
Since I couldn’t find a genuine part, I opted for a third-party part.
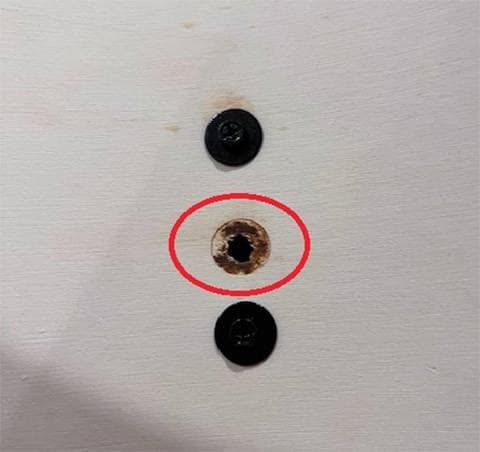
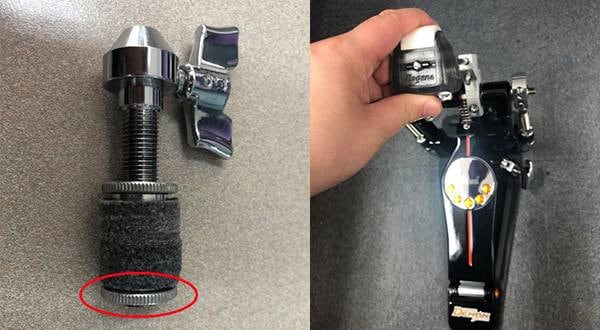
Here are some key measurements you’ll need to take when choosing parts.
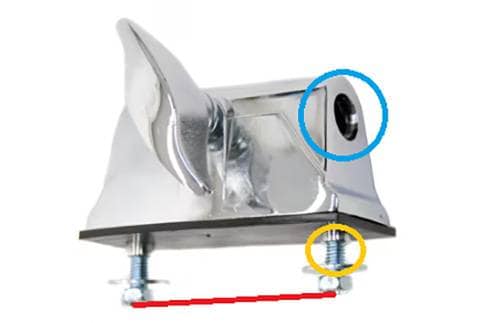
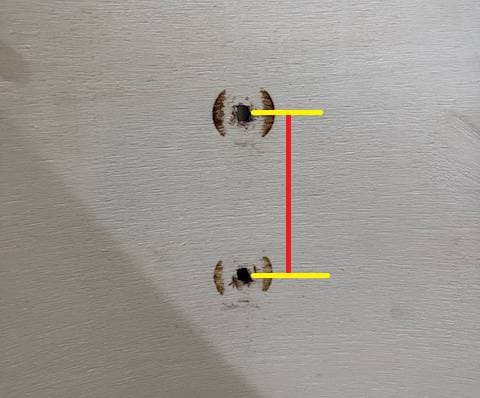
Mounting Screw Spacing: Measure the distance between the screws as shown by the red line in the image. Be sure to measure from the center of the screws!
Leg Diameter: Measure the inner diameter, as shown by the blue circle in the image. Some parts list the compatible diameter.
Mounting Screw Pitch: Measure the screw pitch, as shown by the yellow circle in the image. If the shell holes are too small, you’ll need to enlarge them with a file or drill.
Of these, the mounting screw spacing is the most crucial.
Universal parts often have listed sizes.
If you buy the wrong size, you may need to drill new holes, so be sure to measure carefully!
☆ Recommended Floor Tom Leg Brackets
■ Mounting Screw Spacing: Approx. 48mm
■ Mounting Screw Spacing: Approx. 52mm
■ Mounting Screw Spacing: Approx. 56mm
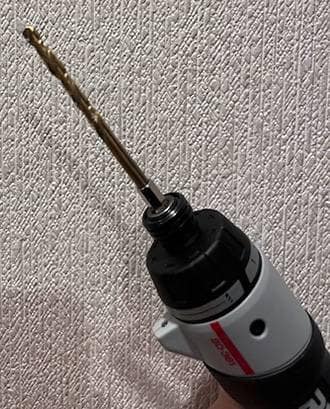
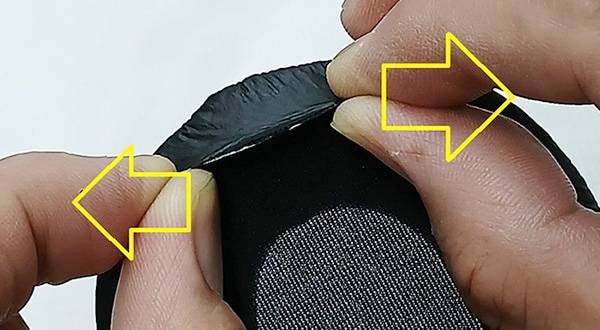
Now, let’s enlarge the mounting holes.
Often, the shell holes are slightly too small, so you’ll need to sand down the covering and shell.
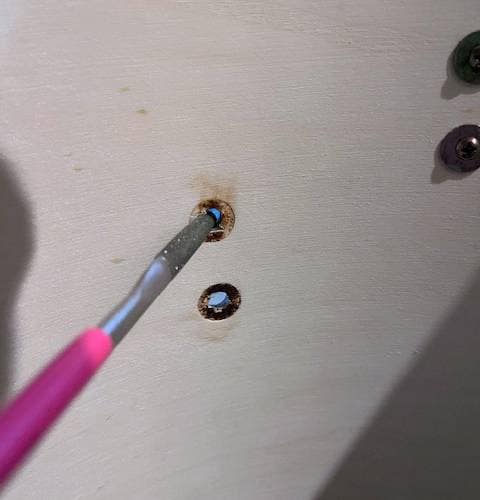
If you can’t find a part with the right mounting screw spacing or if you accidentally measure incorrectly, you can drill new holes. As shown in the picture, use masking tape to mark the necessary width and vertical alignment, then mark the spot where you need to drill to avoid mistakes!

Finally, attach the lugs.
If you’ve drilled new holes, you can hide them inside the lugs like this.
Reattach the drumhead, install the floor tom leg, and you’re done!

How was that?
Replacing parts like brackets attached to the shell might seem daunting, but as long as you choose the right parts, it’s pretty straightforward.
If you have a drum that’s been rendered unusable due to broken parts, give it a try!


 ハードウェアとシェルの関係性
 ドラムヘッドの交換方法
 スネアスタンドの選び方
 シェル素材について
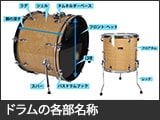 ドラムの各部名称
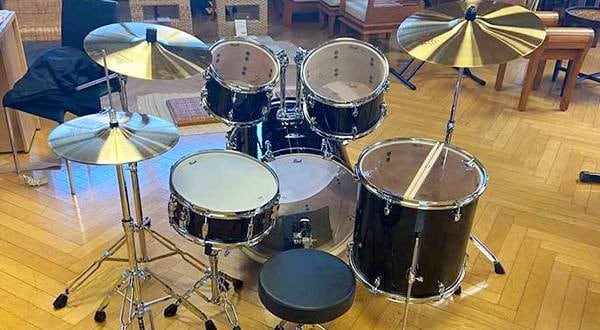
 基本的なドラムセット