


You guys!!
Do you want to use your DIY pedal with love!?!?!?
“Hell yeah!!!!”
With a call and response I’ll probably never use again, let me introduce myself: I’m S, a high school guitarist.
This time, I’m continuing to build my DIY Marshall modeling pedal, Astra!!
- [Part 0] A High School Guitarist Wants to Build a Pedal - Tools and Preparations
- [Part 1] A High School Guitarist Wants to Build a Pedal - Circuit Board
In previous editions, I covered the tools and preparations, and built the heart of the pedal:
the circuit board. Today, I’ll be working on the outer shell—the enclosure itself!
Most pedal kits come with a plain metal enclosure. The metallic look has a rugged charm and is perfect for distortion pedals.
But!!
I’m a man who pursues romance!
If this pedal is modeled from Marshall, I want the colors to match the iconic Marshall amp.
I want a luxurious and elegant black and metal design, with the name stamped in a brilliant white.
And so, I decided to paint this pedal.
The Significance of Painting a Pedal
Have you ever paid attention to the paint job on a pedal?
I’m sure many of you are particular about the finish on your guitars. But when it comes to pedals, you may not have given them as much thought.
If you look at different pedals, you’ll see all kinds of finishes—from shiny and reflective surfaces to matte and rugged ones.
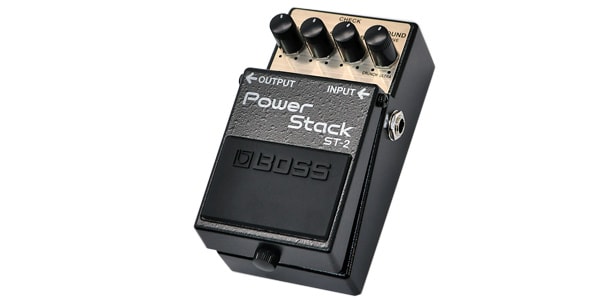
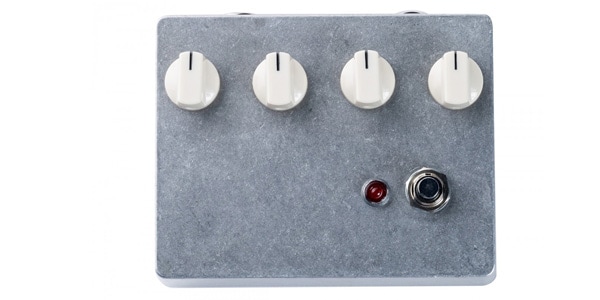
Take, for example, BOSS pedals. Most of them have smooth finishes, but the Power Stack ST-2 has a texture that looks like water droplets.
BOSS / ST-2 Distortion Overdrive
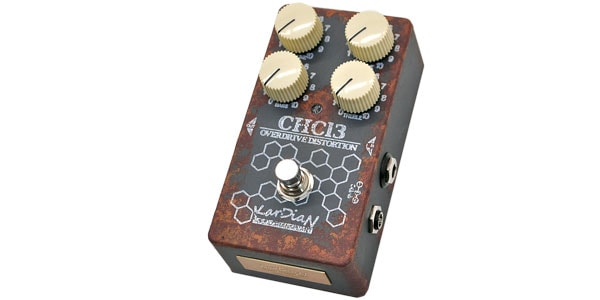
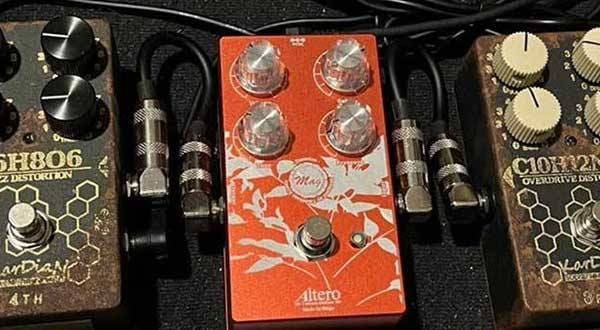
Recently, pedals from brands like KarDiaN and Petla have exploded in popularity. Their pedals often feature unique finishes you don’t see from other manufacturers, such as rust effects or hand-painted, art-like designs.
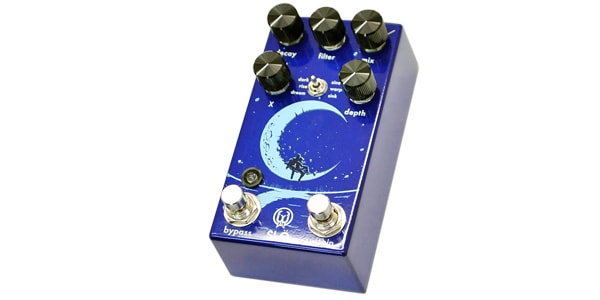
Walrus Audio pedals are another example, with captivating artwork on each pedal, each telling its own story.
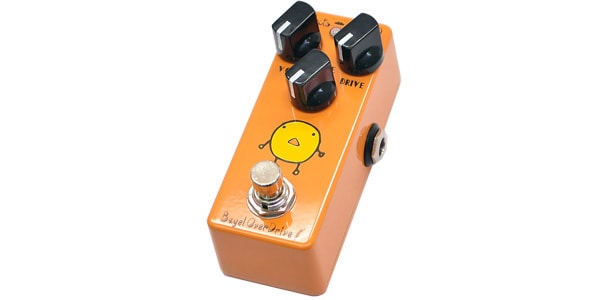
More affordable brands like Mooer and Effects Bakery use small illustrations to highlight the personality of each pedal.
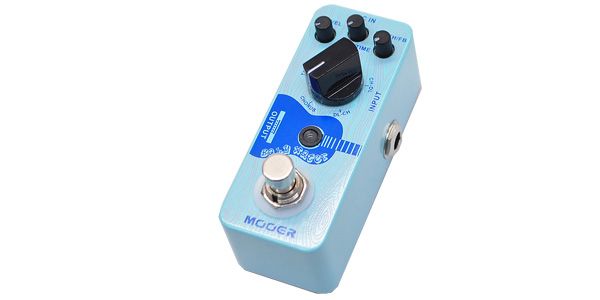
Effects Bakery / Bagel OverDrive
But wait... I’m getting a bit too passionate here.
In short, painting a pedal isn’t just about forming an emotional attachment to it. It also helps express the pedal’s personality.
How to Paint
First, you need a good place to paint. Since I’m using lacquer spray, doing it indoors without proper ventilation would leave the room covered in black dust. And if there’s an open flame, you’d have a much bigger problem than just a pedal.
So, unless you have the proper equipment, always paint outdoors.
Luckily, my house has a garden, so I built a cardboard barricade to do the painting.
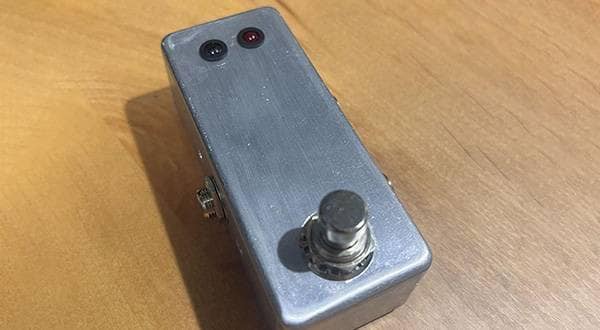
Here are the parts and the enclosure that I’ll be painting.
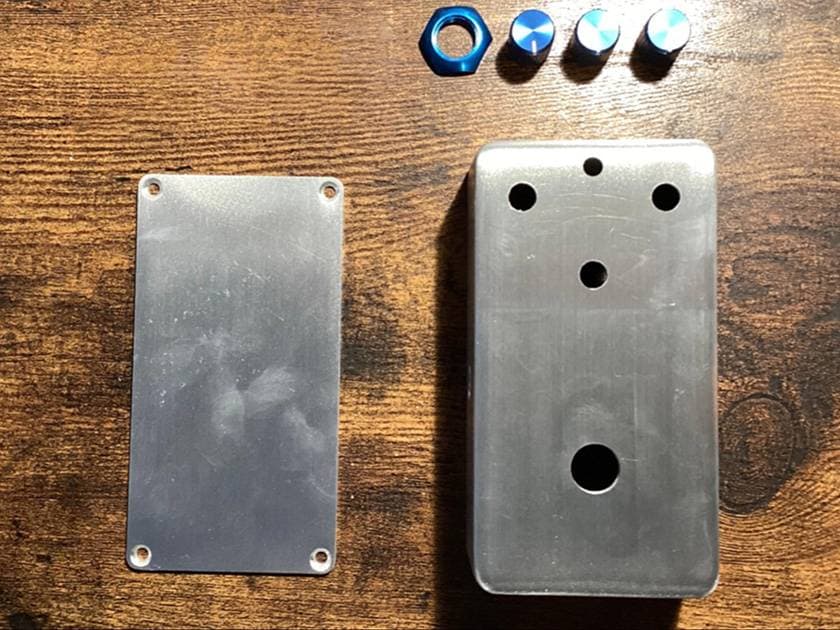
The enclosure will be painted black, the knobs gold, and finally, I’ll stamp Astra on it with a white eraser stamp.
It’s a good idea to sand the surface smooth before spraying. I skipped this step because I wanted to get to the next part quickly, but I recommend sanding when you paint.
Also, a final coat of clear spray will protect the paint, so don’t forget to give it a protective layer!
Unexpected Obstacles
The painting process, which I thought would go smoothly, was hit by an unexpected obstacle. That obstacle was... nature. Specifically, the wind. It was a sunny day, but the wind was so strong that if I took my eyes off the cardboard barricade, it would fly away. This caused my work to take over twice as long as expected.
But I wasn’t going to let that stop me.
Fortunately, my house has a veranda, so I crawled under it to finish the work. This allowed me to keep the wind at bay.
That said, I recommend using weights to hold things down or waiting for a calm day instead of being as stubborn as I was.
After Painting
Here’s the finished painted product, after drying!
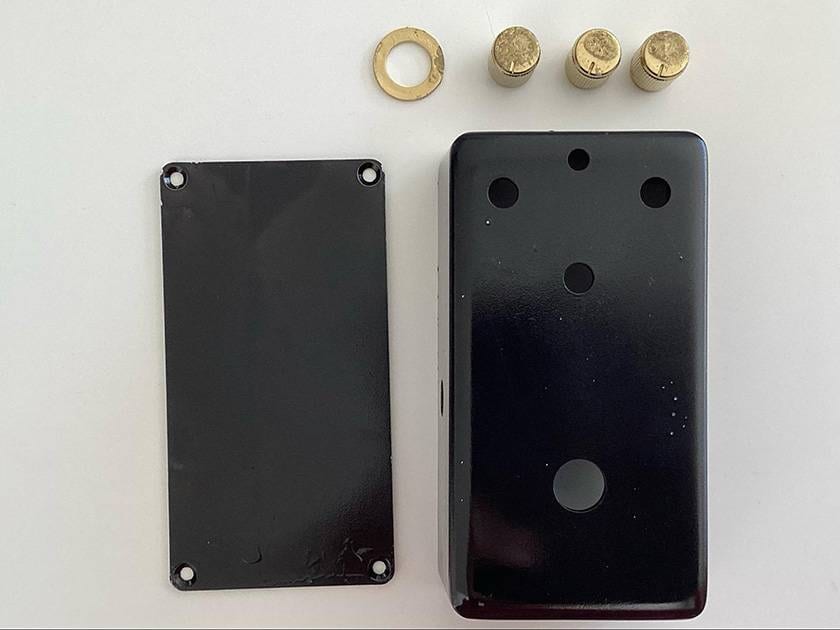
Because of the wind, the knobs fell from where they were supported and ended up a bit crooked... but let’s call it part of the design and roll with it!
Even with that, the Marshall colors look awesome!!! The black, glossy enclosure looks absolutely stunning.
Though, I can see some bubbles from where I didn’t sand the surface. I’ll make sure to sand it properly next time.
Let’s just say the crooked knobs and bubbles give it ‘character’.
Final Thoughts
This was actually my first time painting something.
It turned out to be more challenging than I expected, from spreading the paint evenly to applying multiple coats. There’s a lot to learn from firsthand experience, and I could give you a list of things to watch out for.
But at the same time, painting something in your favorite color and bringing your own original pedal to life is a refreshing experience!!
Although this task doesn’t directly affect the sound, if you have the time, I highly recommend trying it!
Next time, I’ll finally assemble the pedal and do a sound check! It’s the last part of building Astra! What will it sound like...? Look forward to it!!
Until then, have a great guitar life!
The “sound & person” column is made up of contributions from you.
For details about contributing, click here.


![[Part 1] A High School Guitarist Wants to Build a Pedal - Circuit Board](/contents/uploads/thumbs/5/2024/2/20240228_5_25785_1.jpg)
![[Part 0] A High School Guitarist Wants to Build a Pedal - Tools and Preparations](/contents/uploads/thumbs/5/2024/1/20240122_5_25301_1.jpg)
 技 WAZA CRAFT特集
 【初心者向け】エフェクター講座
 あなたのエフェクターボード見せてください
 ベース用エフェクターの種類
 エフェクターのつなぎ方
 エフェクターの種類


