Suddenly, do you feel attached to the equipment you use?
By customizing your instruments and gear to suit your preferences, you can develop a special attachment to them.
This time, I’m going to introduce a dress-up technique using cutting sheets, which are relatively inexpensive and have a significant visual impact.
About Cutting Sheets
Cutting sheets are materials used to attach designs and text to various surfaces. They are commonly used for car wraps, wall stickers, and signage.
You can purchase them at home improvement stores, car accessory shops, and online stores. They come in a variety of patterns, colors, and textures.
Examples of Dress-up Using Cutting Sheets
Here are some examples of dress-up projects I have worked on using cutting sheets.
1. Pickguards
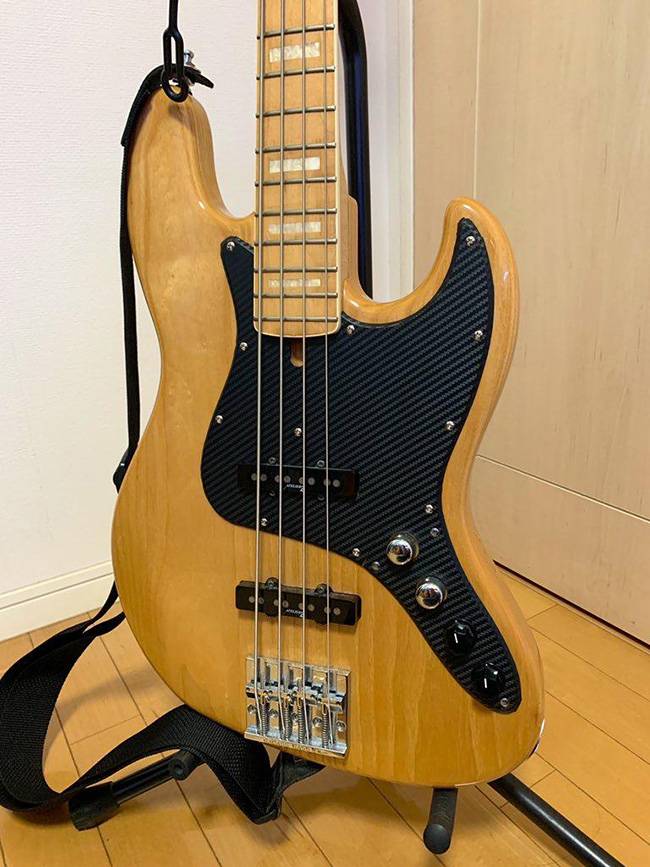
Pickguards are an easy place to create a visual impact, making them a highly recommended customization.
2. Back Panels
If you want to start decorating your guitar, the back panel is a great place to begin.

It has a flat surface that makes it easy to apply the sheet, and since it’s small, it’s relatively simple to customize!
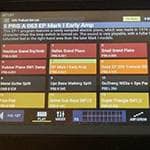
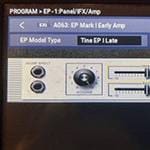
3. MIDI Keyboard
I even applied a cutting sheet to a MIDI keyboard!
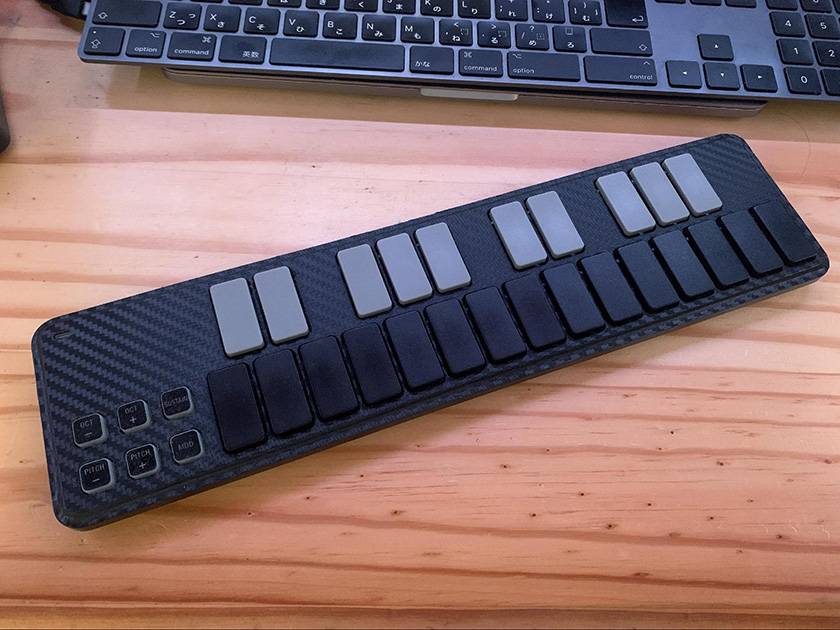
While the application process is simple, disassembling the device is necessary, making this a slightly more advanced project.
4. Small Accessories

Using cutting sheets for small accessories like headphones adds a subtle yet stylish touch to your everyday items!
Tips for Applying Cutting Sheets Neatly
Although it may seem easy, applying cutting sheets neatly requires some technique. Here, I’ll go over the best ways to apply them properly.
For beginners, it’s best to start with a small, straight-edged object. Larger or curved surfaces are more challenging to apply the sheet to.
This time, I’m going to apply a cutting sheet to a back panel—an ideal project for beginners!
What You Need
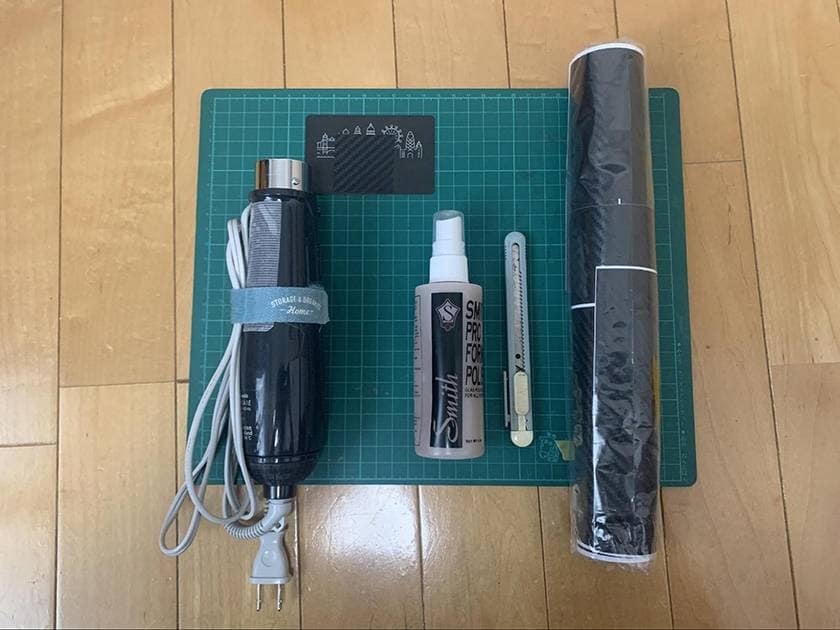
To apply a cutting sheet, you’ll need the following tools:
- Cutting Sheet
- Cutter Knife
- Cutting Mat
- Polish
- Squeegee (you can use an old card as an alternative)
- Heat Gun (or a hairdryer if unavailable)
For beginners, thinner cutting sheets are easier to handle.
For this project, I prepared a carbon-patterned cutting sheet.
This sheet, designed for car decoration, is easy to process and resistant to scratches and dirt.
Once you have all the tools, it’s time to start applying the cutting sheet neatly.
Steps to Apply a Cutting Sheet Neatly
1. Preparation
First, measure the size of the object and cut the cutting sheet accordingly. Use a cutting mat to prevent damage to your work surface and carefully cut the sheet with a cutter knife.
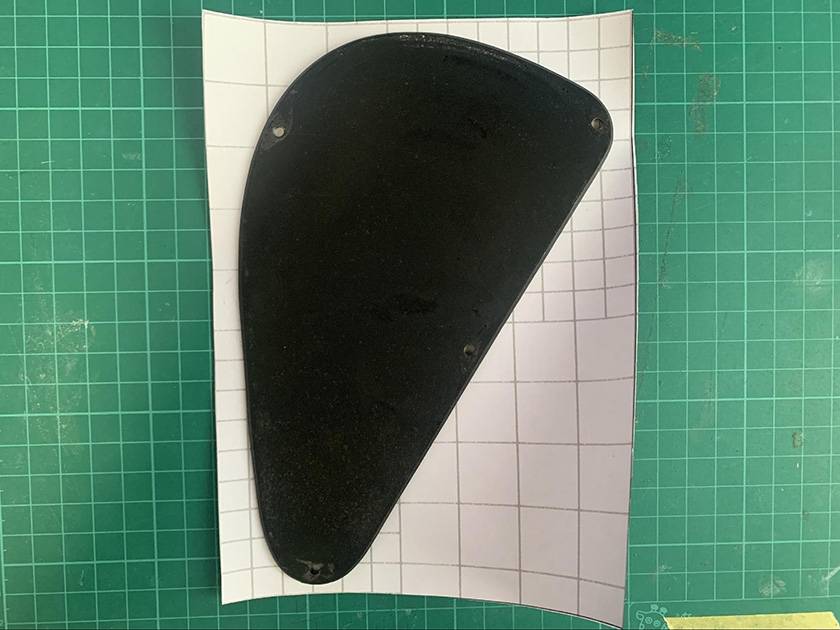
Be sure to check the front and back sides before applying the sheet.
Next, clean the surface of the object using polish or another cleaner to remove dust and dirt.
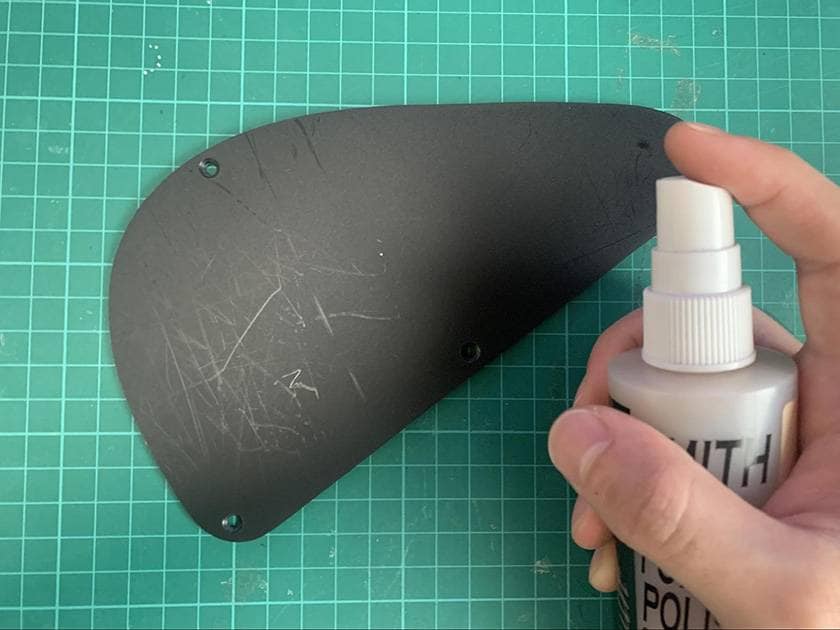
(If the object is washable, you can use a mild detergent for better results.)
2. Application
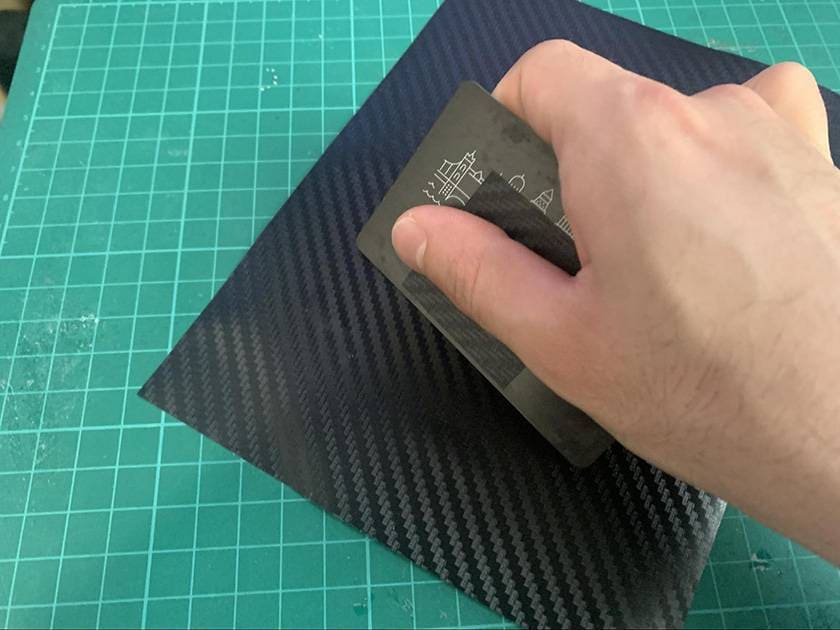
Peel off the backing paper from the cutting sheet and start applying it to the surface. Use a squeegee to press the sheet down as you apply it. This prevents air bubbles and helps achieve a smooth finish.
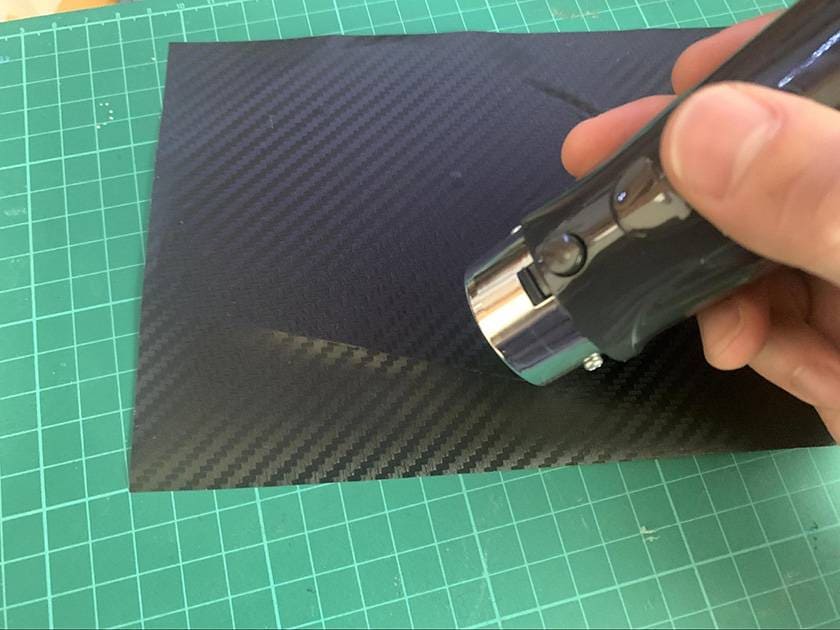
For curved surfaces, warm the sheet with a heat gun or hairdryer while applying it (Heating makes the sheet more flexible and easier to adhere neatly).
3. Finishing

After applying the sheet, use a cutter to trim any excess material.
If air bubbles form during this process, use a squeegee to remove air bubbles.
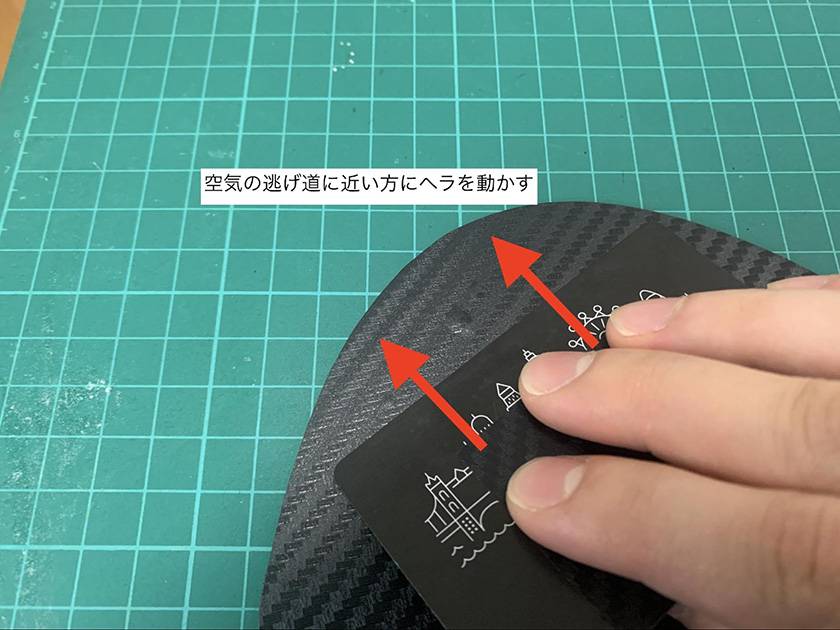
Move slowly toward the edges to allow the air to escape.
Be cautious not to apply too much pressure, as this can scratch the surface of the sheet.
*What if some air bubbles won’t come out?
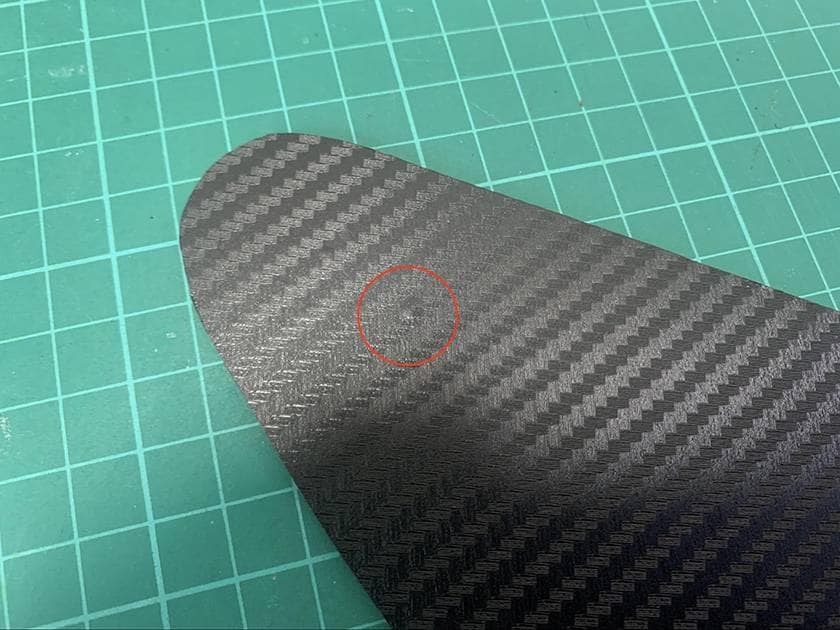
When applying the sheet, there may be air bubbles that are difficult to remove.
Avoid excessive rubbing with the squeegee, as this may damage the sheet’s surface.
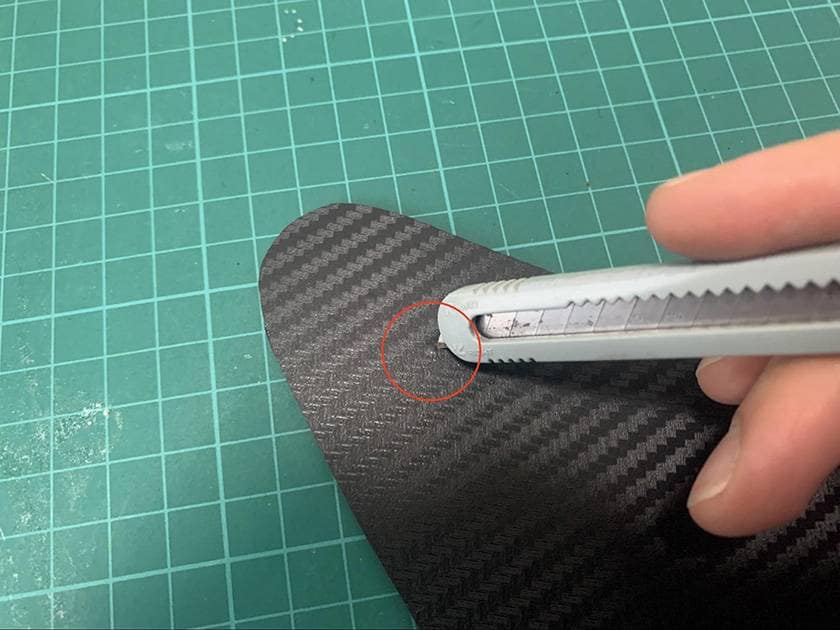
Instead, use a cutter knife or a similar tool to make a small hole in the bubble, allowing the trapped air to escape.
This method effectively removes the bubble, and the small puncture becomes nearly invisible.

< The bubble disappears completely, and the hole becomes inconspicuous >
Once the air is released, the bubble disappears cleanly, and the hole becomes inconspicuous. Therefore, this method is recommended.
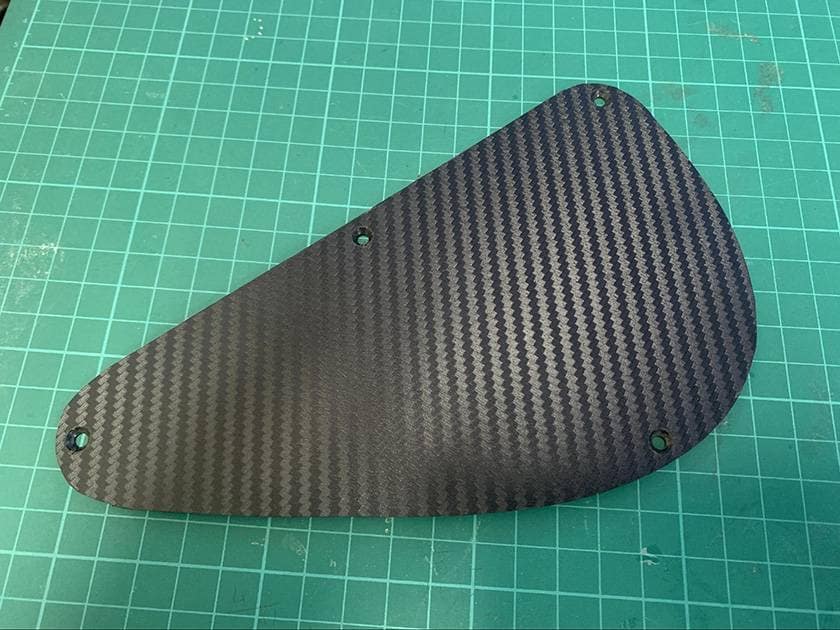
With this, the decoration of the back panel using the cutting sheet is complete!
It may be challenging at first, but as you get the hang of it, you’ll improve gradually. Being able to apply the cutting sheet neatly makes the process more enjoyable!
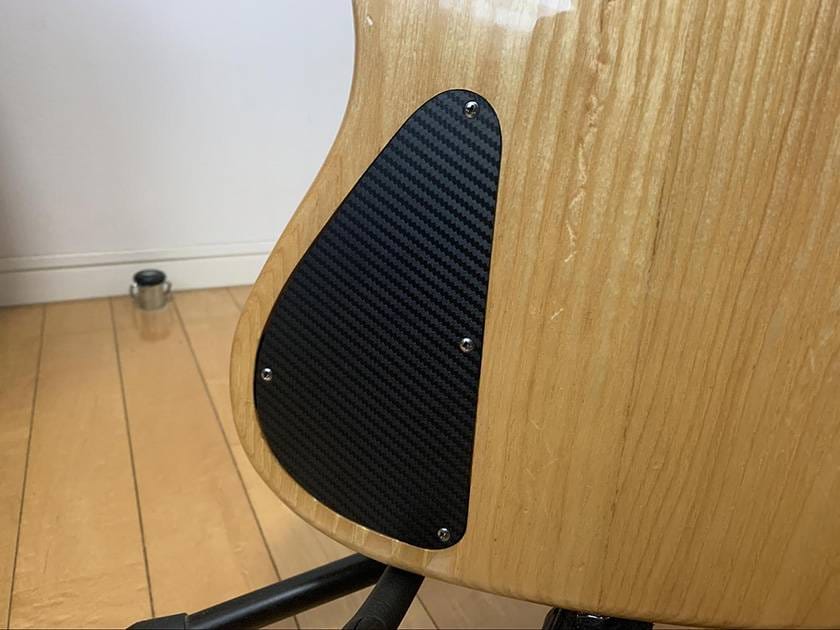
< Attaching the finished back panel >
Even a plain board gains a sense of luxury with a carbon pattern!
How was it?
With cutting sheets, you can easily customize your equipment.
In addition to the dress-up effect, it also protects against scratches and dirt. Why not try dressing up your gear with a cutting sheet using the method introduced this time?
Bonus: If You Get Tired of the Design
One of the advantages of cutting sheets is that if you’re not satisfied with the design or grow tired of it after application, you can simply peel it off to restore the original appearance.
However, improper removal can damage the painted surface or leave adhesive residue. To avoid this, use a heat gun or hairdryer to warm the sheet, softening the adhesive before peeling it off.
There are also methods that use sticker removers, but be sure to confirm that they won’t damage the painted surface before use.
*Depending on the type of sheet, adhesive residue may remain even after heating. It’s safer to inquire at the time of purchase whether the sheet can be cleanly removed.
*If the sheet is applied for an extended period, sun exposure may cause marks to remain. Please be aware of this.
The “sound & person” column is made up of contributions from you.
For details about contributing, click here.


![[Guitar DIY] Surprisingly easy! Peg button replacement](/contents/uploads/thumbs/5/2020/6/20200612_5_10324_1.jpg)
 ギターパーツの沼
 DIY ギターメンテナンス
 ピックアップの種類(エレキギター)
 ギターのお手入れ
 ギターの各部名称
 ギタースタートガイド