


*This is a preparatory phase. The actual pedal building will begin next time, starting from Part 1.
Hey, everyone!!
Do you want to build some effects pedals!?
“Yeeeeaaaahhhh!!”
That’s how I’d like to kick things off, with a call and response from fellow pedal enthusiasts. I’m S, a high school guitarist.
Finally!!!
My dream!!!!
Is coming true!!!!
So, what’s the deal?
Well, I’ve always wanted to try building my own effects pedal. Wouldn’t it be amazing to create the perfect sound that matches your vision? But, since I had no knowledge of how to make one, I was hesitant to dive in.
Then one day, I talked to a bassist in my band, who is also a senior, about his future plans. He told me that after graduating, he planned to work in a workshop to make guitars and basses.
Hearing this, I thought, “I can’t just sit around!!” He was steadily moving closer to his dream. That’s when I decided to stop hesitating and finally start working on building my own effects pedal. That’s how I came to this decision.
The Process
In this series, I’ll usually start with a thumbnail image, but this time, as you can see, it’s Part 0. I won’t start building yet.
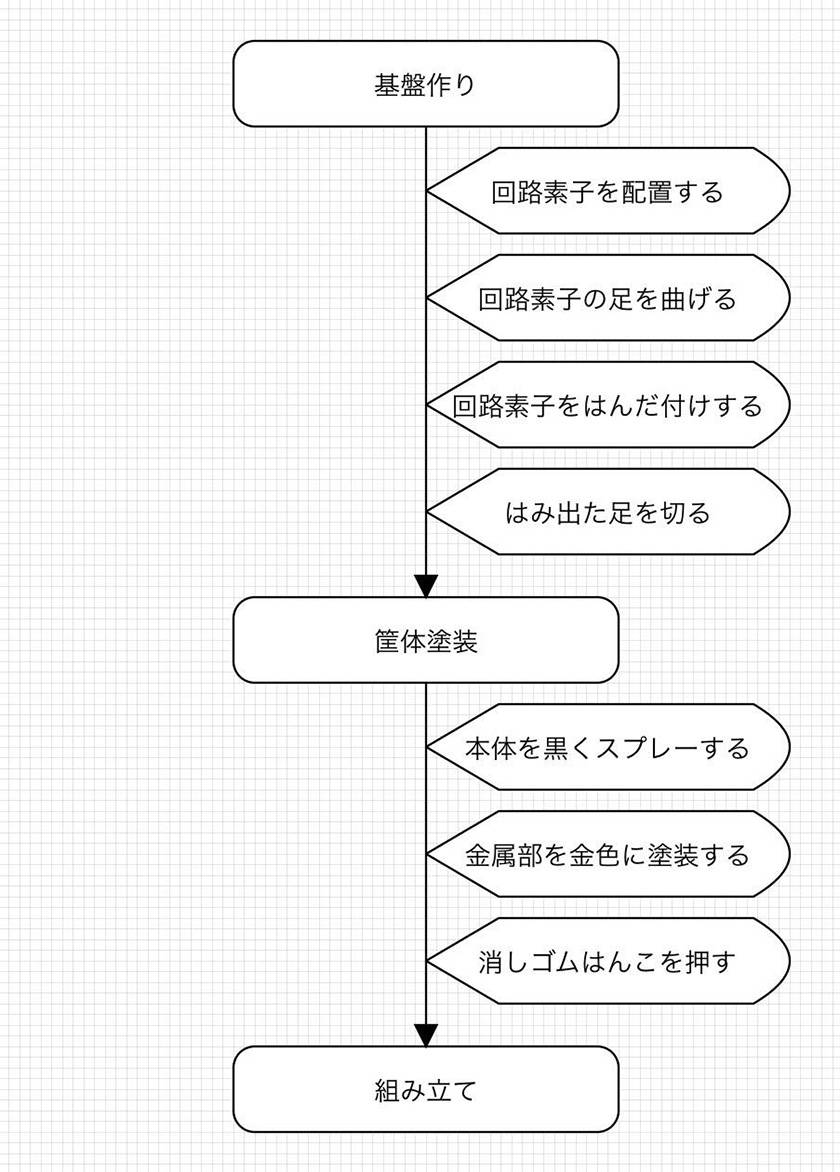
There are three main steps to building an effects pedal: creating the circuit board, painting the enclosure, and assembly. Since I want to explain each step in detail, this series will be broken into four parts—three main parts plus Part 0 as an extra. In Part 1, I’ll cover circuit board creation, Part 2 will be painting the enclosure, and Part 3 will be assembly and final thoughts!!!
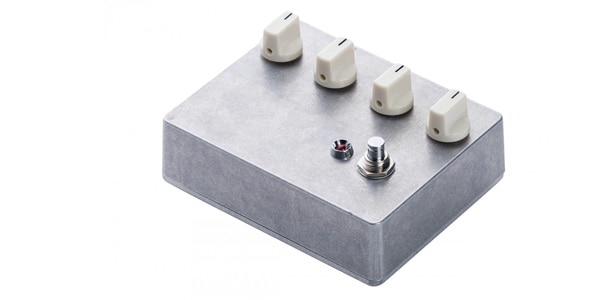
The Pedal I’m Building
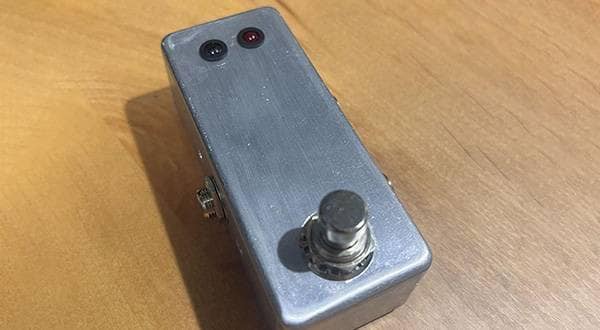
For this project, I’ve chosen to build a distortion pedal. From what I’ve learned, distortion pedals are relatively simple in terms of circuitry, making them a good choice for beginners.
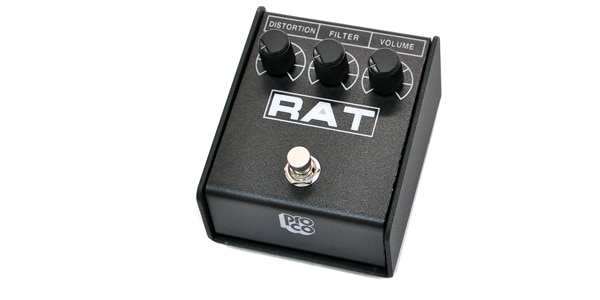
For a long time, I’ve been using the Proco RAT2 distortion pedal. The RAT is a bestseller at Sound House and is a legendary pedal, made famous by Jeff Beck.
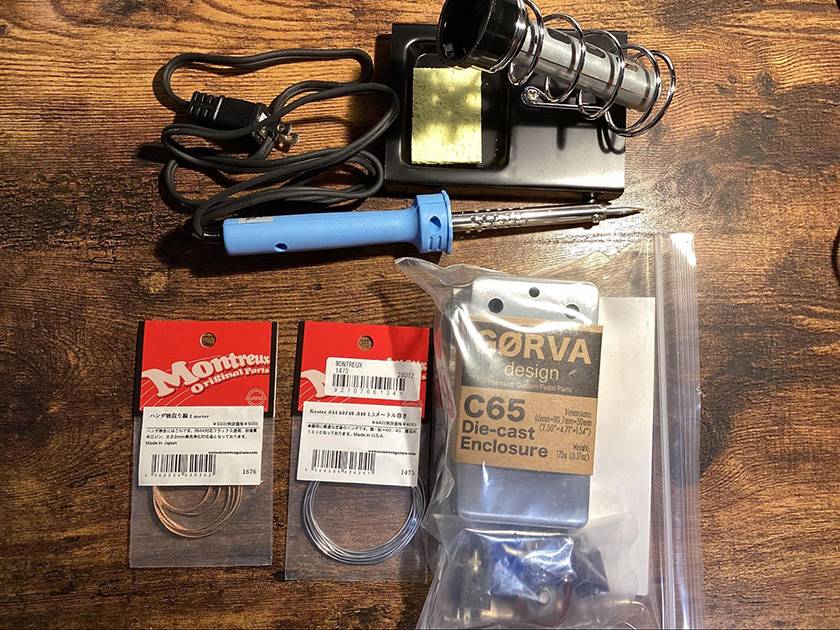
This time, I purchased a kit to build a pedal that models the sound of a Marshall amplifier.
I have my reasons for choosing a Marshall distortion. One of them is to “broaden my horizons.”
In the future, I want to be able to build effects pedals from scratch. To do that, I need to develop my ear. To improve my listening skills, I need to expose myself to a wide variety of sounds. That’s why I chose something different from the distortion I usually use.
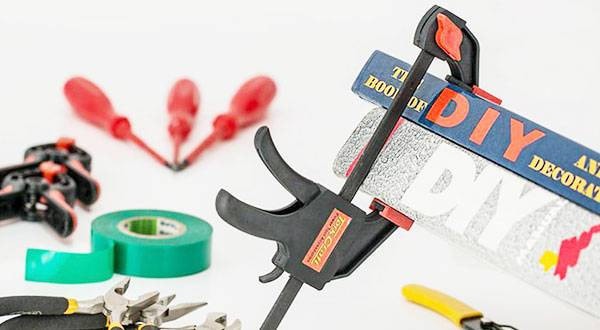
Tools for the Build
As shown in the chart above, there are several steps to building an effects pedal.
Accordingly, I also needed to buy the necessary tools. For circuit board creation, you’ll need:
- Soldering iron
- Solder
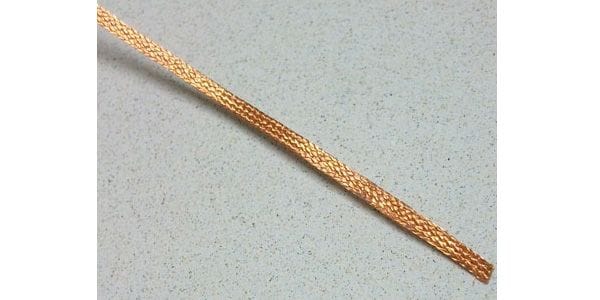
- Solder wick (or a solder sucker)
- Wire cutters
I’ll explain more about these tools in Part 1: Circuit Board.
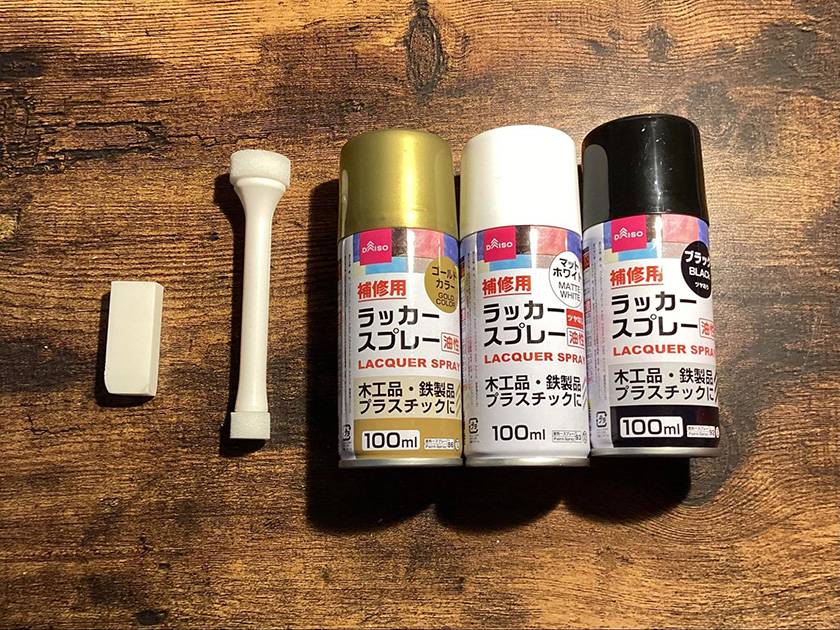
As for painting, the design is up to each individual, but since I’m making a Marshall modeling pedal, I went with lacquer spray in Marshall colors.
- Lacquer spray (black, white, gold)
- Eraser (for making stamps)
- Sponge (for making stamps)
I’ll cover these in Part 2: Enclosure Painting.
All of these items can be purchased at a 100-yen shop, so I encourage you to get them to make your pedal truly your own!
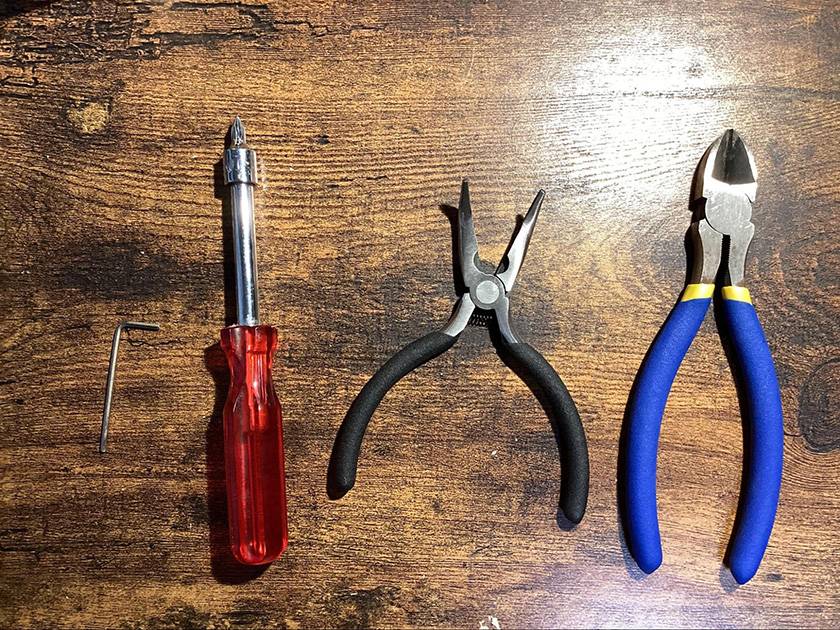
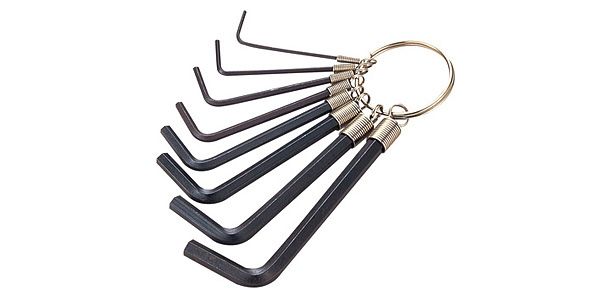
For the assembly stage, in addition to the tools needed for circuit board creation, you’ll also need:
- Needle-nose pliers
- Phillips screwdriver
- Hex wrench
- Knife or wire stripper
These tools will mainly be used to cut wires, strip their insulation, and attach various parts.
While gathering all these tools, my mind was buzzing with excitement— “How should I design it?” “This color will match the sound!”—and I was savoring every moment of this first-time experience.
If you’re thinking of making your own pedal, be sure to enjoy this part as well!!
Conclusion
Now that I’ve gathered all the necessary tools, I’ll wrap up this part.
I bought Montreux’s Kester 44 solder and their Solder Wick. Both were affordable, highly rated, and made the work easy, so I’m very satisfied.
I also bought CLASSIC PRO’s SLD Stand as a holder for the soldering iron. It was cheap and did a great job of holding the iron securely.
Most of the tools I used can be purchased at Sound House, so be sure to check them out!
That’s it for this part. See you in the next one!!!
Have a great guitar life!!
< Effects Pedal Kits Available at Sound House >
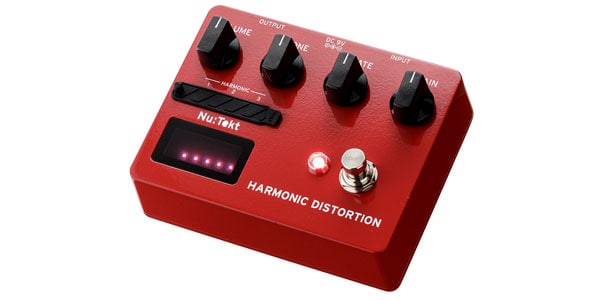
KORG / Nu:tekt TR-S Assembly Kit
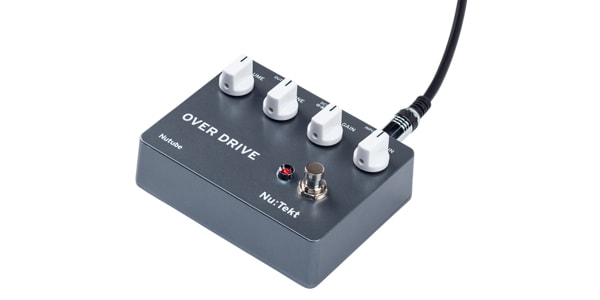
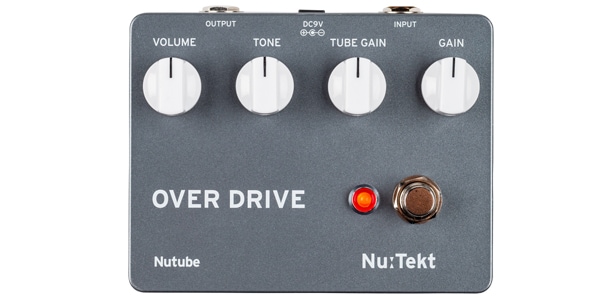
KORG / Nu:tekt OD-S Overdrive Assembly Kit
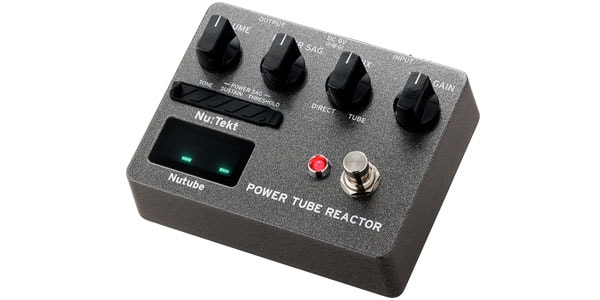
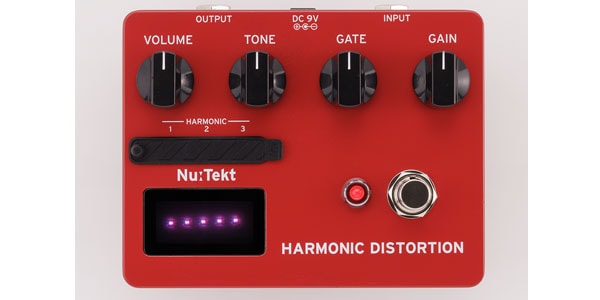
KORG / Nu:tekt HD-S Assembly Kit
KORG / Nu:Tekt OD-KIT Assembly Kit
< Tools and Accessories for Pedal Building >
Montreux / Solder Wick 1m [1676]
![Montreux / Solder Wick 1m [1676]](https://www.soundhouse.co.jp/images/shop/prod_img/m/mont_1676aa.jpg)
Montreux / Kester 44 1.5m [1475]
![Montreux / Kester 44 1.5m [1475]](https://www.soundhouse.co.jp/images/shop/prod_img/m/mont_1475a.jpg)

The “sound & person” column is made up of contributions from you.
For details about contributing, click here.


![[For Students] How to Create Compact Pedal Sounds with the ZOOM G3n!! - Fuzz Edition](/contents/uploads/thumbs/5/2023/10/20231030_5_24415_1.jpg)
![The Road to Your Complete DIY Equipment: 2nd Edition: The Illusive Vintage Sound! Amplified Buffer Get your hands on the legendary device exclusively used by professionals [Parts]](/contents/uploads/thumbs/2/2023/3/20230303_2_21537_1.jpg)
 DIY ギターメンテナンス
 あなたのエフェクターボード見せてください
 ベース用エフェクターの種類
 お手入れに必要な道具
 エフェクターのつなぎ方
 エフェクターの種類


