Lately, there have been a few slightly cooler days, and just when I started to hope that the long-awaited break from the heat had finally arrived... bam—back to a streak of scorching days. Please, give me a break.
Recently, I made my first visit to Mount Haruna in Gunma Prefecture. Mount Haruna is famously known as a sacred spot for Initial D fans. I even saw the actual Fujiwara Tofu Shop sign in person. On the way back, I thought about trying the classic “drive with a cup of water” challenge, but unfortunately, my NA Roadster doesn’t have a cup holder, so I couldn’t give it a shot. What a shame.
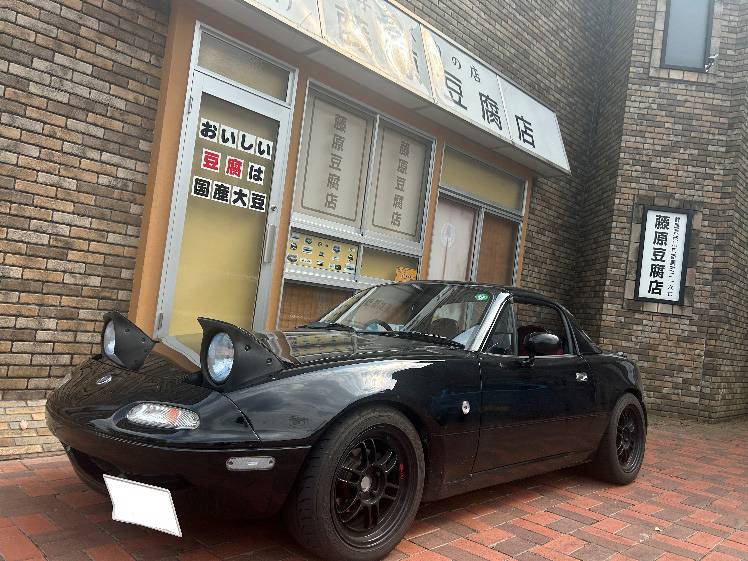
↑ There was even a spot for taking photos.
If I keep talking, I’ll go on forever—so let’s get to the main topic.
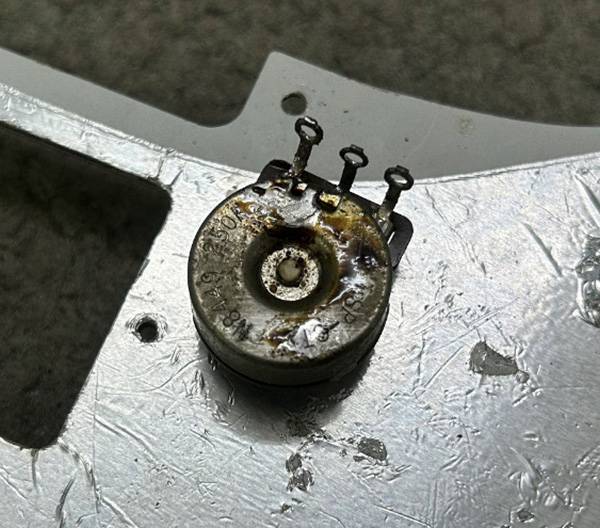
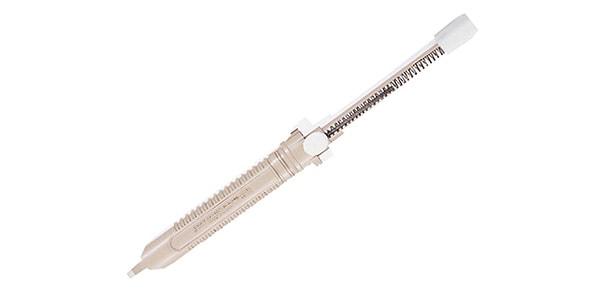
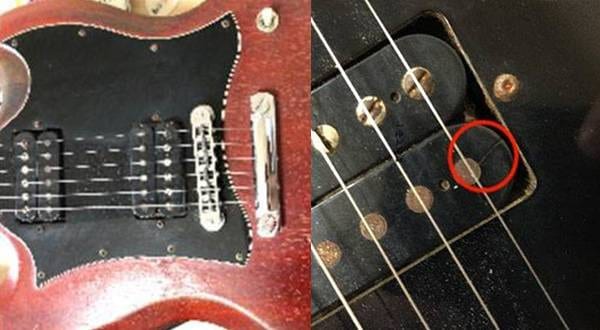
Take a look at this image for a moment.
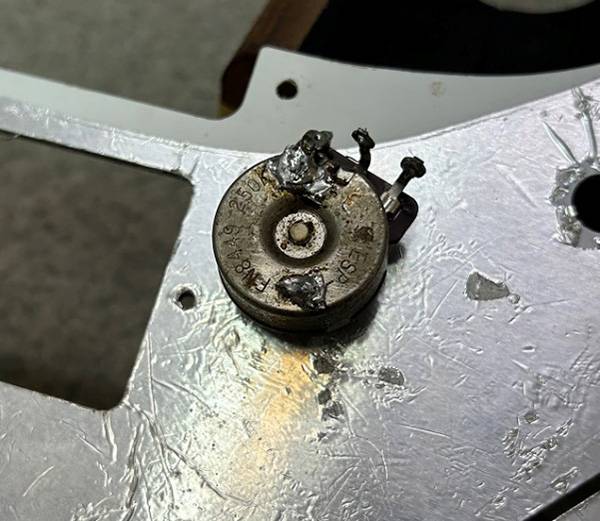
This is a CTS pot. It really has that classic used look to it.
When repairing guitars or basses, there are times when you want to reuse pots like this.
For example, when there’s no scratchy noise (so no need to replace it), when you're short on cash, when the specs are unusual, or when it’s a vintage instrument you'd rather not modify unless absolutely necessary.
Of course, if you could replace pots like running water, that’d be ideal, but that's rarely the case.
They’re deceptively pricey, aren’t they?
This time, I’d like to introduce a pot maintenance method that’s useful not only for those situations I mentioned earlier, but also when you’re doing a more thorough cleaning of your instrument.
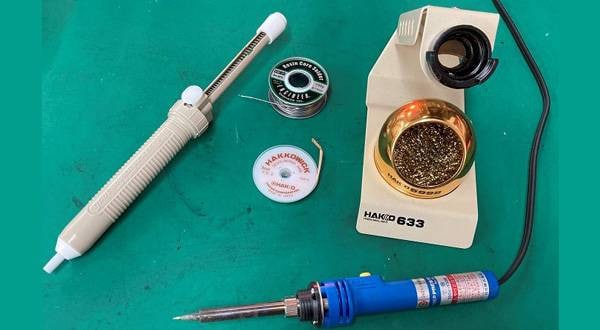
Here are the tools you’ll need:
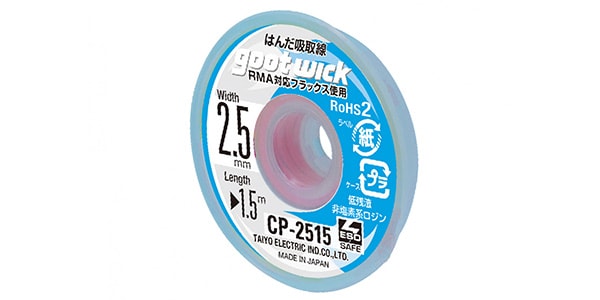
- Desoldering braid (solder wick)
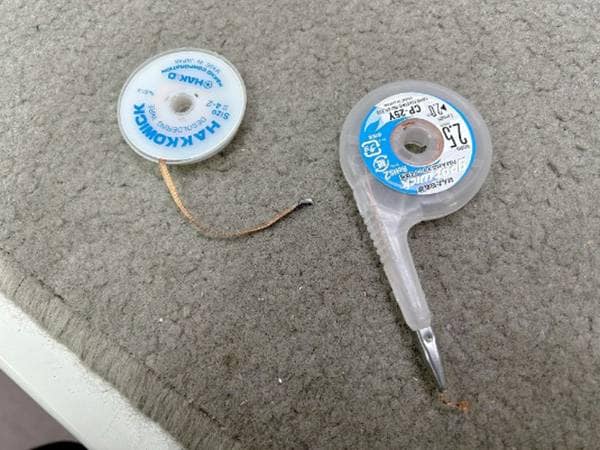
- Solder sucker
- Cloth
- Parts cleaner
Of course, prepare any other tools you find useful or necessary as you go.
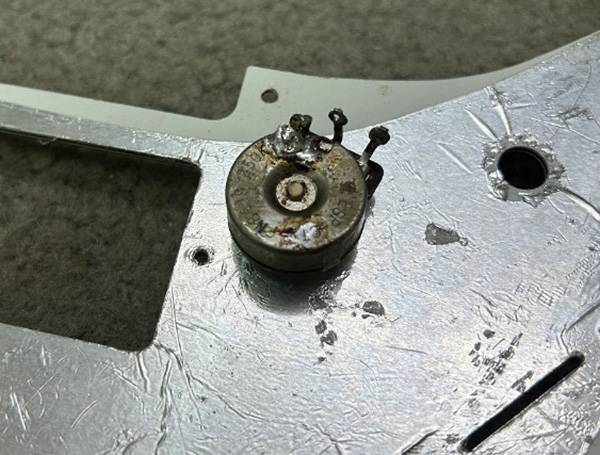
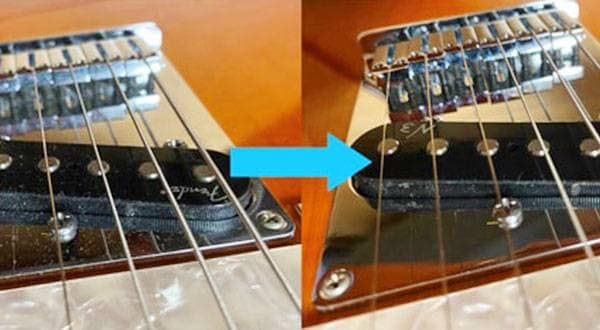
So, I went ahead and removed the solder on the near side using the desoldering braid.
When you heat the braid and solder together, it gives a nice swooooop as it absorbs the solder.
That said, be careful not to overheat it.
If there's a large amount of solder to remove or you find yourself struggling with the process, it’s a good idea to break it up into steps or let it cool and try again.
Once you’ve finished removing all the solder, it should look something like this.
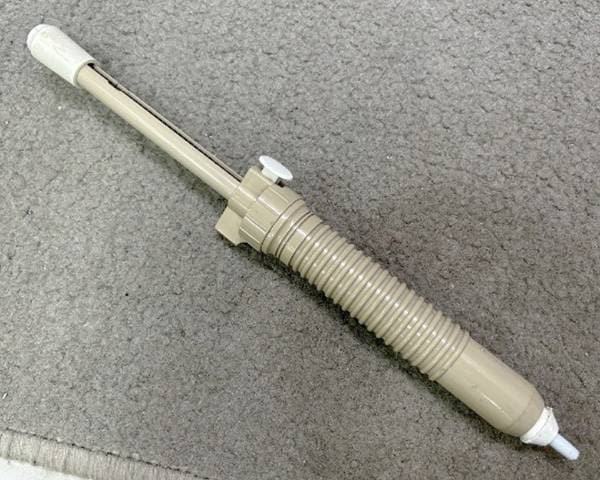
For the terminal parts, I used a solder sucker.
With the solder melted, bring the tip of the solder sucker as close as possible and press the button.
It’ll give a pop! sound as it sucks up the solder. Again, don’t overheat — overheating can easily damage the pot or the board.
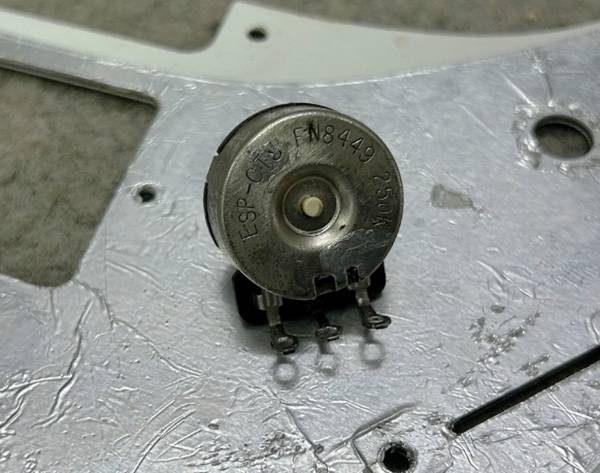
The remaining brown residue is flux. It’s a rosin component contained in solder.
Wipe it off with parts cleaner and a cloth, and it’ll look like this — it’s much cleaner, right?

By the way, this is what happens when it goes wrong:
If you try to suck up a large amount of solder all at once, the desoldering braid can exceed its capacity, and you’ll end up with something like this.
If there's a lot of solder, take your time and remove it in stages.
Once you’ve done all this, make sure to check if the pot still functions properly.
There’s nothing worse than cleaning it all up, reinstalling it, and then realizing it’s broken... (yes, I’ve been there).
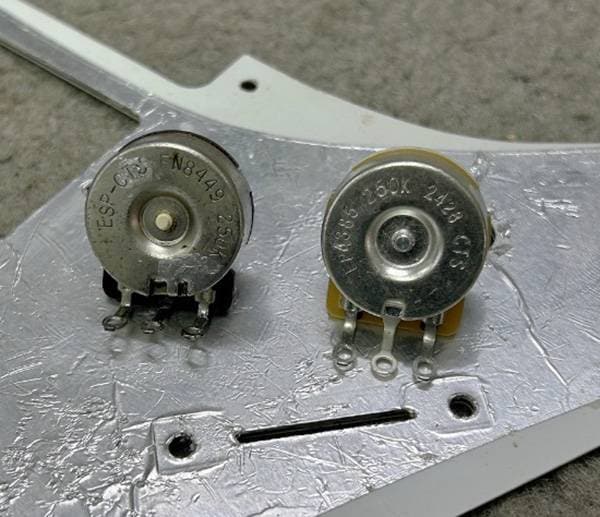
I lined it up next to a brand-new one.
While it did get pretty clean… yeah, it still doesn’t beat getting a new part — it’s a bit of a stretch to compare.
That said, just getting it this clean makes reassembly feel so much better.
It also helps reduce the risk of future issues.
If possible, practice on an old or unused pot first — it’s a great way to build confidence before working on something valuable.
Wishing you all a great soldering life!
And, here’s your BGM for the farewell: (Solder of Fortune)
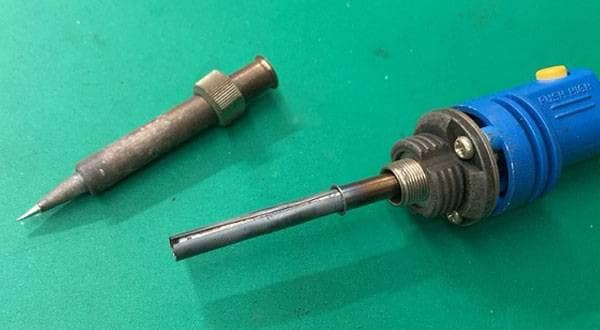
Tools used:
Desoldering Braid
Solder Sucker


 はじめてのギター
 ギターパーツの沼
 DIY ギターメンテナンス
 プレイテックのギターを最強に改造!!
 ネックの調整方法
 ギターのお手入れ