So, you're thinking about recording your drum kit. How many microphones will you need?
Let’s take the following standard setup as an example:
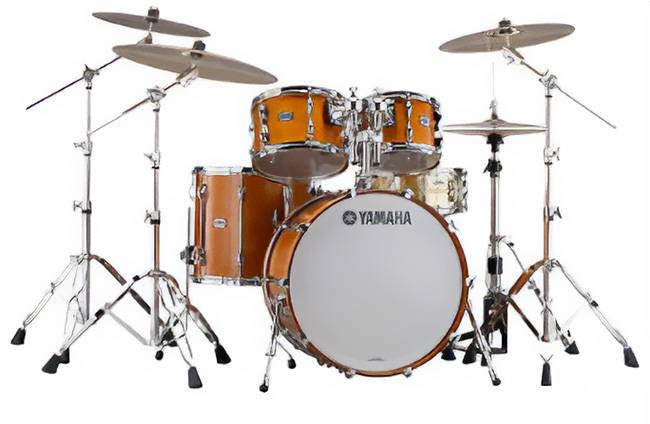
- Mic 1 – Hi-hat
- Mic 2 – Snare drum
- Mic 3 – High tom
- Mic 4 – Low tom
- Mic 5 – Floor tom
- Mic 6 – Bass drum
- Mic 7 – Cymbals (aimed from above the center of three cymbals)
As you can see, you’ll need at least 7 microphones for a full setup.
But that’s not all—you’ll also need a mixer or multitrack recorder (MTR).
If you're trying to do this on your own, it can be quite a challenge… Unless you have a full studio setup at home, you’ll likely need to rent a rehearsal studio to make this happen.
Once you’re in the studio, here's what the workflow looks like:
Mic setup → Connecting to recording equipment → Playing and recording → Tearing down the gear
It’s time-consuming and renting studio space isn’t cheap.
On top of that, you can’t really do this alone. You’ll need someone to help with sound (like a PA technician).
Also, if you decide to hire a recording engineer, expect to pay around ¥3,000 per hour just for the recording session. (This is a general estimate.)
Drum recording can be a high hurdle to clear.
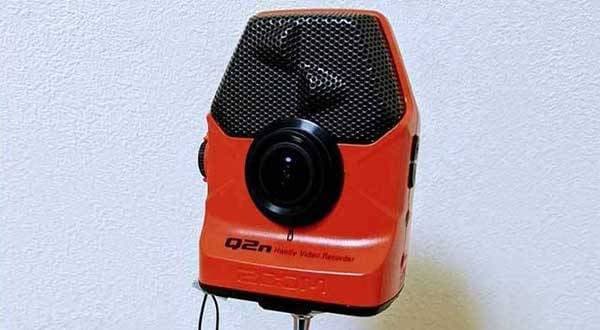
In the past, I’ve tried using a handheld recorder. Modern handheld recorders have come a long way in terms of quality, and you can get fairly decent recordings. But when you compare them to properly mic’d multi-track drum recordings, they just don’t quite measure up.
But don’t give up.
“There’s finally a product that’s a true lifesaver for people with this exact problem!”
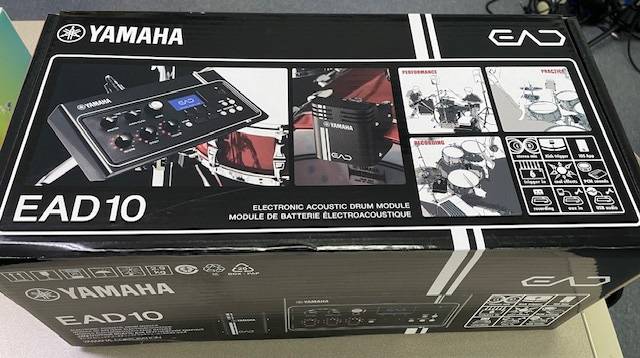
YAMAHA / EAD10 Electronic Acoustic Drum Module
So, what is the EAD10?
The EAD10 makes acoustic drum practice, recording, and performance more enjoyable and versatile than ever before.
- It features 50 preset scenes that can dramatically transform your acoustic drum sound, plus space to save up to 200 custom user scenes.
- Attach the sensor unit (microphone) to your bass drum, and it will capture the entire drum set with balanced audio.
- With a free Android/iOS app, you can record high-quality performance videos, mix, edit, and upload them all directly from your smartphone.
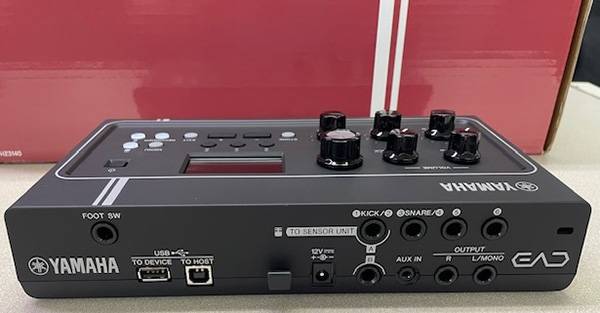
The EAD10 system consists of two components:
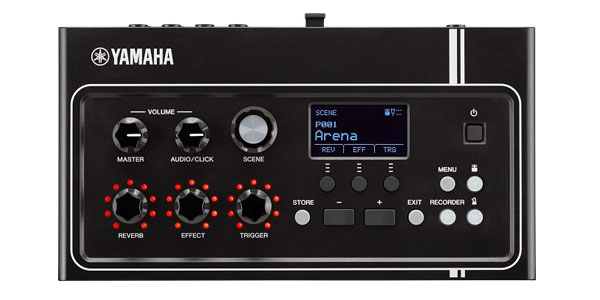
Main Unit
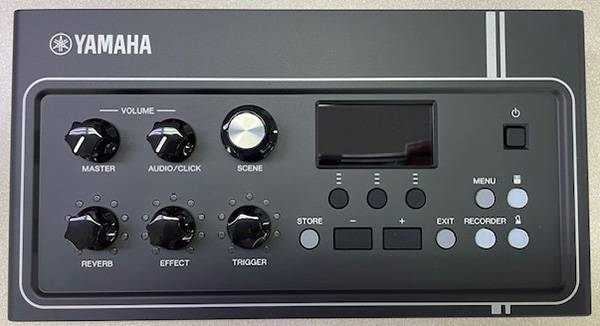
Sensor Unit
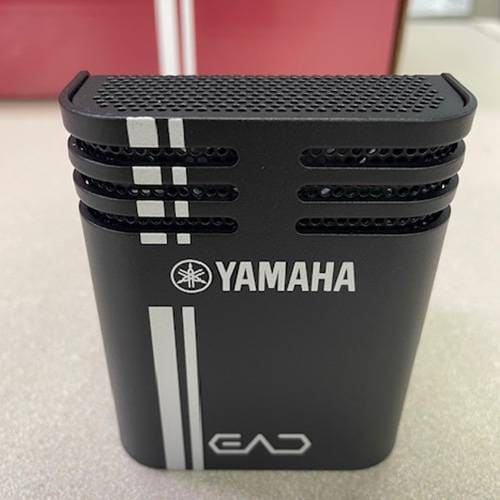
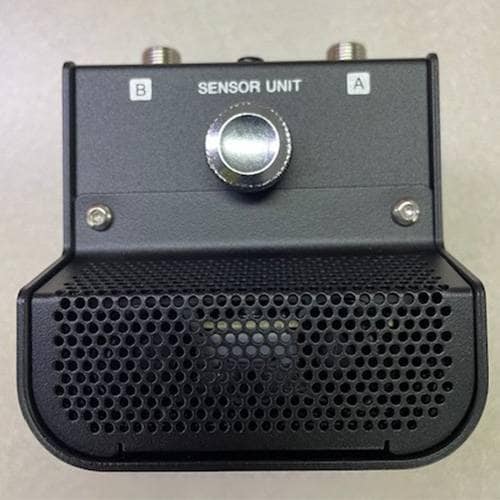
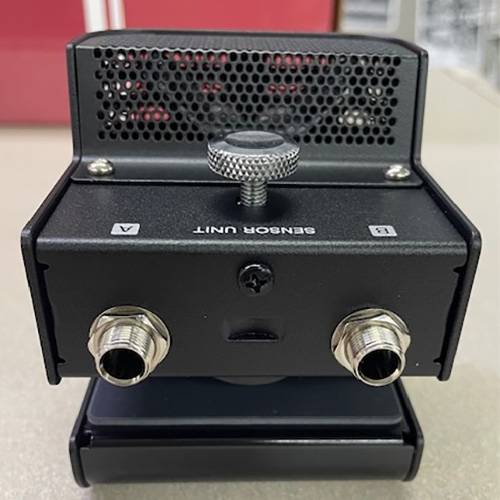
With the EAD10, all you need to do is attach the sensor unit to the bass drum hoop—that’s it!
Natural, High-Quality Monitoring
Thanks to Yamaha’s finely tuned XY-configured stereo microphones combined with a bass drum trigger, the EAD10 captures your entire drum set with high-quality, natural stereo imaging and balance.
Clear Recording with Reduced Noise
A newly developed microphone capsule minimizes unwanted vibrations and high-frequency noise that tend to occur during drumming.
It also features Yamaha’s proprietary preamp, enabling clear recordings that fully capture the dynamics of your performance.
Tuning Functions & Design
The sensor unit, designed with the aesthetics of an acoustic instrument in mind, allows you to adjust sound directionality and frequency response to suit your playing environment.
Main Features
"Easy Setup & Recording!"
Sensor Unit
Just attach the EAD10 sensor unit to the bass drum hoop to complete the setup. The XY-configured stereo condenser microphones capture the drum performance audio signal and send it, along with the bass drum trigger signal, to the main unit.
The newly developed microphone capsule suppresses vibration and strong noise that tend to occur more in the high-frequency range, enabling optimal drum sound recording. Including the grille that covers the microphone capsule, the sensor unit adopts a design reminiscent of acoustic instruments and allows for adjustment of sound directivity and frequency. The preamp also uses original components, and together with the microphone, draws out the full dynamics of the entire drum set that enables ideal drum sound recording with clear sound and dynamic expression.
Additionally, the signal detected by the trigger sensor built into the sensor unit is output as a PCM sound source. By combining it with the bass drum sound captured by the microphone, a wide range of sound design becomes possible.
The EAD10 maximizes the characteristics of both the instrument and the microphone, while also delivering simple operation and high-quality sound.
"Expand the Possibilities of Drumming!"
By simply turning the knobs on the main unit, you can easily add reverb, effects, and trigger sounds to your drum sound.
Additionally, by adding triggers or electronic drum pads, creating a hybrid drum setup is a breeze when combining acoustic and electronic drums.
"Connect with the World Through Music!"
With the EAD10, sharing audio data or videos with bandmates or friends is not difficult. By using the dedicated Android/iOS app, you can upload high-quality videos directly from your mobile device.
The EAD10 has a lot of features, but in this guide, I’ll walk you through using the free app “Rec’n’Share” for drum practice.
By the way, before starting the setup, there’s something you’ll need to prepare separately.
That is, it’s the cable to connect your mobile device to the main unit. Unfortunately, this is not included with the EAD10 (;^_^A
I use an iPhone 12 Pro, so I purchased a Lightning to USB-B cable like the one below. It’s a bit pricey (around 3,000 yen), but I recommend one about 2 meters long for easier handling.
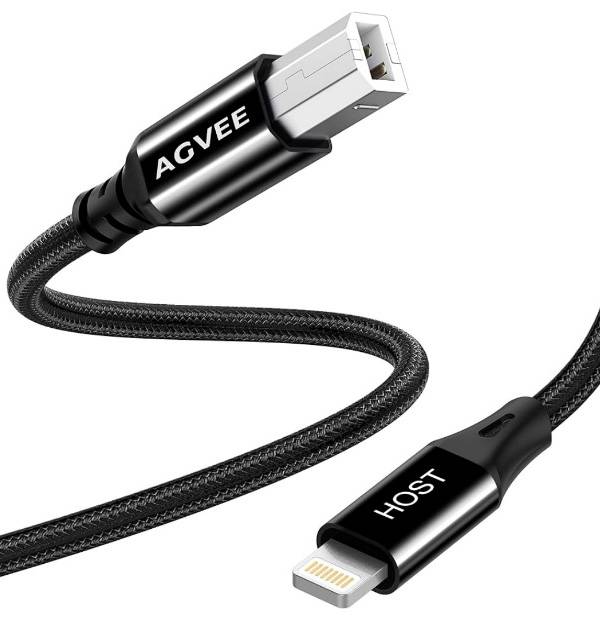
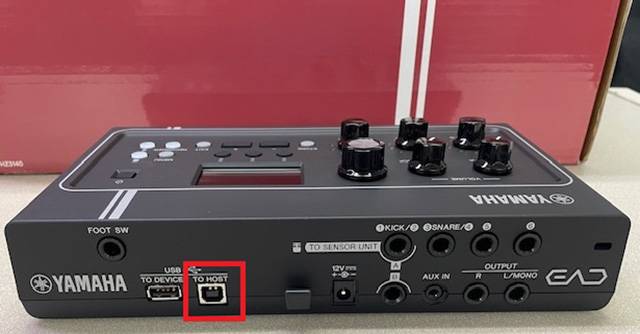
The connection port on the main unit is USB-B, so be sure to purchase a compatible cable.
① First, connect the adapter to the main unit. (The adapter port is marked with a red square.)
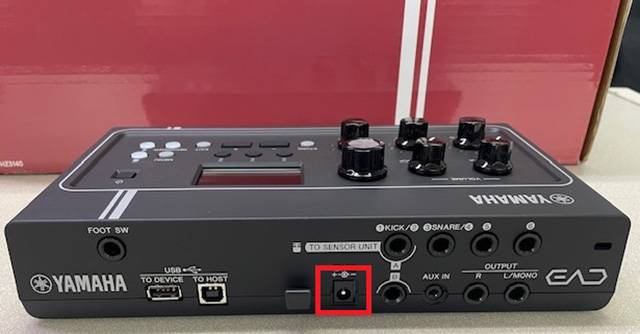
② Next, attach the sensor unit to the bass drum. The image below shows how it looks after installation.
Attach it by clamping it onto the bass drum hoop and tightening the screw firmly from above.
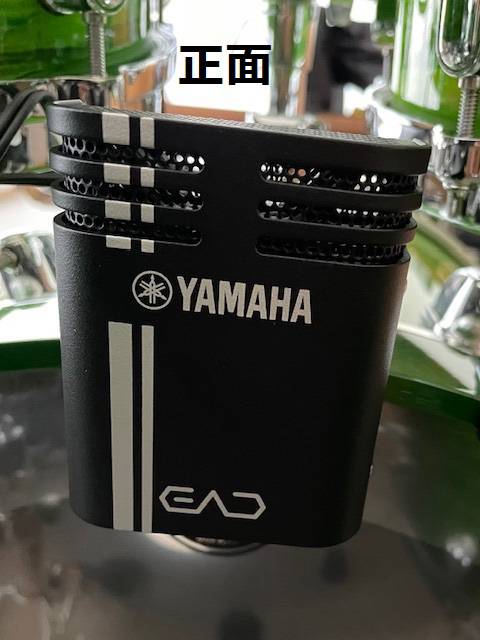
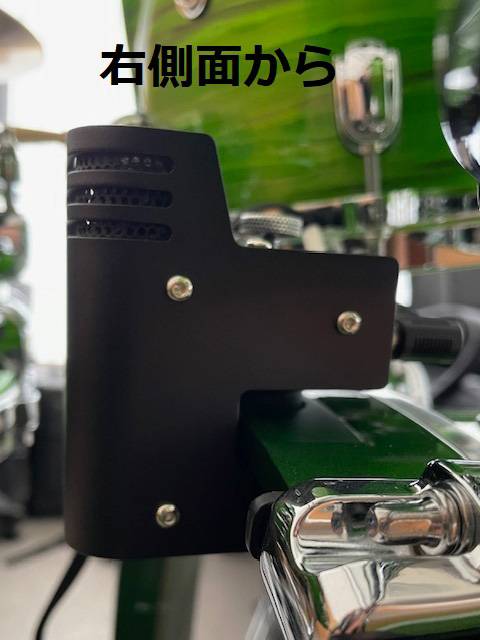
③ Connect the main unit and the sensor unit using the included cable.
The cable is labeled with “A” and “B,” and both the main unit and sensor unit also have corresponding “A” and “B” indicators, making it easy to connect correctly.
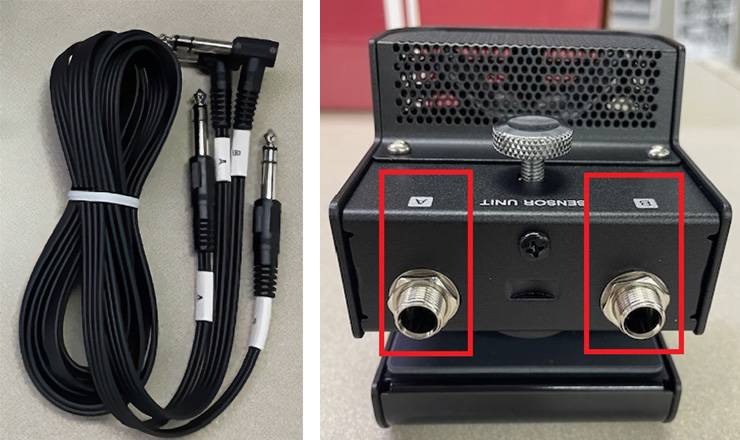
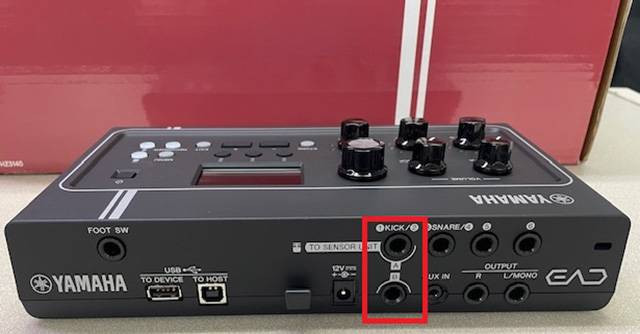
④ Turn on the main unit’s power.
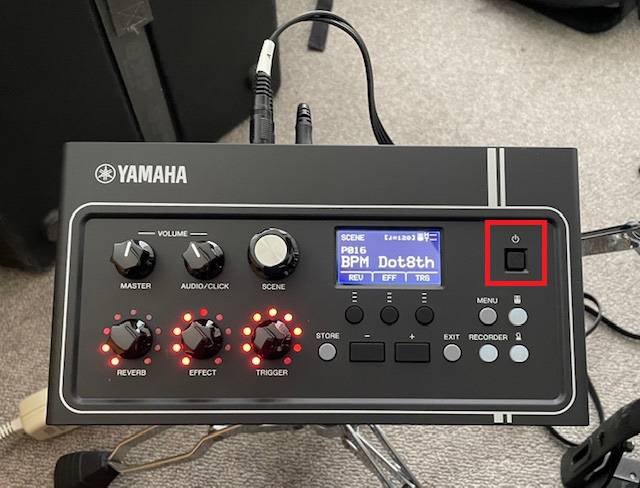
The screen shown is with the unit mounted on a snare stand. By attaching the included mount bracket with a wing screw, you can also fix it to other stands like a hi-hat stand using clamps.
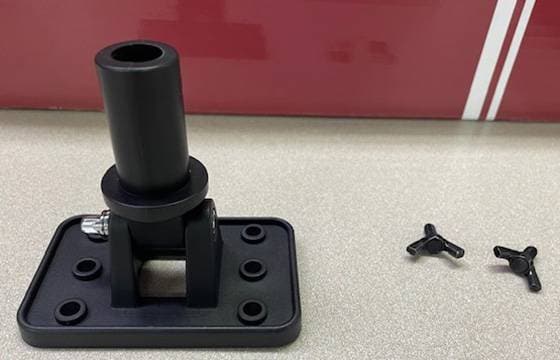
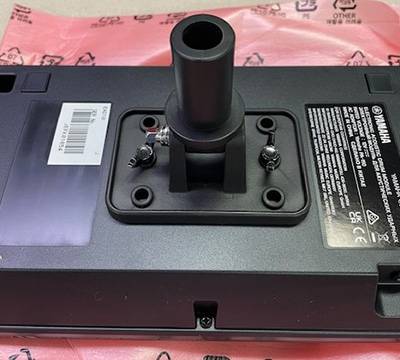
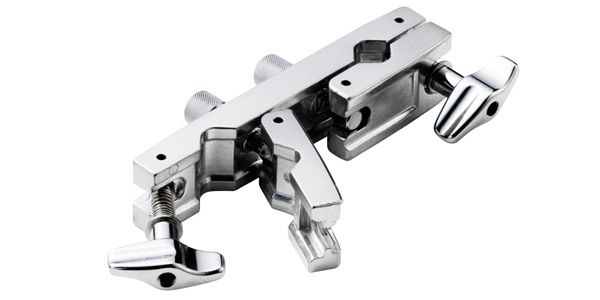
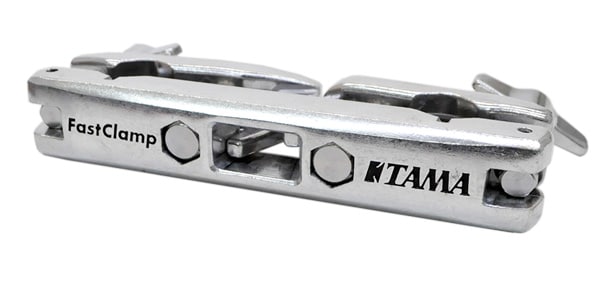
Clamps like the following products can be used: for example, PEARL/ADP-20 or TAMA/MC-62.
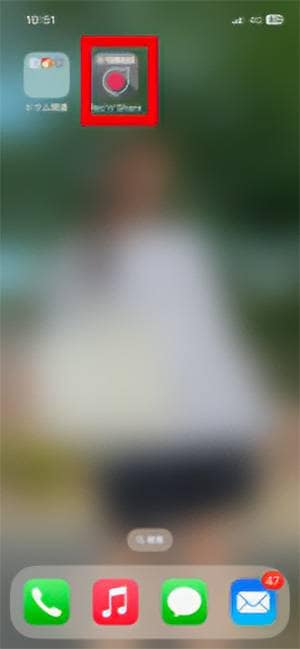
⑤ Please download the app.
My phone is an iPhone 12 Pro, so the screen shown is from an iOS device. Please understand m(__)m
The iOS version is 18.6.2.
⑥ Connect the mobile device and the main unit using the separately purchased cable. Connect to the USB-B port labeled "TO HOST."
⑦ Launch the app. When connected to the EAD10, a green checkmark will appear to the left of "EAD10" near the top of the app screen. If it does not light up, try unplugging and reconnecting the cable on the mobile device.
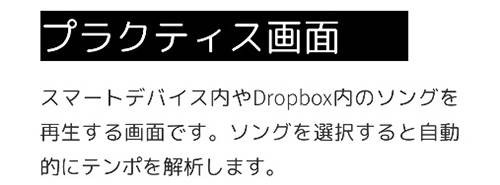
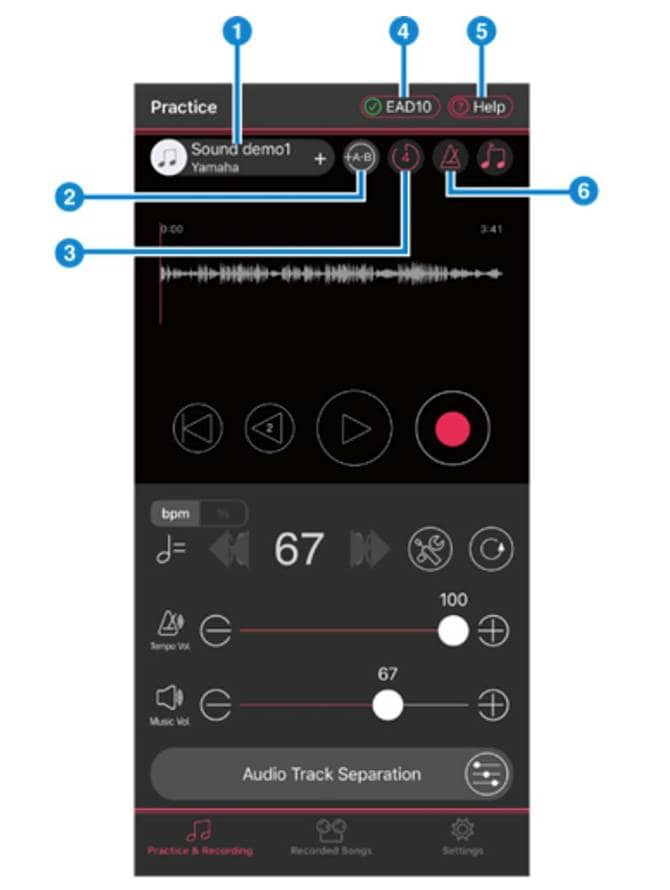
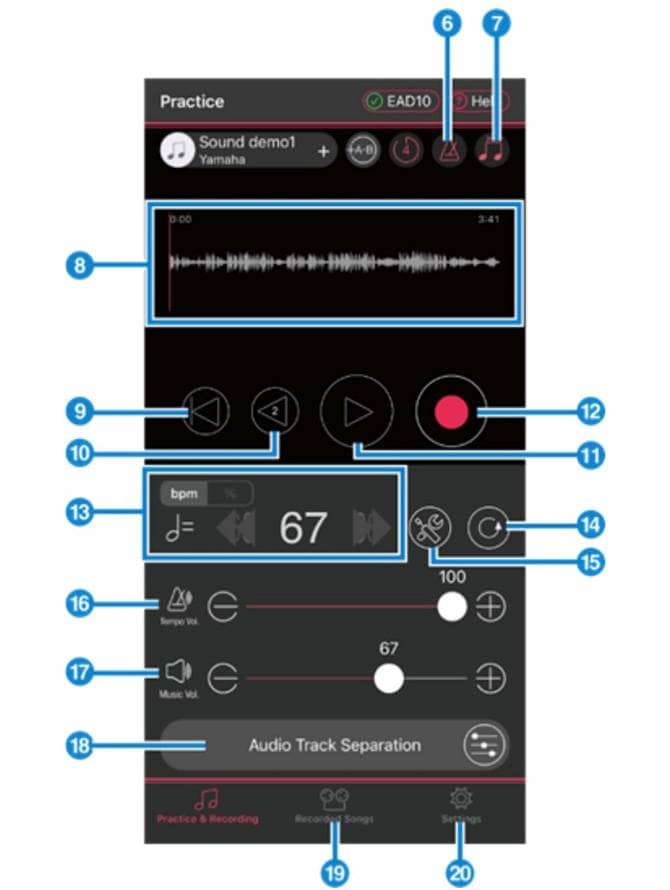
Pressing ③ adds a 4-count before the song starts. Pressing ⑥ plays a click track in the background. Pressing ⑦ switches the click track between downbeat and upbeat. For details, press "Setting" at the bottom right of the app, then select "Manual" from the menu to open the Rec’n’Share manual. Afterwards, press the Menu icon (three white lines in the top left) to see explanations for each screen. (The detailed screen explanations are lengthy, so they are omitted here.)
⑧ Next, select the song you want to play.
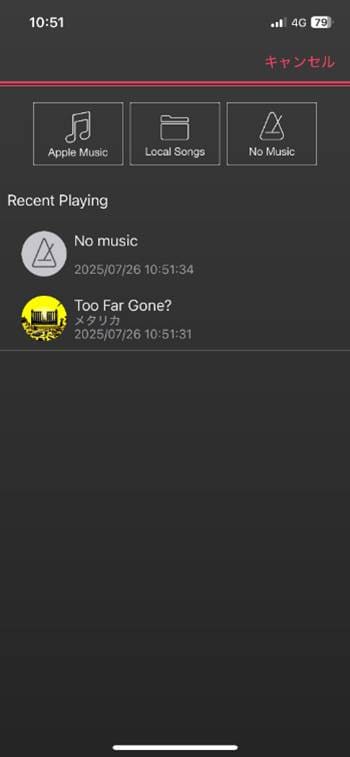
Note: Songs downloaded via subscription services like Apple Music cannot be selected as shown below. Only songs purchased from sources like the iTunes Store are eligible.
Press the plus button in screen ① to open the song selection screen.

This time, select the song "Too Far Gone?" by Metallica.
⑨ Then, the following screen will appear and automatically display the waveform of the song.
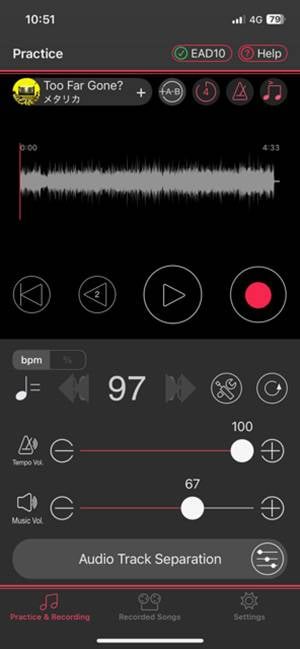
⑩ Press "Audio Track Separation" on screen ⑱ to open the following screen. Press OK to separate the audio track into individual parts.
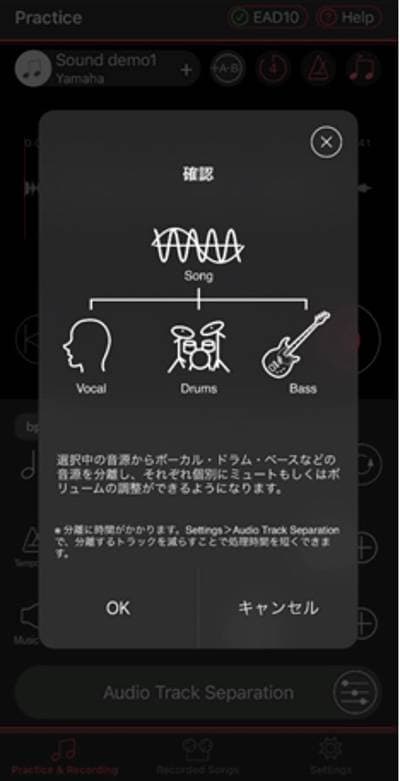
⑪ After separation, the screen will look like this. From the top: vocals, drums, bass, guitar and others. You can adjust the volume of each instrument by moving the respective faders.
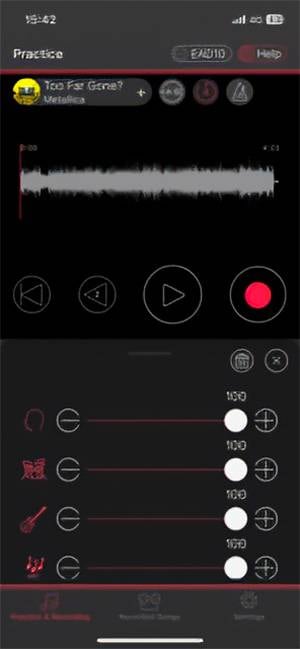
⑫ Set and play back the volume of each part within the audio source.
Each part’s volume can be set within the range of 0–100. You can set the drum volume to 0 and practice along.
Connect headphones or in-ear monitors to the EAD10, then just play along with the monitoring sound.
You’ll be freed from lonely solo drum practice, haha.
Next time, let’s try recording!
For those who can’t wait, press “Recording Screen” in the app’s manual for detailed instructions.
Try various settings to figure out what you like.
See you next time for the “Recording Edition”!






 ドラム用マイク AUDIX Dシリーズ
 Tossy先生直伝!ゼロから始めるドラム徹底攻略
 自宅で出来るドラム練習!?
 ドラムを始めよう! 初心者向け ドラムをダカドン!
 超オススメのフレーズ道場 ドラム
 基本的なドラムセット

