While searching for themes for blog articles, I found myself naturally reaching for broken parts that were no longer needed for repairs. I picked up a diaphragm from a condenser microphone.
The diaphragm is also known as the microphone capsule or the microphone unit. Personally, I’m most familiar with the term diaphragm, so that’s what I’ll use in this article.
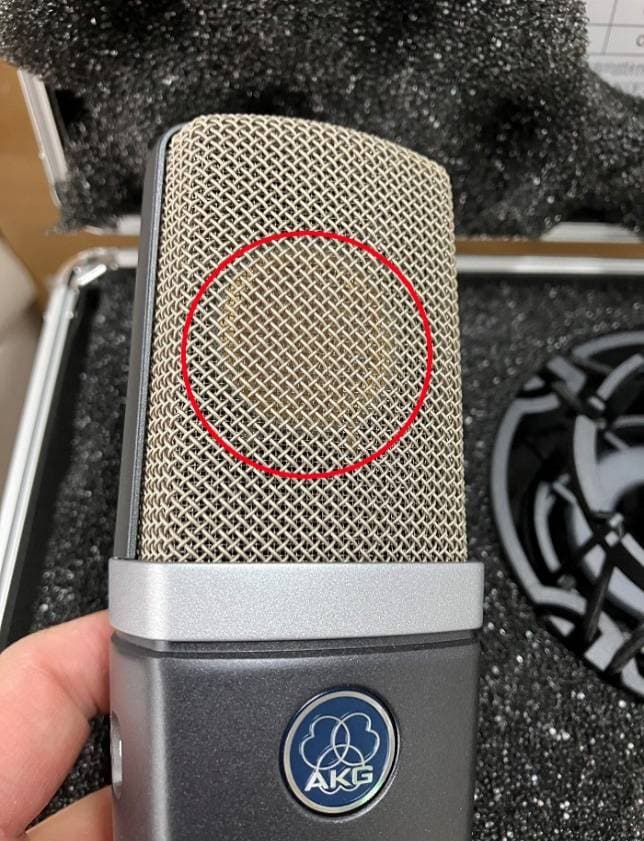
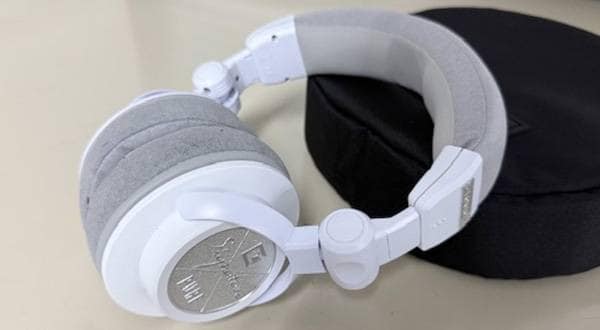
The diaphragm is visible through the mesh of the microphone grill.
You can see a circular, shiny object inside.
It looks like this.
By removing the grill from a few microphones,
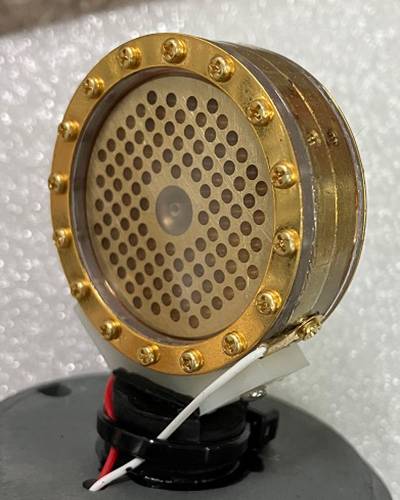
I found diaphragms installed like this.
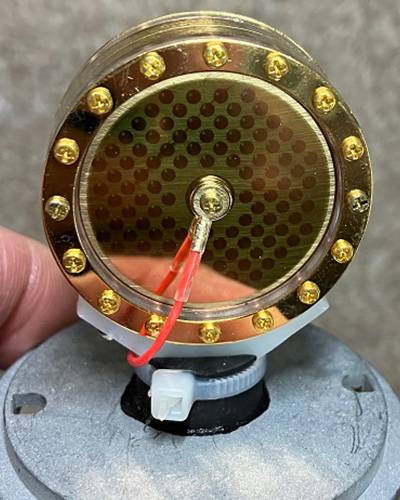
So, let’s disassemble the diaphragm.
Start by removing the screws that hold the circumferential ring.
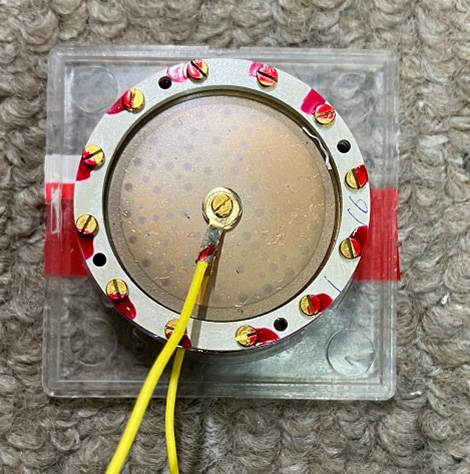
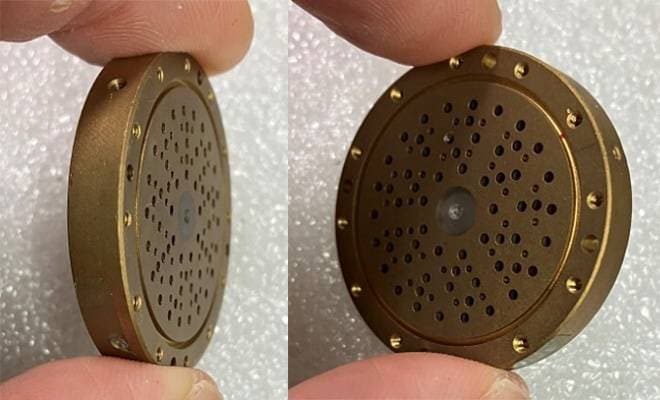
After disassembly, it looks like this.
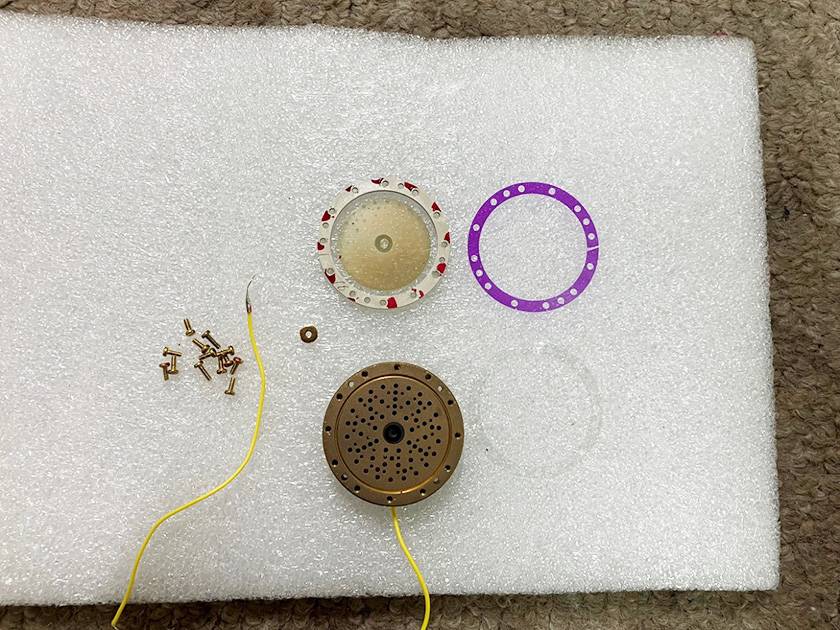
There are similar parts on the other side, but the components are the same.
It’s quite simple.
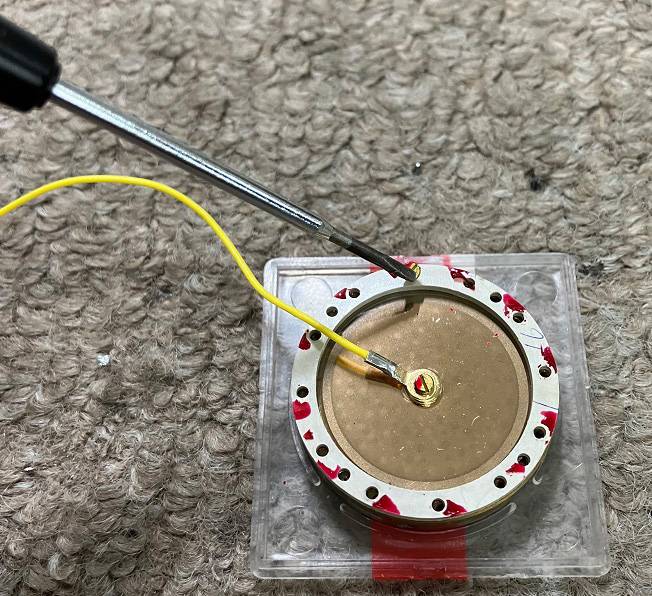
Let’s look at each part.
First, the diaphragm.
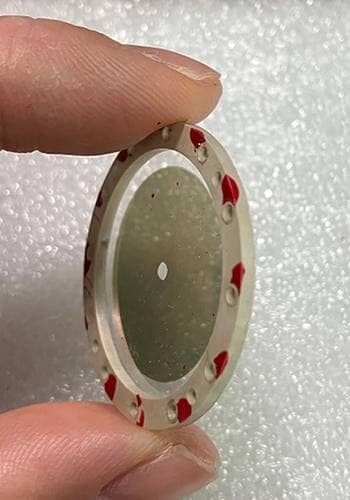
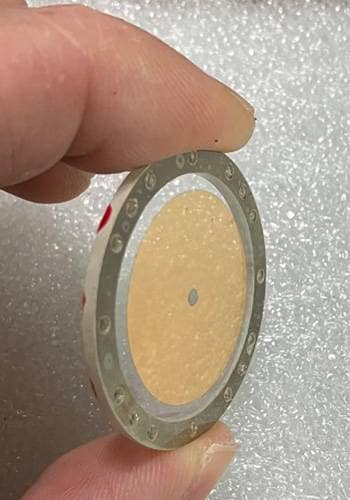
A thin plastic film is stretched, with gold deposition near the center, forming the diaphragm.
Next, let’s see the backplate.
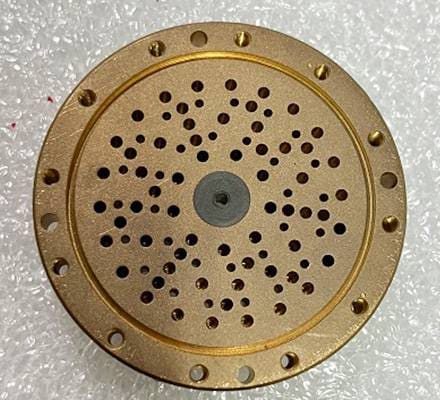
There are various sizes of holes in the center.
These holes affect the microphone’s frequency response.
In this case, the backplate is made of brass.
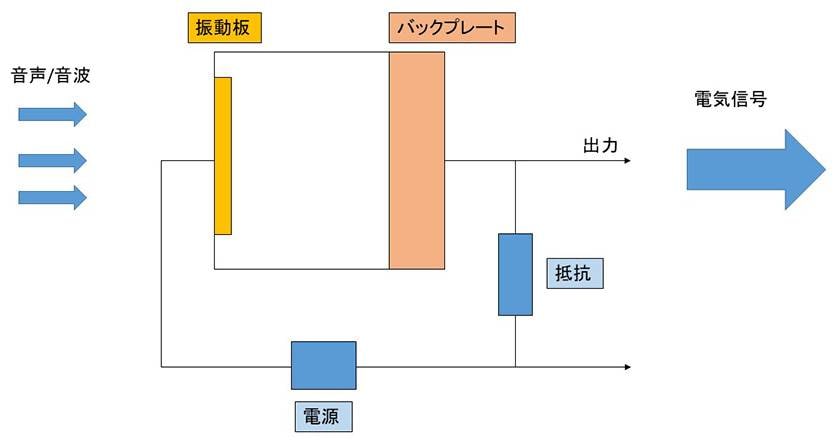
Let’s briefly review the operating principle of a condenser microphone.
This is the excerpt from Wikipedia:
Operating Principle of a Condenser Microphone
When two parallel metal plates are brought close together, they form a capacitor. Replacing one plate with a diaphragm (a plastic film with metal deposition or a thin metal film) causes the distance between the electrodes to change with vibrations, resulting in a change in capacitance proportional to the sound signal. Applying a DC voltage across the electrodes through a high resistance allows extracting the capacitance change as a corresponding voltage change.
Reference: Translated from Japanese Wikipedia, Microphone
It can be tough to understand this.
However, essentially in a condenser microphone, bringing the diaphragm and backplate close together forms a capacitor and it converts the sound waves captured by the diaphragm into electrical signals.
Here’s an illustration.
Condenser microphones require phantom power from mixers or a dedicated power supply to operate the diaphragm (microphone capsule) correctly.
A bit about maintaining condenser microphones:
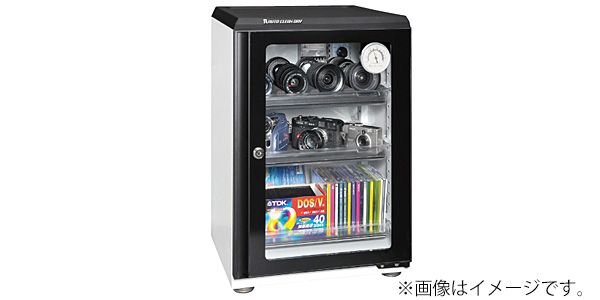
Condenser microphones are sensitive to humidity, so it’s best to store them in a dry place. For serious humidity control, using a desiccator (humidity control cabinet) is an option.
Toyo Living / ED-80CAT (BW) Humidity Control Cabinet Desiccator
Silica gel desiccants sold at dollar stores work well enough but need regular replacement. Humidity control agents for instruments sold at Sound House can also be used, though some are large or scented, so choose according to your needs.
Greco / Dry Crew Humidity Control Agent

Today, I discussed disassembling a condenser microphone diaphragm and a bit on its operating principle. I hope this has piqued your interest a bit.


![[2023] Top 3 Recommended Condenser Microphones for Vocalists](/contents/uploads/thumbs/2/2023/6/20230622_2_23084_1.jpg)


 MXLマイク購入ガイド
 初心者向けUSBマイクの選び方
 コンデンサーマイクとは
 AKG マイク特集
 RODEマイク購入ガイド
 ワンランク上のボーカルマイク選び