Do you know how to properly use a microphone stand?
You might think, “Of course I do! Don’t underestimate me!” However, simply standing it up isn’t enough. In the world of PA systems, you might hear people shouting, “How do you not know this!?”
So today, I want to share ‘Three Surprisingly Unknown Ways to Use a Microphone Stand’. These are common mistakes I often see.
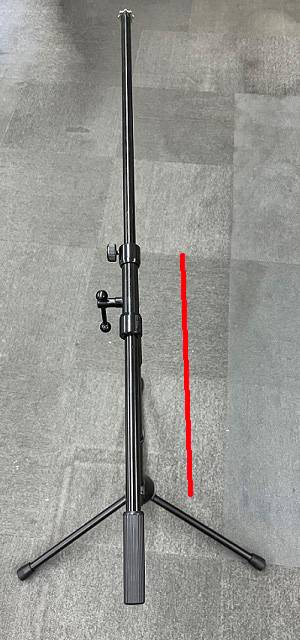
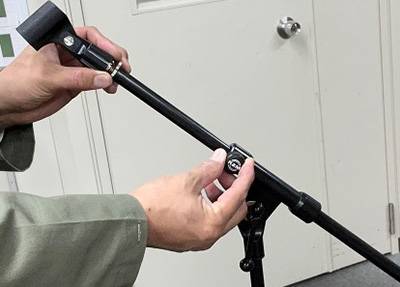
1. Do Not Let the Lower Pipe Touch the Floor
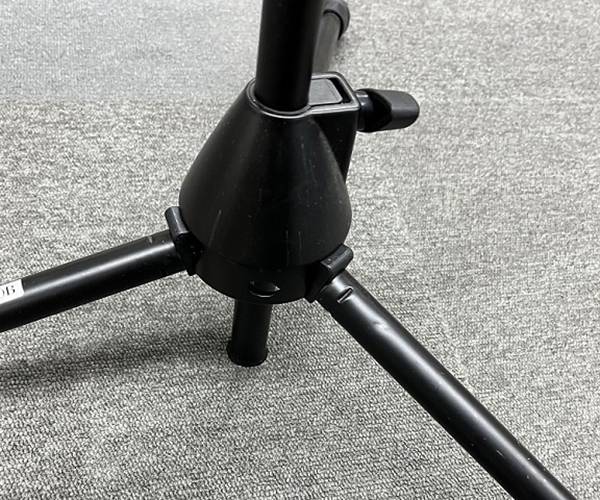
As shown in the picture above, do not let the lower pipe touch the floor.
If the pipe touches the floor, vibrations from the floor will travel to the microphone, causing footstep noise. With a condenser microphone, floor noise can introduce strange low frequencies. Make sure the pipe is securely elevated above the floor.
Please also check this if you are recording and feel that the bass sound is strangely strong.
2. Align the Boom with One of the Stand Legs
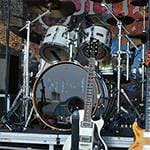
When using a boom stand, always set it up so that the boom is aligned with one of the three legs. This may seem obvious, but it’s essential to prevent the stand from tipping over. This is especially important when setting up for drums, as the vibrations are significant.
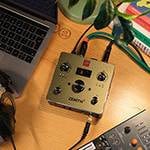
Many modern guitarists use floor-type effects pedals and place the pedalboard between the tripod legs, extending the boom over it. However, it’s better to shift the board slightly to the side for better balance. Switching effects pedals during a song can lead to mistakes if you haven’t practiced enough, so it’s important to consider the position of your pedalboard on stage during your regular studio rehearsals.
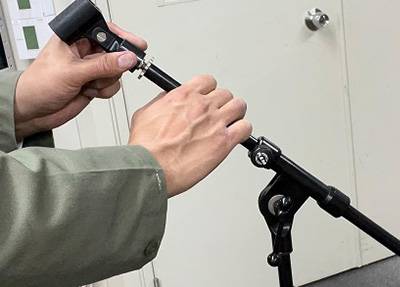
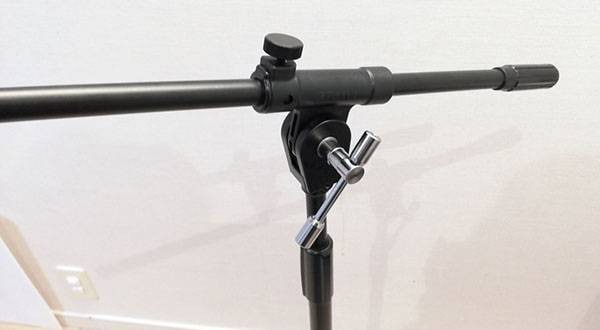
3. Hold the Pipe When Fixing the Stand
When fixing the microphone’s position, some people try to secure it by turning the lock nut.
The lock nut is for fine adjustments, but tightening only with the lock nut may result in the boom moving when lightly shaken.
To fix it properly, first lightly adjust with the lock nut,
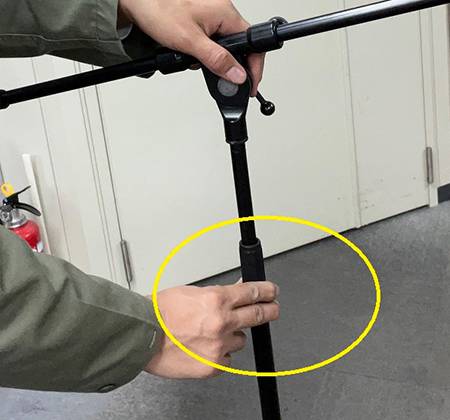
then hold the upper part while loosening the height adjustment part.
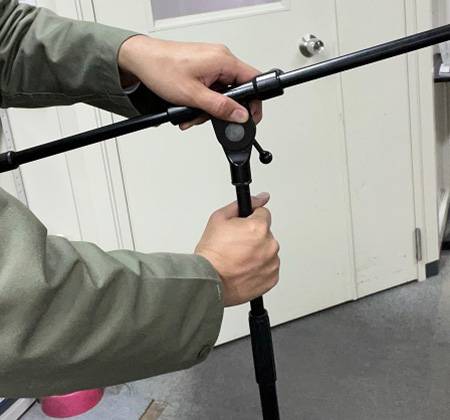
Hold the inner pipe and tighten it.
This will ensure the boom doesn’t move even when shaken.
Similarly, instead of spinning the mic holder to tighten it,
loosen the length adjustment screw
and tighten the mic holder by holding the pipe and turning it.
This ensures that each part is securely fixed.
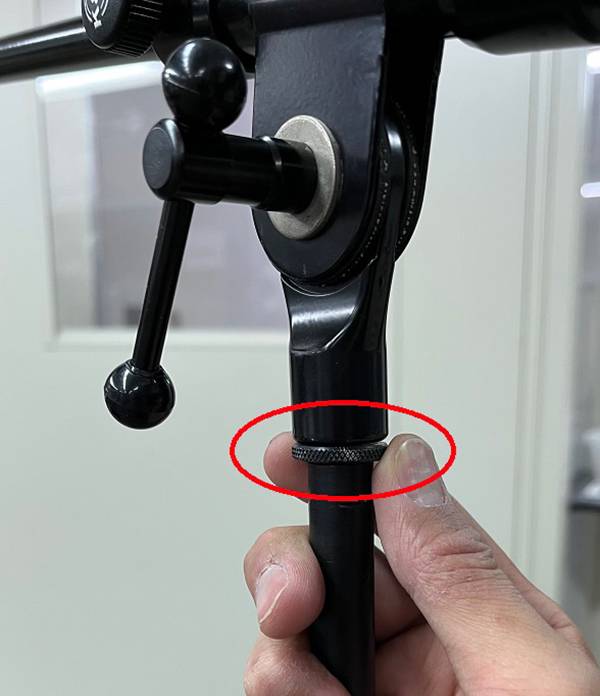
You might think, “If we’re turning the pipe, do we even need the lock nut?” But if you remove the lock nut, it looks like this:
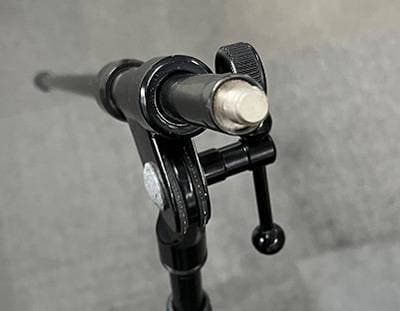
You can see that the threaded part is inserted into the pipe.
If you attach and tighten the mic holder or boom here, the internal screw will rise and break. Therefore, always keep the lock nut attached.
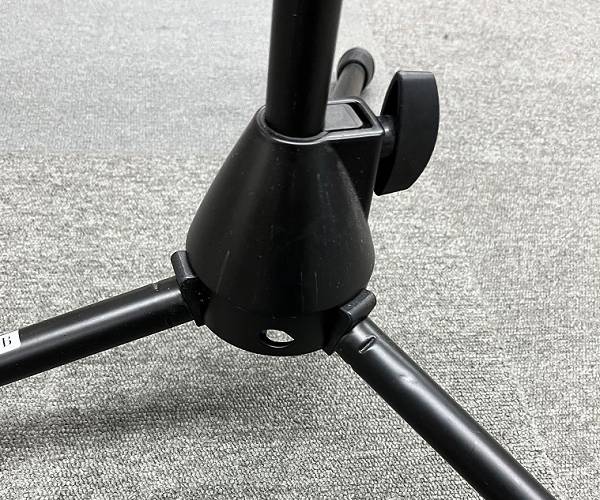
The lock nut should be positioned slightly above the bottom. Too high and it won’t be securely tightened with only a small part tightened; too low and the internal screw will be pulled up, as mentioned above.

Making a small gap like in the picture above is ideal.
This applies to drum stands as well: do not overtighten. Overtightening can expand the screw holes or break the screws, causing damage. When I worked in a studio, this happened often. Some people also didn’t restore tightly secured stands to their original state.
Since microphone stands are often borrowed from studios or live venues, it’s essential to know the proper use and force needed to handle them appropriately.


![[Supporting staying home! ] Convenient stand feature](/contents/uploads/thumbs/2/2020/7/20200714_2_10647_1.jpg)


 MXLマイク購入ガイド
 ドラム用マイク AUDIX Dシリーズ
 RODEマイク購入ガイド
 K&M マイクスタンド比較表
 ワンランク上のボーカルマイク選び
 虎の巻 スタンド初心者講座