


Hello everyone, I'm Rimito, a night time computer music composer.
A guitar pick is a necessity for guitar and bass players (although some people don't use them).
It is a small but significant element that affects the tone, playability, and many other aspects of the guitar.
They come in a wide variety of sizes, thicknesses, materials, and designs, from the common ones sold at stores for about 100 yen to high-end ones made of wood, metal, or tortoiseshell, and there are also fun shapes such as rice balls and teardrops, as well as jazz picks.
This time, I decided to make my own picks out of thin plastic plates that I had at home, because the picks I was using did not fit the playing style of the songs I was practicing. The materials I had at home were from a 100-yen store. There are many benefits that can only be obtained by making your own picks, such as creating your favorite design, creating an easy-to-use shape, and being able to make dozens of picks from a single 100-yen plastic board. I hope you will try to imitate my work and give it a try yourself! (Please be nice since this is a homemade project. Please be careful not to hurt yourself with scissors or anything sharp.)
Please take a look at this for your reference.
■ Let's prepare
Here is a summary of what you need. This is a list of items that you can buy at Seria or Daiso.
- Board material you want to use as a pick
- Pick for a model
- A sign pen
- Scissors
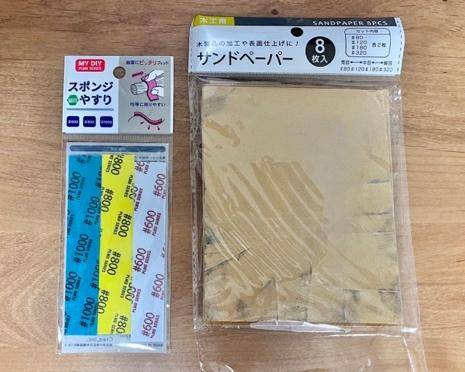
- Sandpaper (#100 to #180 coarseness)
- Sponge sandpaper (#800 to #1000)
The board material you want to use for the picks can be a plastic board, acrylic board, or even a wooden board, as long as it is 0.5mm to 1.2mm thick and can be viable as a pick.
I bought the sandpaper shown in the photo from Daiso and Seria. (Sorry for taking a photo after using it.)
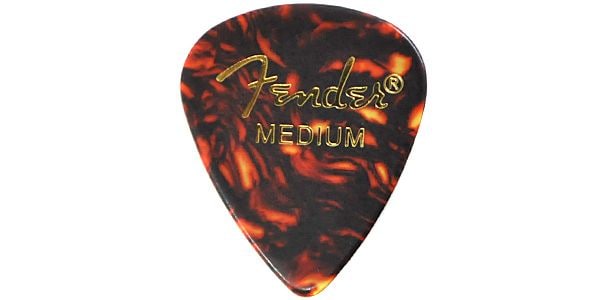
As for what kind of pick is best to use as a model, even the same rice-ball or teardrop shape has slightly different dimensions in detail. In particular, the roundness (sharpness) of the tip of the pick varies from manufacturer to manufacturer, and there is a wide variety. Therefore, I recommend using standard picks from major guitar makers here. For example, here are some examples.
FENDER / 351 Shape Shell Medium
Also, use paper scissors. Scissors for cards may have jagged edges, which can be troublesome to handle later on.
Let's go!
■ Let's make a mold
The first step is to make a mold. If you start with an original design from the beginning, it is easy to make mistakes in size, so let's start by making a mold.
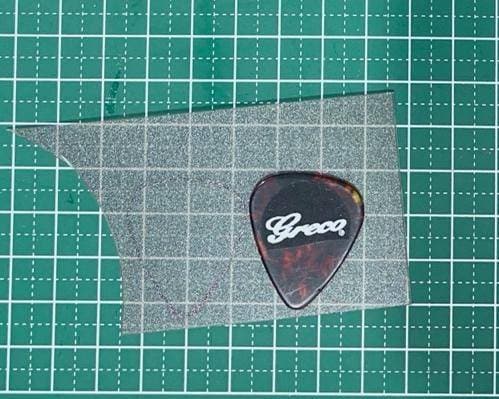
Cut the plastic board to an appropriate size,
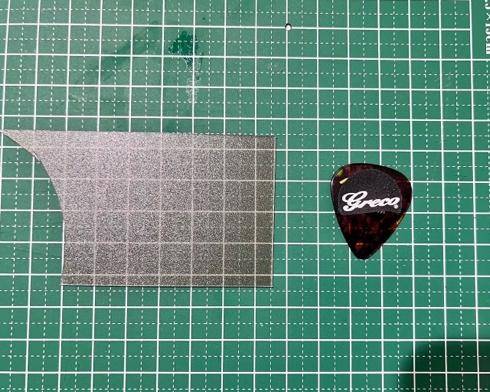
and trace it with a marker pen.
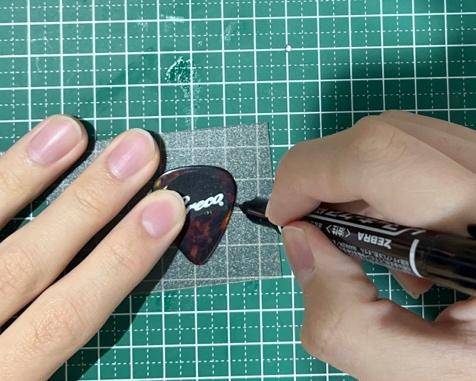
It looks like this. (Sorry it's hard to see. Sweat drop.)
If you have an alcohol-based solvent (disinfectant may also be possible), you can remove the ink even if it sticks out a little on the inside (it may not be possible to remove it, so try beforehand).
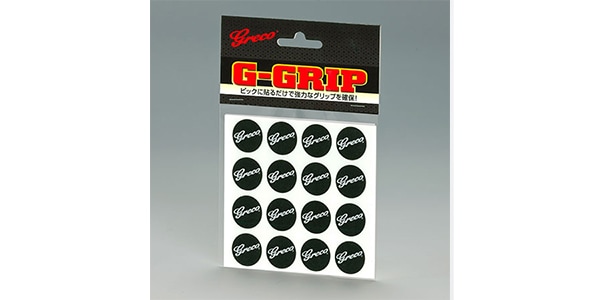
By the way, this seal is an anti-slip for picks. (I often use the center of the pick for playing, so I cut off the bottom half and play with that.)
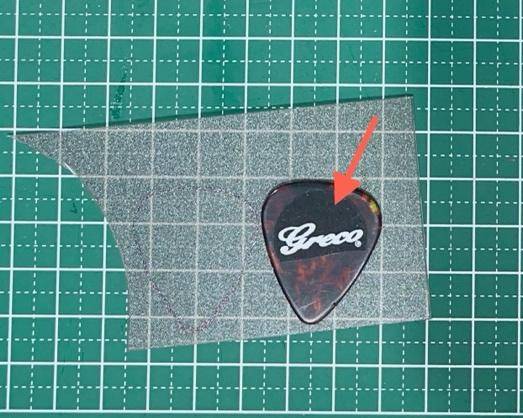
I found it at a relatively low price off of Sound House.
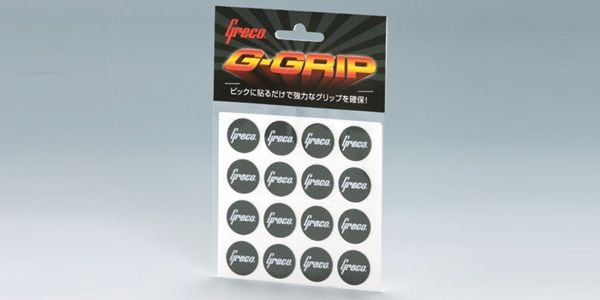
A material that can be used underwater is made into a type of sticker for picks. So, even if you sweat, you can still get a good grip. It adheres firmly and doesn’t slip. However, the life of the sticker is about 6 months, and it gradually becomes sticky. But, I still recommend it. Wash and degrease the pick thoroughly before applying it.
■ Let's cut it!
Once the mold has been made, the next step is to start cutting.
You can use a cutter, but I think it is too difficult to cut into a curve on the plastic board with a cutter, so you should use scissors here. At first, cut around the line appropriately and go back and clean it up later.

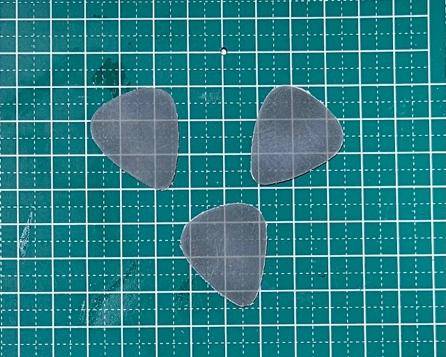
This is what I cut out.
The trick is to cut the pick tip at once. If you let go of the scissors halfway through, you are more likely to make a mistake. (I, Rimito, failed once here.)
■ Let's shape it!
After cutting, finish by sanding and shaping.
First, use #120 coarseness, and attack the very edge of the line drawn with a signet pen. Burrs will appear, but these will be dealt with later, so leave them alone.
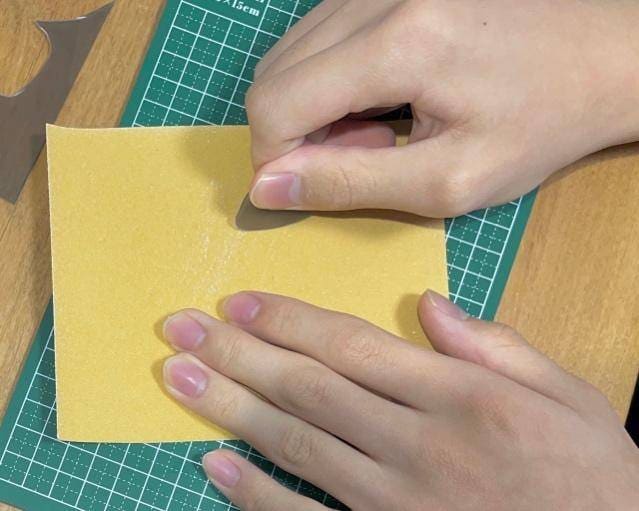
Next, polish the sides of the surface with a coarse grit of about #180. If the sandpaper and the pick are kept at 45 degrees, the burrs will come off.
■ Let's finish the last step.
The last step is the finishing. Using a sponge sandpaper with a coarseness of about #800, carefully and meticulously polish the side of the pick until the white areas are gone.
Then, carefully file the tip of the pick with a #1000 coarse sponge file, and you are done for now.
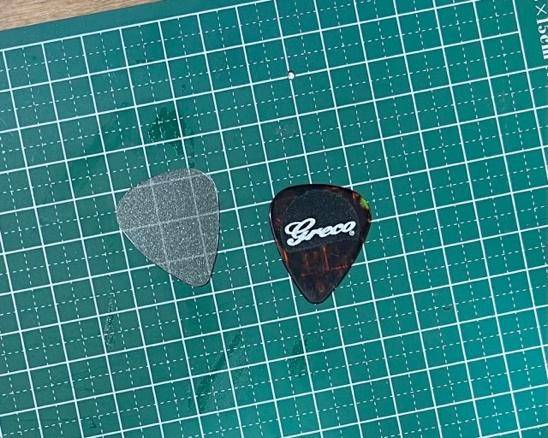
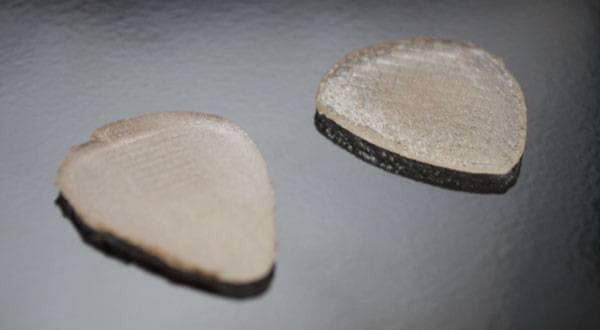
The finished product looks like this.
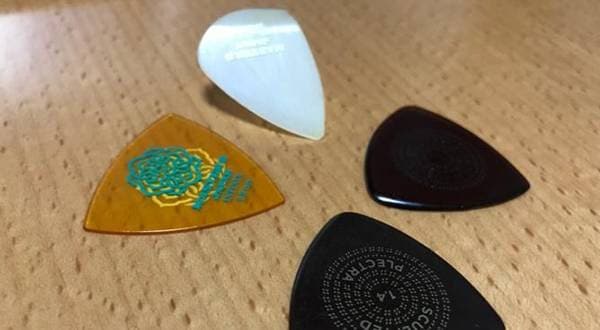
■ Some are special at first glance.
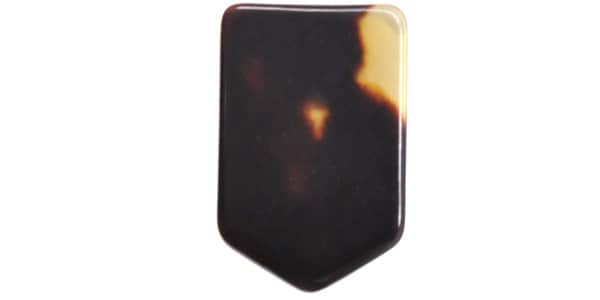
For example, rich type (a.k.a. Pentagon, Beatles) and,
Meijoshokai / Hon Tortoiseshell Pick, Base Type II (Rich Type) 1.2mm
Ergo picks for basses, etc.
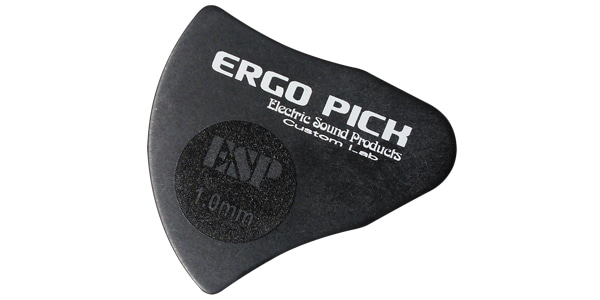
There are many different shapes of picks in the world, so it is interesting to use them as a reference, take a crack at them, or create a completely original shape.
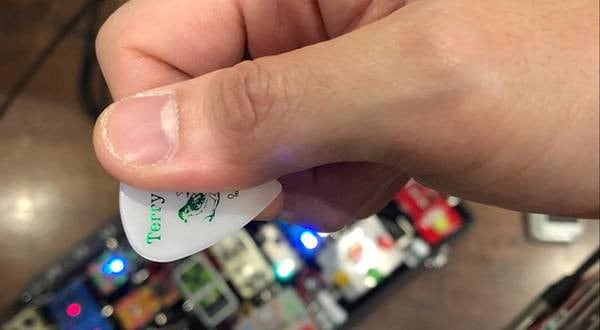
■ Try to put a sticker on it.
As I mentioned earlier, if you are not satisfied with the picks you made, try putting this on them. I think it will make it a little easier to use. I, Limito, did the same.
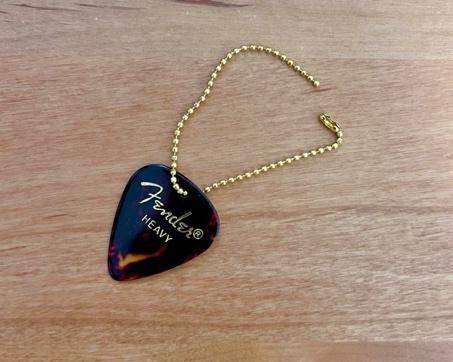
■ Try using them as straps.
You can make a stylish instant key chain by drilling a hole with a drill sold at Daiso or other 100 yen stores and then putting a ball chain through the hole. If you are careful about the position of the holes, you can make a beautiful key chain.
■ Finally, what do you think?
How was it? I have written about how to make an original pick as well as many other things. I hope you found this article useful. Thank you again for reading this article. Have a good musical life.


![[Guitar Guide] How to Choose the Right Pick](/contents/uploads/thumbs/5/2022/3/20220317_5_17102_1.jpg)
![Never shift⁈ How to hold a pick [Things guitarists should know about their body]](/contents/uploads/thumbs/5/2020/9/20200923_5_11200_1.jpg)
 ベース奏法(ピック弾き編)
 ピックの選び方
 ギターの各部名称
 ギターの選び方
 ギター演奏に必要なものは?
 ギタースタートガイド


