Introduction
I'm not a YouTuber, but I want to document my travels as a beautiful piece of film! I was thinking this at the beginning of 2020, when Instagram, Twitter, TikTok, YouTube, and other platforms that allow people to document their travels recently became more and more popular. That's when I decided that I wanted to shoot more stylish videos.
When it comes to video editing software, there is a wide variety such as Adobe / Premiere Pro and Apple / Final Cut. In fact, I also use Premiere Pro for simple video editing. But then Blackmagic Design / DaVinci Resolve Studio came into the picture.
This is the standard software to use when it comes to PC-based video editing software these days. This software was originally developed by greatly improving the long-established color correction (color editing) software, and it’s said to be suitable for professional level video productions along with the recently trendy Cinematic Vlog.
In other words, color editing is so beautiful! Just like in photo editing, color wheels, custom curves, and filters can be set by nodes, so you can easily edit your work to be very professional and stylish with colors and filters!
What is a Vlog anyway?
A vlog is a combination of “Video Blog,” which is a kind of next-generation diary that captures daily life in the form of images. A “Cinematic Vlog,” as the name implies, is a vlog with a cinematic or dramatic style, often using shots that make you think, “There's no way that this is everyday life,” and also using slow motion and distant shots to give the vlogs a slightly unique feel. I think that many of the vlogs on YouTube are compiled for travel.
Let's shoot a Cinematic Vlog!
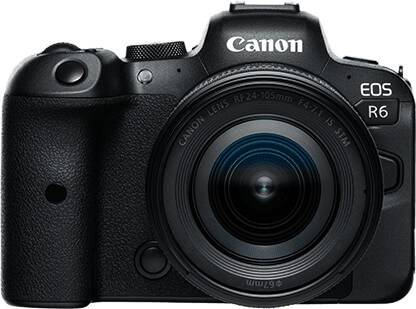
So, let's actually shoot a vlog. This is the camera I will use this time!
- Camera
- CANON / EOS R6 Mirrorless SLR
- Lens
- CANON / RF50mm F1.8 STM standard single focal length lens
CANON / RF24-105mm F4-7.1 IS STM standard zoom lens
- Others
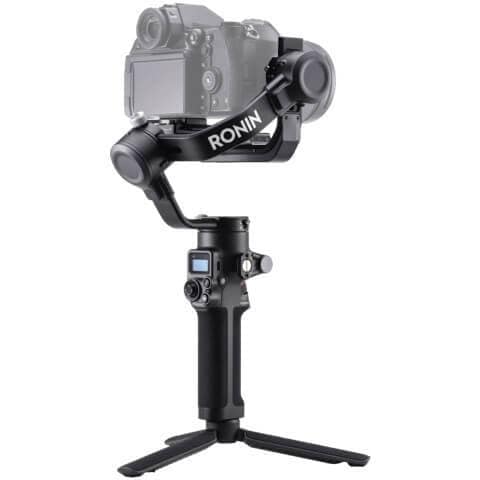
- DJI / RSC2 Pro Combo Gimbal
I have the impression that vloggers use Sony, but I am devoted to Canon because my father has been using it since I was a kid lol. In fact, Vloggers (people who shoot Vlogs) prefer Sony / α7 III and α7S III. I especially recommend the α7S III because it can record 4K / 120p (α7 III can record 4K up to 30p). By the way, the EOS / R6 supports up to 4K / 60p, and for 120p, it must be set to high frame rate video (audio recording is not available). The EOS / R5, the higher-end model of the R6, can shoot up to 8K / 30p! This is a feature that is not widely used, but it may be a good investment in advance, as the world may become 8K-standard in the future.
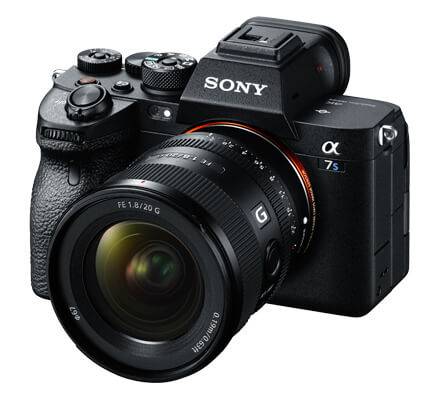
α7S III
©Sony Marketing Inc. / https://www.sony.jp/ichigan/products/ILCE-7SM3/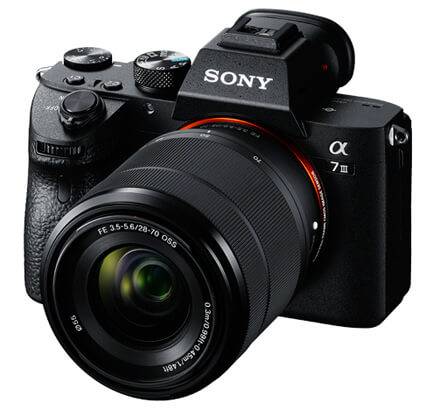
α7 III
©Sony Marketing Inc. / https://www.sony.jp/ichigan/products/ILCE-7M3/
All of them have full-size sensors, so it is easy to take beautiful images, but you should keep in mind that the α7 III has a tilt LCD (I am not good at taking selfies with a stand-alone camera). (I think a 35-50mm standard lens is good for portraits, and a 24mm wide-angle lens is good if you also want to shoot distant scenery. The use of an ND filter allows you to take full advantage of the full-size lens to capture images with a sense of out-of-focus blur! For this shoot, I mainly used the 50mm F1.8). I got a new camera for this shoot lol. I used to use an EOS Kiss X9i, but I wanted to shoot in 4K! I decided to buy a new camera. I wanted to use L series lenses if possible, but I gave up due to budget constraints… I will be able to look forward to my next bonus!
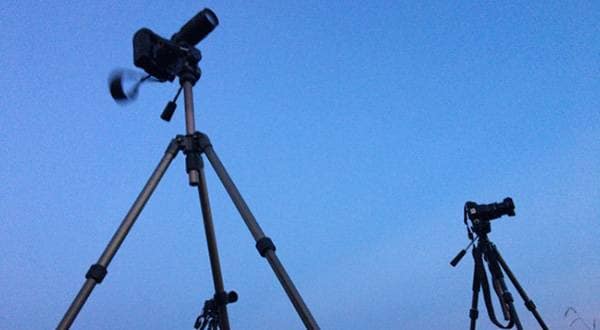
I also took the plunge and bought a gimbal, but I think it's good to use a smartphone for casual shooting since a single-lens reflex camera gets to be quite heavy.
Finally, I recommend that you attach a light-reducing filter called an ND filter (variable ND filter) when shooting video.
Why are ND filters recommended?
Shooting a video is, to begin with, like a parapara manga (flip book comic) in which a series of photos are placed one on top of another. If the shutter speed of the camera is too fast, the video will look strange. The camera stops more precisely than the human eye. However, slowing down the shutter speed = the sensor collects more light (aperture close to wide open), and the video itself becomes very bright and prone to white noise! Variable ND filters also allow you to easily adjust the amount of light entering the lens using the polarizer principle. There are also ND filters for smartphones, which you may want to have because they are useful in photography, for example, for shooting rapids.
With the help of a friend, I managed to get the shoot underway. I chose Sagamihara, Kanagawa Prefecture, as my shooting location. It is said to be a popular spot for old-fashioned retro vending machines (often found in highway rest stops that sell grilled rice balls, ramen noodles, and things of that sort.). In fact, during filming, a TV crew was covering the event and we even ran into a celebrity. The main filming took place at a nearby prefectural/municipal park, and I think it turned out to be quite picturesque.
Due to the current situation, I wore a mask and kept a good distance from the camera. The video is almost face-less, in accordance with the wishes of the performer.
Please take a look at the actual video first.
How do you like it? I am amazed that even an amateur can make a video like this nowadays. It’s kind of scary.
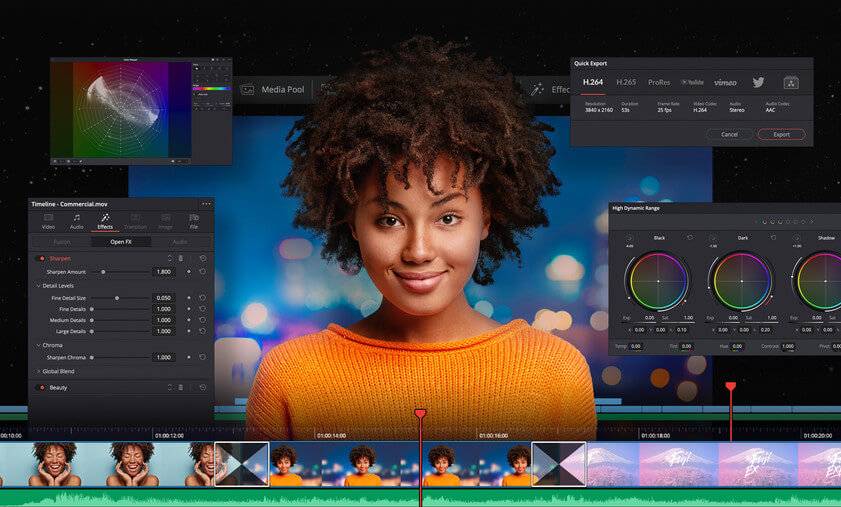
Now, let's check out the editing screen and feel of the real deal, DaVinci Resolve!
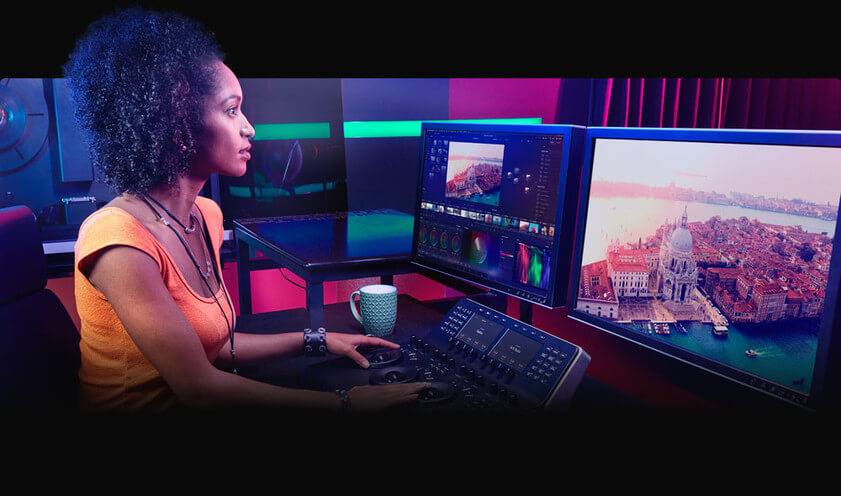
I Tried Out the Davinci Resolve Software
As I mentioned at the beginning of this article, color correction is very attractive, and colorization is of utmost importance in Cinematic Vlogs. It is good to use the recorded image as it is (often referred to as “shot and saved”), but it lacks the impact needed to create an extraordinary feeling. The ability to adjust each color linearly is still a strong point of DaVinci Resolve.
The R6 (camera) can use Log shooting (Canon Log in this case) to widen the dynamics range. This method is like RAW shooting in photography, and allows recording with easier control of color tones. It is easy to understand if you imagine dying your hair. In other words, it is easy to create the color and atmosphere you want while keeping the recorded image beautiful!
Color correction of photographic data is called color correction and color grading. Color correction is the preparation before editing, while color grading is the addition of color.
As mentioned at the beginning of this article, DaVinci Resolve is a well-established software that originally specialized in color editing. Personally, I felt it was the easiest video editing software I have ever used. It is quite easy to adjust colors by means of a parade, which is data that analyzes the colors contained on the screen. It also has an automatic correction function, making it very easy for beginners.
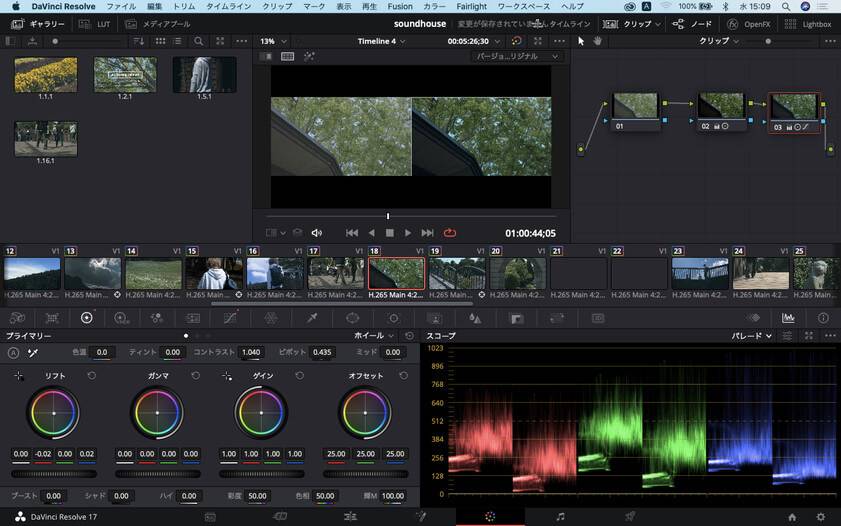
Color Page
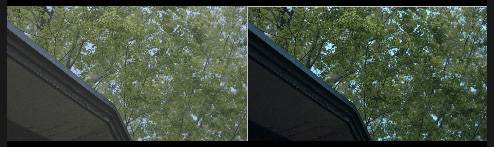
(left: before color adjustment, right: after color adjustment)
Using my 2019 MacBook Air, it worked fine with fine-tuning (please note that this does not necessarily work on all MacBook Airs, as the environment varies depending on system memory usage, etc.). There is also a method called “Optimized Media” that reduces the image quality only during editing to lighten the load on the PC and allows 4K video to be imported, the actual work to be done in HD quality, and then is finally exported again in 4K. The final output of this video is also 4K output at 3840 x 2160, but the actual work screen was decoded to about 1/8 of the image quality.
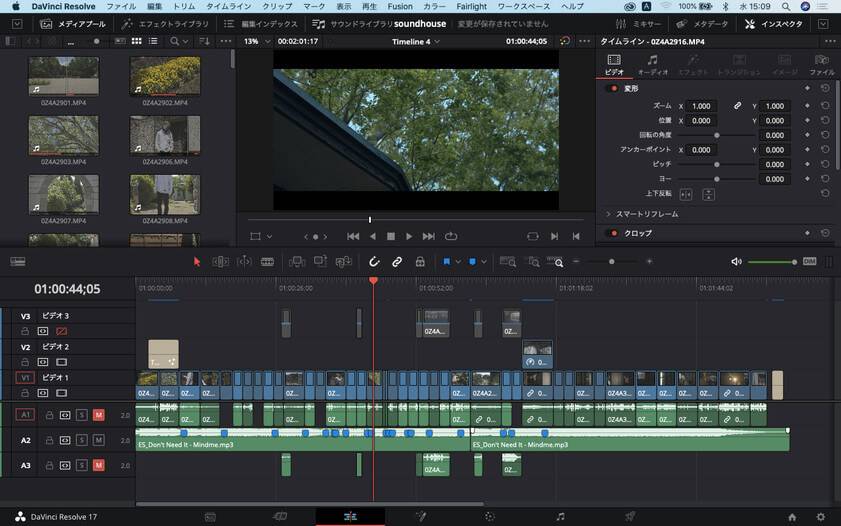
Actual editing screen
I have discussed various settings, but I must be careful not to make a mistake with the FPS setting. You can change it afterwards, but it can cause audio interruptions during work and affect the editing operation.
How to change the FPS during editing
It’s possible to change the mood of the video by setting FPS=frames per second (how many images per second the video is composed of). See the table below for a general use case: Cinematic Vlog is often set to 24 fps because of its characteristics. In this case, I am exporting at 30 fps.
| Types of Frame Rates | Main applications |
|---|---|
| 60fps (59.24fps) | Japanese 4K/8K TVs and DVDs |
| 30fps (29.97fps) | Japanese TV broadcasting, etc. |
| 24fps (23.98fps) | Movies, etc. |
DaVinci Resolve automatically sets the FPS of the video that has been integrated first and cannot be changed later. For example, if you create a new project and import a video file that was initially shot at 60 fps into the timeline, the FPS for the entire timeline will be set to 60 fps.
As I mentioned earlier, different FPS for each video will adversely affect the audio and loading, so the initial settings are crucial.
However, there may come a time later when you wish to change the frame rate to 24 fps, so starting with DaVinci Resolve 16, you can change the frame rate later by setting up a new timeline.
The method is very simple. Simply select “File” > “New Timeline” and change the “Timeline Frame Rate” from “Use Custom Settings” > “Format” in the lower right corner of the pop-up window.
Of course, when editing 4K as it is, I felt it was a bit underpowered for my production environment. This area depends on the resolution of the video you are producing, and I think it is one of the lighter video production software... I will have to consider switching to an M1 Mac (another expensive one...).
I hope this blog makes you want to try video editing too! There are two versions of DaVinci Resolve: the free version “DaVinci Resolve” and the paid version “DaVinci Resolve Studio”. Please use the free version first to get a feel for it!
The main differences between the two are as follows
| DaVinci Resolve (Free version) |
DaVinci Resolve Studio (Paid version) |
|
|---|---|---|
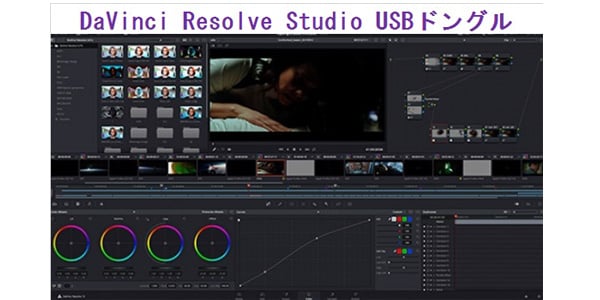
| Licensing | - | USB dongle key/license code |
| Maximum image quality | Ultra HD | 32K |
| DaVinci Neural Engine | 60fps | 120fps |
| DaVinci Neural Engine | - | Loaded with
|
| Additional Functions | - |
|
The dongle key version is recommended for editing on three or more PCs. If you prefer something easier, I recommend the licensed code version. I used the licensed code version this time and I’m running it through my Macbook Air.
Alsoo, a brief tutorial video of DaVinci Resolve is available on the official Blackmagic Design YouTube page! This video was created with the assistance of a certified trainer, so you can learn all the steps of how to operate it.
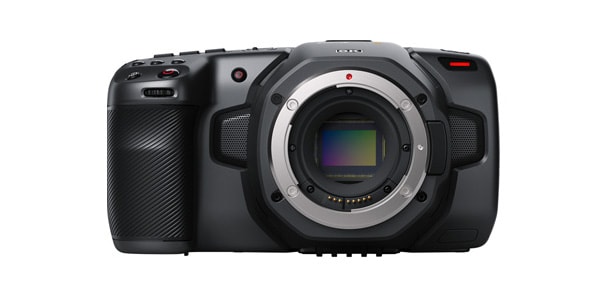
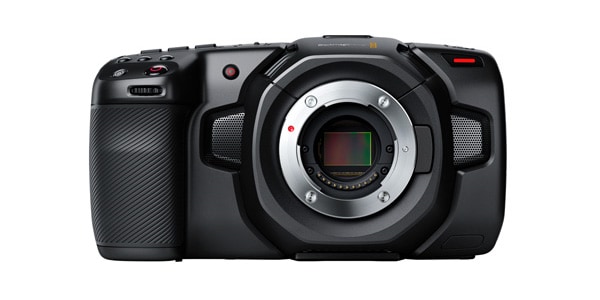
Also, when it comes to cameras for video (cinema cameras), the Blackmagic Pocket Cinema Camera series released by Blackmagic Design is not to be missed! If you are going to shoot mainly video, a cinema camera is a good choice! The 6K model can especially use a Canon lens mount (EF mount), so if you are a Canon user like me, you can migrate to this camera without wasting your existing lens assets.

Blackmagic Pocket Cinema Camera (6K model in the image)
I hope you all have a good Vlogging life! Come back again soon!