Hello, this is Cheena. During the period I did not post much, something happened to the bass that I used in the first blog.
That "Something" was that it was used for a test to install a simple piezo pickup. And it was unexpectedly successful.
This time, I will write about this experiment and the installation method.
First of all, do you know what a piezo pickup is?
It is a pickup that uses a piezoelectric element, and outputs the vibration of the strings as is, and they are often used for acoustic guitars.
It is basically sold as a part to be embedded in a bridge or saddle, and there are a few models that can be installed externally.
The piezoelectric element itself is very cheap, and it costs only about 100 yen. It has a shape in which round, thin plates are attached together, and two lead wires extend from it. When alternating current is applied, this board vibrates to make a sound. On the contrary, it is also possible to give an electric signal by giving vibration or shock. Due to its simple structure, light weight and high durability, it is often used for lightweight and small devices such as security buzzers. For a variant, it is also used for lighters to disperse high-voltage sparks with strong impacts.
This time, I’m going to put the element under the bridge.
さて、どこに置こうかなと。 pic.twitter.com/6pgXbQAnhz
— Cheena (@on_8va_bassa) June 23, 2020
However, at first I had only an idea and didn't know if it would succeed, so I loosened the screws for the bridge to put it under the bridge, pulled out the lead wires from the side, and connected them directly to the shielded cable using an alligator clip.
ピエゾピックアップの実験風景です pic.twitter.com/wPHms3xFBZ
— Cheena (@on_8va_bassa) June 23, 2020
When I tightened the screws, retuned the strings, and played, I could hear the sound. It's pretty close to the organic sound, and I felt that picking noise was a little emphasized.
However, there was a gap in the bridge, so I removed it once more and made a recess with a depth of about 1mm where the piezoelectric element would be inserted. Then I attached Kapton tape to the back of the bridge to bring the ground wire into contact with the bridge so that the piezoelectric element is insulated.
Now I could install it. Extend the lead wires, making a hole to the rear counterbore.
For the pot, I purchased the Alpha 500kΩ B curve. Curves and capacities have no particular meaning.
Then, a problem occurred. The Jazz Bass generally has three knobs, and the control plate has four holes, including the output terminals. Now, the three pickups are operated by independent pots. The tone circuit is removed to make room for the piezo volume. I soldered it, and the wiring is done. Re-attach the bridge and tune up the strings, and I’m done.
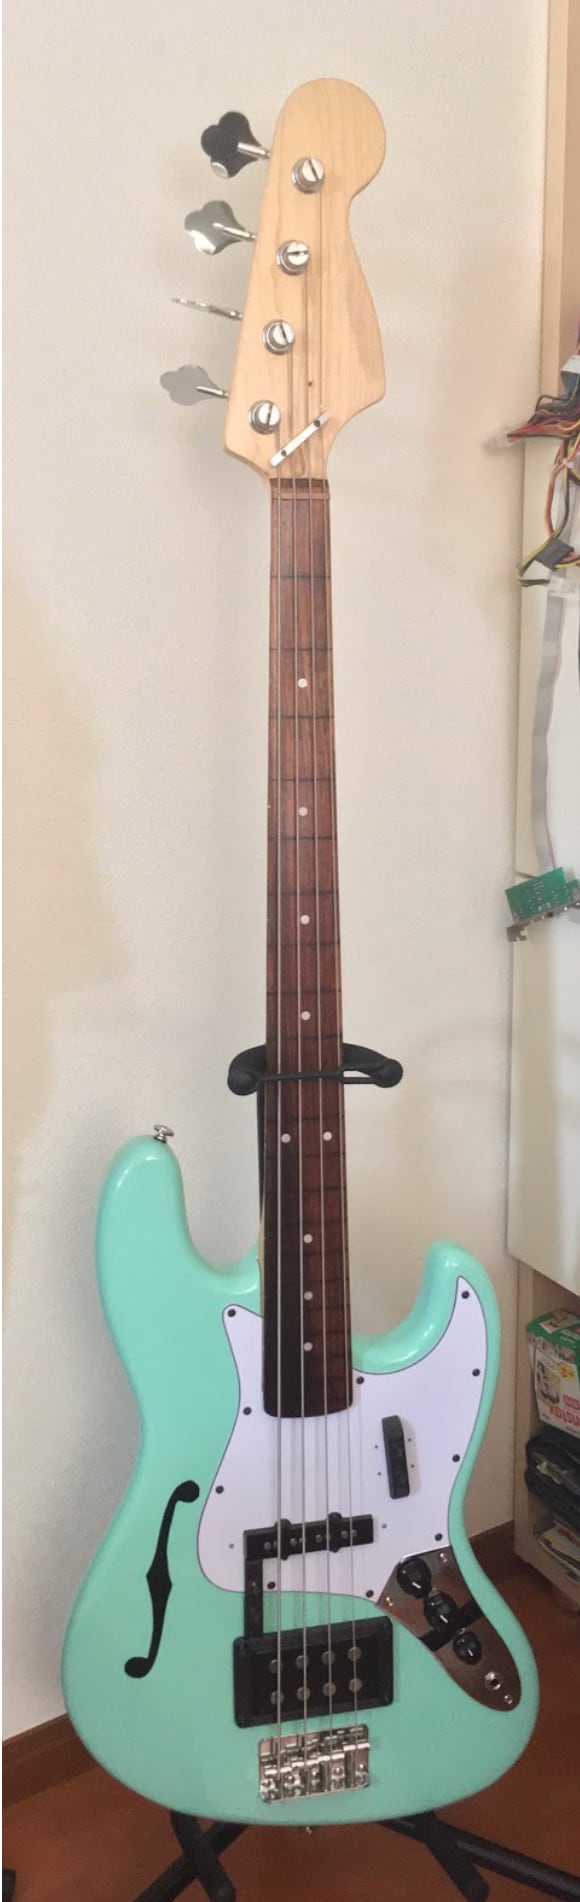
It no longer looks like a Playtech bass, the fretless fingerboard, the replaced rear humbucker, and the painted F-hole create an unusual feeling.
Here are some things to keep in mind when choosing a piezoelectric element.
- This method can only be applied for a bass with the hard tail bridge (It can be applied for Telecasters, Mustangs and Bigsby, as the bridge plate does not move).
- There are various piezoelectric elements depending on the sizes and shapes, but those with a circular shape and a diameter of 50mm or less are generally used for audio, and most of the others are for power generation.
- Avoid choosing the one with a resonant frequency of multiples of 440Hz to prevent resonance when you play an A note.
- No need to say it, but choose one with the correct size that fits under the bridge plate, and that does not come into contact with the screws, and does not cover the holes in the back.
This time I wrote about adding a piezo pickup that can be done with one coin.
I think it was probably the easiest and most useful mod I've ever done.
Why not try this on a junk instrument with no sound?
Let's have a good musical instrument life!