Hello. I'm Cheena, a brass band bassist. This is my first blog post.
PLAYTECH / JB420 SONIC BLUE
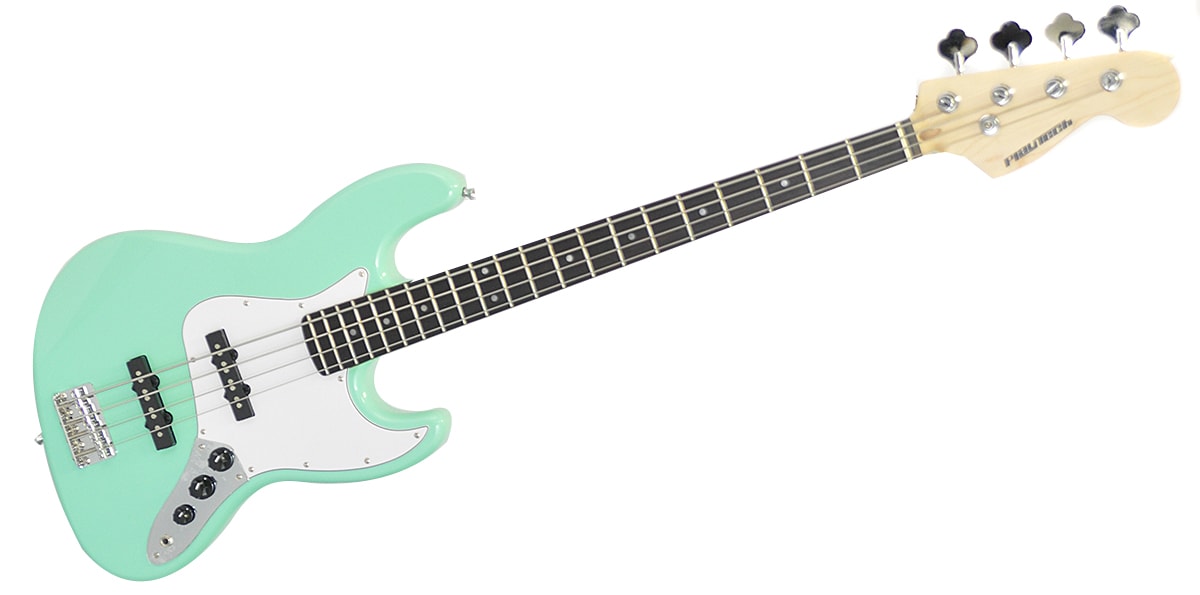
This time, a modification of the Playtech JB420 Sonic Blue. Of course it is new.You can use this bass, which you can buy at Sound House for 10,000 yen, as an ordinary Jazz Bass type, but it's too normal! Let's modify it! And that’s what I did it.。
If you use it as it is for the time being, it will make a relatively good sound. The finish is beautiful, and there are no problem just looking at it. However, is the processing around the frets a little rough? I thought so. Wipe the fingerboard with cloth and lemon oil and it will catch on the frets.
And one more thing, the cloth turned black while I was wiping the fretboard. Is the fingerboard painted? It seems that rosewood has been made to look like ebony (painted to bring it closer to a high-class dark color like ebony).
So…
Let's modify it to be a fretless bass that gives off a sweet sound that attracts many bassists. If there are no frets, naturally there will be no catching, and the surface of the fingerboard will be sanded during the modification process, so the original color of rosewood will come out. The tool required to pull out the frets is famous for "cutting off",
HOSCO / TL-FC190
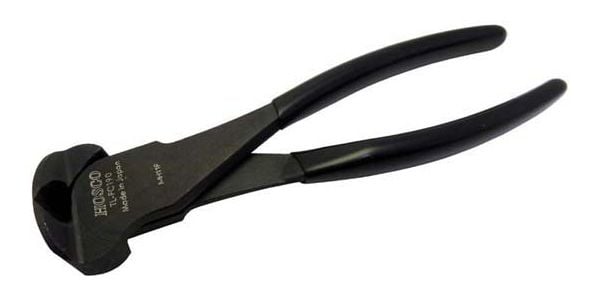
In fact, pliers can be used as a substitute.
PICKBOY / SC150
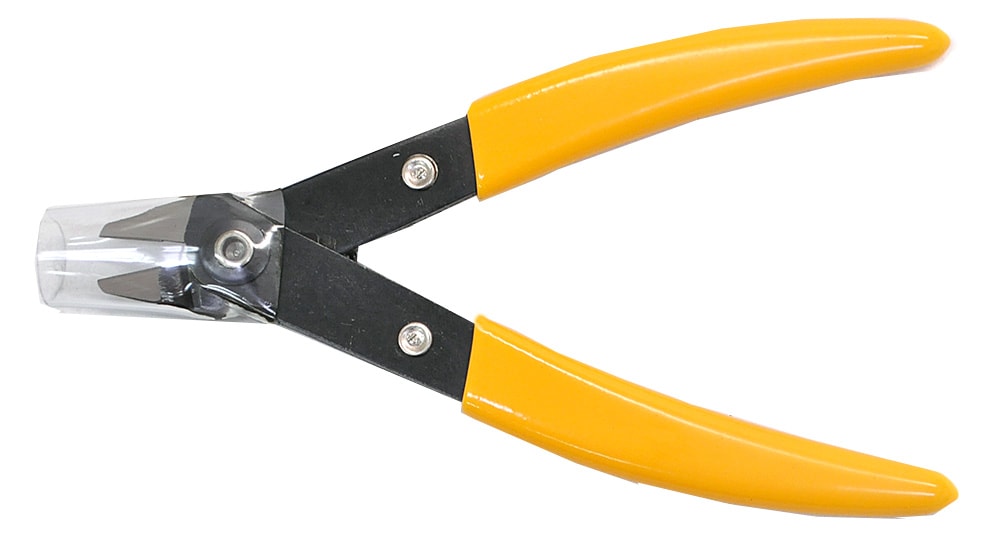
In short, the blade should be shaped so that it slides between the frets and the finger plate and pulls upwards. The author uses a micro pliers whose blades have been dulled a little from cutting wire.
Use masking tape to protect the fingerboard and then pull out all the frets. The frets are made with protrusions to bite into the fingerboard, and if you pull out the frets without the tape, the fingerboard will splinter and crack.
After removing all the frets, remove the putty attached to fill the ends of the fret grooves. Let's scrape this with a small wood saw or fret saw.
Here, sand down the fingerboard once. This is to obtain the wood powder of the fingerboard necessary for later.
HOSCO / TWSB-3
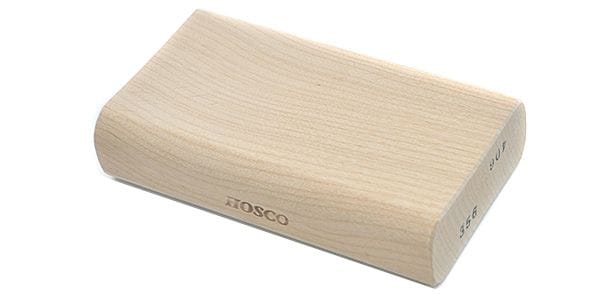
Use a sanding block like this. Adjust the fingerboard R to your liking. I like flat fingerboards, so I made a 1000R block with a 3D printer. This process removes the stain on the fingerboard.
Rub it with a coarse sandpaper, and when it gets closer to brown from black, change it to a fine sandpaper to make some wood. It doesn't have to be perfect yet. The most important purpose of this process is to remove the stain and to obtain wood powder. Also, collect the wood powder that is stuck in the fret grooves. It is used by mixing it with an adhesive, and if powder remains, the adhesive will not be able to adhere firmly when filling the grooves.
The adhesive is made by mixing Franklin's tight bond with wood powder. Is it easier to use if you dilute it with a little water? When mixed, it will be close to black.
Once the adhesive is made, fix the wood or plastic board to fill the groove on the fingerboard. Use a maple board to create a white fingerboard with easy-to-see position marks, and use rosewood or ebony to create a black, calm fingerboard.When the grooves have been filled, let it cure completely. You should wait for about 24 hours.
After curing, scrape off the protruding board and overflowing adhesive. Hardened tight bond is much harder than ordinary wood glue and can be sanded. By the way, if you use an ordinary bond, it will be soft even after being cured for a long time, and sandpaper will clog and become unusable. If you force it, you will get burned. Like the author ...
After scraping off everything, add R again with the sanding block. If the fingerboard undulates, it may cause noise and clogging, so be careful and gentle. This is almost the end of the fret relationship. If you want to apply a finish to the fingerboard, stick masking tape along the edge and pour epoxy in it, and if you don’t want to apply a finish, you're done.
If you play the fretboard with the frets removed, the string height should feel abnormally high. Shave the bottom of the nut, adjust the string height of the bridge and play, and smooth put the parts with noise or clogging occurs.
This completes the fretless remodeling! Even if the instrument to be remodeled is not new, you can find a used one for about 3000 yen. If you think that buying a new fretless is expensive, and if you ask a repair shop, it costs tens of thousands of yen, you can make it on your days off without spending 5,000 yen.Why don't you take this opportunity to immerse yourself in the endless musical instrument DIY swamp?