Contents
- The Basics of Layering: First, Define Your Goal!
- Choosing Sound Sources and Shaping Tones for the Low, Mid, and High Frequency Ranges
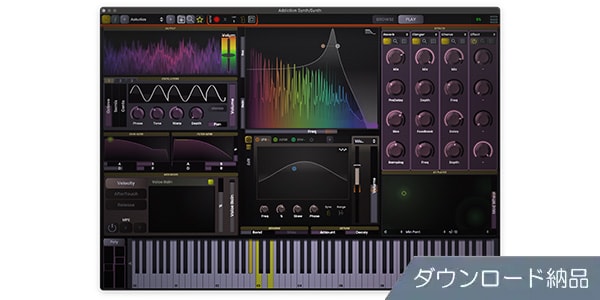
- Low Frequencies: Building a Foundation You Can ‘Feel’ Rather Than Hear (Omnisphere 3 / Addiction Synth)
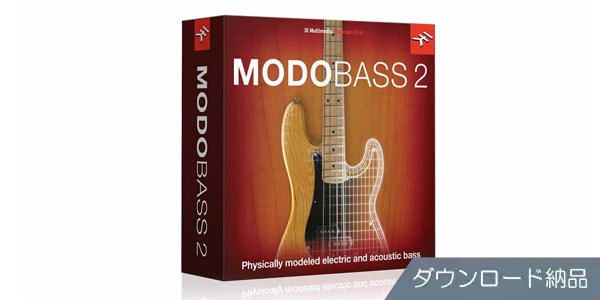
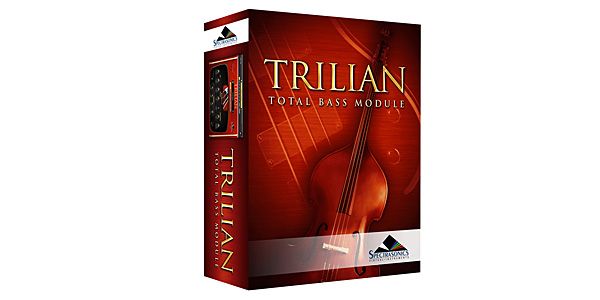
- Mid Frequencies: Supporting the ‘Core and Phrasing’ of the Track (Trilian / MODO BASS 2)
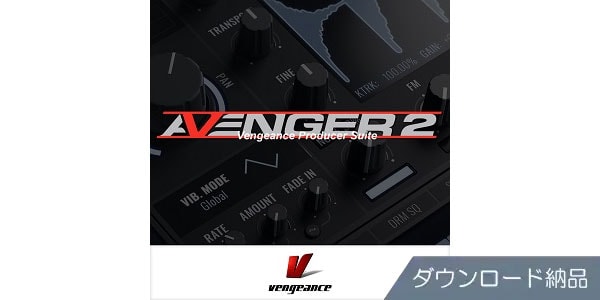
- High Frequencies: Creating the ‘Texture and Edge’ That Reaches the Listener’s Ears (Massive / VPS Avenger 2)
- The Most Important Rule: Thoroughly Eliminate Frequency Overlap with EQ
- Techniques for Frequency Separation to Keep the Bass from Getting Buried in the Mix
- Summary: A Visual Map of EQ Processing Across All Frequency Ranges
- Conclusion
“When I try to shape my bass tone and go for deep lows, everything gets boomy and muddy...”
“But when I boost the highs to improve clarity, the sound somehow ends up thin and hollow...”
When producing music with a DAW, achieving both ‘presence’ and ‘clarity’ in the bass is something that almost everyone struggles with at some point. A tried-and-true approach to solving this problem and instantly achieving a more professional sound with greater power and presence is bass layering. However, simply stacking two or three bass sounds you like can often have the opposite effect, resulting in a muddy sound or phase cancellation. In this article, we’ll take an in-depth look at everything from the basic principles of bass layering and recommended sound sources for each frequency range (low, mid, and high) to specific EQ techniques using targeted frequencies (Hz) to prevent overlap with guitars and vocals!
1. The Basics of Layering: First, Define Your Goal!
The most important thing when layering bass is to be clear about why you’re layering sounds in the first place. We don’t recommend a hit-or-miss approach like, “The sound feels a little thin, so I’ll just add another track for now.” Bass layering is like putting together a puzzle: rather than trying to cover everything with a single tone, you bring together individual components from different frequency ranges to create one ideal bass sound.
■ Assigning Roles to Different Frequency Ranges (Low, Mid, and High)
When planning your layers, start by dividing the bass sound into three broad frequency ranges.
| Frequency Range | Role / Tonal Characteristics | Recommended Sound Sources |
|---|---|---|
| Low frequencies [up to 100Hz] |
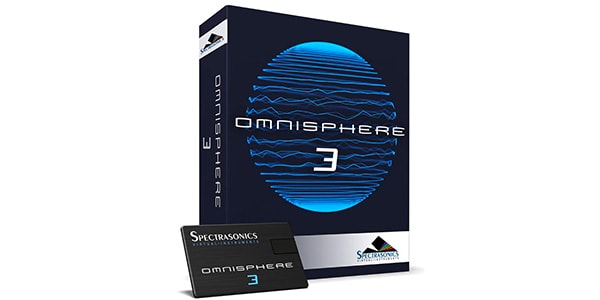
Deep lows that support the overall weight and foundation of the track. This is the range where you “feel the vibration in your body” more than you hear a distinct pitch. | Omnisphere 3 Vital |
| Mid frequencies [100Hz-1kHz] |
The main range that defines the bass’s sense of pitch, phrase development, and the core of the track. | Trilian MODO BASS 2 |
| High frequencies [1kHz-5kHz and above] |
The range where listeners directly perceive the bass’s texture, including attack, definition, and distortion components. | Massive VPS Avenger 2, SERUM |
For example, suppose the low end provides a solid foundation, but the bass line disappears when you mix it into the track. In that case, rather than adding more low end, the right solution is to add a single track containing only the attack components from the high frequencies.
2. Choosing Sound Sources and Shaping Tones for the Low, Mid, and High Frequency Ranges
From here, I will focus on some classic software instruments available at Sound House, introducing the sound sources I personally find easy to work with in each frequency range, along with tips for shaping their tones!
① Low Frequencies: Focus on a Range You Can ‘Feel’ Rather Than Hear
The trick with a track dedicated to sub-bass below 100Hz is to think of it as a foundation that lets you feel the vibration in your body, rather than one intended to make individual notes clearly audible. Instead of turning it up too much to make it stand out, shape the sound to provide a solid foundation from below.
My Personal Software Instrument Recommendations
Its solid sine waves and sub-bass presets with excellent low-frequency resolution are particularly impressive. It delivers outstanding stability in the sub-bass range.

A synthesizer with a clear interface that’s easy to operate. It’s invaluable when you want to create pure, clean low frequencies with unnecessary harmonics stripped away.

② Mid Frequencies: Supporting the Bass’s ‘Core, Sense of Pitch, and Musical Character’
The midrange, around 100Hz-1kHz, is the core of the bass sound itself, conveying phrase development and chordal character. Depending on the genre, you can choose whether to go for the realistic body of an electric bass or the weight of a synth bass.
My Personal Software Instrument Recommendations
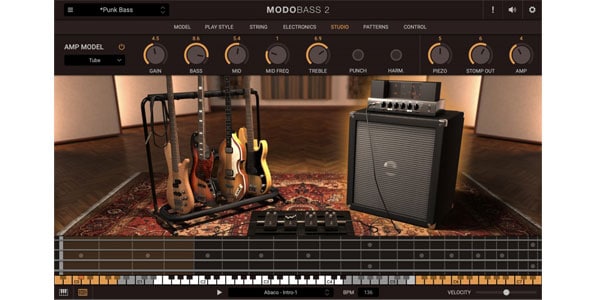
The definitive bass instrument, known to just about everyone. Whether you choose electric, acoustic, or synth bass, its mid-to-low frequencies have a substantial core, and simply adding it to your track can transform the authority of the bass sound.
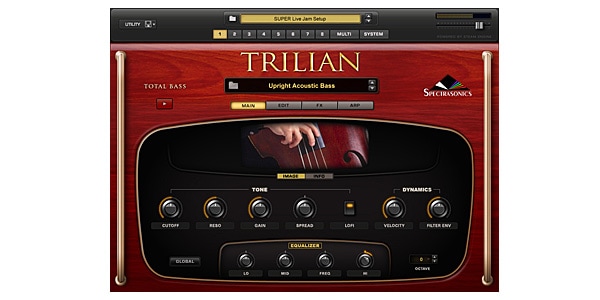
A leading modeling instrument. It’s easy to adjust the realistic midrange response for different playing styles, including pick playing, fingerstyle, and slap, making it ideal for building the core of an organic-sounding band mix.
③ High Frequencies (Attack and Texture): Creating the ‘Edge’ That Reaches the Listener (Synth Bass Is Highly Recommended!)
The high-frequency range above 1kHz is where you create the edge and definition that make listeners instinctively think, “Oh, that bass sounds cool!” Adding a synth bass with a fast attack is extremely effective here.
My Personal Software Instrument Recommendations
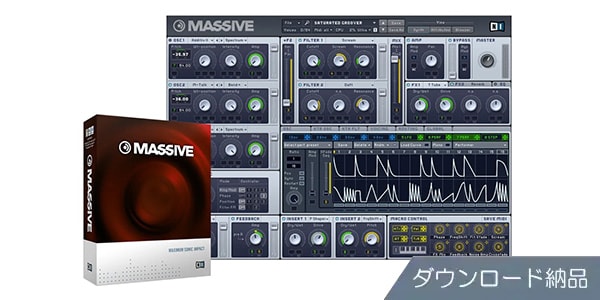
A classic wavetable synthesizer. It excels at creating a gritty, driven sound and a pronounced attack in the upper mids, making it perfect for a top layer that brings the bass’s definition to the forefront.
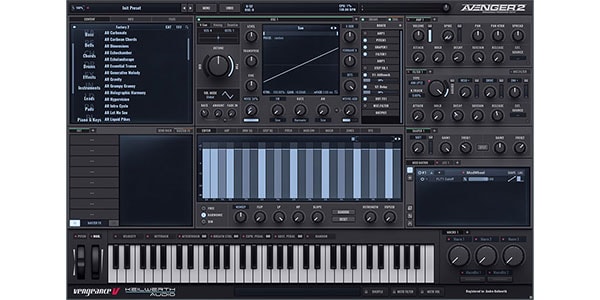
A powerful synthesizer that excels at producing modern, crisp, high-fidelity sounds. It can instantly create clear, cutting high-frequency attacks and sharp tones, making it a great choice when you want to add presence quickly.
3. The Most Important Rule: Thoroughly Eliminate Frequency Overlap with EQ
One thing you absolutely must avoid when layering is having the sounds from different tracks clash in the same frequency range.
When the same frequencies overlap, especially in the low end, phase cancellation can make the sound thinner. Conversely, excessive energy can build up, causing the sound to become boomy and muddy through the speakers.
■ Complete ‘Role Separation’ Using Filters
Be sure to apply EQ to every track in your layers, using high-pass filters (HPFs) and low-pass filters (LPFs) to clearly separate their frequency ranges.
- Low-frequency track: Use a low-pass filter (LPF) to sharply cut frequencies above 100Hz-150Hz, leaving only the pure sub-bass.
- High-frequency track: Use a high-pass filter (HPF) to aggressively cut low frequencies below 200Hz-300Hz, leaving only the attack and distortion components.
Tips for Building Layers!
Rather than forcing a single bass instrument to cover the entire frequency spectrum, think of it as preparing separate components: a foundation dedicated to the lows, a core dedicated to the mids, and a definition layer dedicated to the highs. Then use EQ as a precision pair of scissors to cut each component and fit them together seamlessly, with no gaps.
4. Techniques for Frequency Separation to Keep the Bass from Getting Buried in the Mix
You might listen to the bass on its own and think, “This sounds perfect!” only to find that it gets buried by the guitars or interferes with other instruments once you mix it into the full track. The high-frequency bass layer, in particular, is prone to competing with other instruments for space in the frequency spectrum.
■ ‘High-Frequency Placement’ for Better Clarity Without Interfering with the Main Electric Guitar Frequencies
The trick to making a guitar and a high-frequency synth bass layer coexist cleanly is to move the synth bass components into the uppermost range, above the guitar’s main frequencies.
If you place the bass’s high-frequency attack directly in the electric guitar’s sweet spot, around 1kHz-4kHz, the two sounds can mask each other’s strengths and create a muddy mix.
Instead, by boosting the synth bass in an even higher range (4.5kHz-8kHz and above), or by emphasizing only its ultra-high-frequency edge, you can smoothly fit the synth bass into the space above the electric guitar.
This allows you to achieve excellent clarity and clean frequency separation, with the definition and attack of the bass line reaching the listener clearly, without sacrificing any of the electric guitar’s natural sweet spot or presence!
■ Creating the Ideal Mix by Targeting Specific Frequencies (Hz)
Paying attention to specific frequency values when processing your tracks can take the clarity of your mix to the next level.
- 1. Processing Electric Guitars (Especially Telecasters)
- Guitars such as Telecasters gain their characteristic bite when frequencies around 4000Hz (4kHz) are boosted. Give this range to the guitar.
- 2. Processing Around 1500Hz to Preserve the Vocal Core
- The area around 1500Hz is critically important in determining the presence and core of a vocal. It’s important to use EQ to cut the bass’s high-frequency track slightly around 1500Hz, making room for the vocals.
- 3. Cutting Harsh Frequencies (2200Hz / 2400Hz)
- Bass distortion and the upper mids of guitars tend to accumulate a harsh, metallic edge around 2200Hz-2400Hz. Slightly reducing these frequencies with a precise EQ cut can make the sound cleaner and easier to listen to while maintaining clarity.
5. Summary: A Visual Map of EQ Processing Across All Frequency Ranges
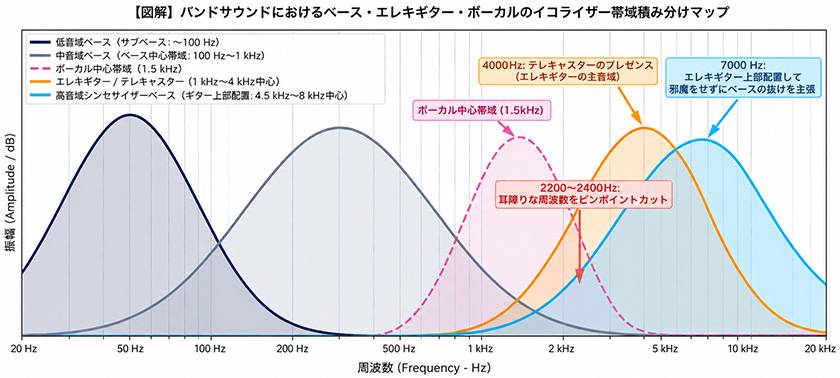
I’ve summarized the frequency assignments for each part, along with the separation techniques for vocals and guitars, in a single diagram.
If you ever find yourself wondering, “Which frequency should I adjust?” while mixing, use this map as a reference!
*Of course, be sure to consider the other instruments in your mix as well, not just the bass, vocals, and guitars, when separating frequency ranges!
Key Points from the Frequency Processing Map
- Below 100Hz: Use the low-frequency bass layer to provide a solid foundation of low-end weight and vibration.
- 100Hz-1kHz: Use the midrange bass layer to establish the pitch and core of the bass line.
- 1500Hz: Slightly reduce the bass and guitar levels in this range to avoid interfering with the core of the vocals.
- 2200Hz-2400Hz: Precisely cut harsh, piercing noise.
- 4000Hz: Boost the guitar’s sweet spot for a satisfying, cutting tone, especially with a Telecaster.
- 4.5kHz-8kHz and above: Add a high-frequency synth bass layer to emphasize clarity!
6. Conclusion
Well, I may have sounded a little self-important talking about all this, but the layering and EQ techniques introduced here are methods I’ve developed through trial and error in my own music production. Of course, there’s no single right answer in music, so I hope you’ll give these techniques a try with the mindset that “this is just another possible approach.” This layering approach is highly effective not only for band-oriented sounds but also for dance music such as progressive house and for hip-hop production.
To be honest, I still struggle with the idea of achieving the ‘perfect mix’ every time. However, since I started paying more attention to bass layering and organizing frequencies, the overall quality and perceived loudness of my tracks have changed dramatically.
If you’re struggling to get your bass sound just right, give the approach and EQ map introduced here a try!







 Native Instruments ブランドページ
 PRESONUS オーディオインターフェイス 製品比較表
 IK Multimedia iRig特集
 DTMセール情報まとめ
 DTMに必要な機材
 Discount Sale
 Outlet
 New Arrivals
 Podcast (streaming)
 Headphones / Earphones
 Microphones
 Wireless Equipment
 Speakers
 Power Amps
 Mixers
 Processors
 Portable PA Systems
 Recorders
 Karaoke
 Guitars
 Basses
 Ukuleles
 Drums & Percussion
 Pianos / Synthesizers
 Wind Instruments
 Stringed Instruments
 Japanese Instruments
 Harmonicas, Other
 Software
 DJ & VJ
 Stands
 Cables & Connectors
 Racks & Cases
 Lighting
 Stage & Truss
 Video Equipment
 PC PERIPHERALS
 Power Supplies
 Studio Furniture
 Household Items, Other
 Alcoholic Beverages