


With signs of spring gradually starting to appear, how is everyone doing these days? As for me, I strongly feel the arrival of spring every day through my runny nose and itchy eyes. If only I could take out my nose and eyes and wash them, how much easier my life would be…
Anyway, putting that aside, this time I’ll be reviewing a wireless product.
Here’s what I’ll be introducing this time!
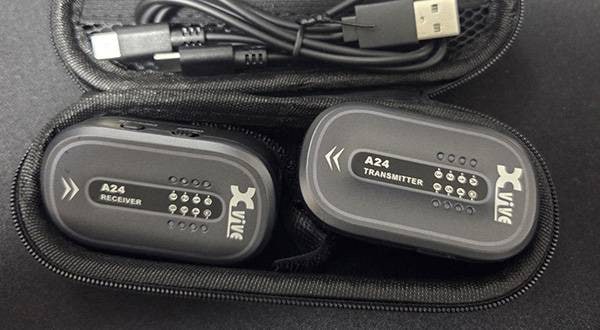
Unboxing
Let’s open it up right away. The contents are as follows:
- Receiver
- Beltpack transmitter
- Instrument connection cable
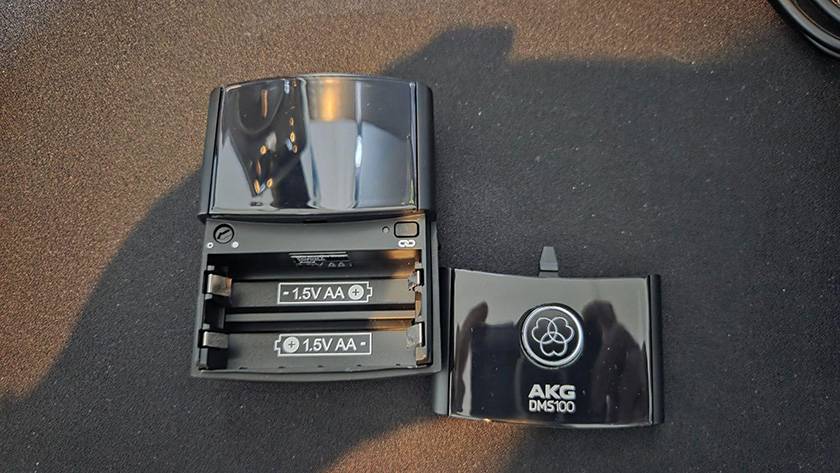
- Two AA alkaline batteries (for testing only; operation is not guaranteed)
- Power adapter
- English instruction manual
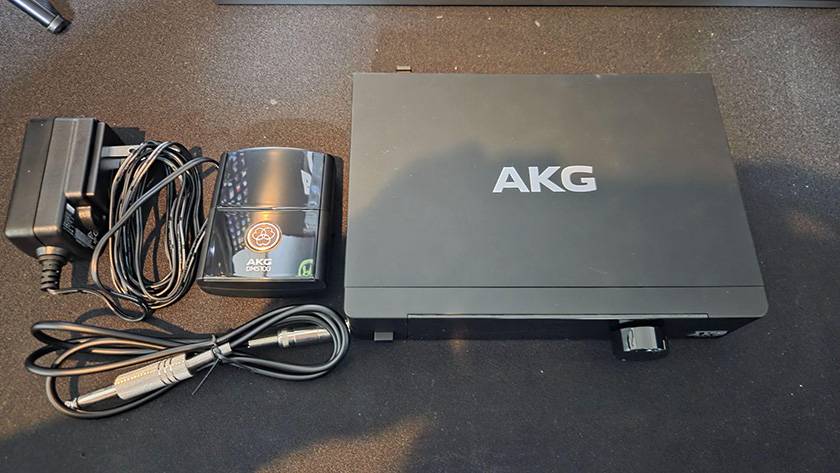
The contents are quite simple! By the way, I didn’t use the included batteries this time. Since another wireless system I own also uses AA batteries, I have plenty of Eneloop batteries at home, so I used those instead. When using battery-powered wireless systems, rechargeable batteries are recommended. It’s nice for peace of mind not having to think, “I only used them a little, so they should be fine—but I’m worried they might die during a live performance, so I’ll replace them anyway…”
That said, the manufacturer recommends alkaline batteries. Rechargeable batteries tend to lose performance as the number of charge cycles increases. Since they can’t guarantee the same performance (operating time) as when they were new, that’s something to keep in mind.
Rechargeable wireless systems are nice, but personally, I prefer battery-powered ones. With rechargeable types, if you forget to charge them, you’re stuck waiting—but with battery-powered ones, you can just run to a nearby convenience store and solve the problem. The fact that you can deal with issues on the spot is a strength of battery-powered systems.
The downsides are that they tend to be larger and heavier, and they incur ongoing costs.
Also, when I picked it up, I noticed that the receiver is incredibly light. It might even be lighter than the transmitter with batteries installed.
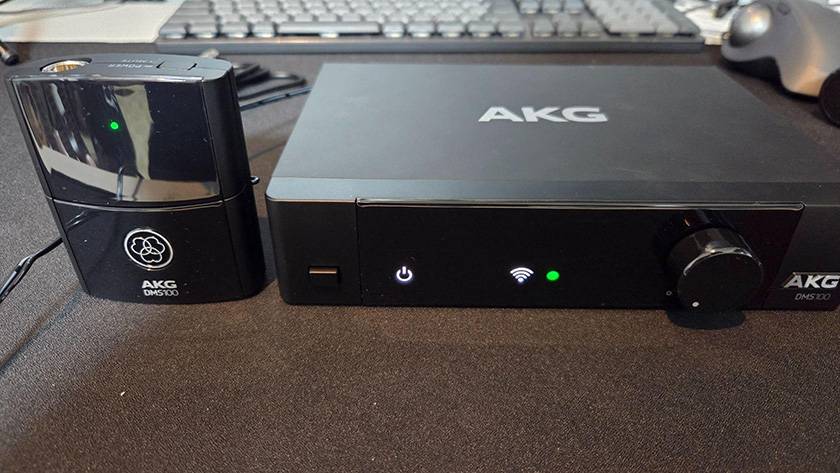
Turning on the power
Connect the adapter to the receiver and press the power button on the left. When you do, a green light starts blinking.
Next, turn on the transmitter. Press and hold the power button for about 4 seconds, and it turns on with a green LED lighting up. Looking at the unit, the LED that was blinking earlier has now changed to a steady light.
“Huh? Is that it for connecting???”
Yes, in fact, it pairs automatically just by turning on the power. Wireless systems often have a reputation for complicated setup, but this one is great because all you have to do is turn it on!
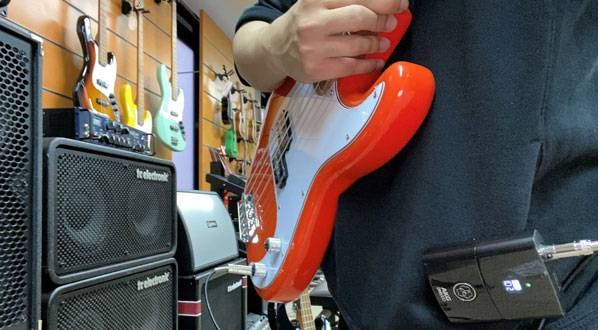
Trying out the sound
Now, let’s get to playing! The knob on the receiver is for volume control. It might be a good idea to compare it with a wired setup while finding the optimal volume.
Now for the sound check. I recorded a few comparison samples again this time, so please listen and compare.
Wired – Clean
DMS100 – Clean
Wired – Crunch
DMS100 – Crunch
Wired – Lead
DMS100 – Lead
What do you think? Honestly, I couldn’t tell the difference while playing. Even when I recorded and compared them, I still couldn’t really tell. If I were blindfolded, I’d probably get it wrong in a two-choice test. I also didn’t feel any latency while playing, so this is really nice!
To Summarize
Good Points
- Easy to connect
- Battery-powered, so no need to worry about forgetting to charge
- No noticeable latency, and the sound doesn’t change much
Bad Points
- Battery-powered, so the transmitter is slightly heavy
- The included cable feels a bit cheap
After trying it out, I noticed some of these pros and cons, but overall, it’s very good. As for the cable, to be honest, many wireless systems come with somewhat flimsy ones, so I think it’s just how it is. Personally, I don’t mind since it gives me another opportunity to enjoy making my own cables.
If you’re interested, definitely give it a try!


![[First Experience with Guitar Wireless] A Music Programmer Tries Xvive XV-U2!](/contents/uploads/thumbs/2/2022/2/20220202_2_16515_1.jpg)

 ew G4シリーズの概要とモデルの選び方
 BOSS ワイヤレス特集
 SHUREワイヤレス比較表
 CLASSIC PRO
 AKG ブランドページ
 ワイヤレスマイクロホン


