Hello everyone, this is Rimito, the nighttime DTMer again.
Continuing from the first part, I would like to continue with the “Is it possible to make an effects pedal using only items from Sound House?” theme. Please take a look at the first part.
⇒ “Is it possible to make an effects pedal using only items from Sound House? - Part I”
Let's start with the rest of the article.
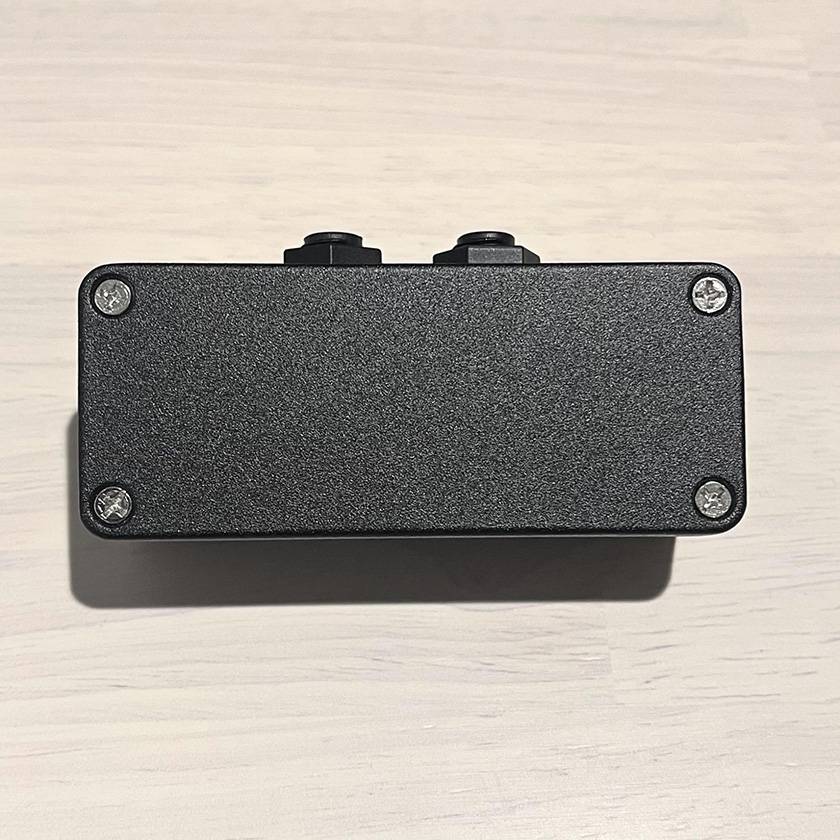
■ Enclosure
The enclosure is also known as the chassis. The exterior of an effects pedal, most chassis are made of aluminum. They are conductive and drop the chassis to ground (touching the negative pole of the circuit) to keep extraneous outside noise from getting inside.
There are a variety of them, but here is a very famous one made in Japan.
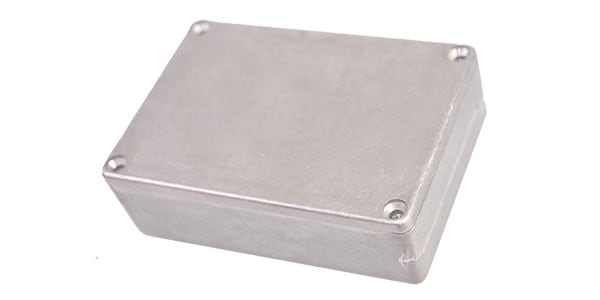
This is an aluminum die-cast chassis marketed by TAKACHI ELECTRIC INDUSTRY, a manufacturer of cases, boxes, and enclosures for industrial and electrical use. Die-casting is a process in which molten metal is poured into a mold to solidify and form into a shape. You may often see several round patterns with burrs on the back side of metal products. These burrs are created by the rods that come out when the die-cast metal is removed from the mold and flow into the gaps where it is housed. Takachi-Denki offers a variety of chassis, but the larger TD7-10-3N shown here is the best and least difficult for beginners in effects pedal production.
I had the impression that cheap chassis inevitably have many defects such as leaving many burrs or interfere with the lid and the body, but Takachi-Denki chassis do not have such issues and they are immensely popular and reliable.
■ What can be made using only Sound House products
Let’s now consider the effects pedals that can be made from the Sound House store based on the results of our research so far.
Materials available at Sound House include chassis, phone jacks, wiring materials, solder materials, knobs, pots, toggle switches, and pickups. If it doesn't require a power supply, it can be made.
Speaking of things that can be made with these materials,
- Junction box
- Kill switch
- Simple LOOP box
- Simple line selector
- Noise box
All of these are useful effects pedals that improve the usability of the effects pedal board. A junction box controls the entrance and exit of signals on the effects pedal board, and a kill switch prevents the signal from running to the destination while it is turned on. And a simple LOOP box and line box, which I will explain later, could be produced.
By the way, this is what a noise box is.
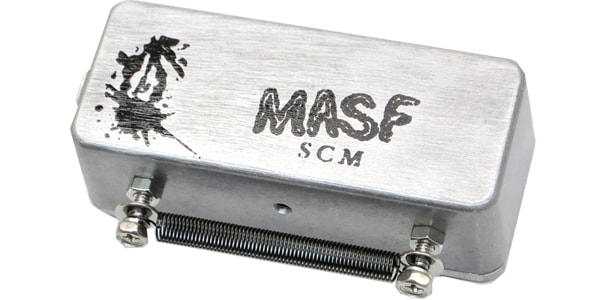
This noise box has a pickup inside and makes noise according to the shaking of a spring attached to the outside. Due to its structure, it does not require a power supply, and materials are available in the Sound House store. However, the level of difficulty may be quite high.
■ Homemade Effects pedal kit
Next, I would like to introduce a certain home-built kit. I would like to introduce you to this kit so much that I could say that I wrote this article for this kit.
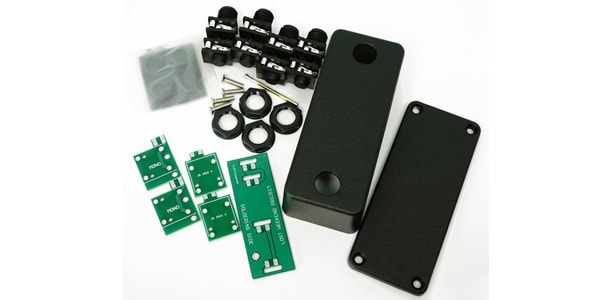
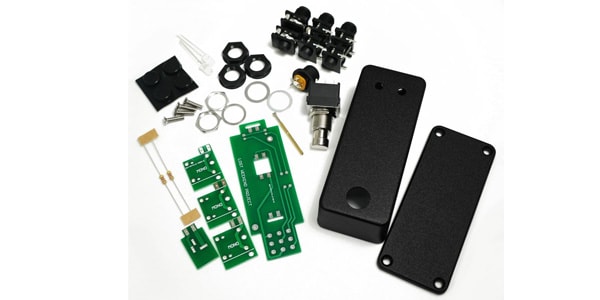
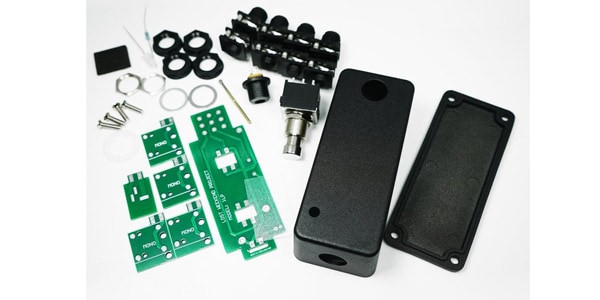
These are the three types of kits.
LOST WEEKEND PROJECT./ JUNCTIONBOX production kit LWPJB
LOST WEEKEND PROJECT./ ABBOX production kit LWPAB
LOST WEEKEND PROJECT. / 1LOOPBOX Production Kit LWP1L
Although it is not an effects pedal that can apply effects to sound, it is properly classified as an effects pedal.
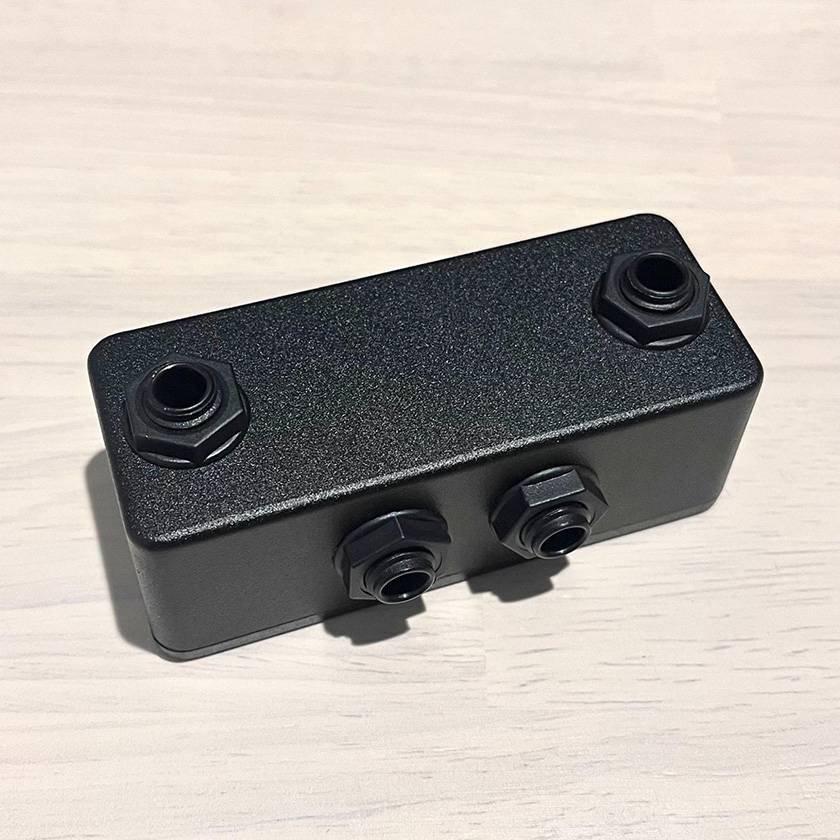
A junction box is a convenient way to combine the inputs and outputs of an effects board into one place.
Also, this is my own way of doing it, but since one of the jacks on this kit faces upward, using a shield with a straight-type phone plug will allow me to play comfortably without wear and tear on the plug and jack as I move around. This is very important. The jacks are plated, and as they wear, the plating peels off and rusts. Of course, rusting affects the sound quality.


Next is the ABBOX, which is also called a line selector. It’s used to select whether the signal coming in from the input should be sent to the A-out or B-out, or to select either the signal coming in from A or B and output from the input jack.
And the 1LOOPBOX, as shown in the figure below, is an effects pedal for switching effects pedals in series on and off at the same time.

So, you switch the signal to the red arrow or the blue arrow.
In fact, the 1LOOPBOX can be used like an ABBOX, and I often use it that way.
When it is on, only the input to the return is output to the output, so you can switch whether the signal coming in from the input is output from the send or the output, as shown in the figure below.
I have talked about this at length, but all of the above would cost about twice as much as you would normally pay for a ready-made product, so in this respect, I recommend that you make your own.
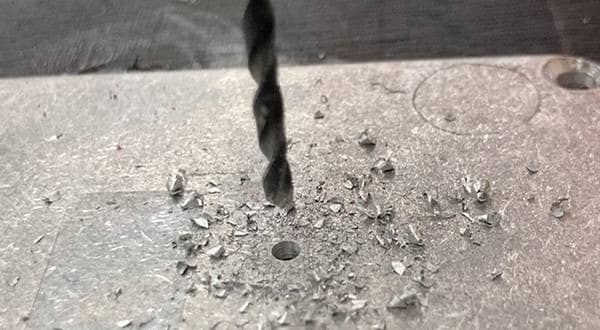
It is very easy to make, requiring only a soldering iron, soldering material, and a Phillips screwdriver. No drilling, painting, or other modifications are required.
I have tried making it several times and was impressed by how easy it was and how fun it was. However, the 1LOOPBOX is a little bit difficult for beginners (I was a little nervous too),
I recommend that you try to make them in the following order: junction box > ABBOX > 1LOOPBOX
I recommend making them in this order: junction box > ABBOX > 1LOOPBOX. The junction box has a little more space, so I built a buffer into it.

■ Summary
How was this article?
I hope that you find enjoyment in making effects pedals as much as I do. Once you get into the swamp of effects pedals, you will never be able to get out.
Thank you for taking the time to read both the first and second parts of this long article.
Have a good musical life!
The “sound & person” column is made up of contributions from you.
For details about contributing, click here.


![The Road to Your Complete DIY Equipment: 2nd Edition: The Illusive Vintage Sound! Amplified Buffer Get your hands on the legendary device exclusively used by professionals [Parts]](/contents/uploads/thumbs/2/2023/3/20230303_2_21537_1.jpg)
 ギターケーブルの作り方
 パーツの配線を知ろう
 ギターのお手入れ
 お手入れに必要な道具
 エフェクターのつなぎ方
 エフェクターの種類